This post may contain affiliate links for which I earn a small commission at no extra cost to you. For more info, check out my Disclosure Policy. Thank you for your support!
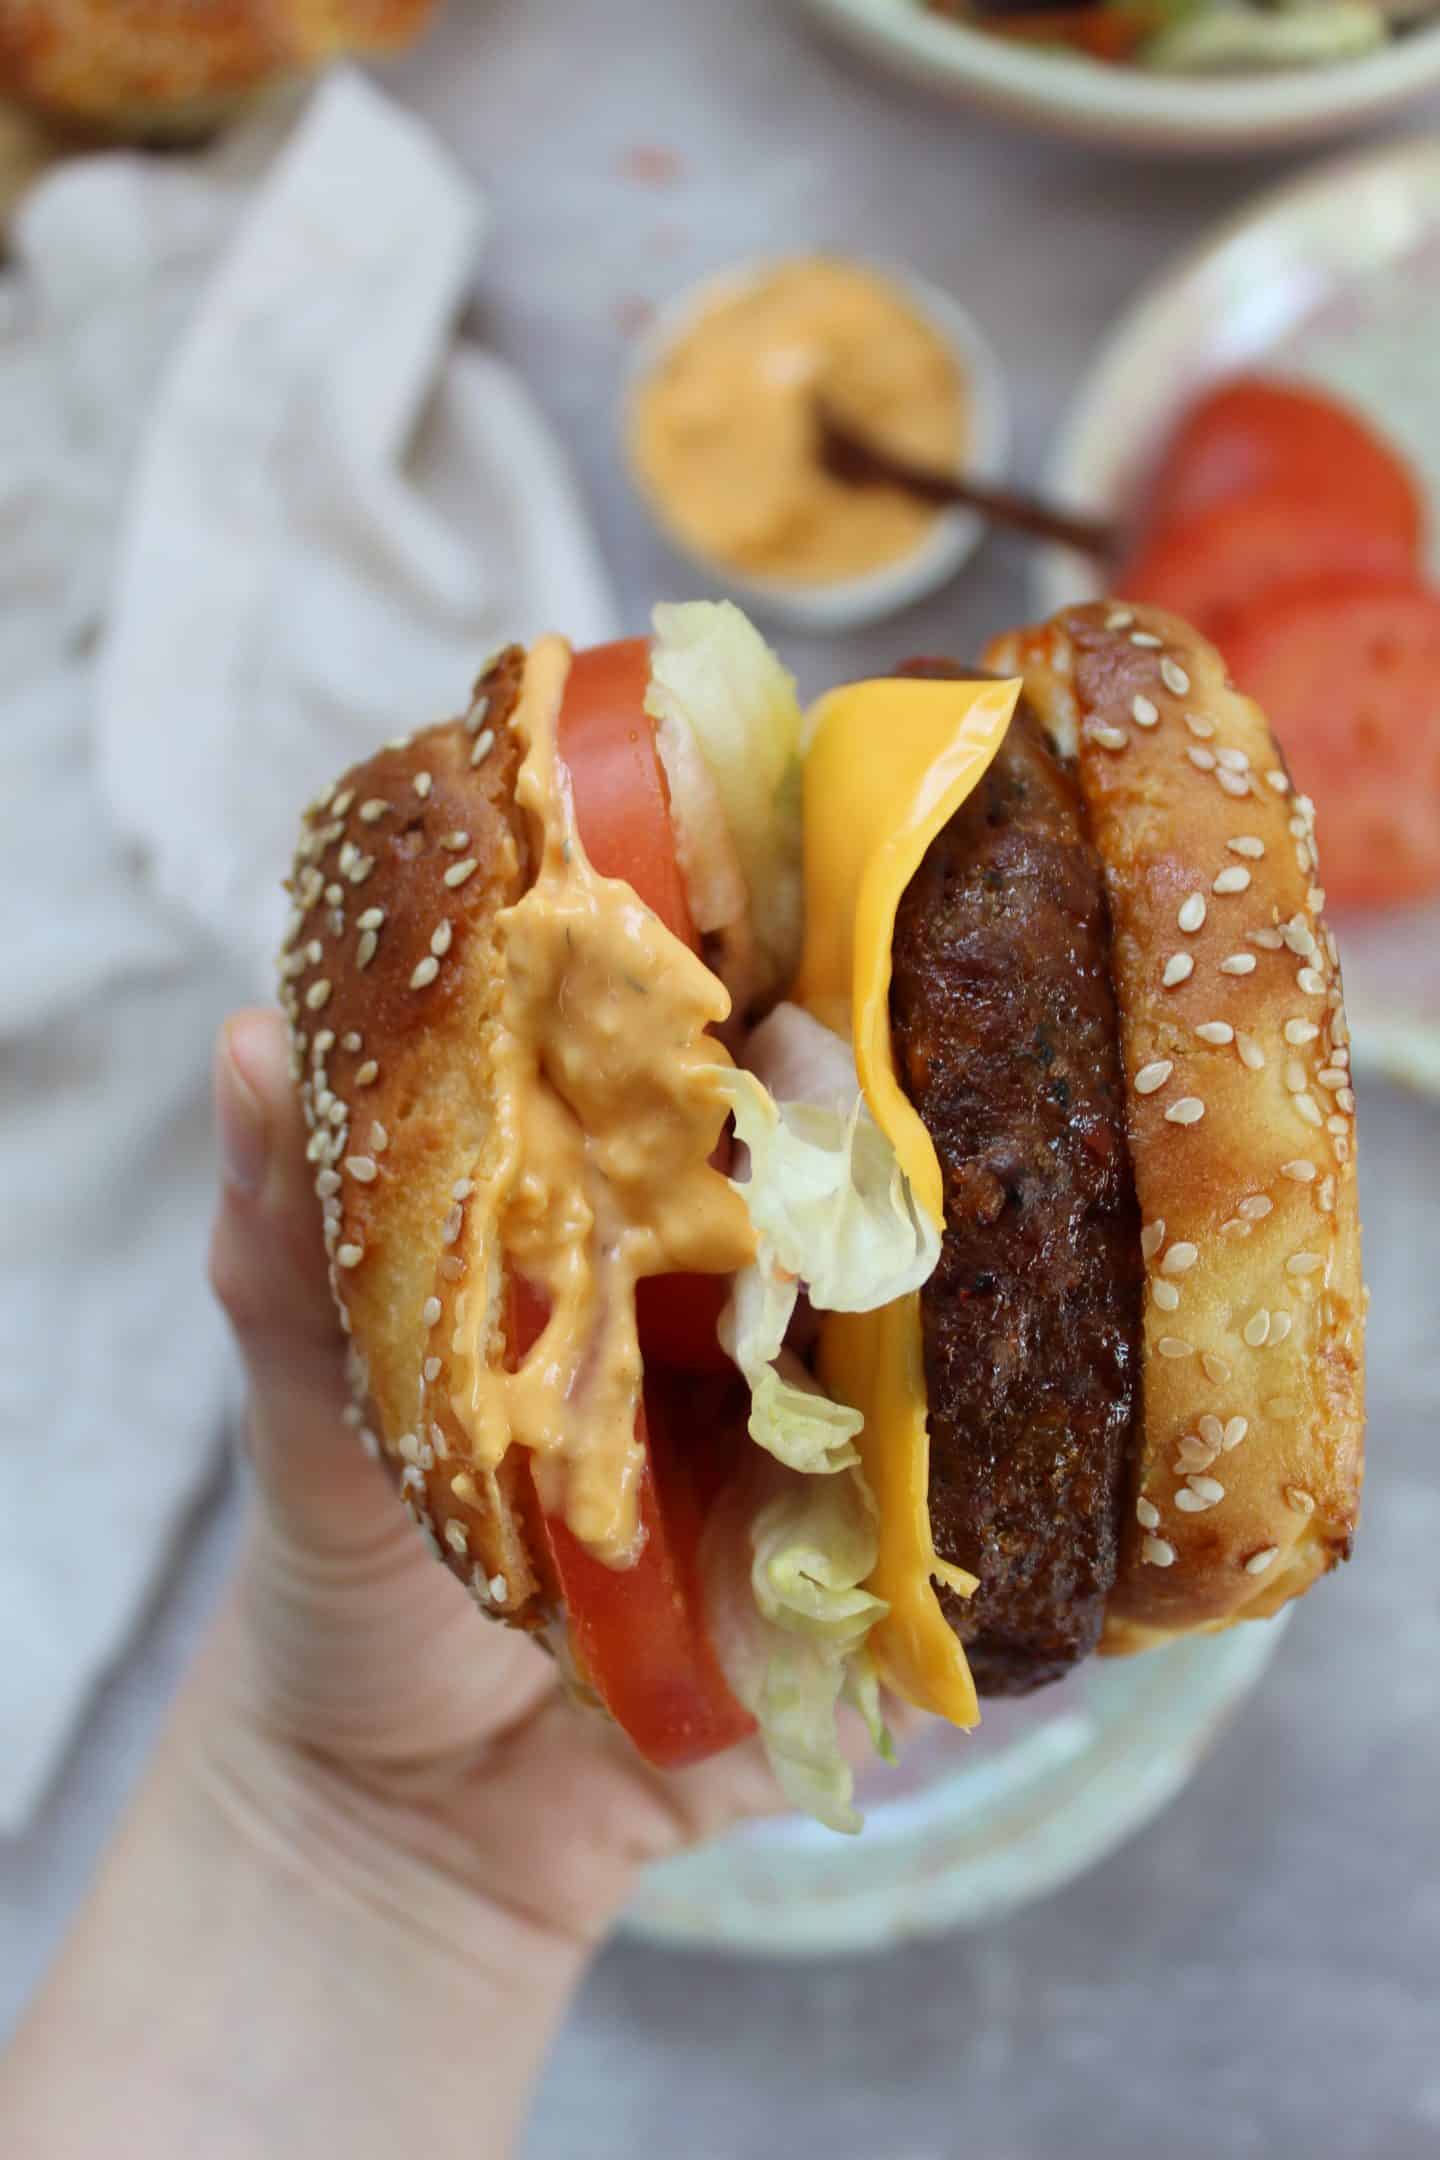
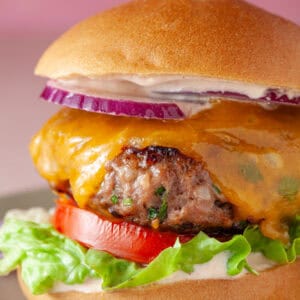
If you’re tired of bun-less burgers, you have to try these homemade Gluten Free Burger Buns! These super soft gluten free brioche buns are just perfect for hamburgers or any barbecue. No more missing out or having to sandwich a burger between lettuce leaves!
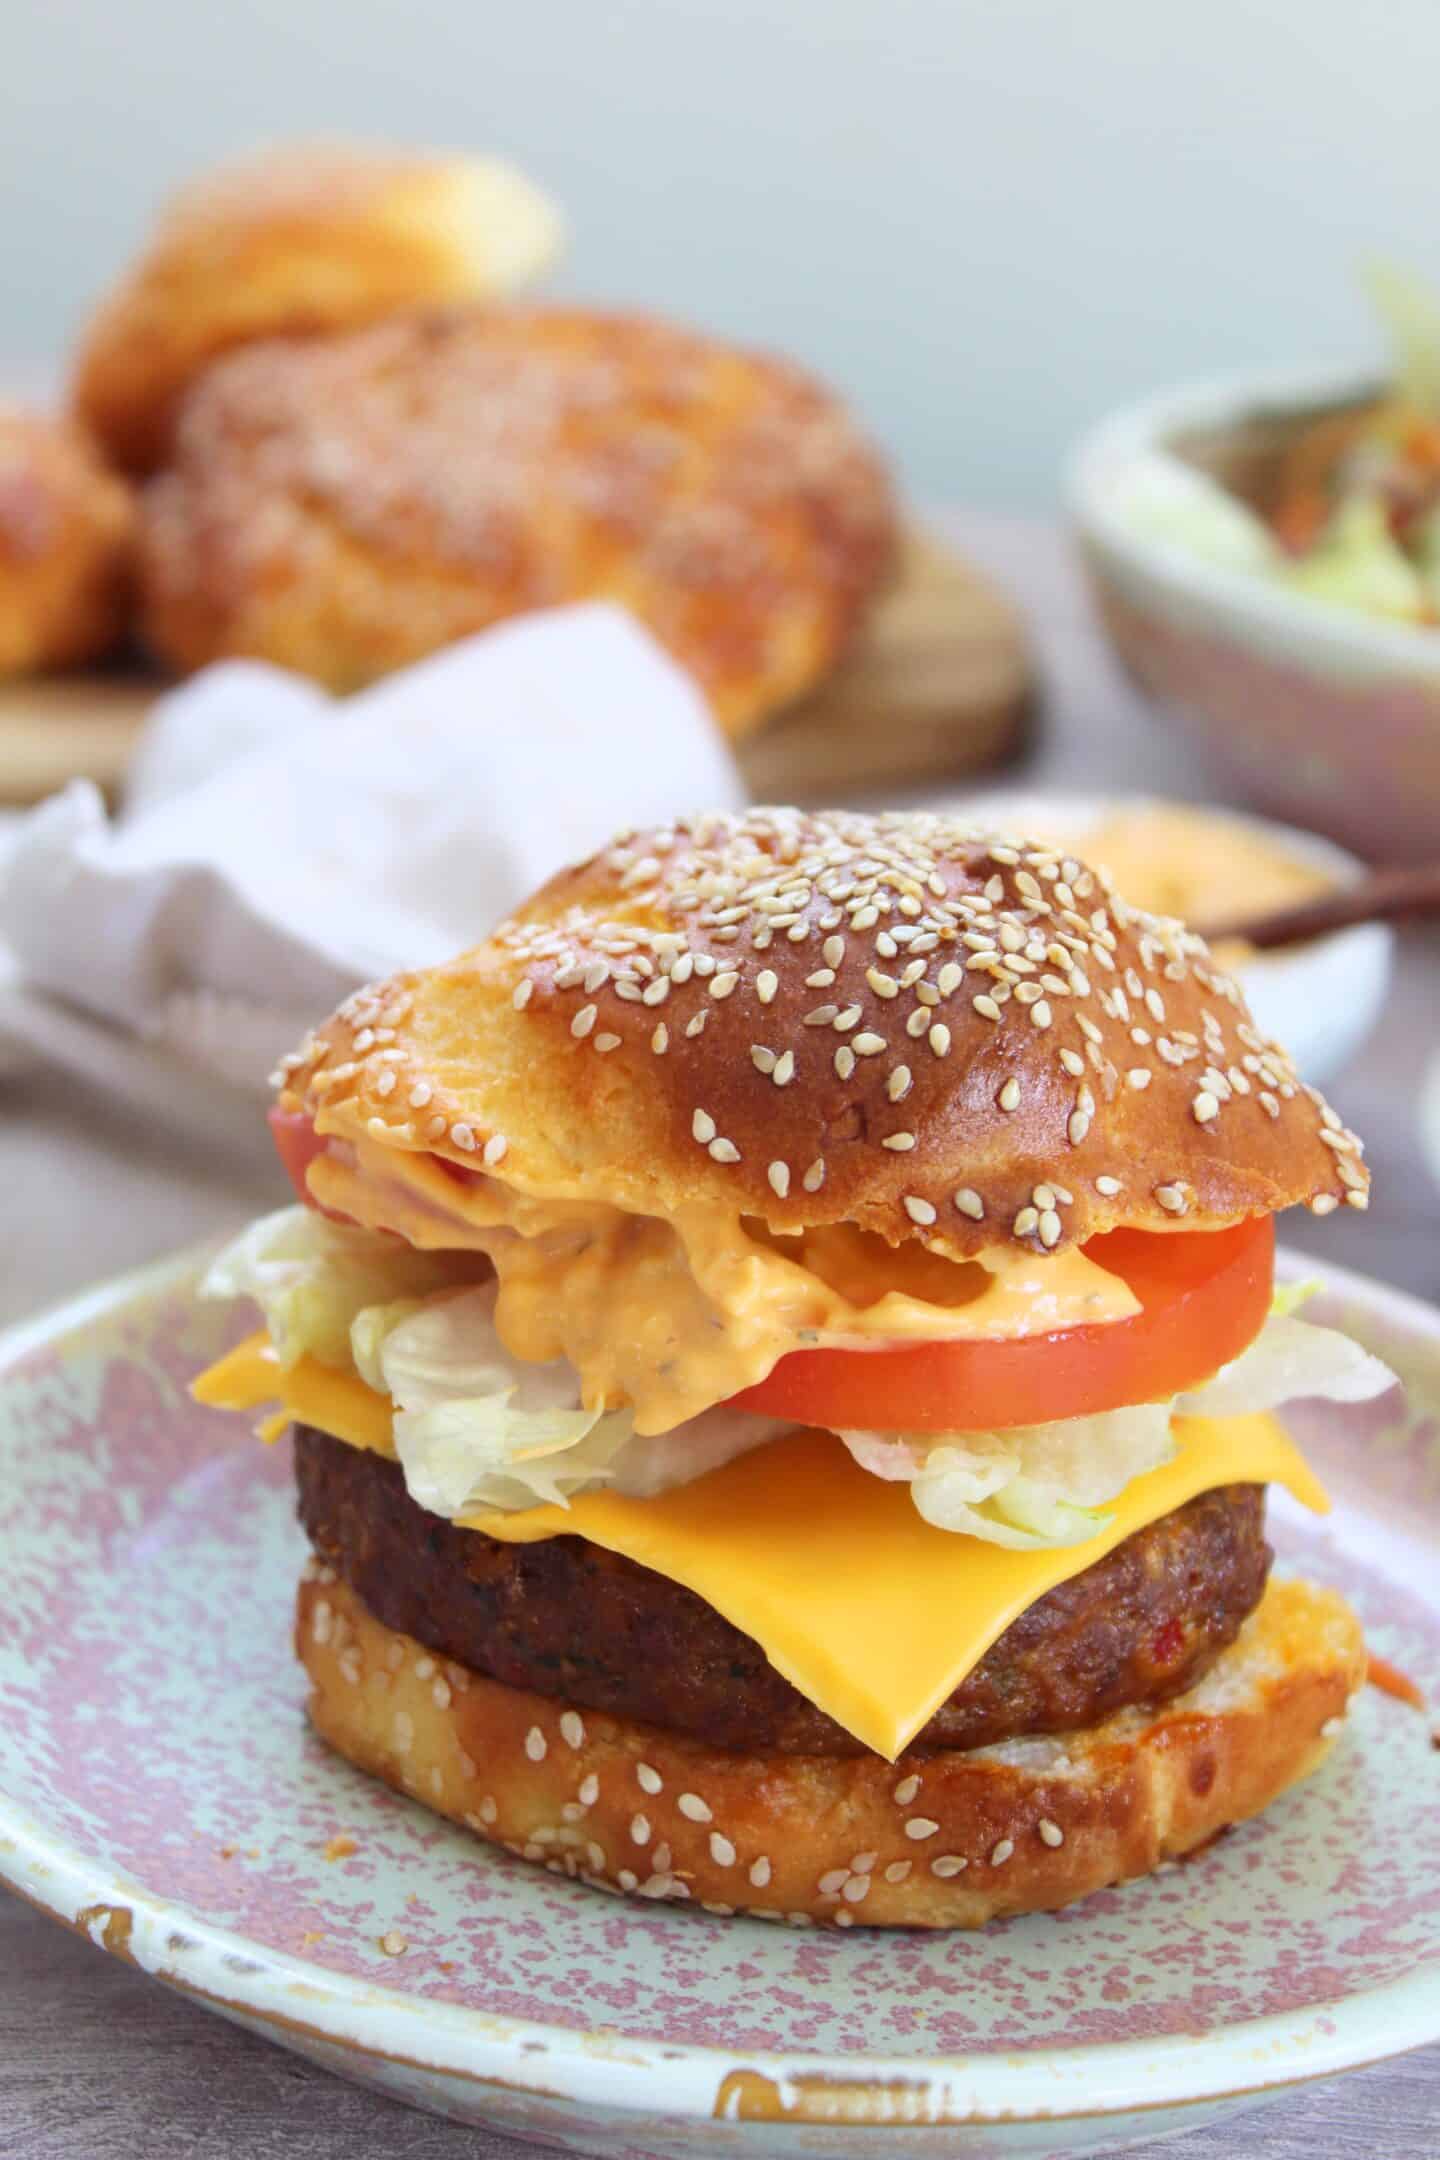
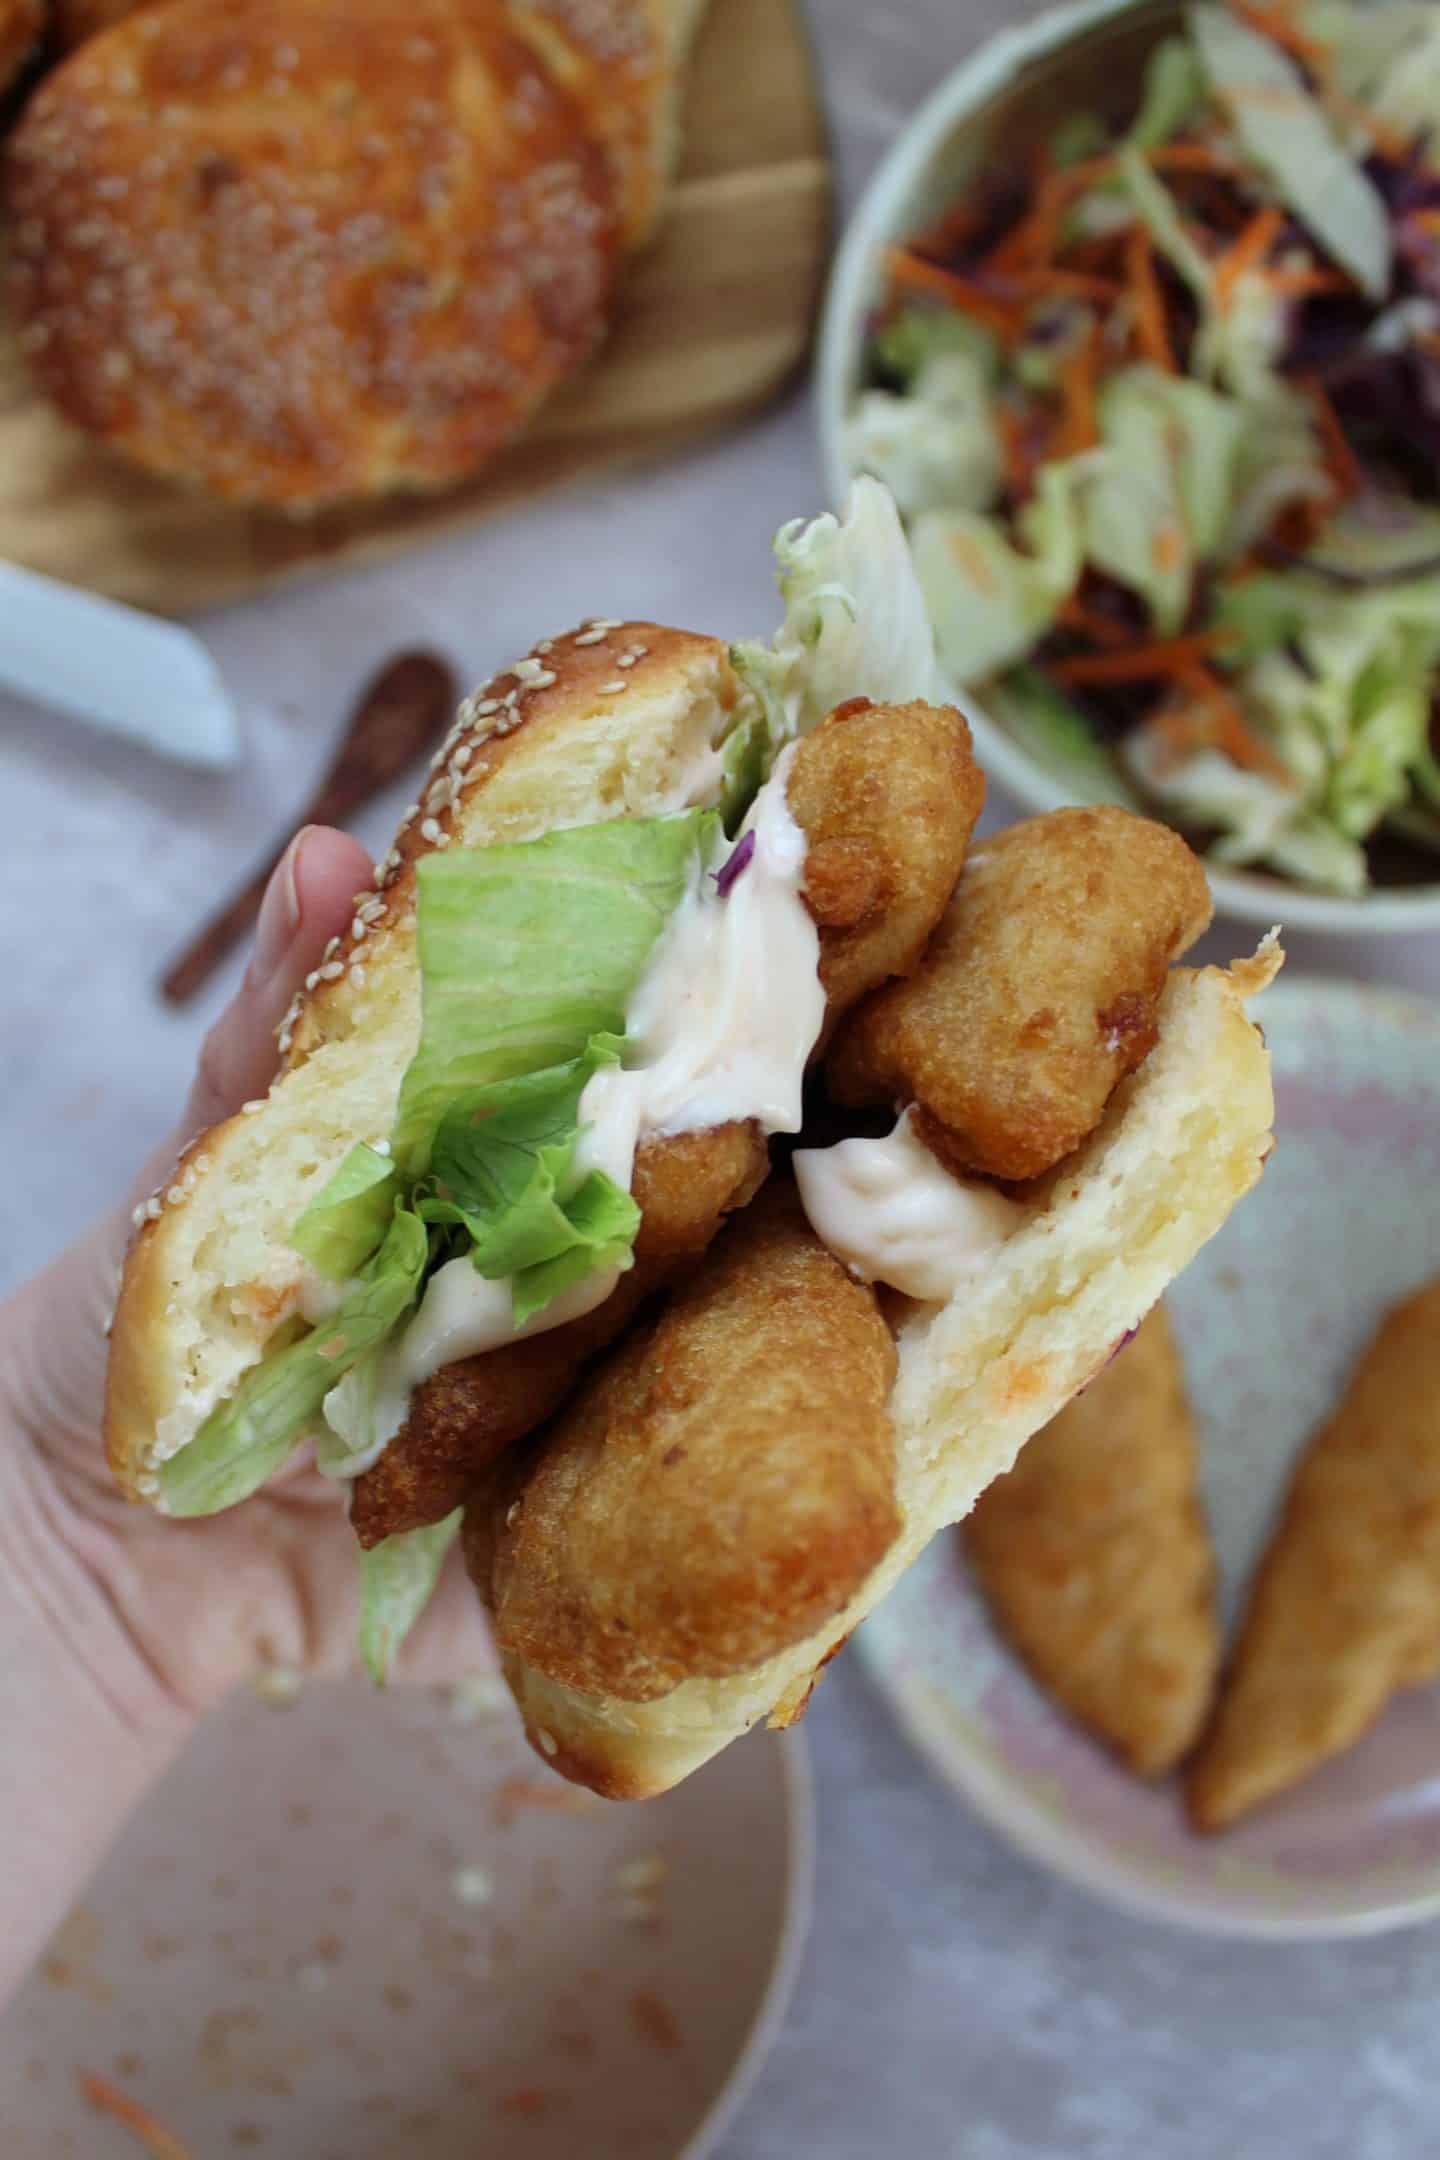
These easy gluten free brioche burger buns are made with an enriched dough and perfect for filling with beef burgers, chicken burgers, sausages, or fried chicken.
They have the softness of my gluten free bread rolls with an extra enriched dough, giving them a glossy golden top, which I like to finish with sesame seeds.
Hopefully these will make up for all the sad burgers you’ve had to endure on their own or stuffed between soggy lettuce leaves.
And you can easily make a batch and freeze them – perfect for a gluten free BBQ, an easy gluten free picnic option or for in lunchboxes.
Why make this recipe?
- Gluten Free: Being on a gluten free diet doesn’t have to mean missing out! Plus these brioche hamburger buns are so good, even the gluten-eaters will love them.
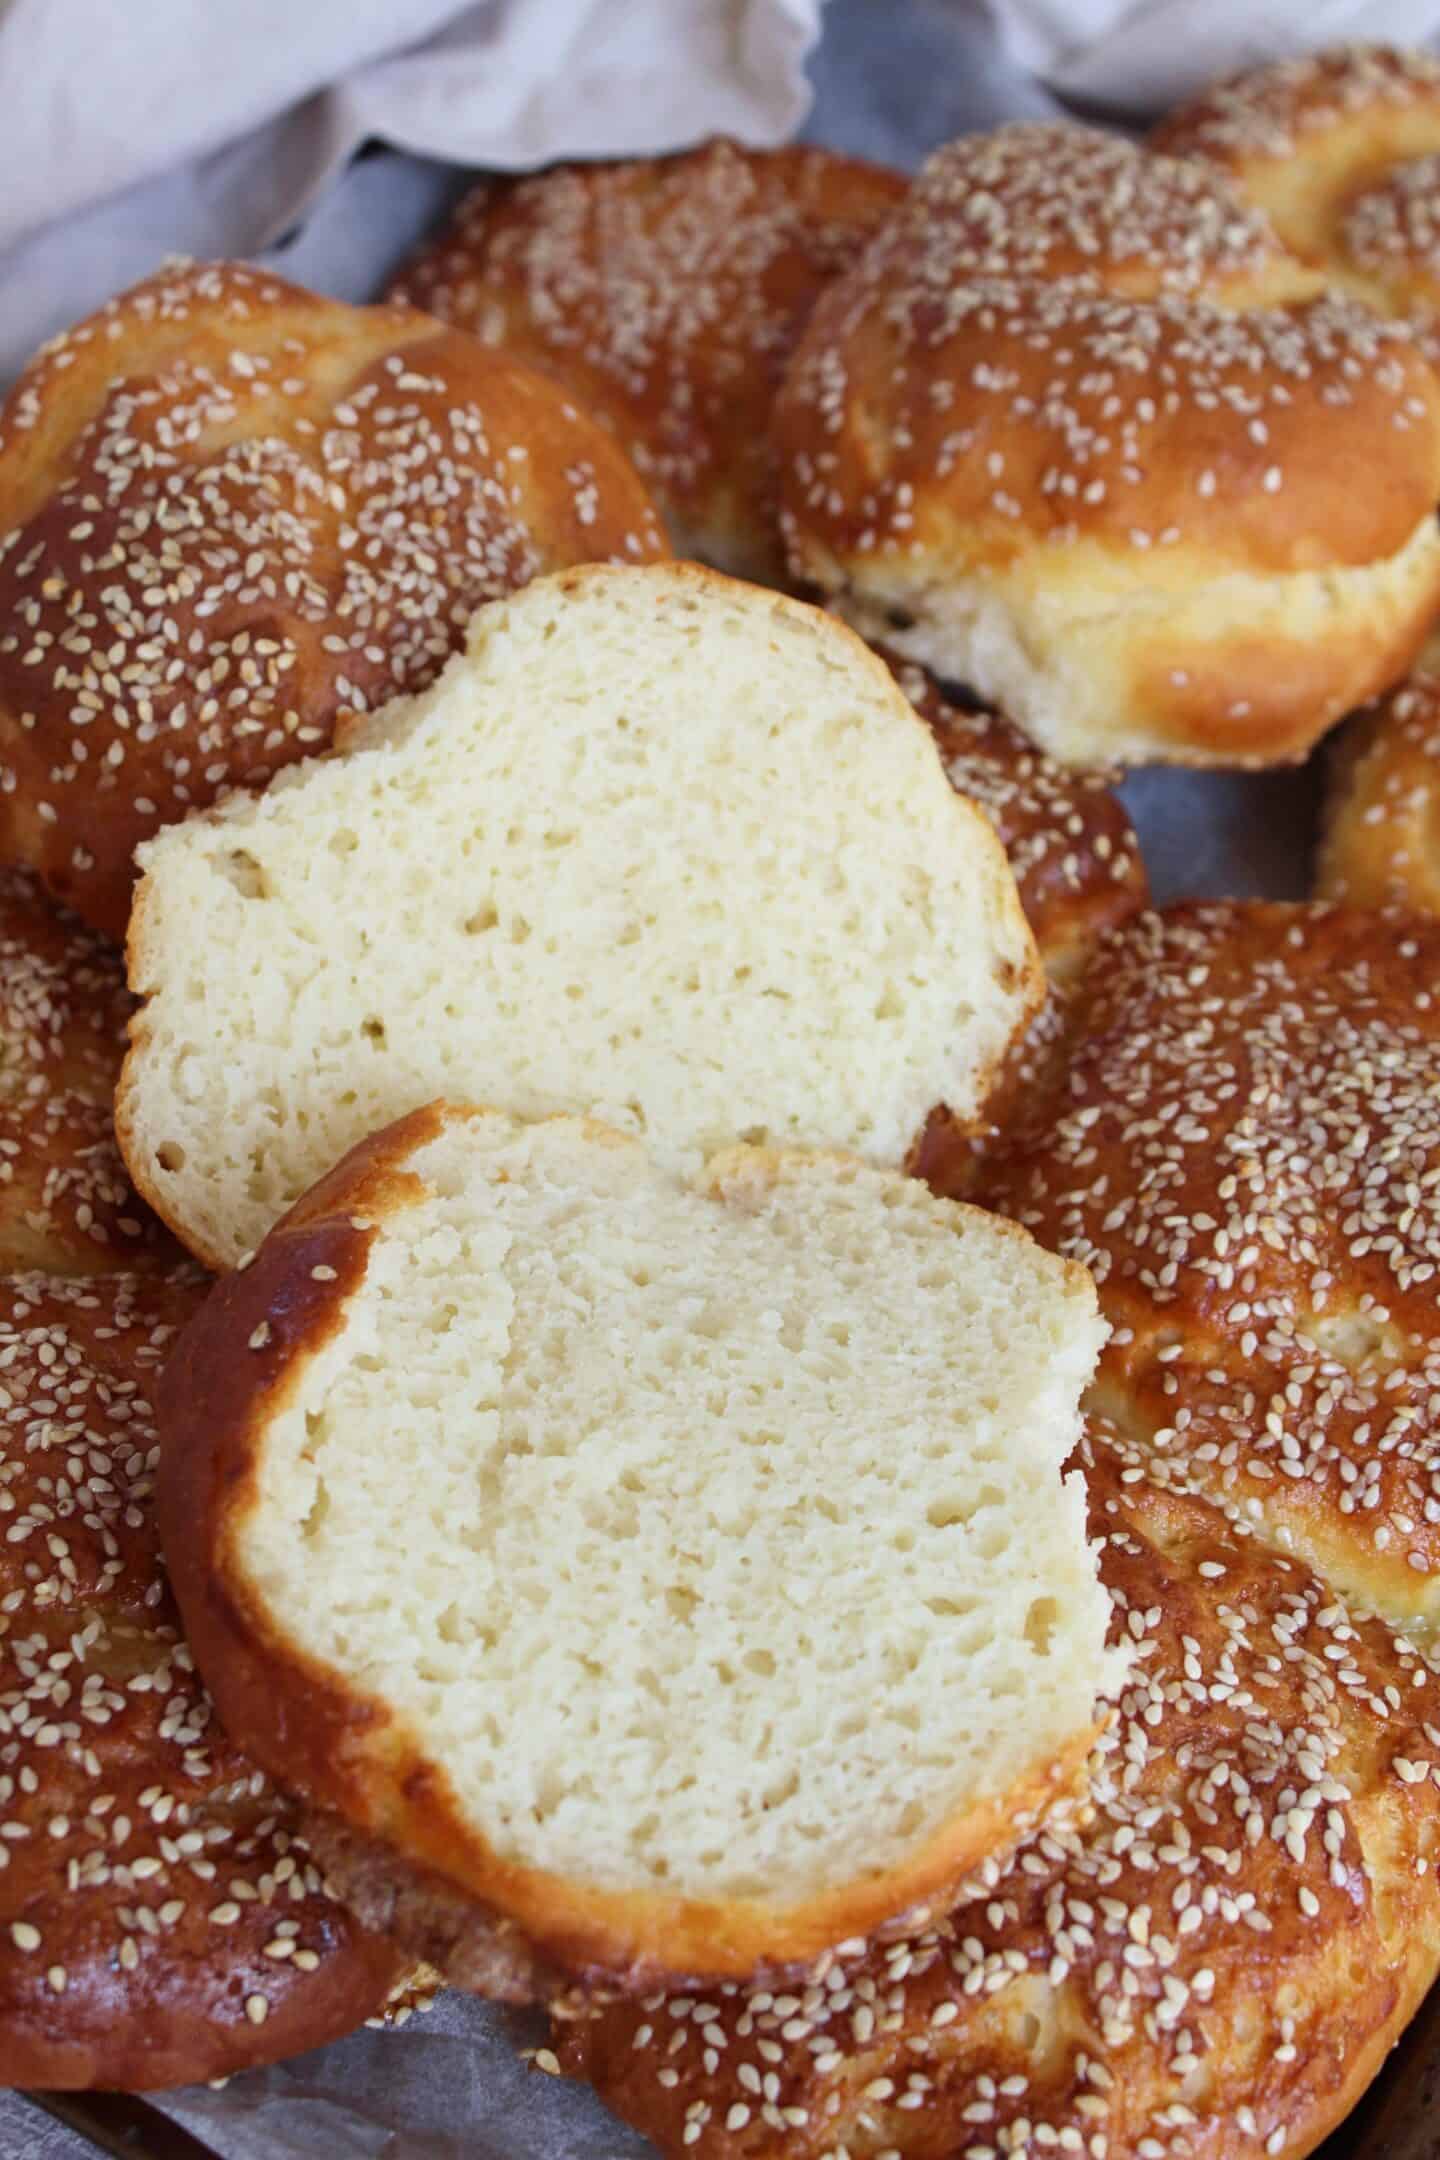
- Soft Brioche: The bread dough is enriched with milk, eggs and butter for the softest, squidgiest gluten free brioche buns.
- Super Easy: Gluten free bread doesn’t have to be difficult! I’ve got step-by-step instructions and a handy video tutorial to guide you.
- Freezer-Friendly: Make a batch and pop any leftovers in the freeze for hamburgers on demand. They’re so easy to make and this will save time and money.
Ingredients
There’s a full printable recipe card below with all the ingredients and full method, but here’s an outline of what you need to make my gluten free hamburger buns recipe:
- Gluten Free White Bread Flour: I always use the FREEE gluten free white bread flour as the tapioca starch helps create a lovely texture. This will work with plain gluten free flour blend as well if that’s all you have.
- Milk: This helps to enrich the gluten free dough, making it super soft.
- Sugar: Essential for activating the yeast. Don’t skip this.
- Yeast: I always use the FREEE gluten free yeast or a dried yeast like Allinson’s Easy Bake. Not all yeast is gluten free so always double check.
- Xanthan Gum: This is essential to replicate the stretch of gluten – without it your dough will be very dry and crumbly.
- Salt
- Apple Cider Vinegar
- Butter: Again, this helps to create a really soft gluten free bread and golden colour
- Eggs: Gluten free flour is always very thirsty so eggs help hydrate the dough and keep the bread soft.
How to make gluten free burger buns
There’s a full printable recipe card down below, but I thought I would illustrate some of the steps here to make them a little easier.
To make these gluten free brioche hamburger buns:
Active the Yeast
Measure out the milk into a small pan and warm it on a very low heat until it is around 40’C – I’d recommend a food thermometer to get this right! Remove from the heat and pour into a jug.
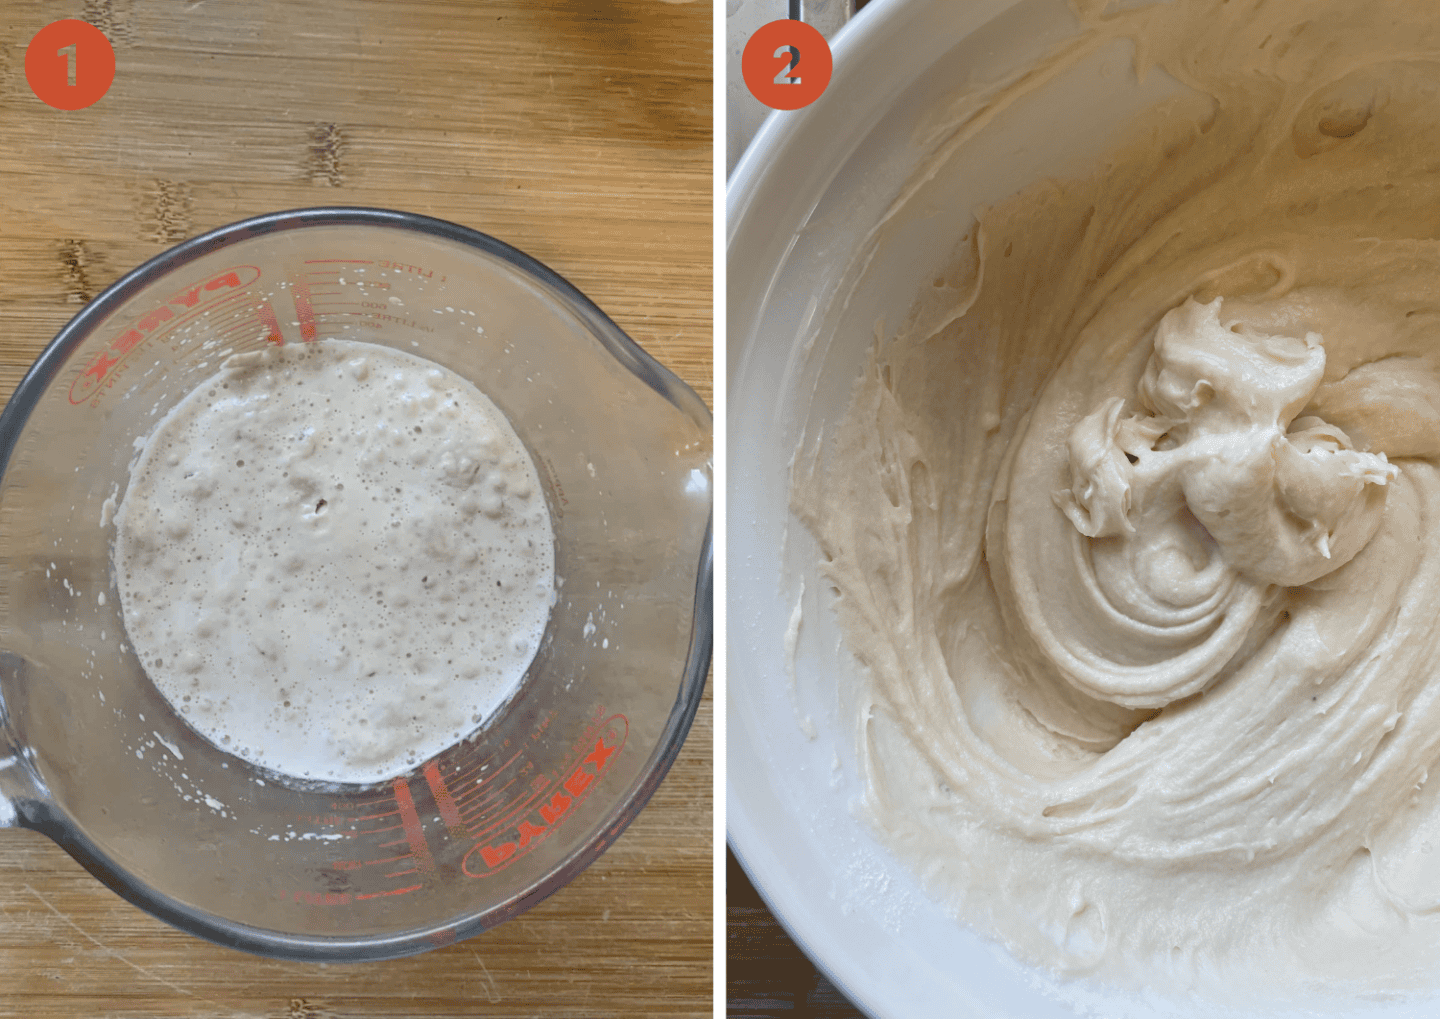
Stir the sugar into the warm milk and until dissolved, then add the yeast and stir again. Leave in a warm spot for 5-10 minutes for the yeast to activate. It should form a lovely froth on top when it’s ready, just like the above photo (left).
Make the bread ‘dough’
Add the gluten free bread flour, xanthan gum and salt to a large mixing bowl and stir to mix together.
Add the eggs and vinegar to a mug and and lightly whisk to combine. In a separate bowl, melt the butter in the microwave (in 10 second intervals so it doesn’t burn).
Once the yeast/milk mixture is active (frothy), add it to the flour along with the egg/oil mixture and the melted butter. Using a wooden spoon, beat the mixture together vigorously to combine it into a thick, sticky dough.
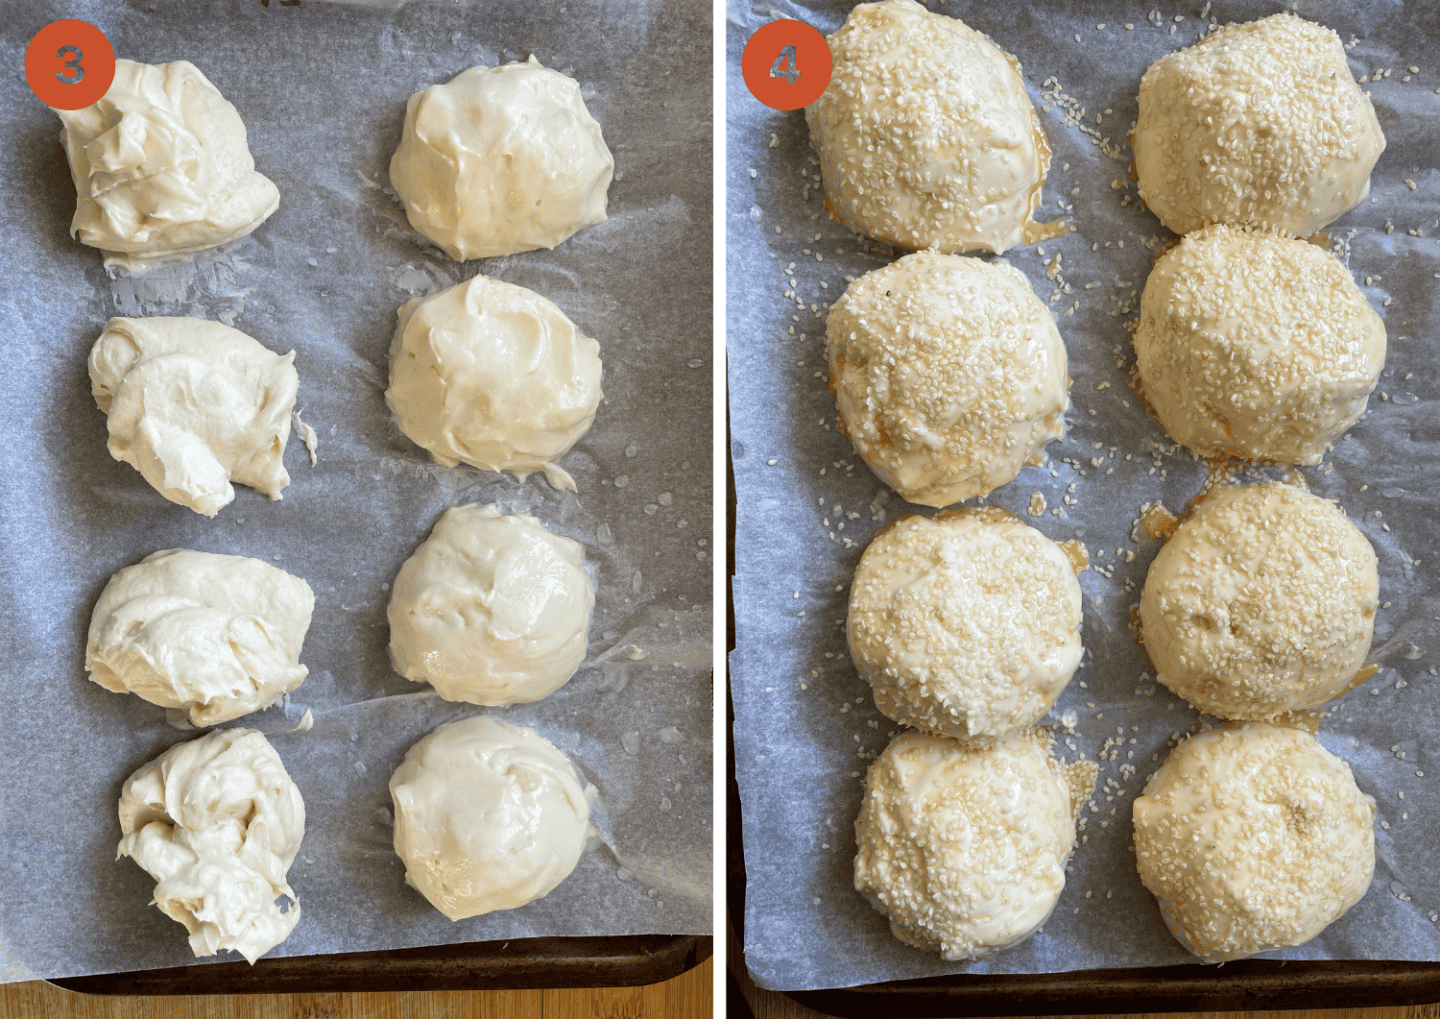
Shape the burger buns
Using a scoop or spoon, divide the dough into 8 pieces and arrange them evenly on a lined baking sheet with a little space between them.
Dip your fingers in cold water and use them to gently shape the dough into a smooth, round shape.
Gluten free dough can be fairly sticky and difficult to handle but you can use wet fingers to smooth them into rough ball shapes without adding extra flour.
Prove the gluten free buns
Loosely cover the tin with oiled clingfilm (plastic wrap) and leave in a warm spot to prove.
It will take about 60-90 minutes and the rolls should almost double in size and will probably be touching – but this can take more or less time on a cold/hot day.
Bake the burger buns
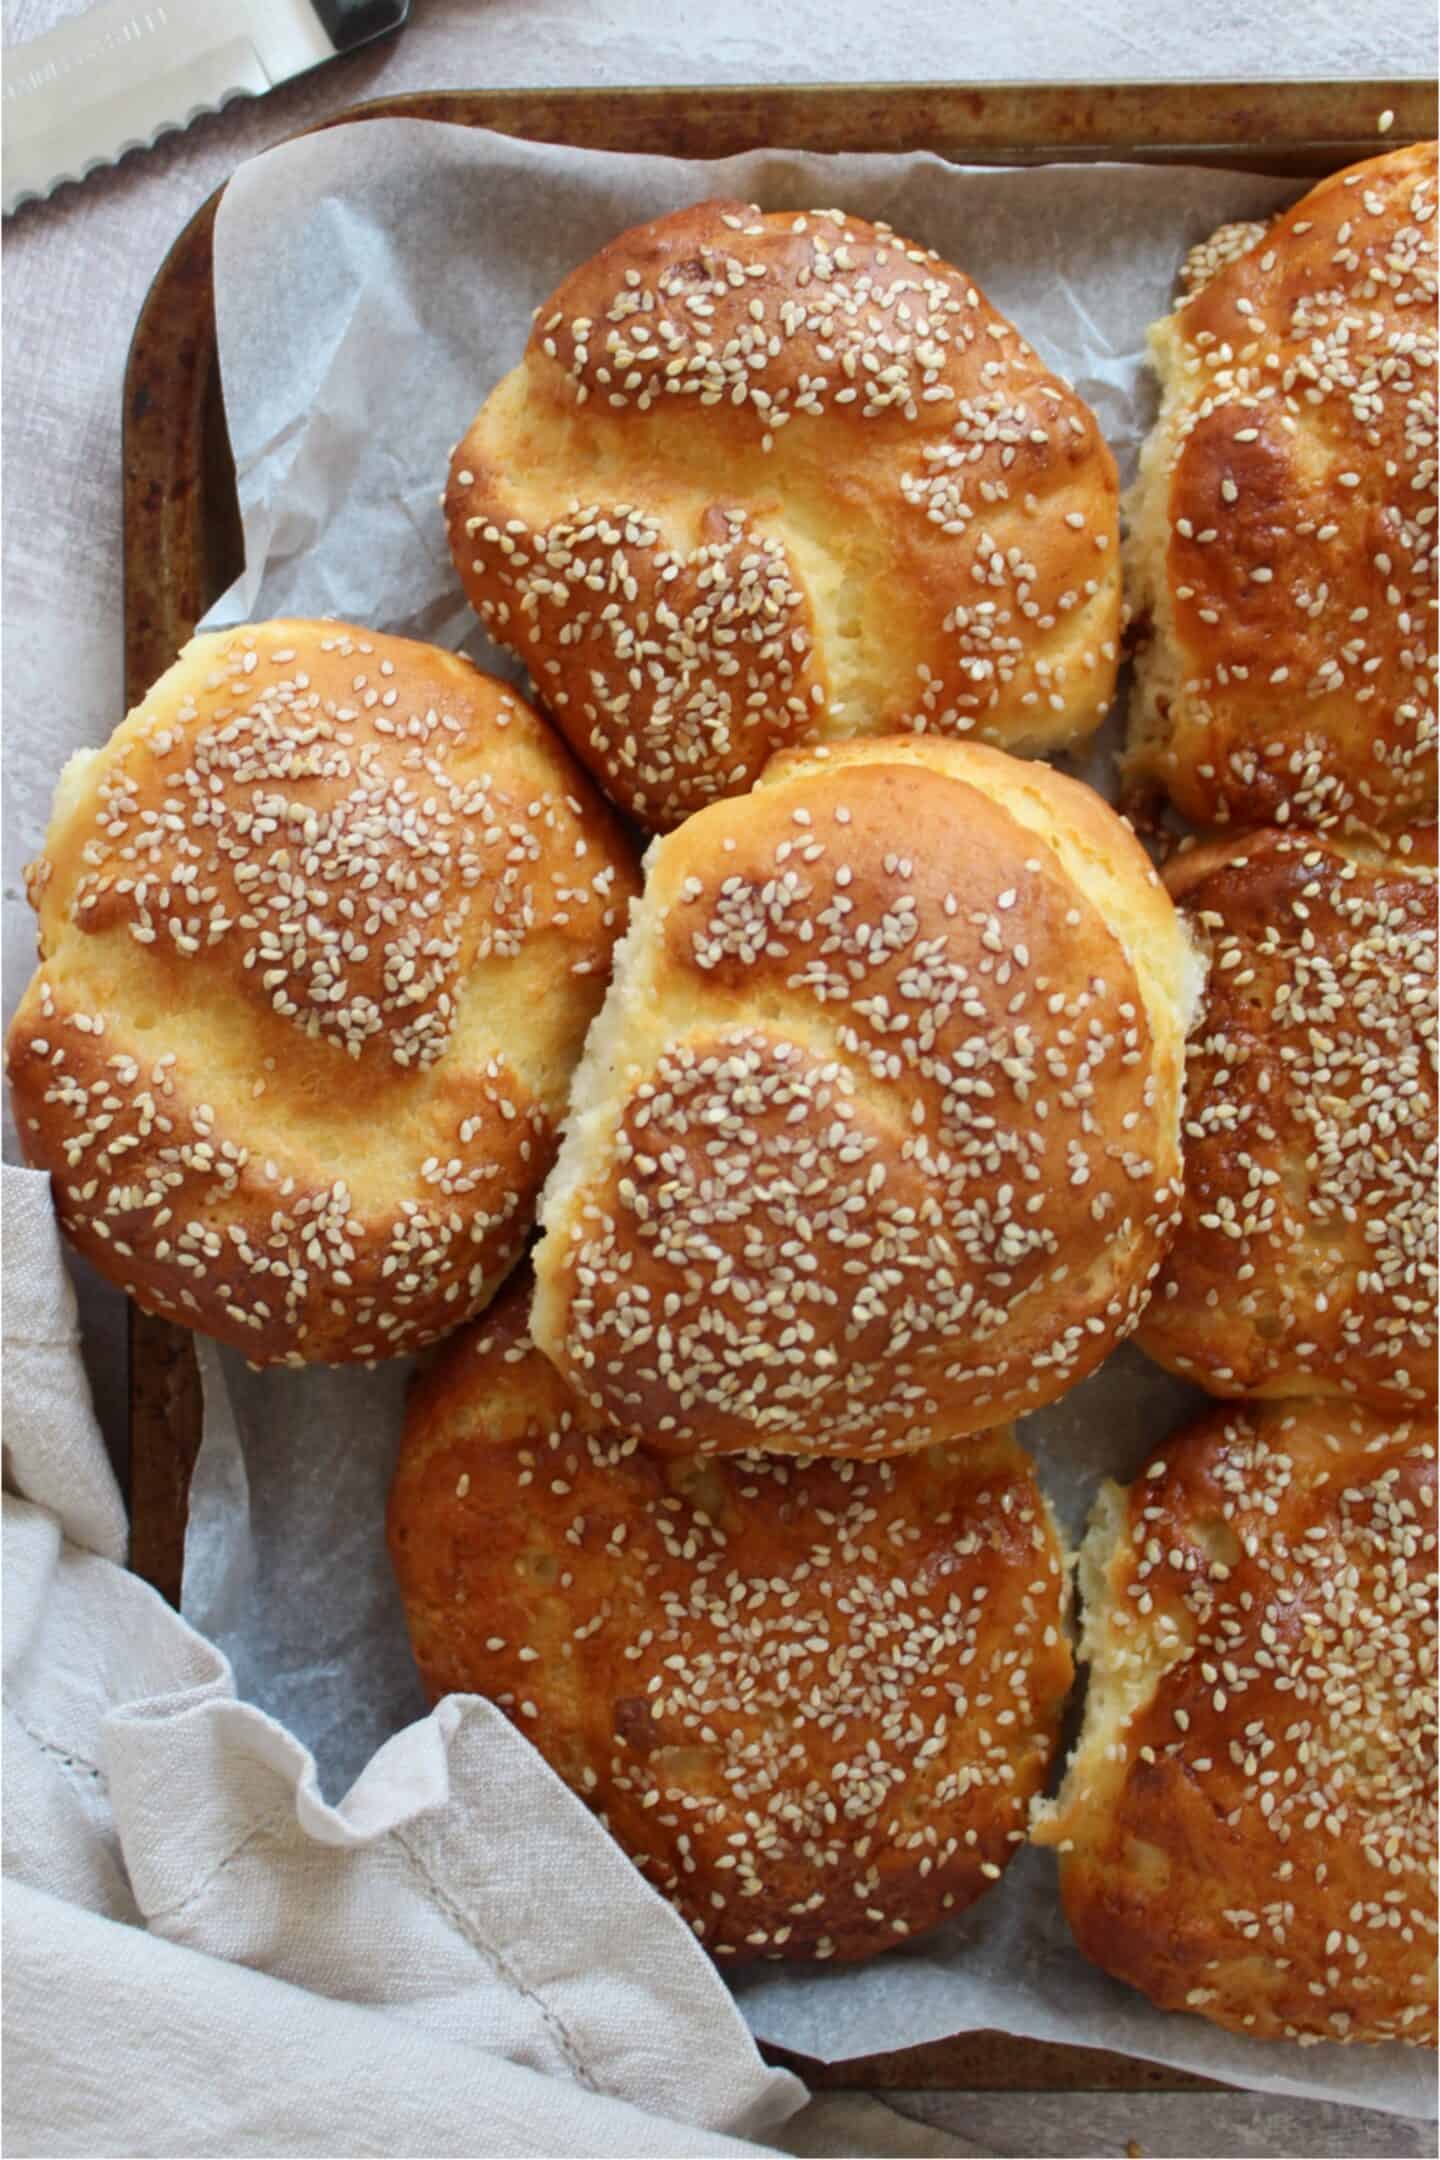
Preheat the oven to 200’C / Fan 180’C / Gas Mark 6. Remove the clingfilm and brush the tops of the rolls with the beaten egg. Sprinkle with sesame seeds then place the tin in the centre of the oven.
Bake for 25-30 minutes until the tops of the rolls are golden brown. If you find the rolls go brown too quickly, cover with some tinfoil mid-bake.
Brush with butter
Remove the rolls from the oven. Melt the butter in the microwave and brush evenly over the rolls while they are still hot. This will keep them lovely and soft!
Storing and Freezing
These gluten free brioche buns are best eaten while still warm and fresh, but you can store them and freeze them for later.
To store your gluten free burger buns:
Once cooled completely, I’d recommend popping the brioche buns in an airtight container straight away.
They will keep for up to 3 days but will need to be lightly refreshed before eating. Either microwave for 10-20 seconds or sprinkle with water and put in a hot oven for five minutes before eating.
To freeze your gluten free burger buns:
If you’re going to freeze your bread, do this straight away by popping them in a freezer bag as soon as they have cooled to room temperature.
They can be frozen for up to 6 months then defrosted and eaten. I’d recommend refreshing them (as above) to warm them before eating.
You can also refresh your gluten free hamburger buns on the griddle or BBQ, or slice them and toast them.
Serving Suggestions
If you need some inspiration of what to serve with your gluten free burger buns, you could pair them with some of my BBQ favourites:
- Gluten Free Beef Burgers
- Ground Chicken Burgers
- Courgette and Halloumi Fritters
- Gluten Free Fried Chicken
- King Prawn Kebabs
- Chickpea and Sweetcorn Fritters
You might also like


If you make this recipe and love it, please do let me know by tagging me on my Instagram or using #theglutenfreeblogger. You can also share your creations in my Facebook group! And please do leave a 5* review ⭐️⭐️⭐️⭐️⭐️ to let others know you loved it too! It would mean the world to me and really helps support my website.

Gluten Free Burger Buns
Equipment
Ingredients
- 300 ml milk
- 2 tbsp caster sugar
- 7 g dried yeast
- 400 g FREEE gluten free white bread flour
- 1 tsp xanthan gum
- 1 tsp salt
- 2 large eggs
- 1 tsp apple cider vinegar
- 75 g butter
For topping:
- 1 beaten egg
- Sesame seeds, optional
- 20 g unsalted butter, for brushing
Instructions
- Measure out the milk into a small pan and warm it on a very low heat until it is at skin temperature – i.e. you can't really feel the heat when you dip your finger in. You want this to be around 40'C. Remove from the heat and pour into a jug.
- Stir the sugar into the warm milk and until dissolved, then add the yeast and stir again. Leave in a warm spot for 5-10 minutes for the yeast to activate. It should form a lovely froth on top when it’s ready.
- Add the gluten free bread flour, xanthan gum and salt to a large mixing bowl and stir to mix together.
- Add the eggs and vinegar to a mug and and lightly whisk to combine. In a separate bowl, melt the butter in the microwave (in 10 second intervals so it doesn’t burn).
- Once the yeast/milk mixture is active (frothy), add it to the flour along with the egg/oil mixture and the melted butter. Using a wooden spoon, beat the mixture together vigorously to combine it into a thick, sticky dough.
- Using a scoop or spoon, divide the dough into 8 pieces and arrange them evenly on a lined baking tin. You’ll want to make sure they have a little space between them. Dip your fingers in cold water and use them to gently shape the dough into a smooth, round shape. The dough will be fairly sticky and difficult to handle but you can use wet fingers to smooth them into rough ball shapes. Don’t worry about being too precious – I prefer the rustic look!
- Loosely cover the tin with oiled clingfilm and leave in a warm spot to prove. It will take about 60-90 minutes and the rolls should almost double in size and will probably be touching. Because this is an enriched dough (with the addition of milk, butter and egg) it does need a slightly longer proving time.
- Preheat the oven to 200’C / Fan 180’C / Gas Mark 6. Remove the clingfilm and brush the tops of the rolls with the beaten egg. Sprinkle with sesame seeds then place the tin in the centre of the oven.
- Bake for 25-30 minutes until the tops of the rolls are golden brown. If you find the rolls go brown too quickly, cover with some tinfoil mid-bake.
- Remove the rolls from the oven. Melt the butter in the microwave and brush evenly over the rolls while they are still hot. This will keep them lovely and soft!
- Leave the rolls to cool on a cooling rack for at least 30 minutes before eating. They are best enjoyed while warm and fresh, or allow the rolls to cool completely then freeze them.
Video
Notes
- Check the blog post above for step-by-step photos and information on how to store and freeze these gluten free buns.
- Check out my FAQs below this recipe card and drop me a comment if there’s anything you need help with!
Nutrition
Frequently Asked Questions
The concept of a gluten free brioche bun is that it is an enriched dough. This means it contains milk, butter and eggs which give it a lovely soft texture and enhanced flavour.
I’m not sure how well it would work to just straight-swap the dairy and egg for dairy free versions, so without trying it myself I wouldn’t recommend it. That being said, if you’re an experienced vegan baker and give this a go, I’d love to hear how you get on and what works for you!
I am based in the UK and there are several yeast products here which are gluten free and readily available.
I always use either the Allinson’s Easy Bake Yeast or the Dove’s Farm Quick Yeast.
You can also use the Allinson’s Time Saver Yeast, though be aware that you may not need to prove the dough for as long if you use this. All of these yeasts are gluten free in the UK and can be found in either the free from or baking aisles.
If your yeast doesn’t froth up after 10 minutes, it’s likely it is dead and you’ll need to discard it and start again. Sometimes yeast can go out of date so this could be a reason for it not frothing, or goes inactive if it has been open too long.
You also need to make sure the water is warm – not hot. When you pop your finger in it, it should be a warm, comfortable temperature, around the same as your skin. I’d strongly recommend using a food thermometer like this one to ensure the water or milk is around 40’C – skin temperature.
I am trying to work through my recipes and convert them to cup measurements but when it comes to gluten free bread, it’s a precise science! I would strongly recommend buying a cheap set of kitchen scales and weighing the ingredients out for this recipe rather than converting it, as conversions may not be accurate.
More gluten free bread recipes


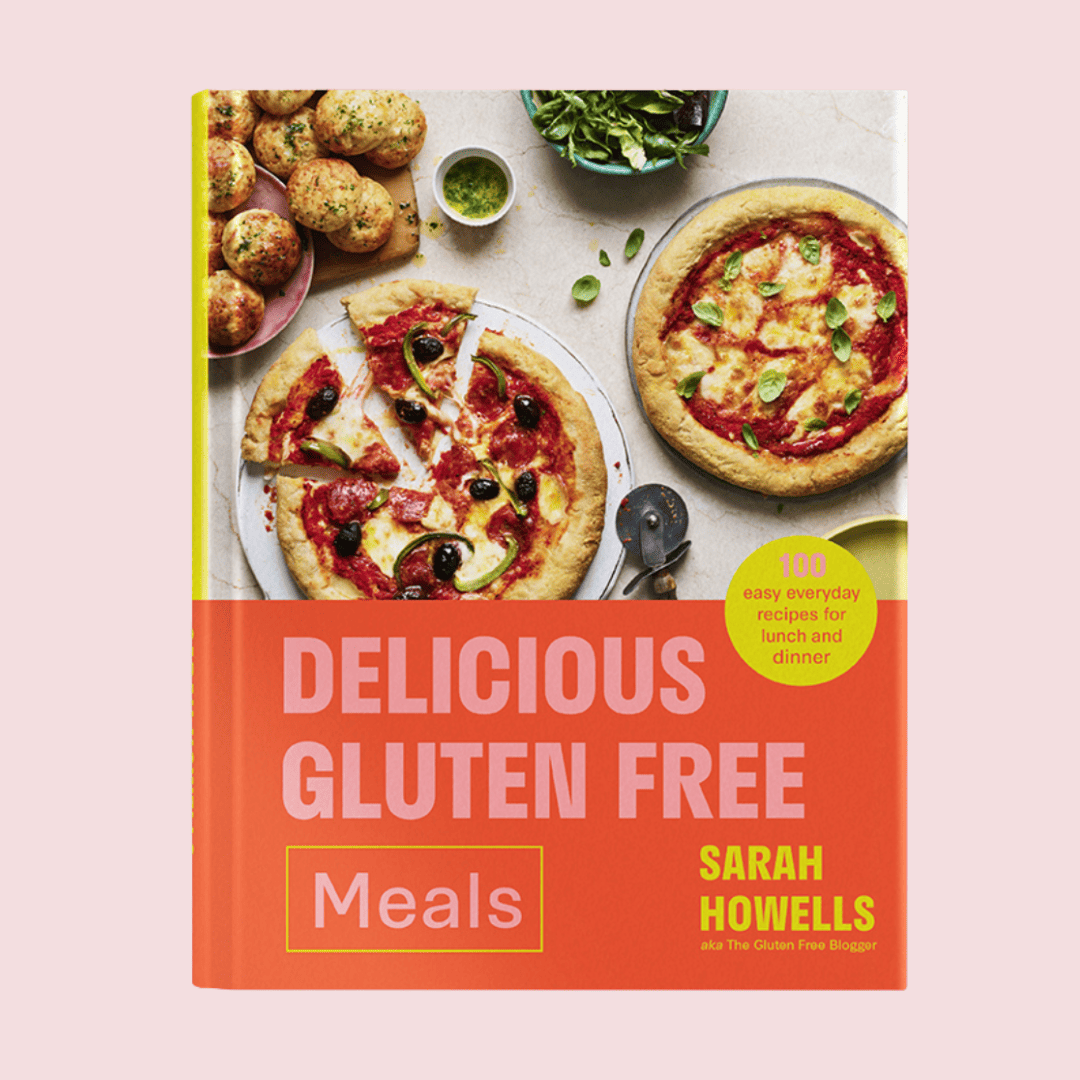
Get my cookbook!
Want more gluten free meals inspiration? My debut cookbook, Delicious Gluten Free Meals, has 100+ gluten free recipes, from breakfast and lunch ideas to dinners, desserts and sides.


These have become my go-to GF burger bun recipe – easy, fast and always work out well! Thanks for the great recipe!
Hi Sara, I successfully baked your bread rolls, which were beautiful. I want to try the burger bunny but see at your recipe you give the amount of butter 75 gram but not fir the oil. Am I using the melted butter instead of the oil? If not and I have to use both please advise on quantity of oil. Many thanks. My coeliac husband and I loved your bread and rolls
Thank you.
Yes melted butter instead of oil 🙂