This post may contain affiliate links for which I earn a small commission at no extra cost to you. For more info, check out my Disclosure Policy. Thank you for your support!
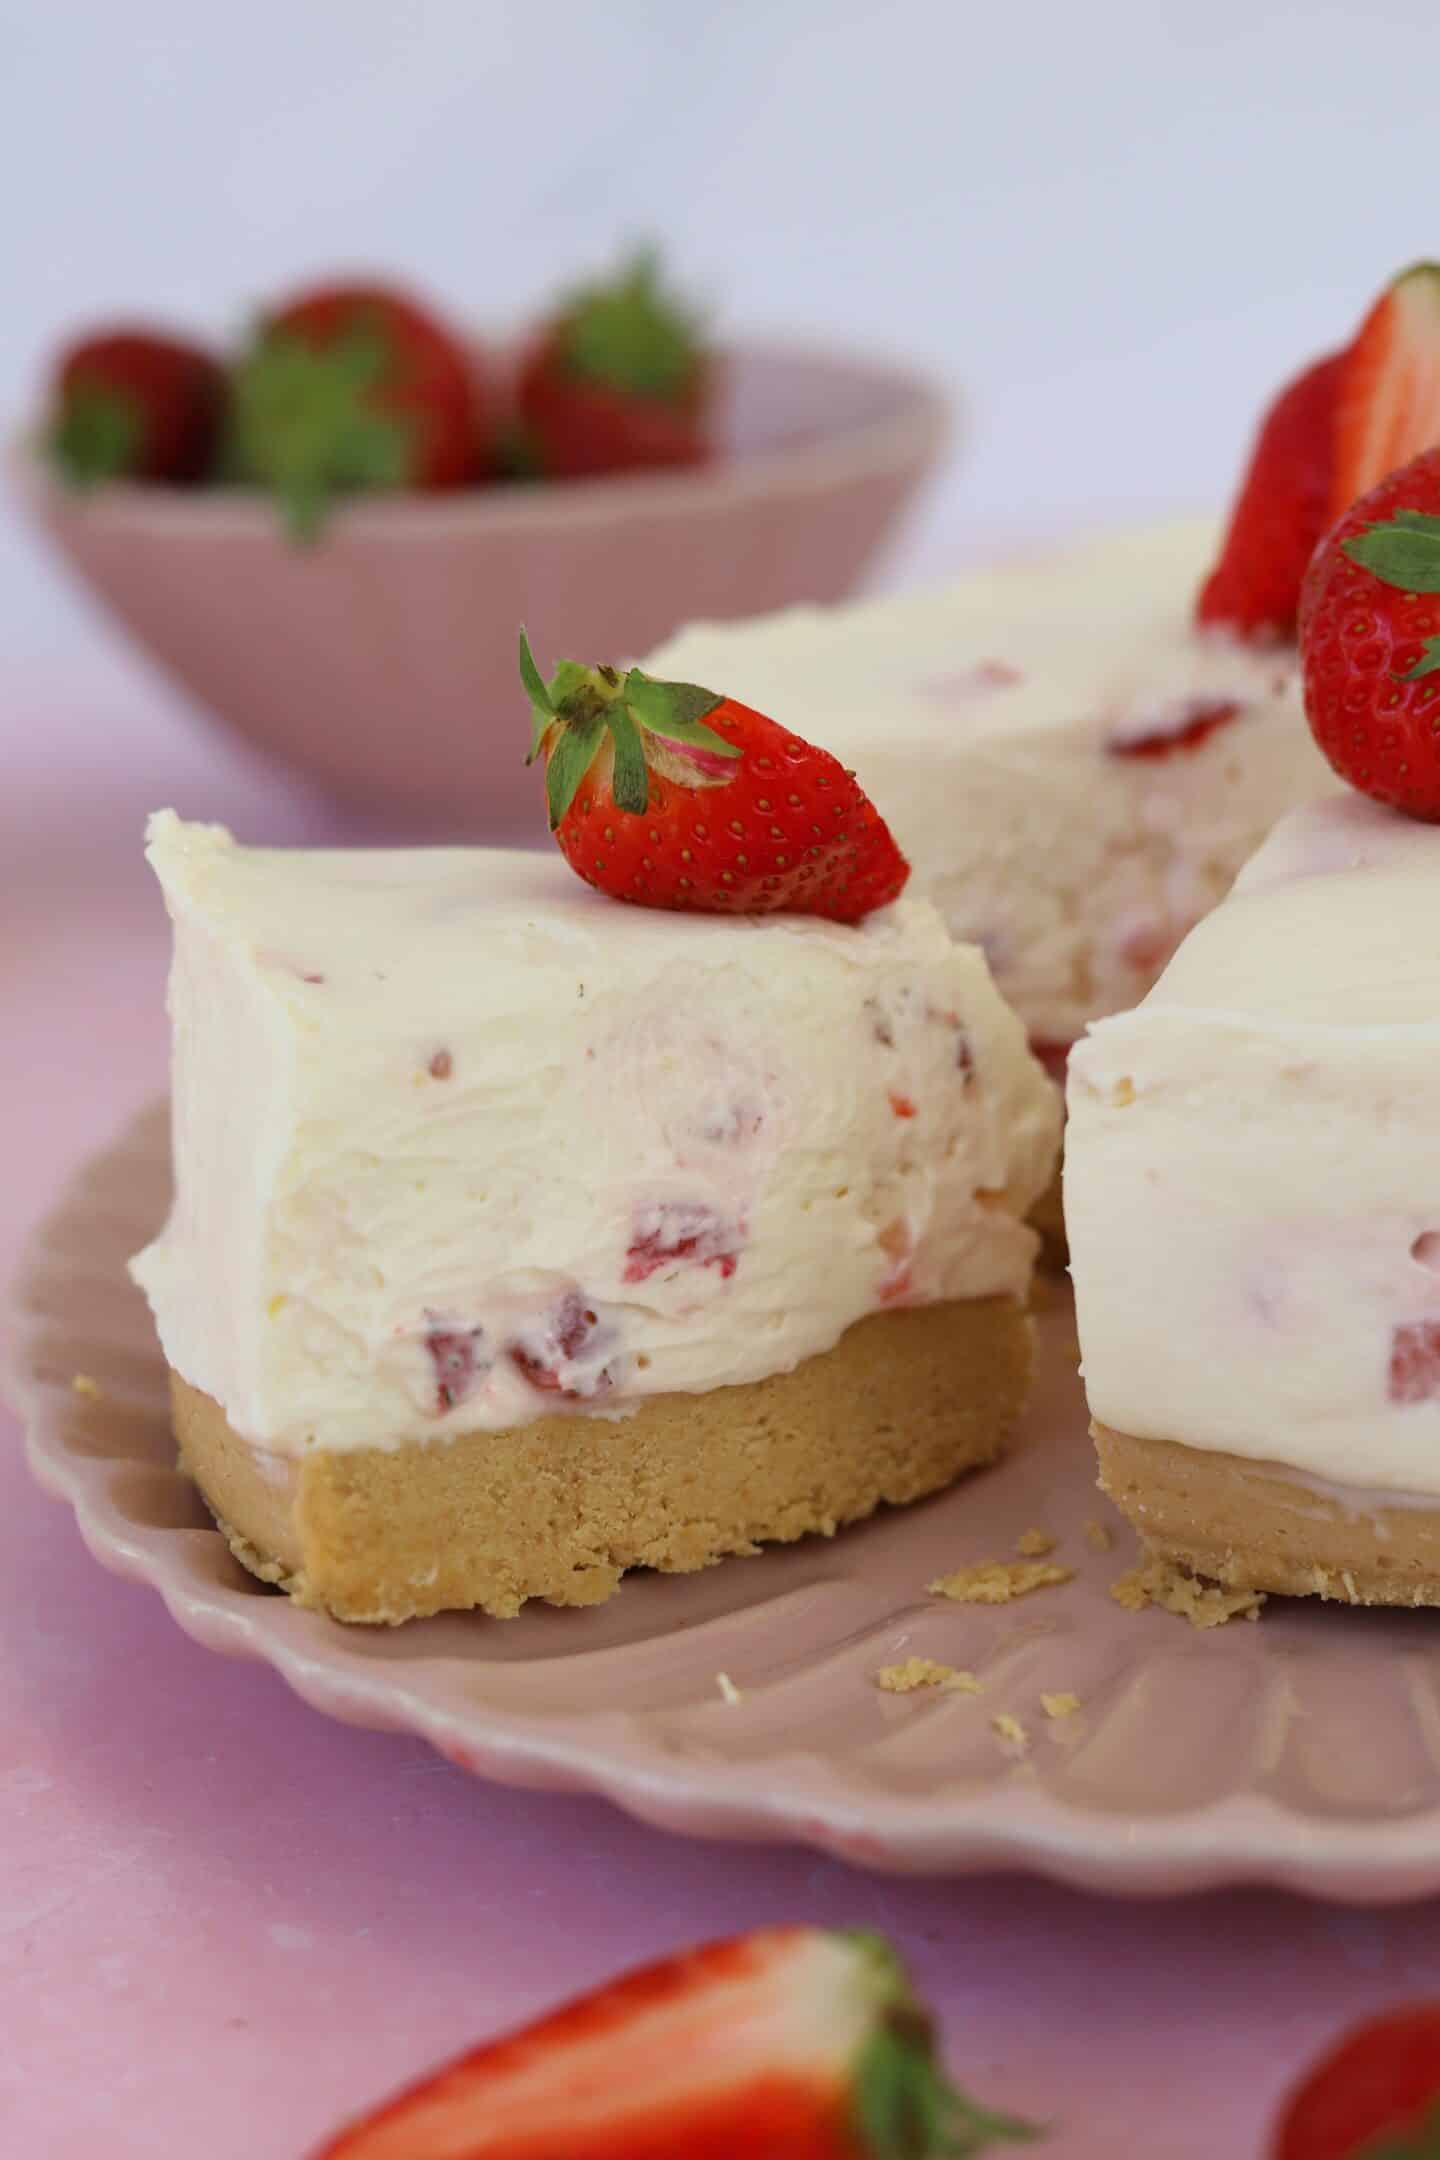
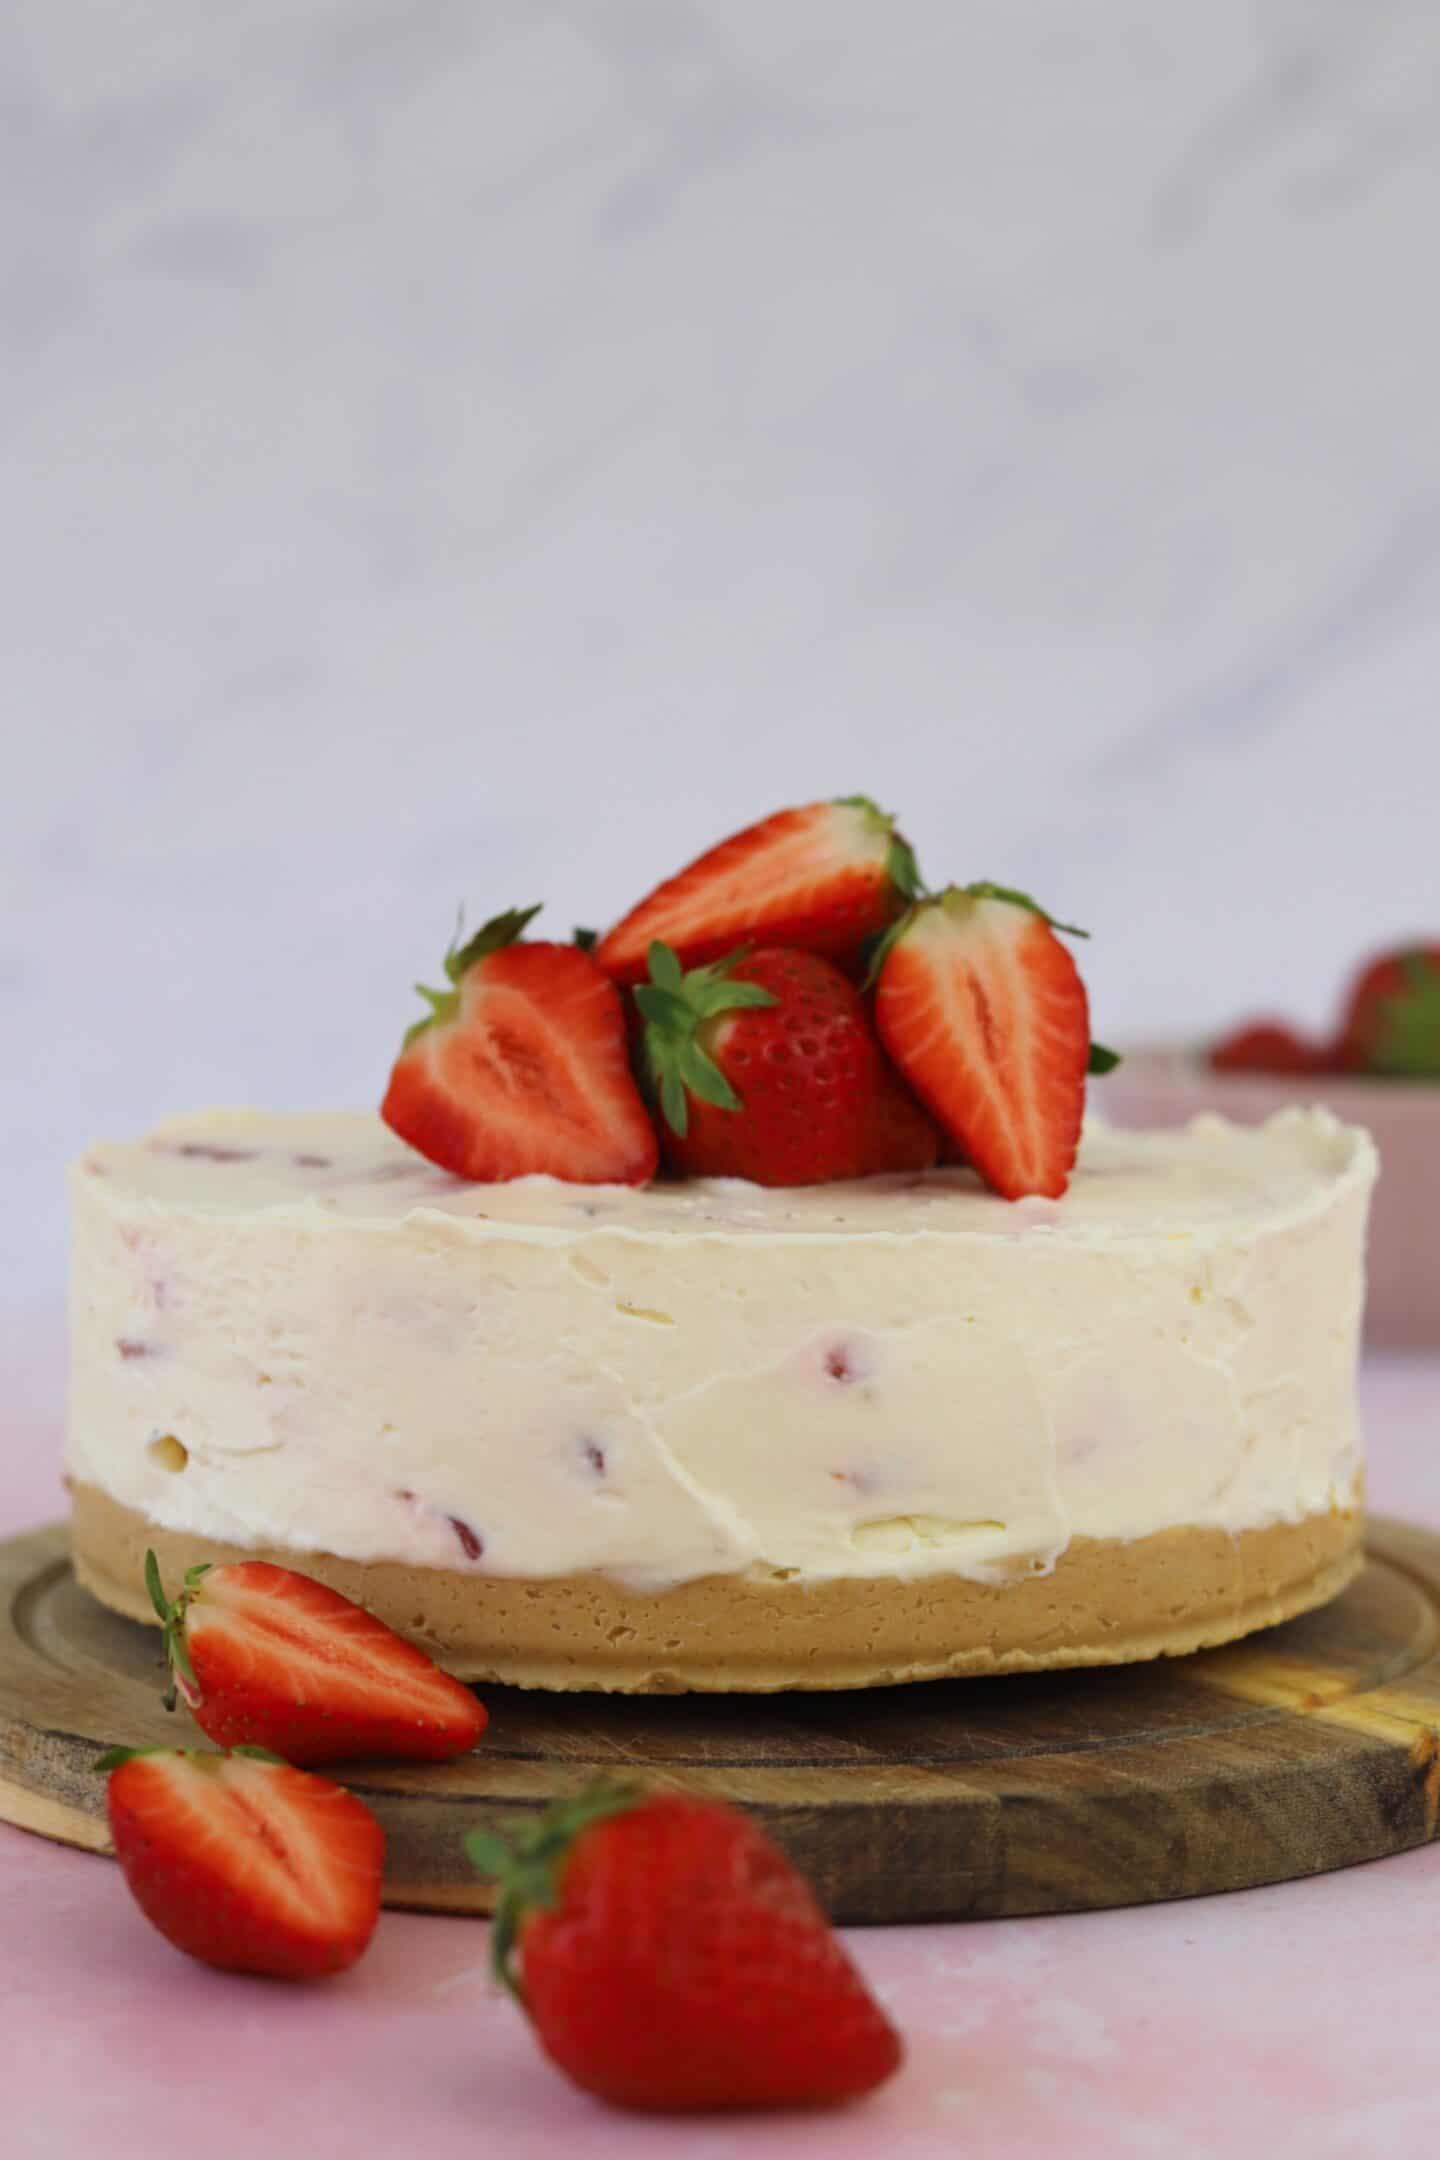
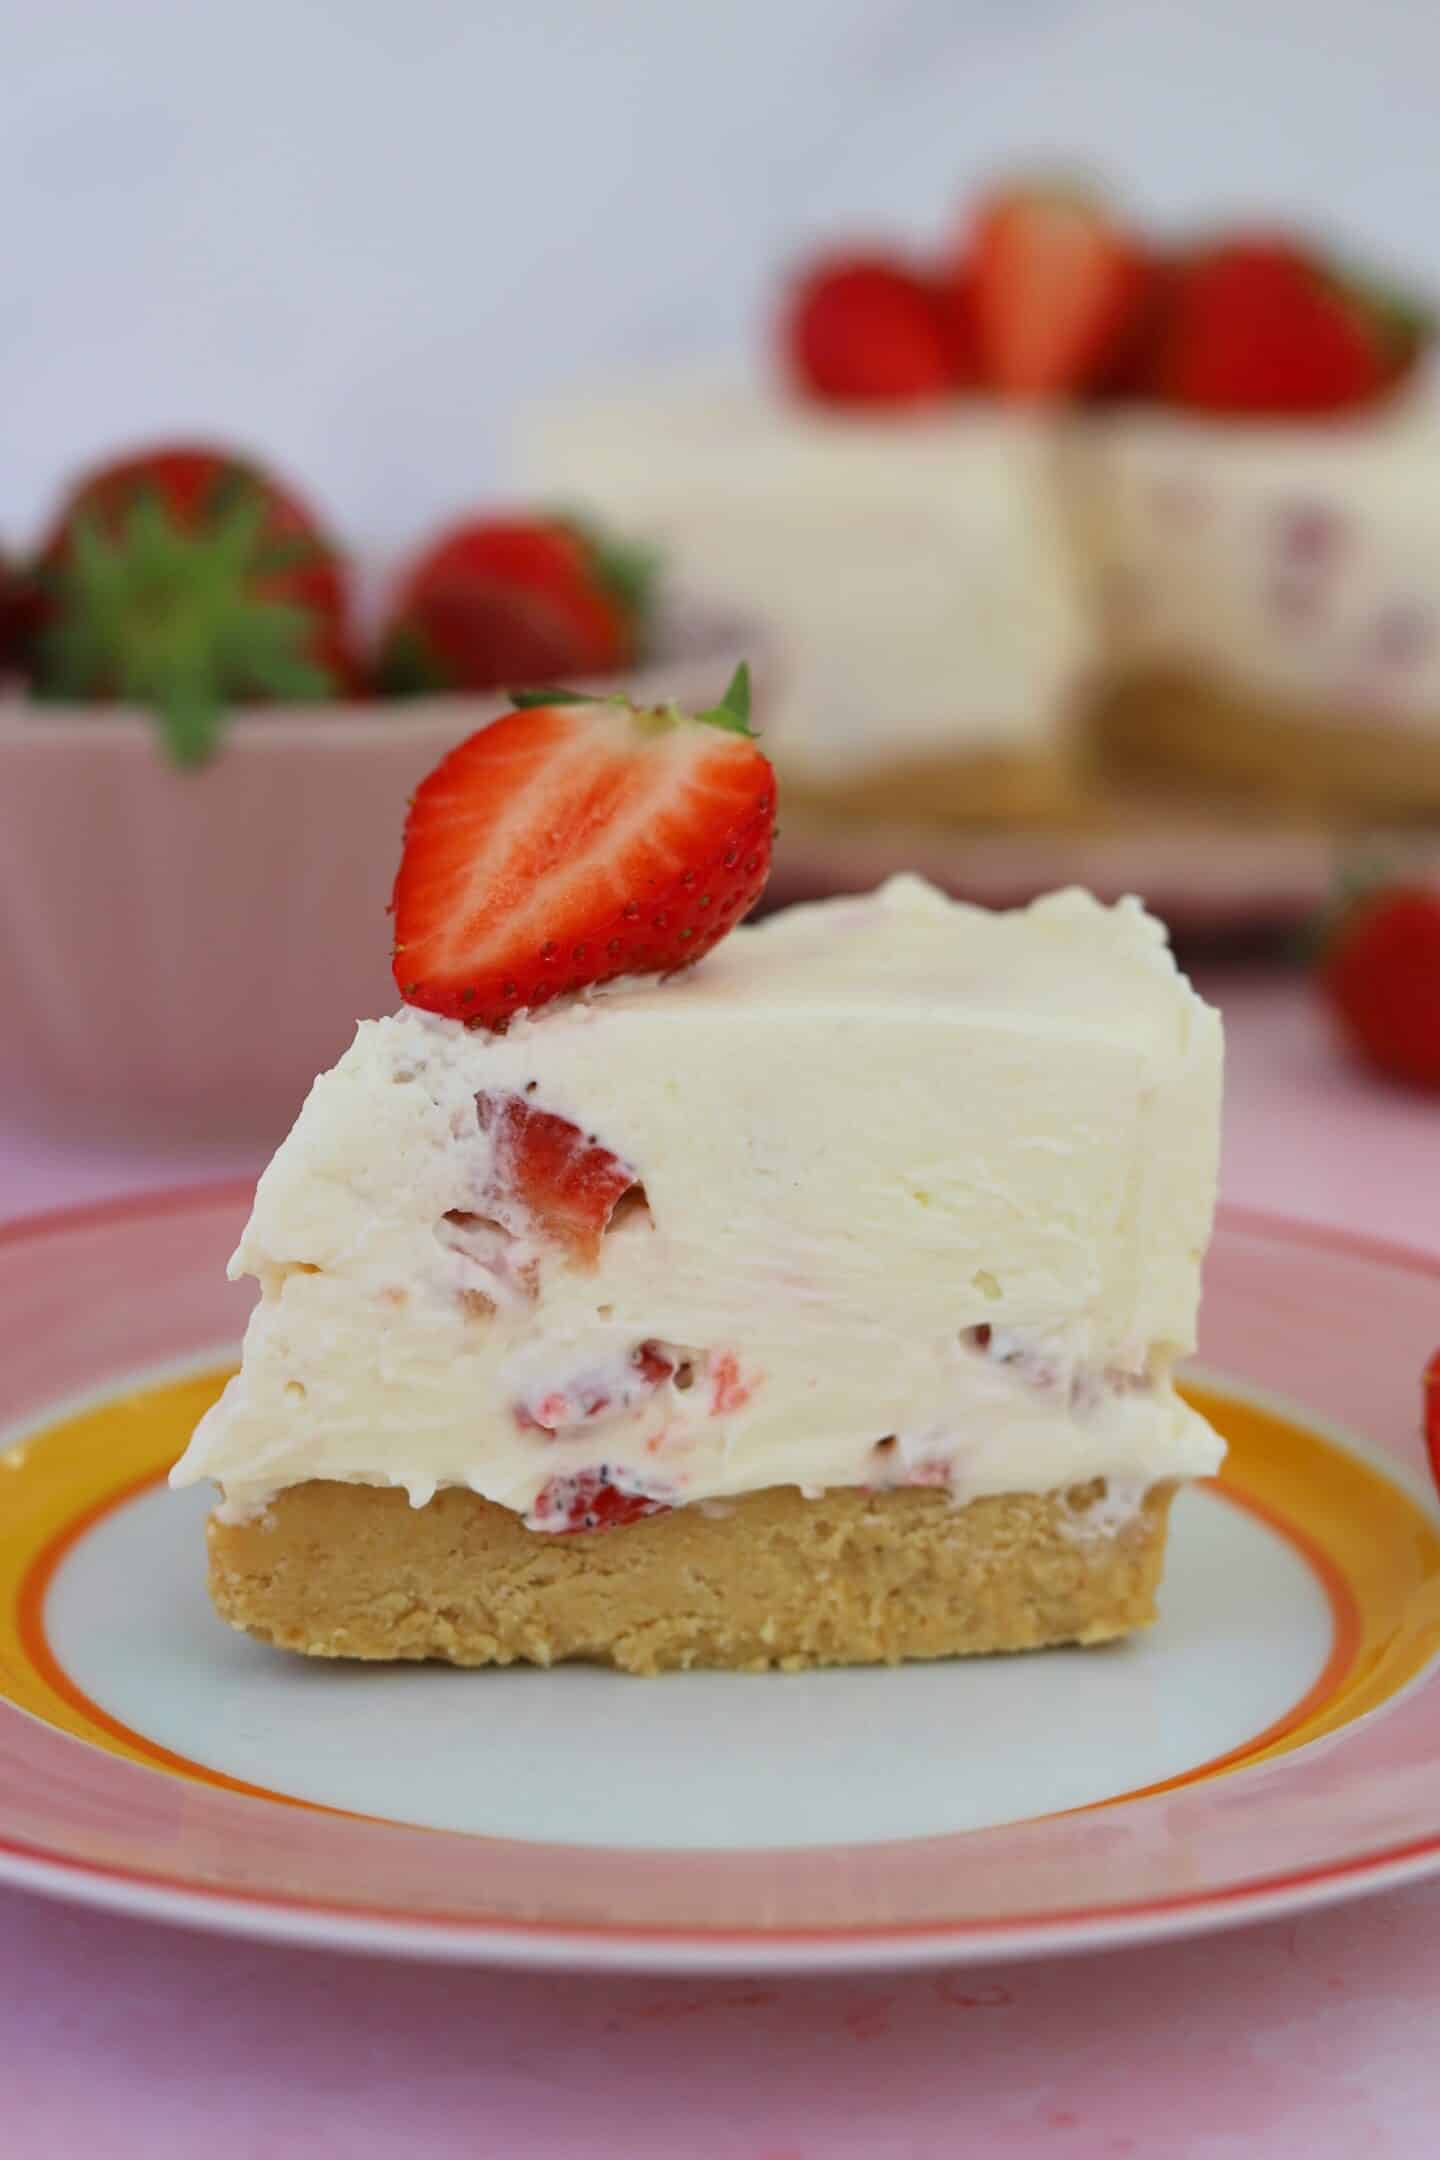
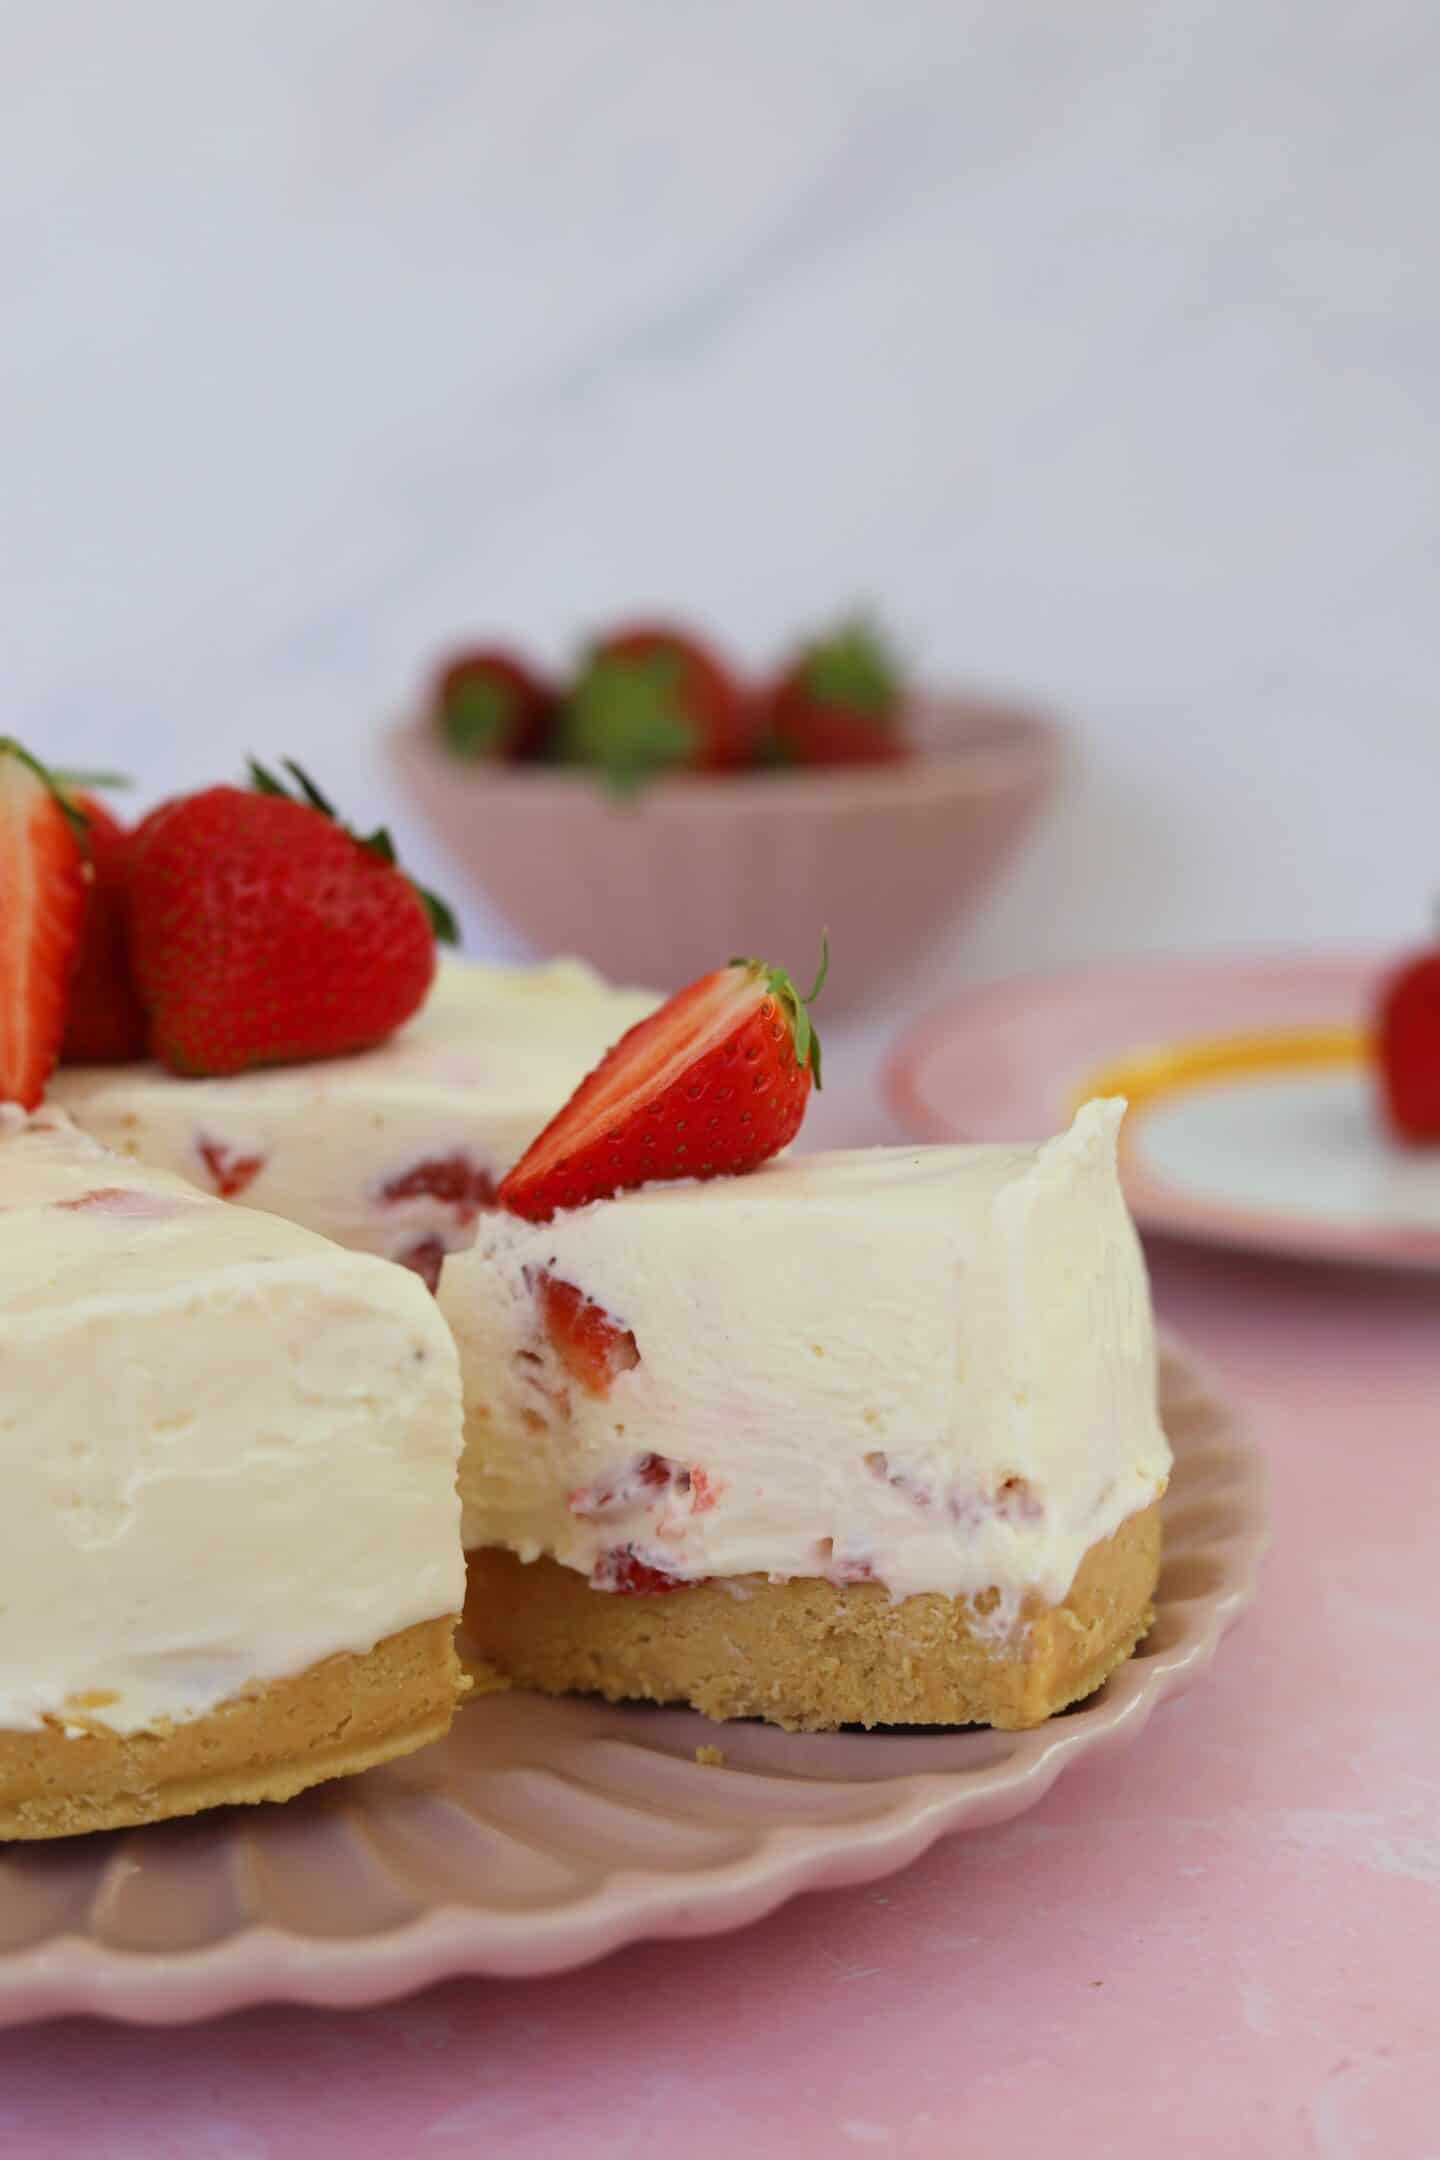
This Strawberry Cheesecake recipe is the best gluten free dessert for summer. A creamy, no-bake gluten free cheesecake with swirls of fresh strawberries and a buttery shortbread base. This is the dream dessert if you’re not confident with baking!
A Dreamy Gluten Free Cheesecake for Summer!
- Why choose this recipe? This gluten free strawberry cheesecake really is the dream dessert for summer – quick to make, no need to turn on the oven, and covertly gluten free. Nobody would even know!
- Make Ahead: You can easily make this strawberry cheesecake recipe 1-2 days in advance and keep it in the fridge ready for your gathering.
- No Bake: Who wants to turn their oven on during a hot summer’s day? Not me, that’s for sure.
- Want More No Bake Desserts? If you love this make sure to try my gluten free lemon cheesecake, my frozen strawberry yoghurt bites and gluten free banoffee pie too!
Table of Contents
- A Dreamy Gluten Free Cheesecake for Summer!
- Don’t just take my word for it…
- Ingredients and Substitutions
- How to Make a Strawberry Cheesecake
- Storing and Freezing Instructions
- Frequently Asked Questions
- More Gluten Free Cheesecake Recipes
- Gluten Free Strawberry Cheesecake Recipe Recipe
- More Summer Dessert Ideas
Don’t just take my word for it…
Christine left ⭐️⭐️⭐️⭐️⭐️ and said: “Made this for a birthday, absolutely delicious! Easy to follow.“
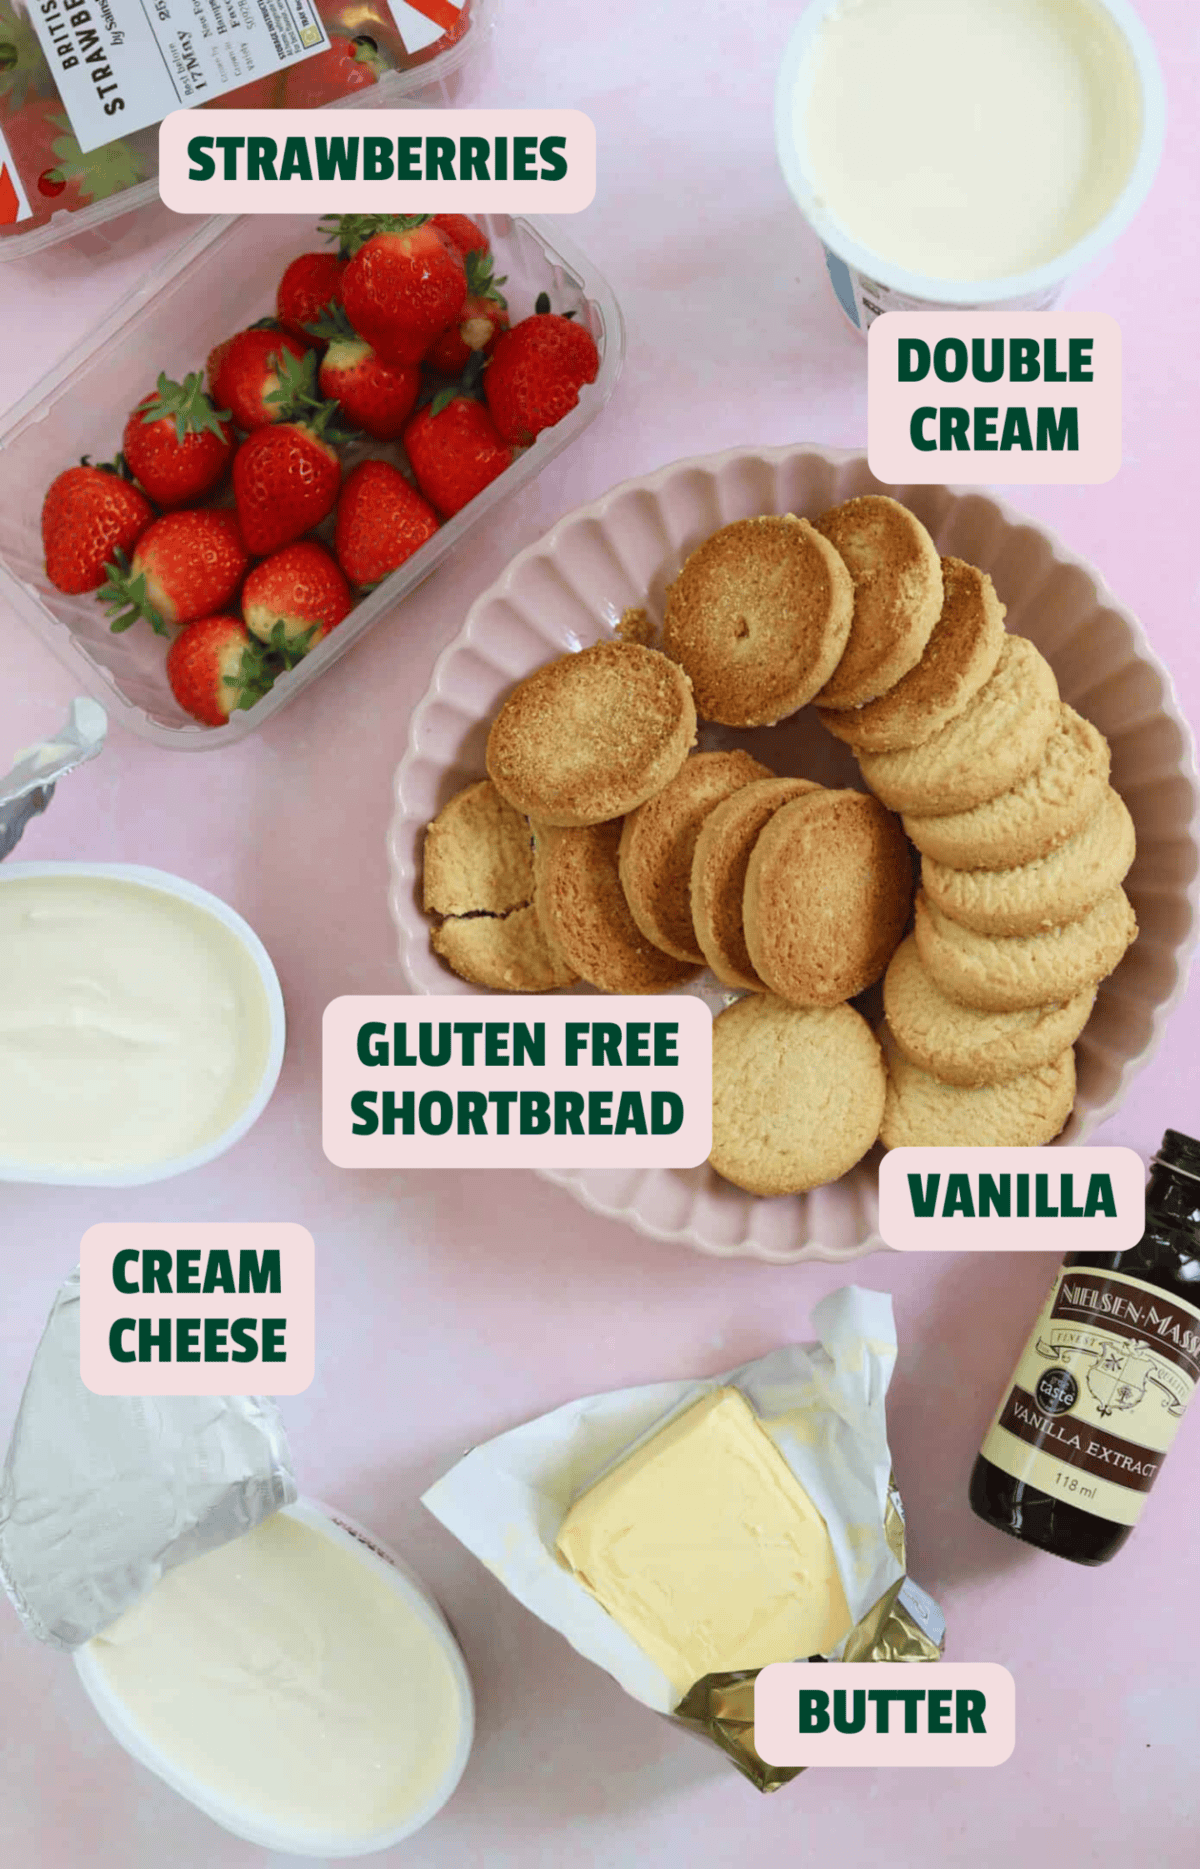
Ingredients and Substitutions
There’s a printable recipe card below for this no-bake strawberry cheesecake with the full quantities. But here are the main ingredients and ideas for any swaps.
- Gluten Free Shortbread Biscuits: Use store-bought or make your own gluten free shortbread. You can swap these for gluten free digestive biscuits, Graham crackers or any biscuit you like.
- Butter: This helps to bind the base together. I always use unsalted butter.
- Strawberries: I’d recommend using fresh instead of frozen, as frozen strawberries will add a lot of extra moisture that may affect the setting of the cheesecake topping.
- Full-Fat Cream Cheese: It’s essential you use full fat cream cheese in this recipe. Using a low fat version just won’t work. Mascarpone is a good alternative.
- Vanilla Extract
- Icing Sugar: Or powdered sugar / confectioners sugar in the US.
- Double Cream: In the US use whipping cream or heavy cream.
How to Make a Strawberry Cheesecake
There’s a printable recipe card below with the method. But here are some step-by-step photos to show you how easy this gluten free strawberry cheesecake is to make.


Storing and Freezing Instructions
TO STORE: This strawberry cheesecake must be kept in the fridge, but you can do this for up to 5 days.
TO FREEZE: If you’re making this ahead of time you can freeze the whole thing and then defrost in the fridge overnight. Or freeze any leftovers in slices with a sheet of baking paper between them so they don’t stick.
Frequently Asked Questions
Before we start making this simple, no-bake strawberry cheesecake, here are some of the questions I get asked a lot:
Unfortunately this recipe relies heavily on dairy and while you can switch out a lot of my other recipes, this one needs more testing. I wouldn’t be confident saying you could simply switch the ingredients for dairy free. But I will ensure I get testing to try and create a gluten and dairy free cheesecake recipe for you!
Simply pop the biscuits in a sandwich bag, seal it up and bash it with a rolling pin. Once the biscuits have turned to crumbs you can add them to the melted butter and mix. This is how we made cheesecake bases as kids, and it’s certainly a great stress relief!
More Gluten Free Cheesecake Recipes
If you like this No Bake Strawberry Cheesecake then make sure you check out these other gluten free cheesecake recipes too…
- White Chocolate and Raspberry Cheesecake
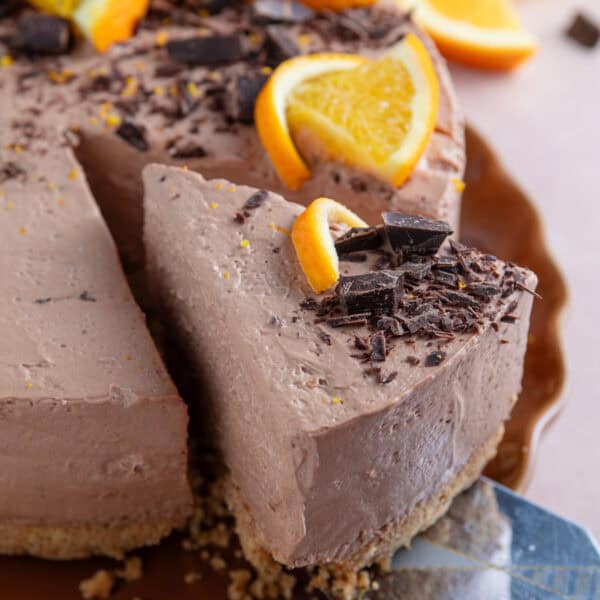
- Chocolate Orange Cheesecake
- Bailey’s Cheesecake
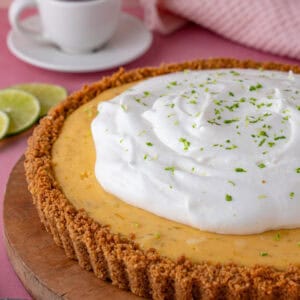
- Lemon Cheesecake
- Bueno Cheesecake Recipe
- Oreo Cheesecake
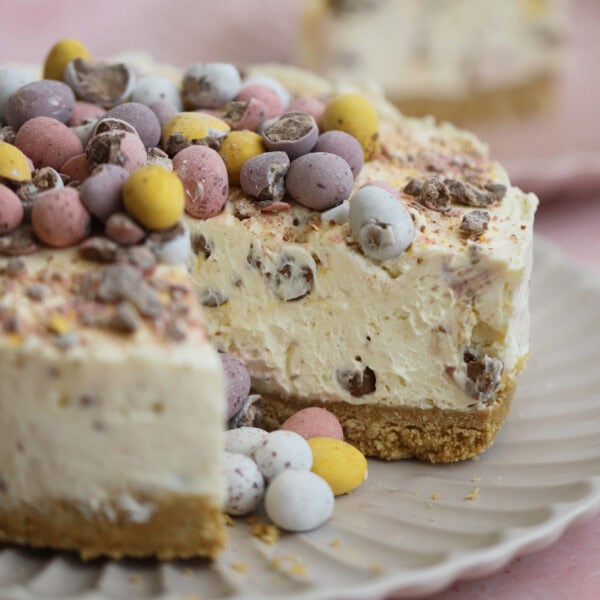
- Mini Eggs Cheesecake
- Biscoff Cheesecake

Gluten Free Strawberry Cheesecake Recipe
Equipment
Ingredients
For the base
- 350 g gluten free shortbread biscuits
- 100 g unsalted butter
For the cheesecake topping
- 600 g full-fat cream cheese
- 1 tsp vanilla extract
- 130 g icing sugar
- 300 ml double cream
- 250 g strawberries, (plus extra to decorate)
Instructions
- Line the bottom of a deep, 20cm springform tin with baking paper. Melt the butter either in a pan over a low heat or in 10-second bursts in the microwave.
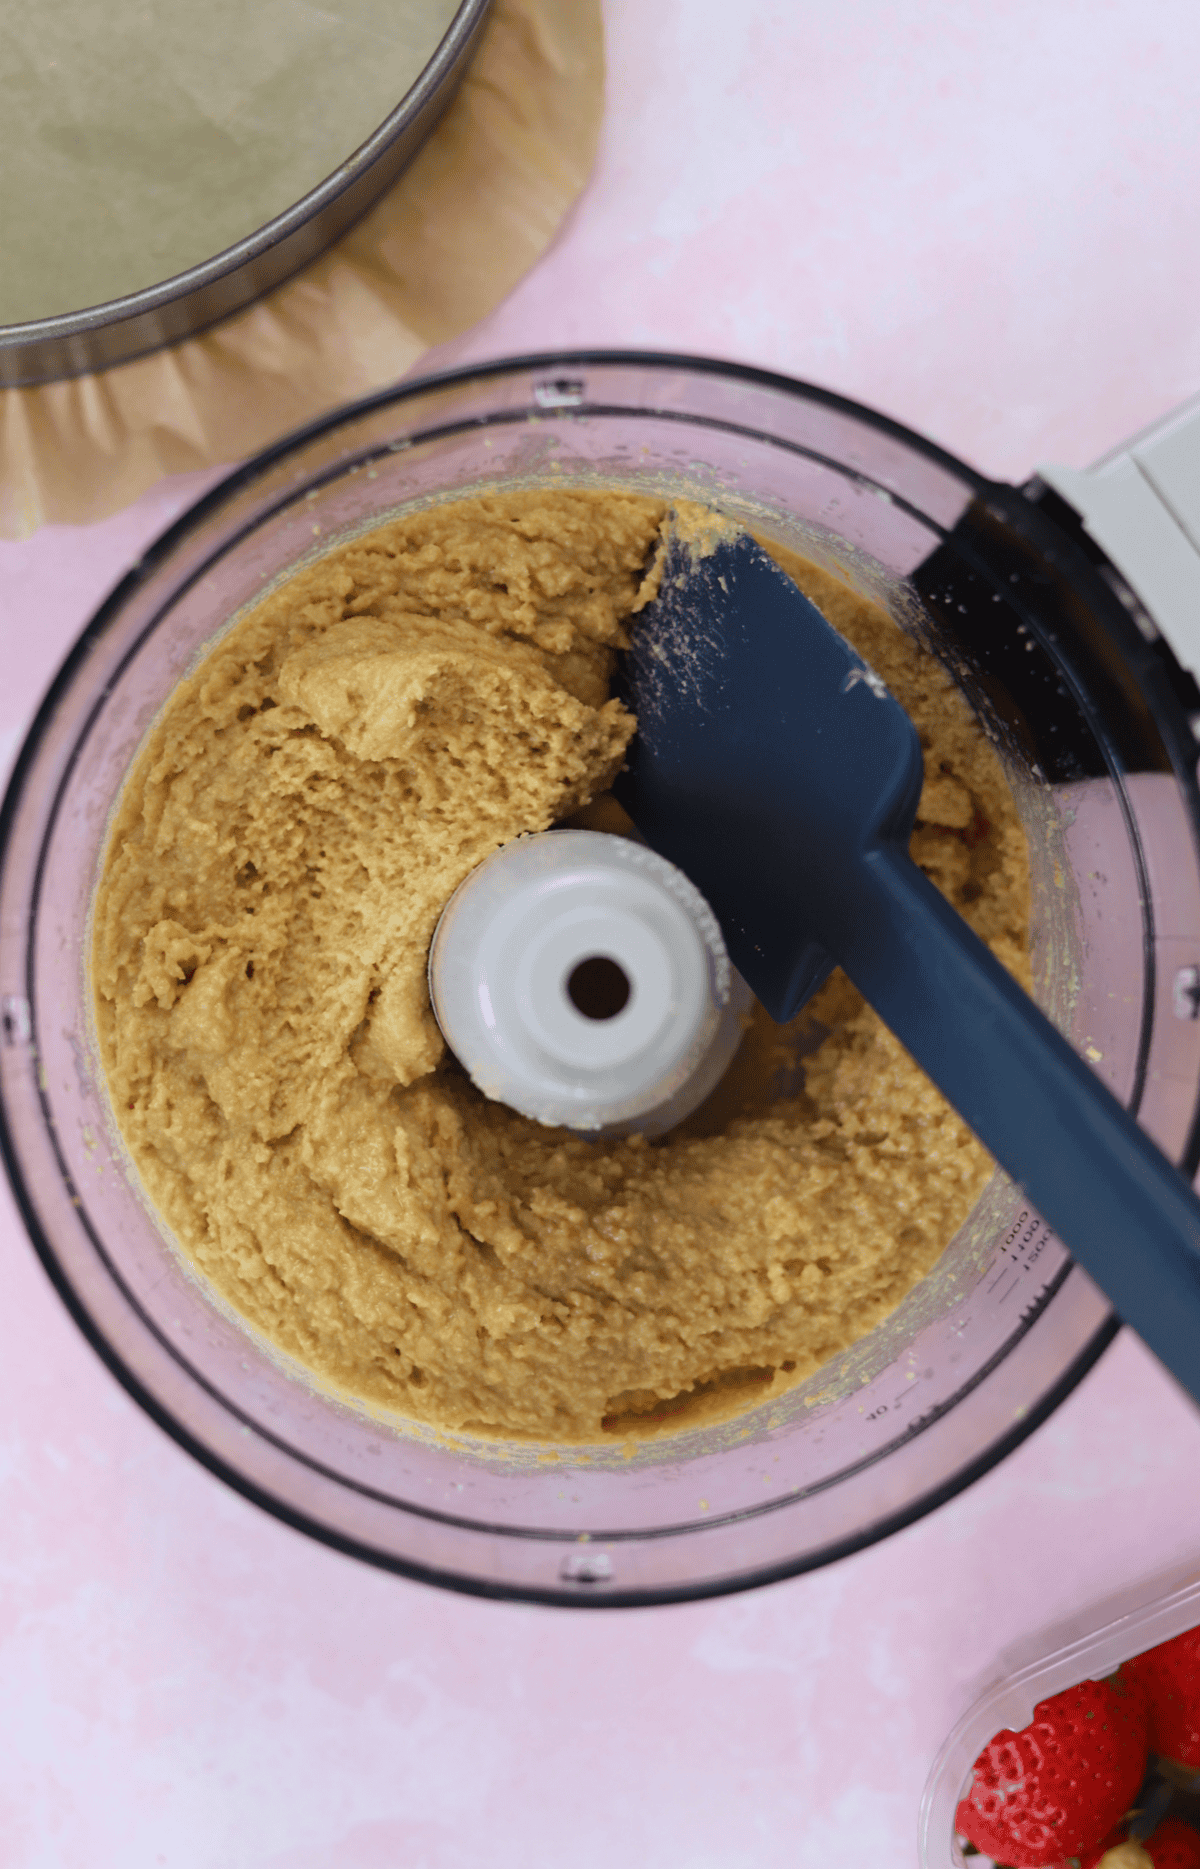
- Blitz the gluten free shortbread biscuits in a food processor until they form a fine crumb. Add the melted butter and blitz again to combine. Pour out the biscuit mix into the lined tin and press firmly into the base until it is level. You can pop this in the fridge while you make the topping.
For the cheesecake topping
- Add the cream cheese, vanilla extract and icing sugar to a large mixing bowl and beat with an electric whisk until smooth.
- Pour in the double cream and whisk again, starting on a slower speed and bringing the mixer up a speed every 20-30 seconds. Continue to whisk until the mixture becomes very thick.
- Roughly chop the strawberries small chunks and then add to the mixture. Fold in using a spatula until they are evenly distributed – try not to knock too much air out of the mixture.
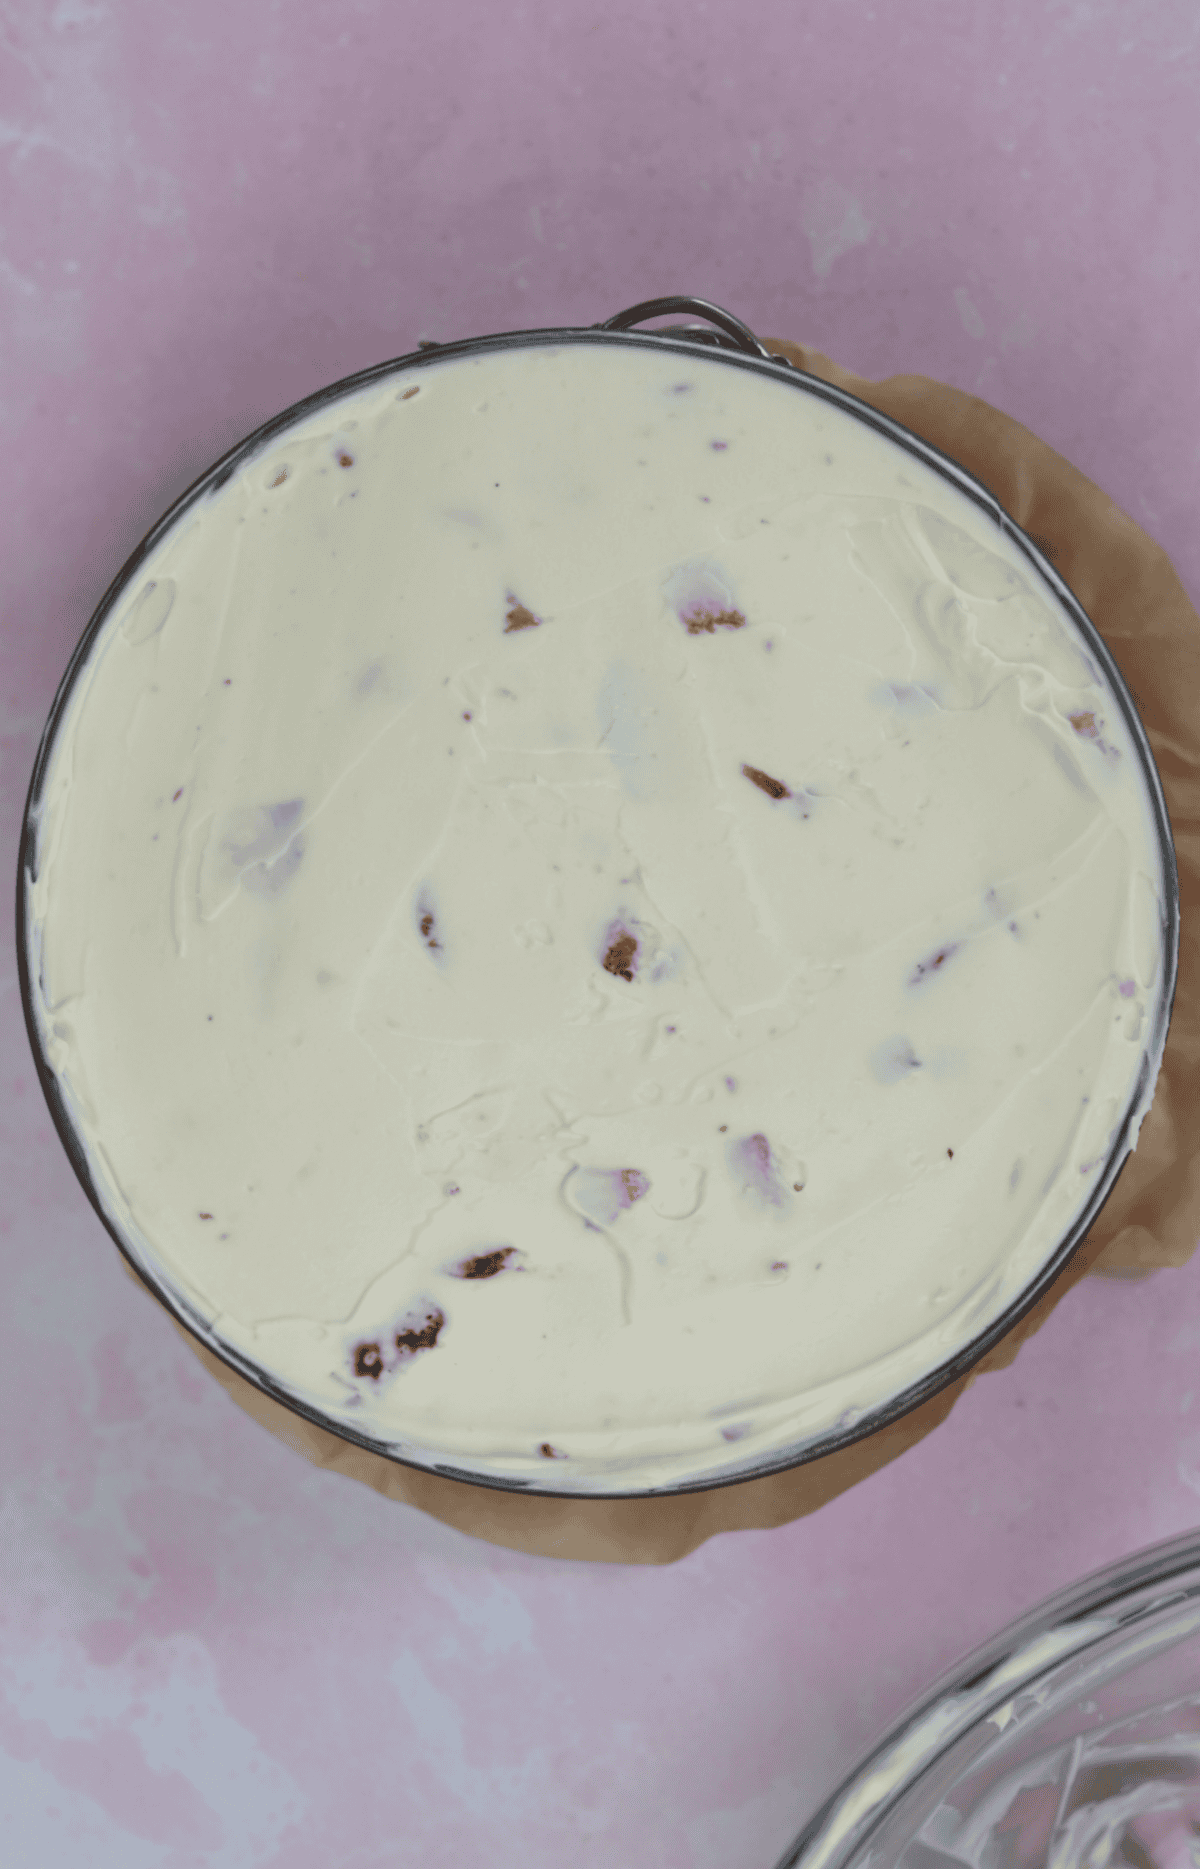
- Spoon the mixture onto the biscuit base and spread it evenly using a spatula, ensuring there are no air bubbles.
- Set in the fridge for at least 8-10 hours – preferable overnight. Carefully remove the cheesecake from the tin and serve chilled from the fridge, decorated with extra strawberries.
Video
Notes
- Storing: This cheesecake can be made ahead of time and stored in the fridge. Ideally I wouldn’t make this more than 24 hours in advance. Leftovers will keep for a few days in the fridge but the base may start to soften over time.
- Weighing Scales vs Cups: You can toggle this recipe card to convert the ingredients into cups/imperial. However, I always recommend using weighing scales – these are cheap to buy and much more accurate. And in gluten free baking, a tiny variation can make a huge difference!
- Step-by-Step Photos: Check out the blog post above for step-by-step photos to guide you through how this recipe should look at each stage.
- Like this Recipe? It would mean SO much to me if you could leave a 5* rating and a little comment sharing how much you loved this Strawberry Cheesecake recipe! It really helps to support my website and get my recipes out there xx
Nutrition
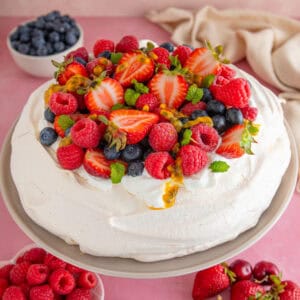
More Summer Dessert Ideas

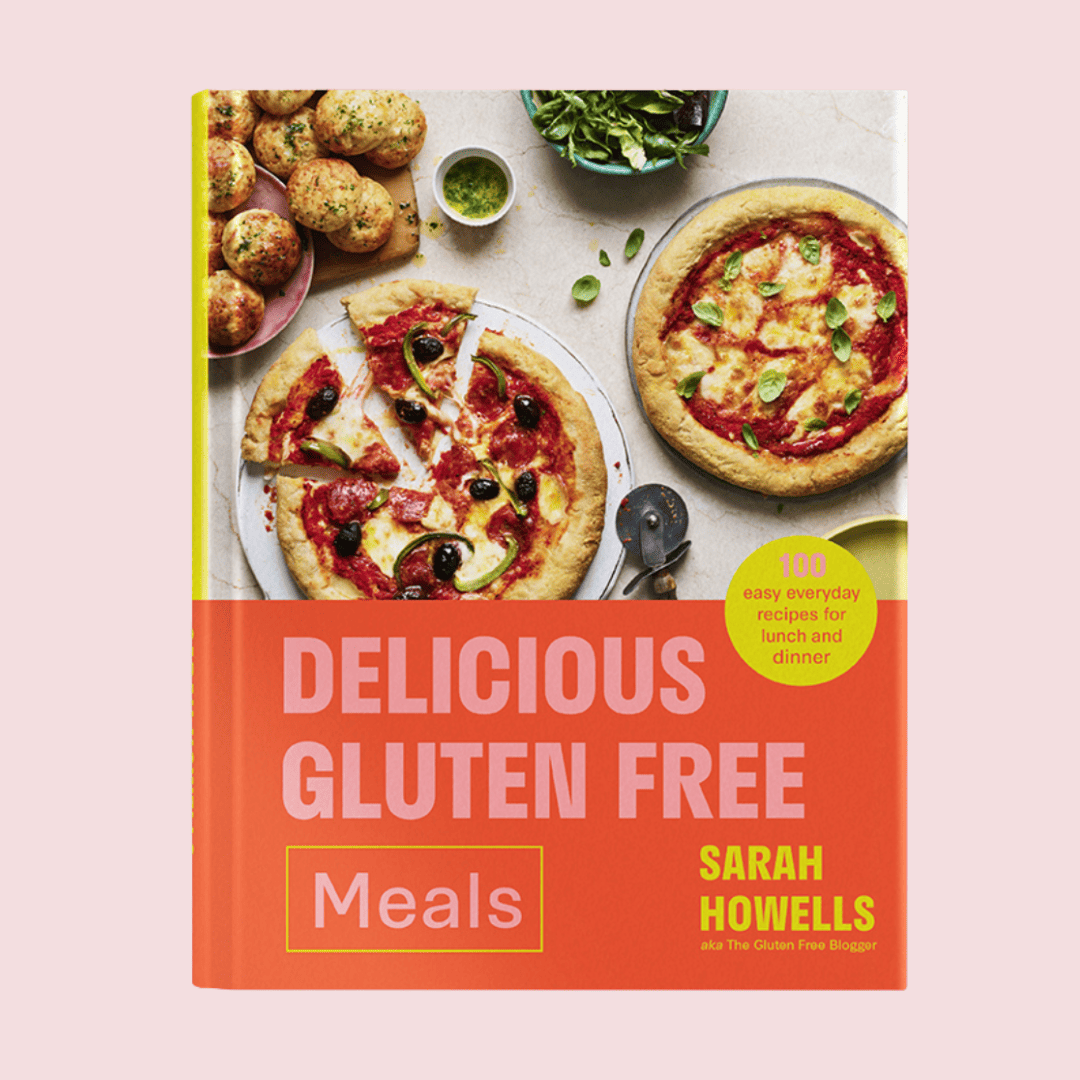
Get my cookbook!
Want more gluten free meals inspiration? My debut cookbook, Delicious Gluten Free Meals, has 100+ gluten free recipes, from breakfast and lunch ideas to dinners, desserts and sides.


Can I use frozen strawberries in this recipe
Can I use free dried strawberries in cheese mixture?
The most delicious cheesecake! I‘ve used raspberries, mixed Philadelphia cream cheese and mascarpone (1:1), the recipe is so easy to follow, it’s fast, creamy, the sweetness just right. Discovered your work in 2023., when I decided to try gluten free for 9 months. And this year, jut recently got diagnosed with celiac disease. Now this website and your cook book are Bible