This post may contain affiliate links for which I earn a small commission at no extra cost to you. For more info, check out my Disclosure Policy. Thank you for your support!
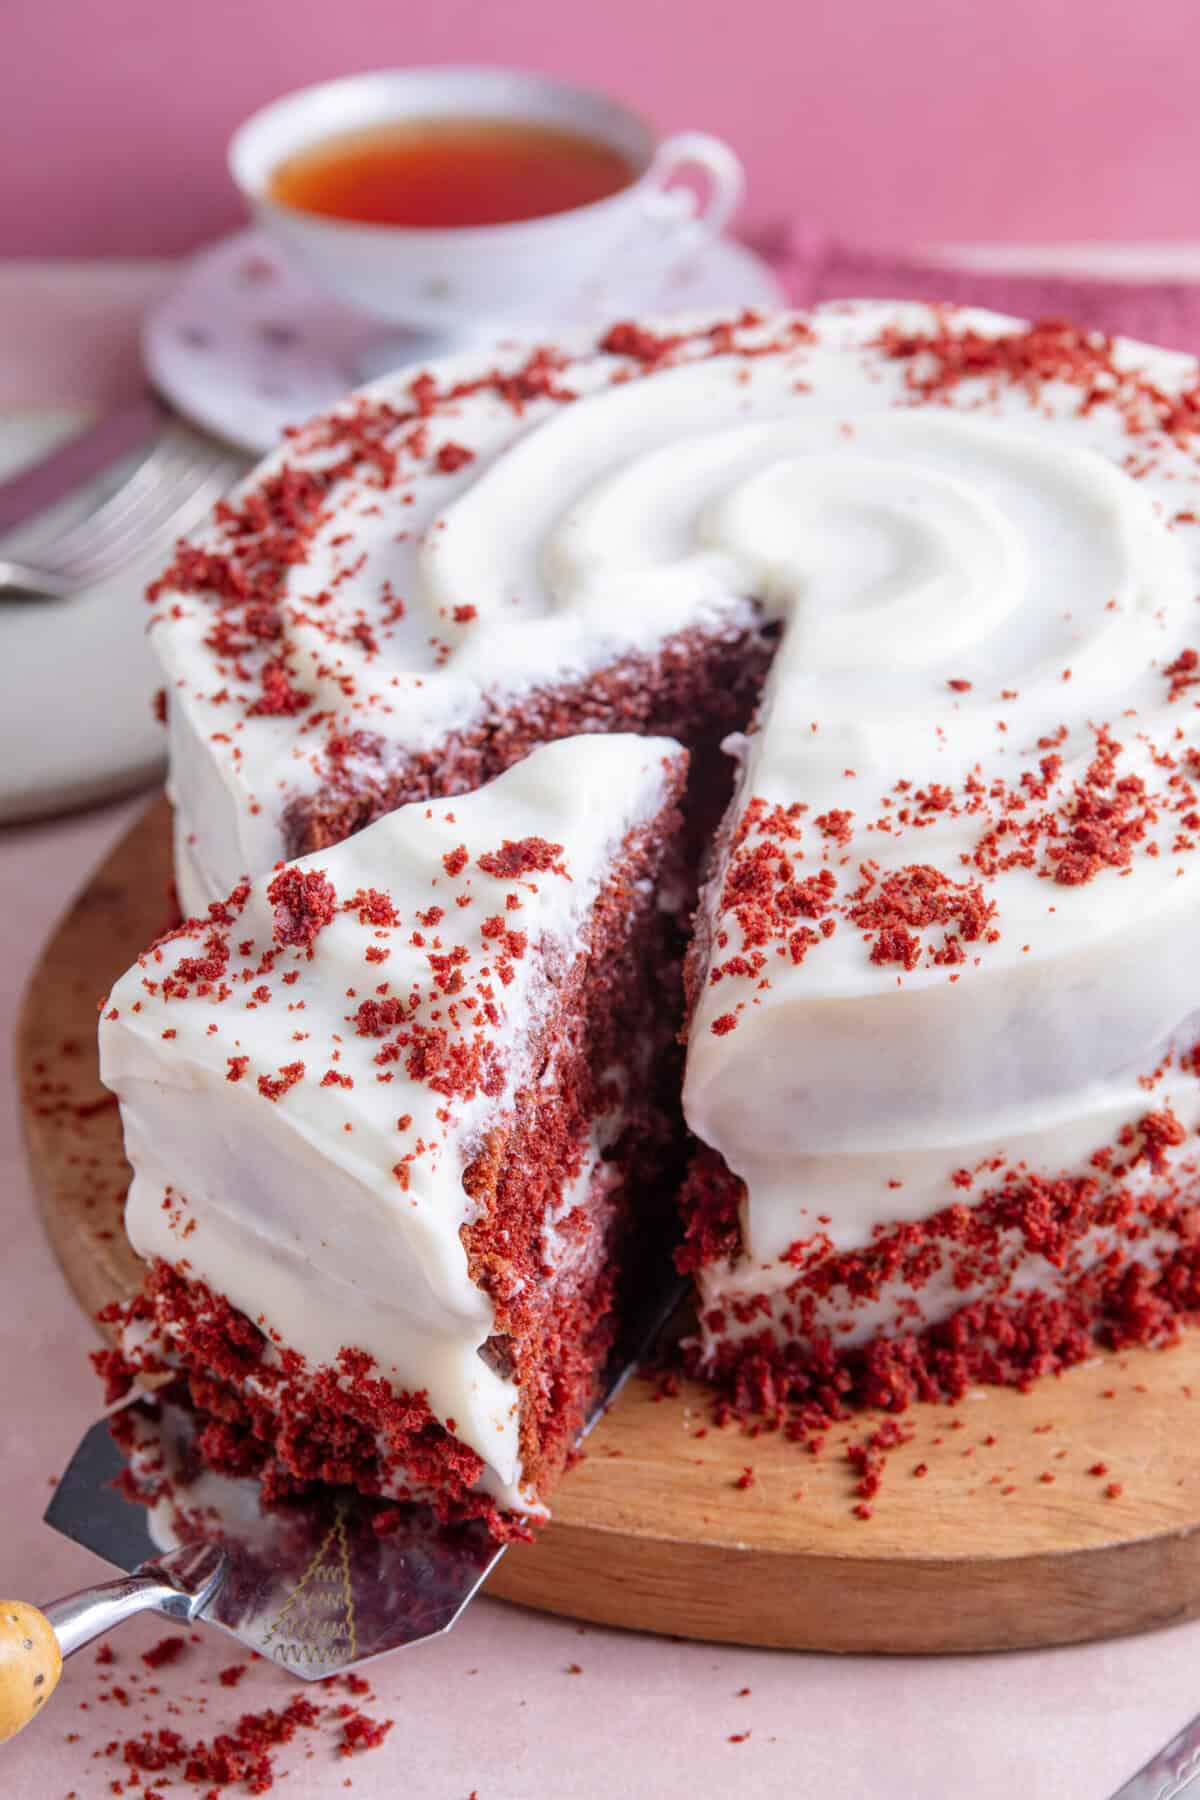
This Gluten Free Red Velvet Cake is an absolute classic blend of vanilla and chocolate cake with a vibrant red colour, velvety texture and lashings of cream cheese frosting. It’s perfect for any celebration, easy to adapt to be dairy free too, and bakes in just 30 minutes.

Notes On This Gluten Free Red Velvet Cake Recipe
- Why choose this recipe? A red velvet cake is characterised by its gorgeous red colouring. It’s super light and fluffy, a cross between a gluten free vanilla cake and a gluten free chocolate cake. Great for birthdays, Christmas or Valentine’s Day!
- Top Tip: For the best rise and texture, try to work quickly to get the red velvet cakes into the oven once you’ve mixed the bicarb and vinegar into the batter.
- For The Best Red Colour: Using a good quality food colouring is really important – cheaper, liquid food colourings will result in a less vibrant cake that is more ‘brown velvet’ than ‘red velvet’! I’ve suggested my top brand in the recipe card.
- Updated November 2025: Readers have been enjoying this recipe since 2021, but I’ve given it a revamp for 2025 with new photos, step-by-step images and an in-depth FAQ section to help with any recipe troubleshooting!
Table of Contents

Ingredients and Substitutions
There’s a printable recipe card below for this gluten free red velvet cake recipe with the full quantities. But here are the main ingredients and ideas for any swaps.
- Butter: Either use unsalted butter of the Stork baking margarine also works really well. For a dairy free cake ensure you’re using a vegan margarine.
- Caster Sugar: Or baker’s sugar in the US.
- Eggs
- Vanilla Extract
- Food Colouring: I use the Sugarflair gel red food colouring for the most vibrant colour. This brand is also gluten free with no ‘may contain’ warnings.
- Plain Gluten Free Flour: I use the FREEE plain gluten free flour, but any all purpose or 1:1 gluten free baking flour should work.
- Baking Powder: Always ensure you’re using a gluten free baking powder as some products contain wheat. I have a guide to gluten free baking powders to help!
- Xanthan Gum: You can omit this if your flour blend contains it, or if you can’t tolerate it. It helps a little with the structure of the cake and makes it less crumbly.
- Cocoa Powder
- Buttermilk: Or make your own by mixing 1 tbsp lemon juice or white wine vinegar into 300ml milk (use a vegan milk for a dairy free recipe) and leaving for 5-10 minutes.
- White Wine Vinegar: Or you could use apple cider vinegar instead.
- Bicarbonate of Soda: Or baking soda in the US. This is essential to react with the vinegar.
- Icing Sugar: For the frosting – or confectioner’s sugar in the US.
- Cream Cheese: Always use full-fat cream cheese to avoid runny frosting. In the UK I use Philadelphia. For a dairy free recipe use a vegan cream cheese like Violife.

How to Make a Gluten Free Red Velvet Cake
There’s a printable recipe card below with the method. But here are some step-by-step photos to show you how easy this gluten free red velvet cake recipe is to make.


Storing and Freezing Instructions
TO MAKE AHEAD: If you want to get ahead you can make the sponges for this red velvet cake ahead of time then freeze them wrapped tightly in clingfilm. Defrost at room temperature when ready to decorate.
TO STORE: This gluten free red velvet cake will keep in an airtight container for up to 5 days. I wouldn’t recommend refrigerating as it can make it go stale quicker.
TO FREEZE: Leftover slices can be frozen – I recommend placing sheets of baking paper between them so you can defrost a slice as needed.

Frequently Asked Questions
Here are some FAQs about this easy gluten free red velvet cake recipe. If you can’t find the answer to your question here or in the post above, please comment and I’ll try answer!
Red velvet cake originates from the US, and is traditionally a red-coloured, chocolate- and vanilla-flavoured cake with a cream cheese frosting. While the sponge is flavoured with cocoa powder, using red food colouring gives it a gorgeous red hue. This can range from bright crimson to a subtle red-brown, depending on how good your food colouring is! I recommend this one.
I use plain gluten free flour in this recipe but you can swap this for self-raising gluten free flour instead. If doing this, remove the extra baking powder from the recipe. You can also omit the xanthan gum if your flour contains this, as most gluten free self-raising flour blends do.
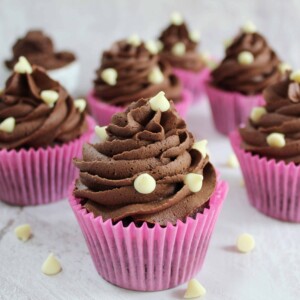
Yes, you can! If you would rather have individual cakes or a smaller batch, try my gluten free red velvet cake cupcakes recipe instead. I also have gluten free red velvet cookies and gluten free red velvet doughnuts you can try too!
This red velvet cake recipe uses white wine vinegar which is gluten free (see my guide to which vinegars are gluten free for more info). The vinegar reacts with the bicarb (baking soda) to create bubbles, which help the cake rise and produce a velvet texture. It also helps to make the red colouring more vibrant.
I have suggested swaps in the ingredients section above to make this red velvet cake dairy free – namely using a vegan margarine and vegan cream cheese. I have not tested this recipe with an egg replacer to use it vegan and would not want to suggest one without testing it rigorously first.
Gluten Free Red Velvet Cake Recipe
Ingredients
- 120 g butter, (softened, or use Stork baking margarine)
- 300 g caster sugar
- 2 large eggs
- 2 tsp vanilla extract
- 1-2 tsp red food colouring
- 300 g plain gluten free flour
- 2 tsp baking powder
- 1/4 tsp xanthan gum, omit if your flour contains this already
- 35 g cocoa powder
- 300 ml buttermilk
- 2 tsp white wine vinegar
- 1 tsp bicarbonate of soda
For the frosting:
- 125 g unsalted butter, at room temperature
- 500 g icing sugar
- 1.5 tsp vanilla extract
- Pinch salt
- 250 g full fat cream cheese, I recommend Philadelphia
Instructions
- Preheat the oven to 180'C / Fan 160'C / Gas Mark 4. Grease 2 x round, 20cm springform baking tins with butter/margarine and line the base with baking paper (see above blog post on how to do this).
- Add the Stork (or butter) and caster sugar to a large mixing bowl and beat until pale and fluffy. Add the eggs and mix again until combined.
- In a small bowl, mix the red food colouring and vanilla extract together – this will help it mix evenly into the cake batter a bit more. Pour the colouring/vanilla mix into the cake batter and beat again with the mixer until it is an even. vibrant crimson colour.
- Mix the gluten free flour, baking powder, xanthan gum and cocoa powder in a separate bowl and then sift into the mixture. It's important to use a sieve here to ensure you don't get any lumps!
- Pour in the buttermilk and then beat with the mixture again until you have a smooth batter with no lumps of flour.
- Add the vinegar to a small bowl, pour in the bicarbonate of soda, stir briefly to mix (it should fizz and bubble a little!) and then pour into the cake mixture. Beat with the electric mixer until combined.
- Working as quickly as you can, pour the cake batter evenly between the two baking tins then place in the centre of the oven and bake for 30-35 minutes. Do not open the oven door until at least 30 minutes! The cakes should have risen and when pricked with a skewer in the centre, it should come out clean. Remove from the oven to cool completely.
To make the frosting:
- Add the butter (it's very important this is at room temperature!) to a large mixing bowl and beat with the electric mixer for 1-2 minutes.
- Add the icing sugar, vanilla extract and salt to the mix and beat again until fully combined.
- Add the cream cheese and beat the mixture for several minutes until it is thick, light and fluffy with no lumps of cream cheese. Note – I strongly recommend using Philadelphia cheese, as cheaper brands may result in runny frosting!
To assemble:
- Once the cakes have cooled, remove them from the tin and peel off the lining from the base.
- Trim the top of the cakes using a cake leveller (or a knife and a keen eye!) so that they are both level. Keep any trimmings to one side for the crumb decoration.
- Top one sponge with around a third of the frosting, spread evenly then place the second sponge on top. Decorate the top and sides of the cake using the rest of the frosting.
- For the crumb decoration, use your hands to crumble the cake trimmings into crumbs. Decorate as you wish – I went for a topping and a trim around the sides!
Notes
- Top Tip: If using butter instead of Stork, soften the butter slightly in the microwave for 5-10 seconds before starting the cake. I find Stork gives a nicer texture to the sponge.
- Storage: This cake will keep for up to 5 days in an airtight container. You can also make the sponges ahead of time and freeze them – simple defrost when you’re ready to assemble the cake.
- Weighing Scales vs Cups: You can toggle this recipe card to convert the ingredients into cups. However, I always recommend using weighing scales – these are cheap to buy and much more accurate. And in gluten free baking, a tiny variation can make a huge difference!
Nutrition
More Gluten Free Cake Recipes
If you like this gluten free red velvet cake recipe then make sure you check out these other gluten free cake recipes too…
- Gluten Free Carrot Cake
- Gluten Free Victoria Sponge
- Gluten Free Vanilla Traybake
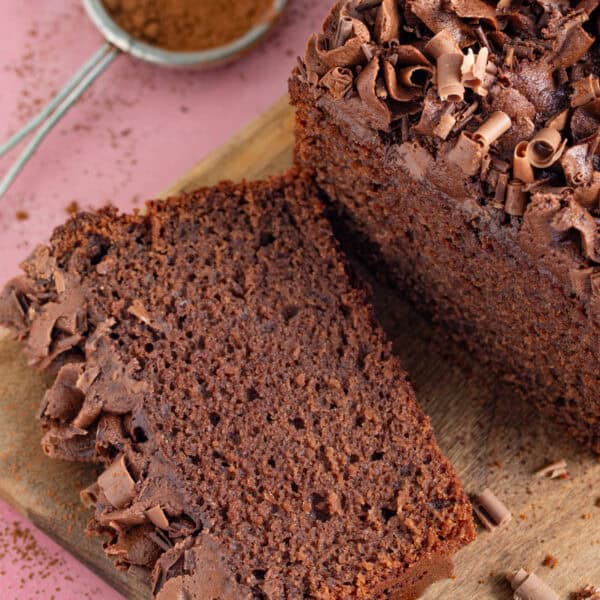
- Gluten Free Chocolate Cake
- Gluten Free Hummingbird Cake
- Plus lots of ideas for Gluten Free Birthday Cake Recipes
Have you tried this recipe?
I have a huge favour to ask! It’s getting more and more difficult to get my recipes out there to the world – so if you try this and love it, it would mean a HUGE amount if you’d come back and leave a ⭐️⭐️⭐️⭐️⭐️ review and a little comment telling me what you thought! Just 30 seconds of your time would be such a huge support! 💛
Want to connect further?
- Tag me on Instagram with your amazing creations so I can share them!
- Join my Facebook group to meet other awesome gluten free people


can I use Doves gluten free SR flour instead ? thanks !
can I use Doves gluten free SR flour instead ? thanks !
Yes, and just omit the baking powder 🙂
Could I make these as cupcakes and just reduce the baking time?
Yep that would work perfectly!