This post may contain affiliate links for which I earn a small commission at no extra cost to you. For more info, check out my Disclosure Policy. Thank you for your support!
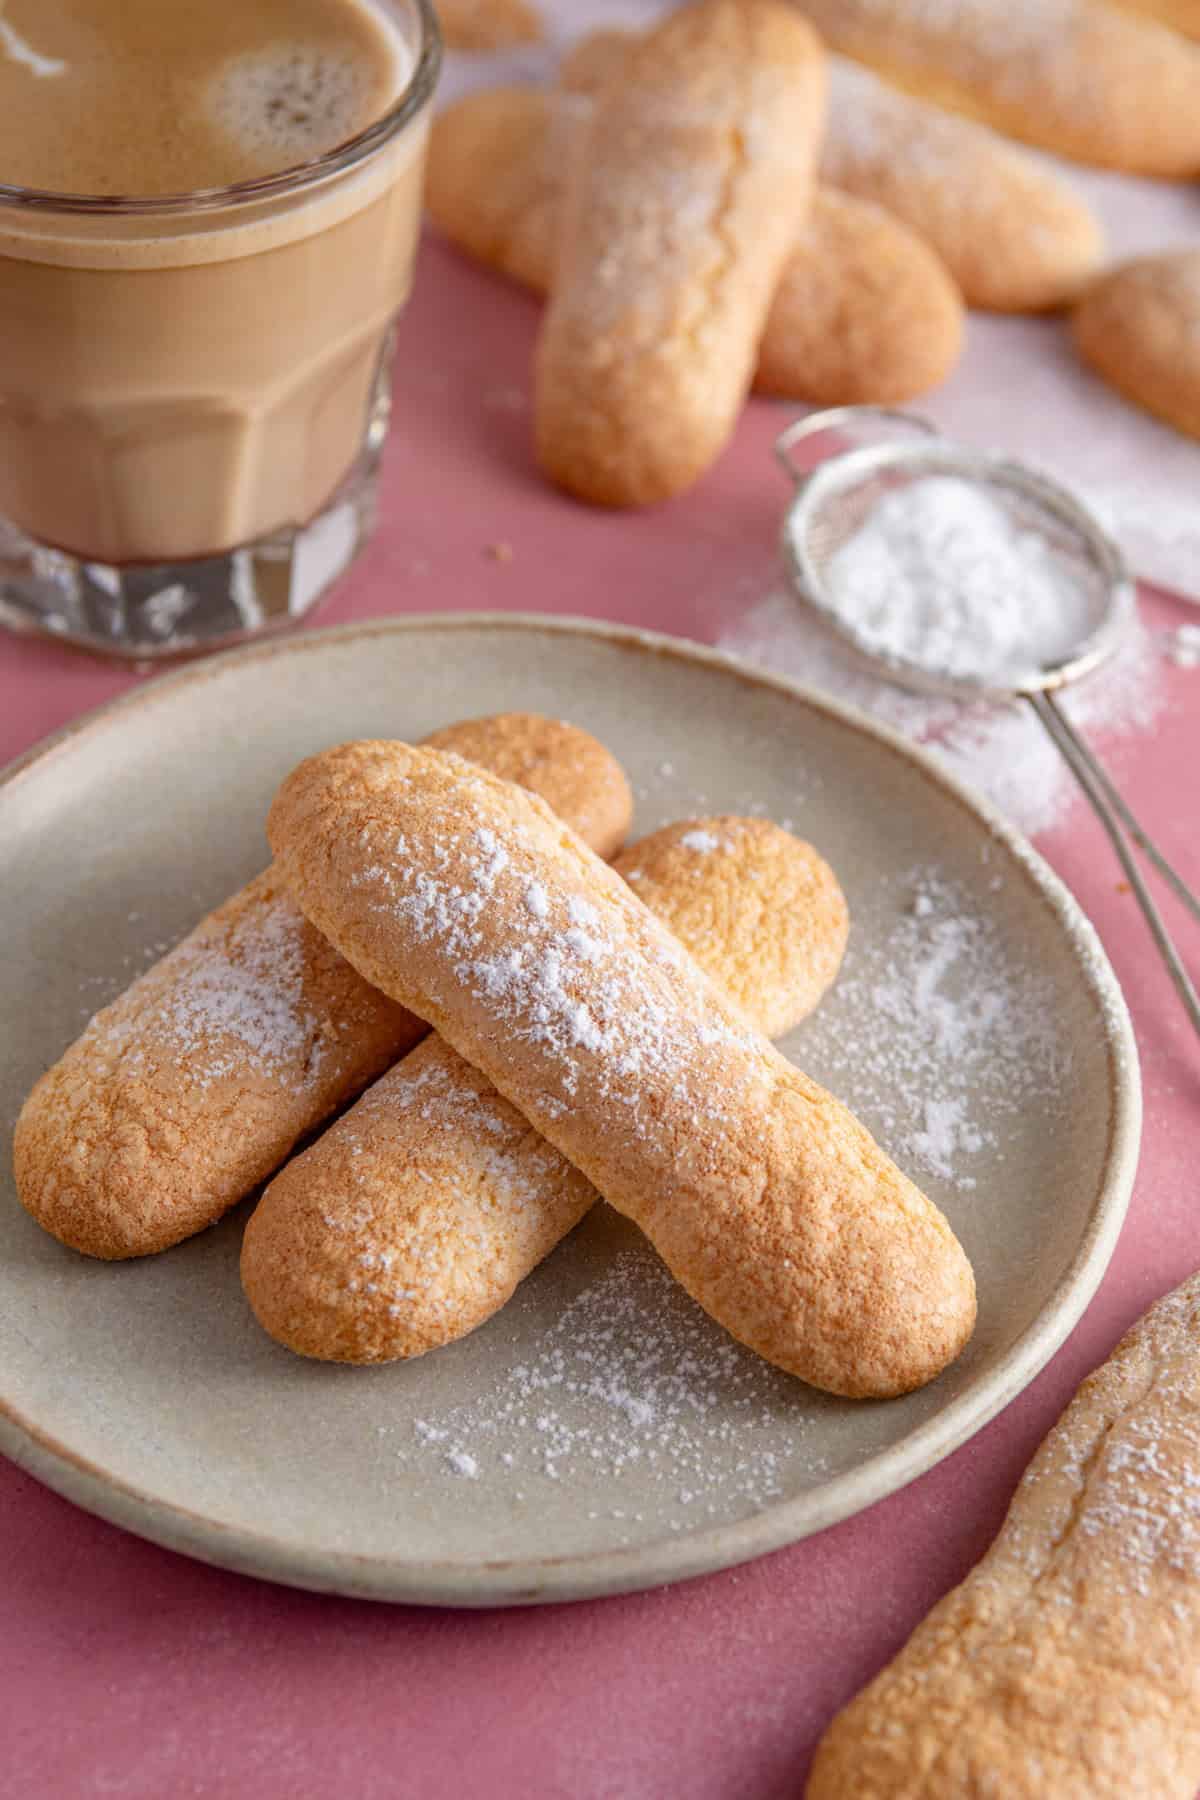
These easy Gluten Free Ladyfingers – also known as savoiardi – are perfect for making a tiramisu or trifle, or simply dunked into a coffee. You only need 7 ingredients to make gluten free sponge fingers and you can even bake them in advance and freeze them.
Notes On These Gluten Free Sponge Fingers
- Why choose this recipe? If you need gluten free sponge fingers to make a gluten free tiramisu or gluten free trifle, you may have noticed they’re almost impossible to find in the UK shops! But not to worry – this gluten free ladyfingers recipe is so easy, with no special equipment or skills needed. Dessert is saved!
- What are ladyfingers? Lady fingers are made from a light and fluffy batter based largely on whipped-up egg. Kind of like a gluten free, Italian meringue cookie. Traditionally these gluten free ladyfingers (often called savoiardi or boudoirs) are served alongside espresso.
- Make Ahead: Gluten free sponge fingers are actually at their best for desserts like tiramisu when they’re slightly stale. Which means you can easily make them ahead of time and leave them out to air before using them in a recipe.
- Updated for 2025: You’ve been enjoying this recipe since 2022 but I’ve updated it with some new step-by-step pics and in-depth FAQ section.
Table of Contents
- Notes On These Gluten Free Sponge Fingers
- Don’t just take my word for it…
- Ingredients and Substitutions
- How to Make Gluten Free Ladyfingers
- Storing and Freezing Instructions
- Frequently Asked Questions
- Gluten Free Lady Fingers Recipe Recipe
- Recipes Using Gluten Free Sponge Fingers
- More Gluten Free Dessert Recipes
Don’t just take my word for it…
Heidi left a ⭐️⭐️⭐️⭐️⭐️ review and said: “Am totally impressed by these! I was surprised how simple and perfect tasting they are! We have made them to eat as is and to make a tiramisu.“
And Lisa also left ⭐️⭐️⭐️⭐️⭐️ and a comment to say: “This recipe was perfect and delicious! I used them to make trifle and almost had to make another batch as I ate so many in the making!”
Ingredients and Substitutions
There’s a printable recipe card below for these gluten free ladyfingers with the full quantities. But here are the main ingredients and ideas for any swaps.
- Eggs: The fresher the eggs the better. This recipe is dependent on the eggs, so I would not recommend trying to use an egg replacer in this case.
- Granulated Sugar: You can use caster sugar if you only have this, but I found that granulated sugar produced a much better texture.
- Plain Gluten Free Flour: I use the FREEE Plain White Gluten Free Flour in this recipe, which is a blend of rice, potato, tapioca, maize and buckwheat flours. You’ll need a similar Plain or All Purpose gluten free flour blend.
- Xanthan Gum: This helps to keep the shape of the ladyfingers. You can omit this if your flour blend contains it, but otherwise you’ll need it.
- Baking Powder: Always double check you are using a gluten free baking powder.
- Icing Sugar: This is crucial for creating that gorgeous, crackle top on the sponge fingers. Dust it on before baking and it absolutely transforms these. In the US you’ll need powdered sugar or confectioner’s sugar.

How to Make Gluten Free Ladyfingers
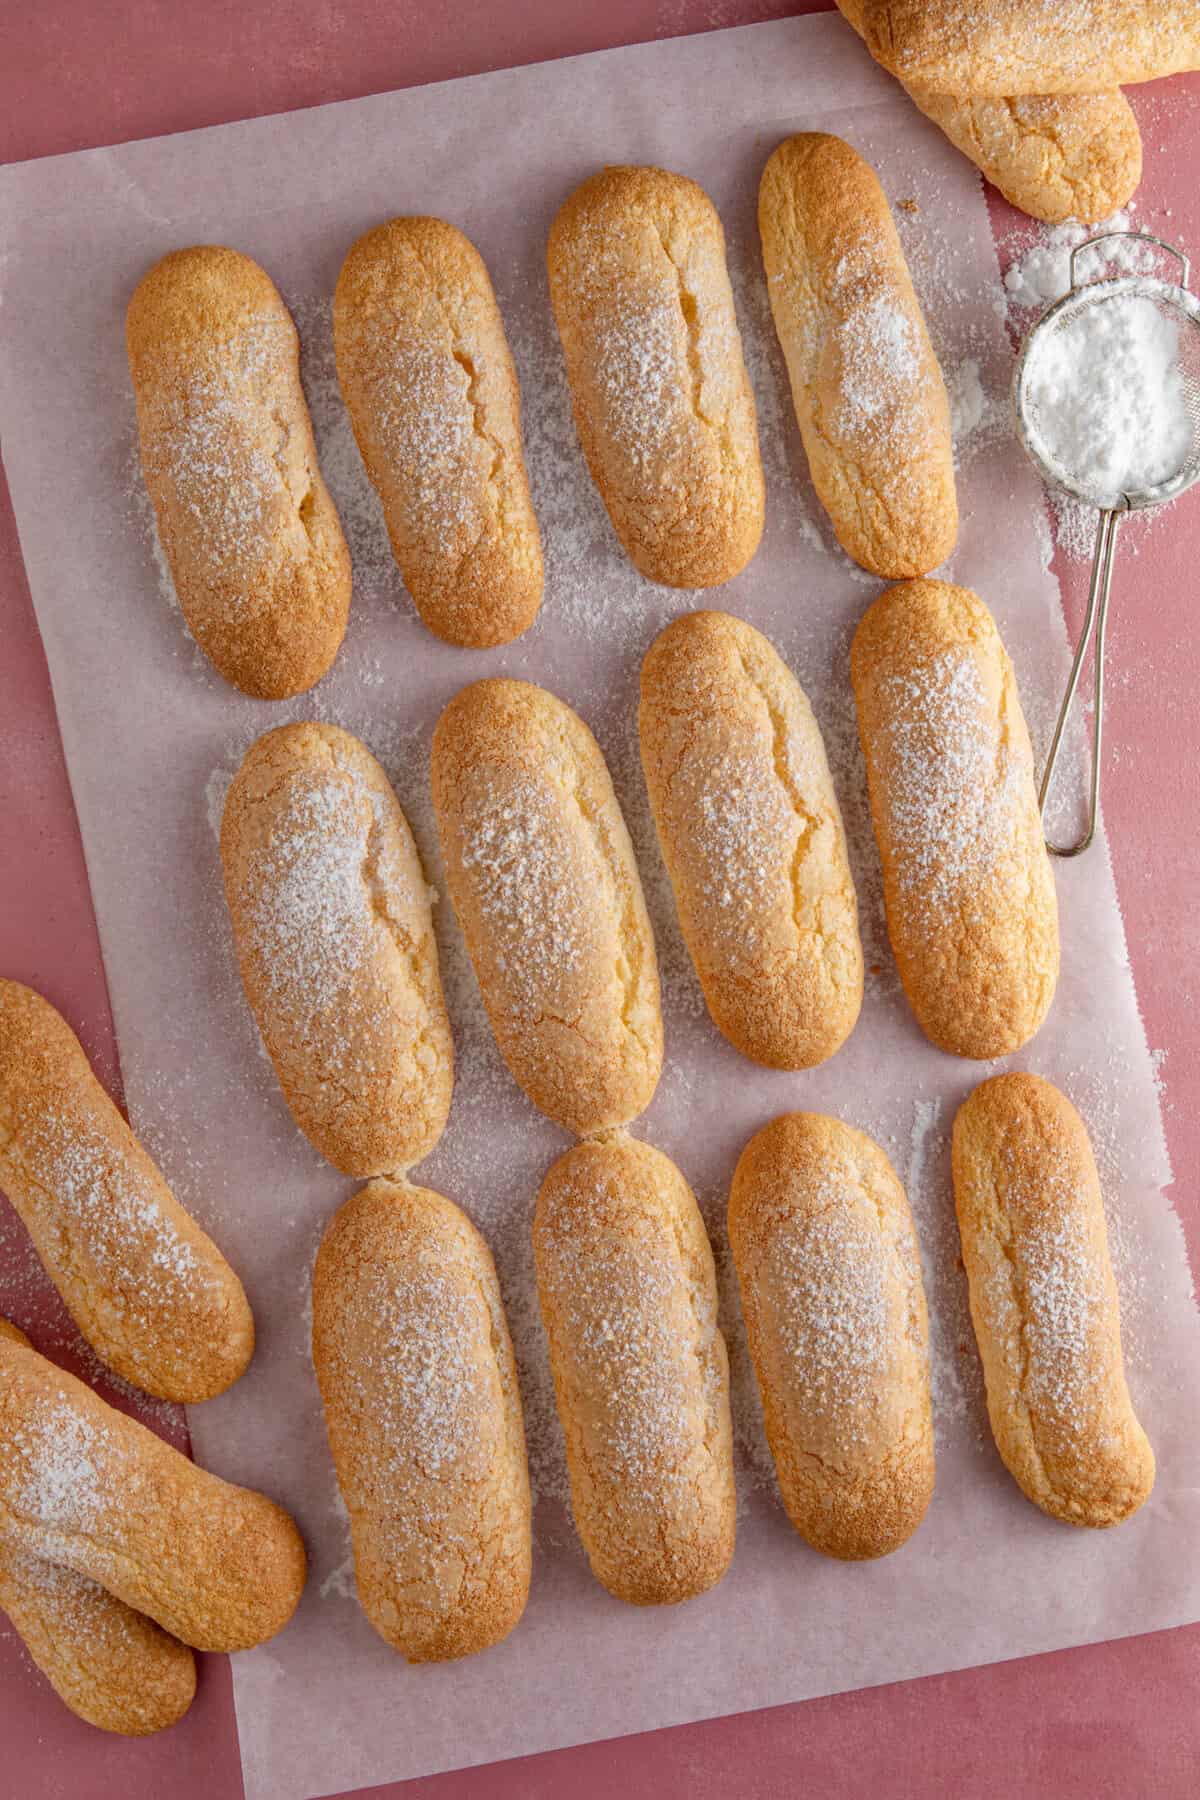
There’s a printable recipe card below with the method. But here are some step-by-step photos to show you how easy this gluten free sponge fingers recipe is to make.


Storing and Freezing Instructions
TO STORE: Once completely cooled, these sponge fingers will keep in an airtight container for up to a week. If making gluten free tiramisu, you may want to leave them uncovered to go a little stale, as they’ll absorb the liquid better then.
TO FREEZE: Once cooled, you can freeze these gluten free ladyfingers ready for when you need them. Defrost before using in your favourite recipe!
Frequently Asked Questions
Here are some FAQs about this easy gluten free ladyfingers recipe. If you can’t find the answer to your question here or in the post above, please comment and I’ll try answer!
It’s very important to ensure you whip the egg whites and yolks well before mixing them together. You should be able to hold the egg whites upside-down and they don’t budge! When folding them together and adding the dry ingredients, be very careful to fold the mixture in and not mix it or be vigorous. If you beat out too much air your ladyfingers will not rise and will be flat.
if your ladyfingers are too soft, I recommend baking them for a little longer so they dry out in the oven. Use a very low heat so that you don’t burn them! The texture should be somewhere between a cake and a biscuit (cookie).
These gluten free sponge fingers are already dairy free, so you don’t need any swaps. However, as the mixture relies so heavily on the egg yolks and egg whites as two separate components, I don’t recommend trying to use an egg replacer.

Gluten Free Lady Fingers Recipe
Equipment
Ingredients
- 3 large eggs
- 1 egg white
- 115 g granulated sugar
- 140 g plain gluten free flour
- 1/4 tsp xanthan gum
- 1 tsp baking powder
- Pinch salt
- 2-3 tbsp icing sugar
Instructions
- Preheat the oven to 180 C / fan 160 C / Gas Mark 4. Line two baking trays with baking paper. Fit a large, round (1A) nozzle to a piping bag ready for the mix.
- Separate the eggs into two large bowls and add the extra egg white to the bowl of egg whites.
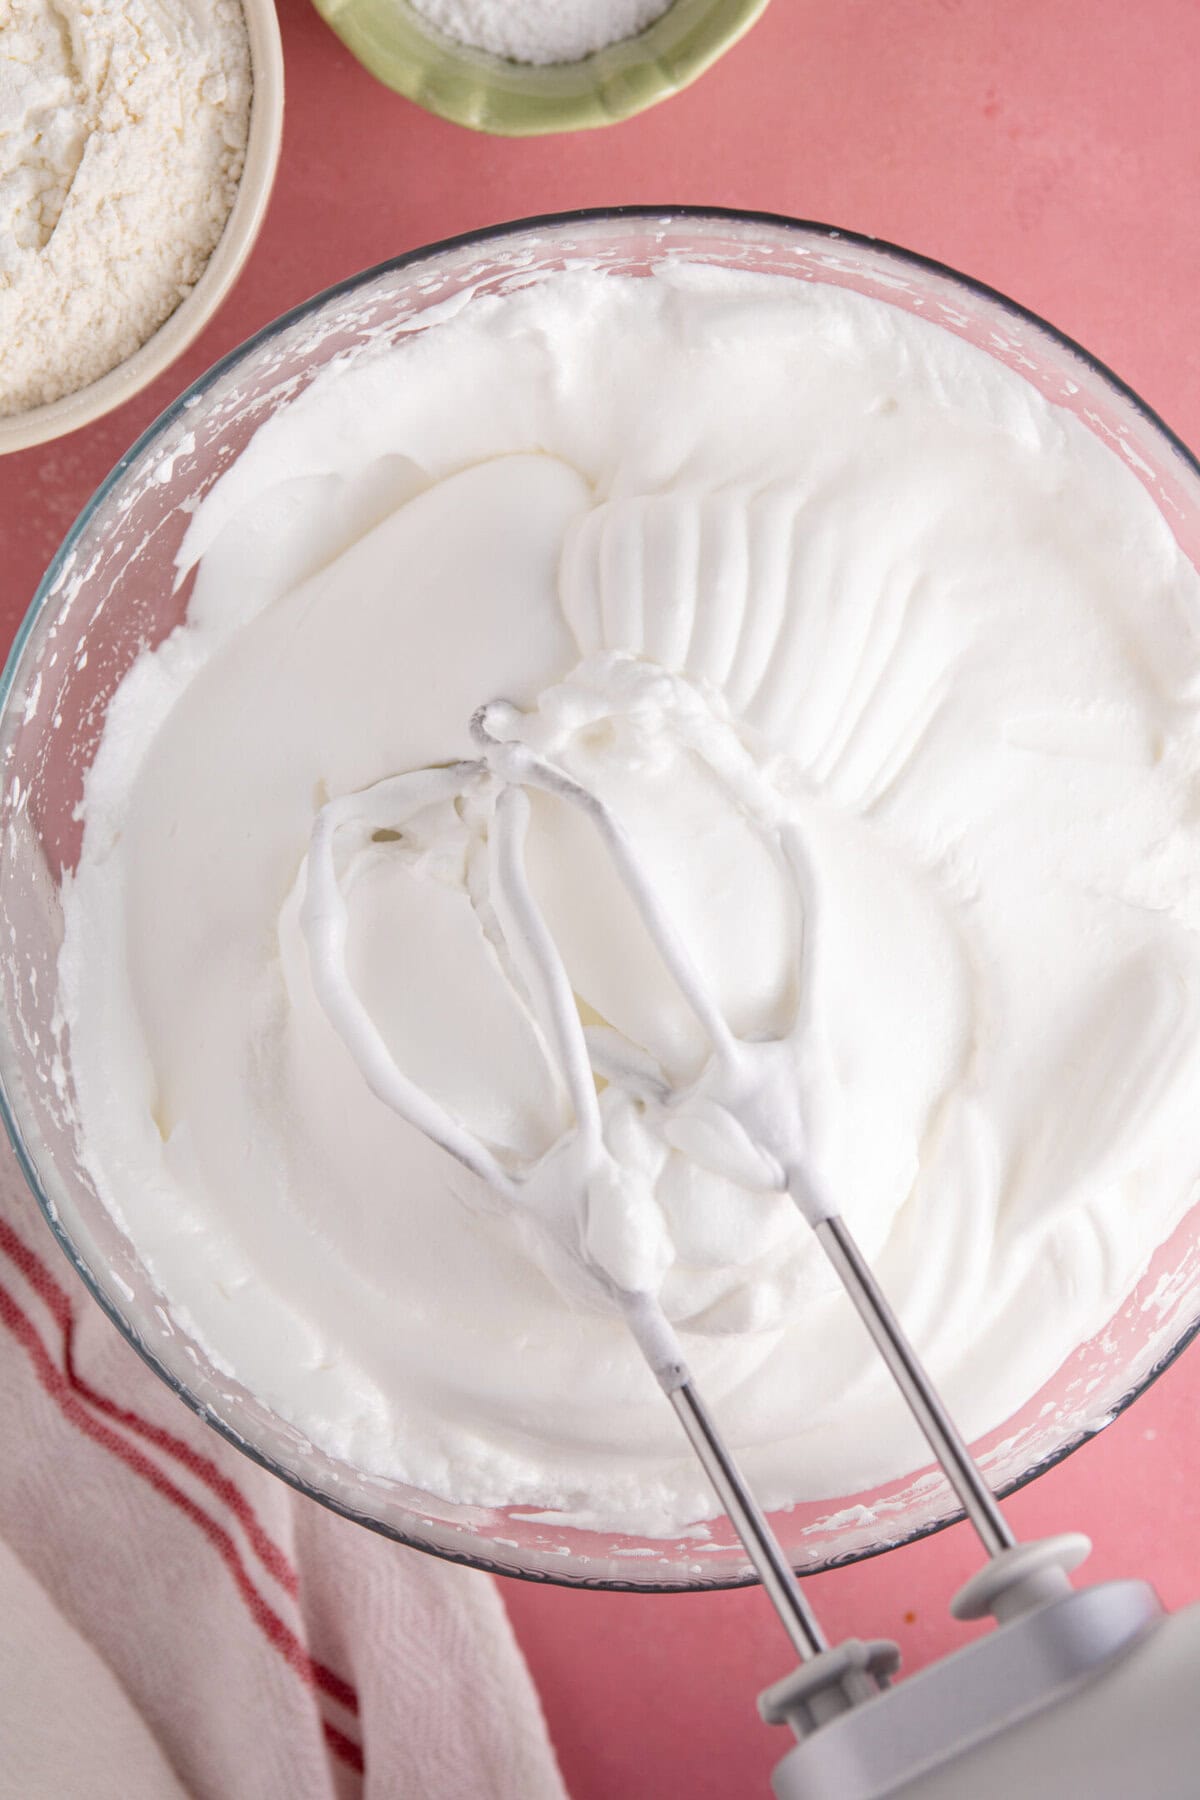
- Add half the granulated sugar to the egg whites and using an electric whisk to beat until you have soft, glossy peaks. You should be able to turn the bowl upside down and nothing moves! Set to one side.
- Add the rest of the sugar to the egg yolks and beat with an electric whisk until the mix pales and goes fluffy – it should increase in size.
- Add a small amount of the egg white to the egg yolk mixture and fold in with a metal spoon, to loosen the mixture. Add the rest of the egg whites and fold gently until almost combined.
- Mix the gluten free flour, xanthan gum and baking powder in a bowl and then sift into the egg mixture. Fold in carefully until there are no streaks of flour – make sure you're folding not beating the mixture. You want to retain as much air in it as possible!
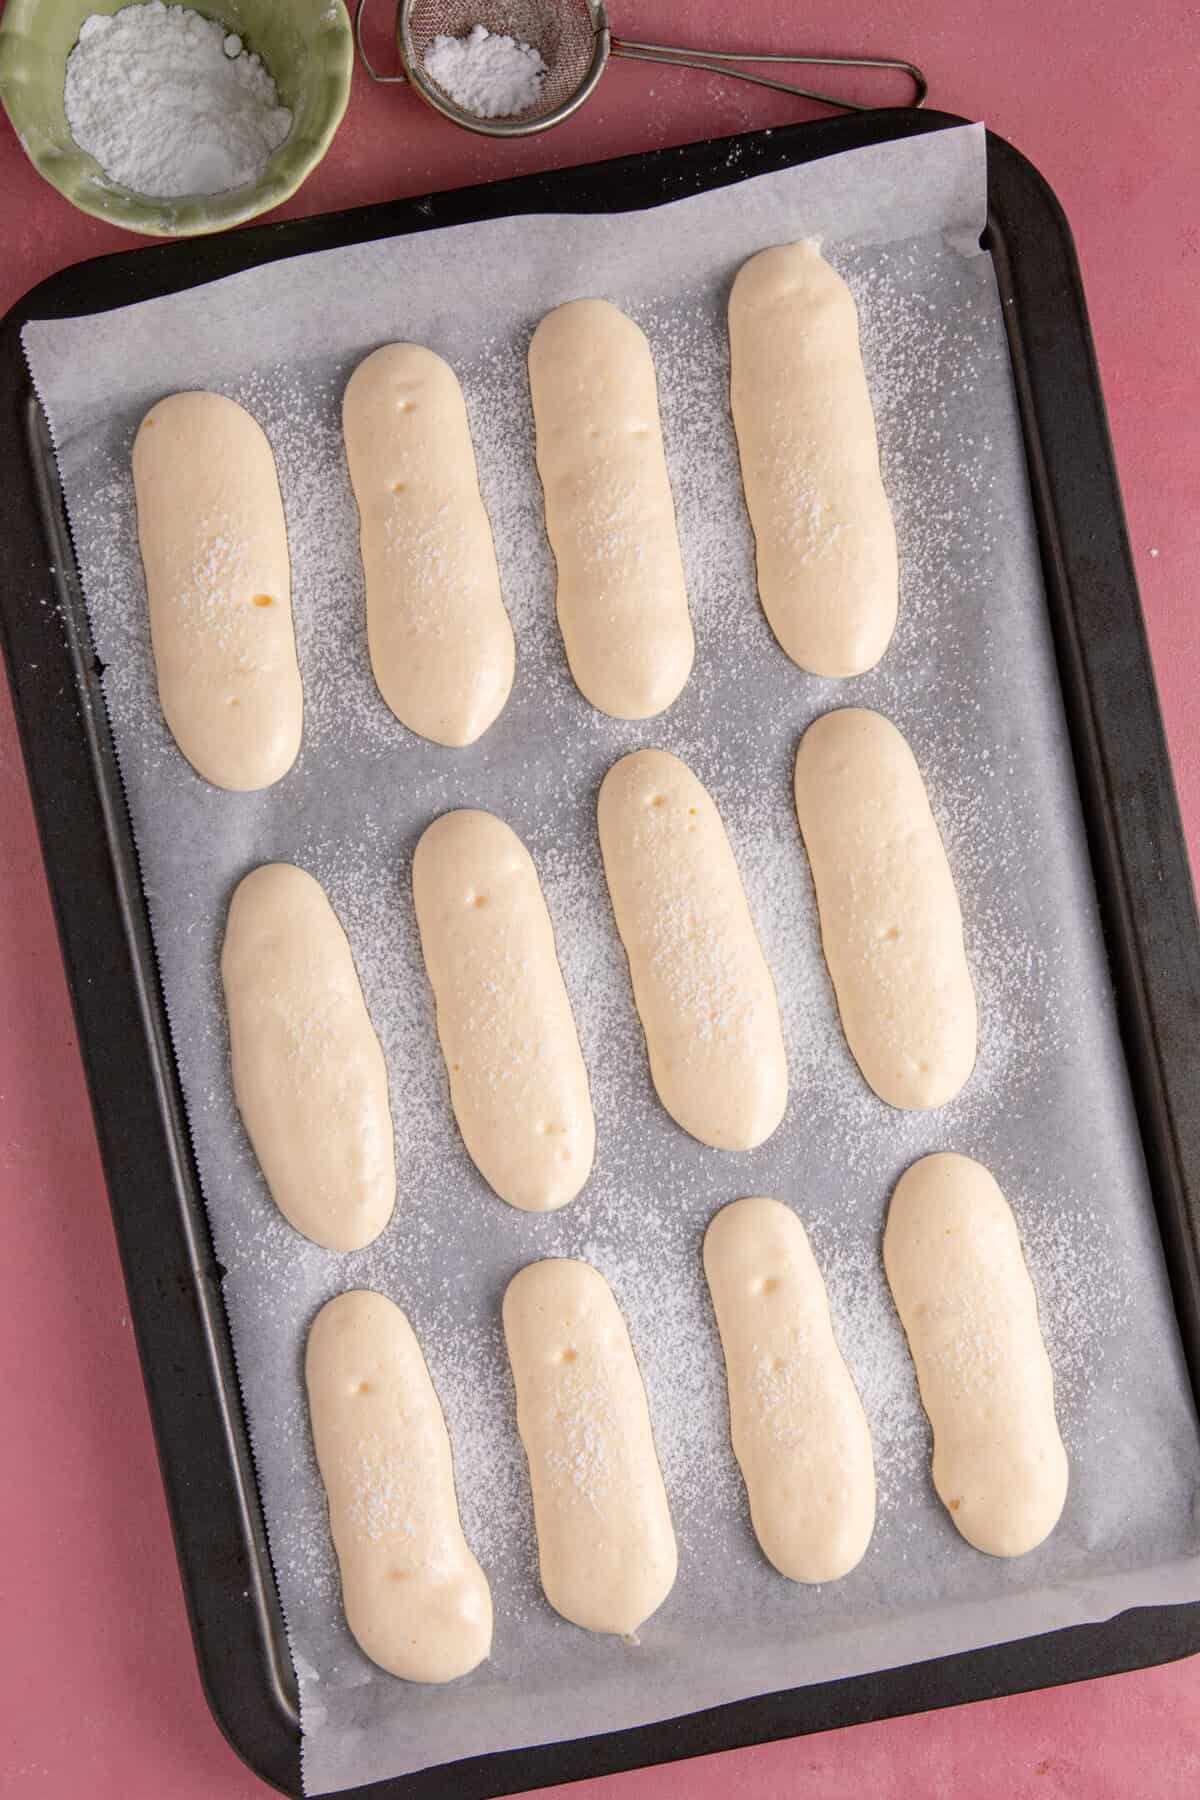
- Spoon the mixture into the piping bag and then pipe the mixture onto the baking sheets into thick lines, approximately 3.5 inches long. Make sure they're all around half-an-inch apart so they don't spread into each other.
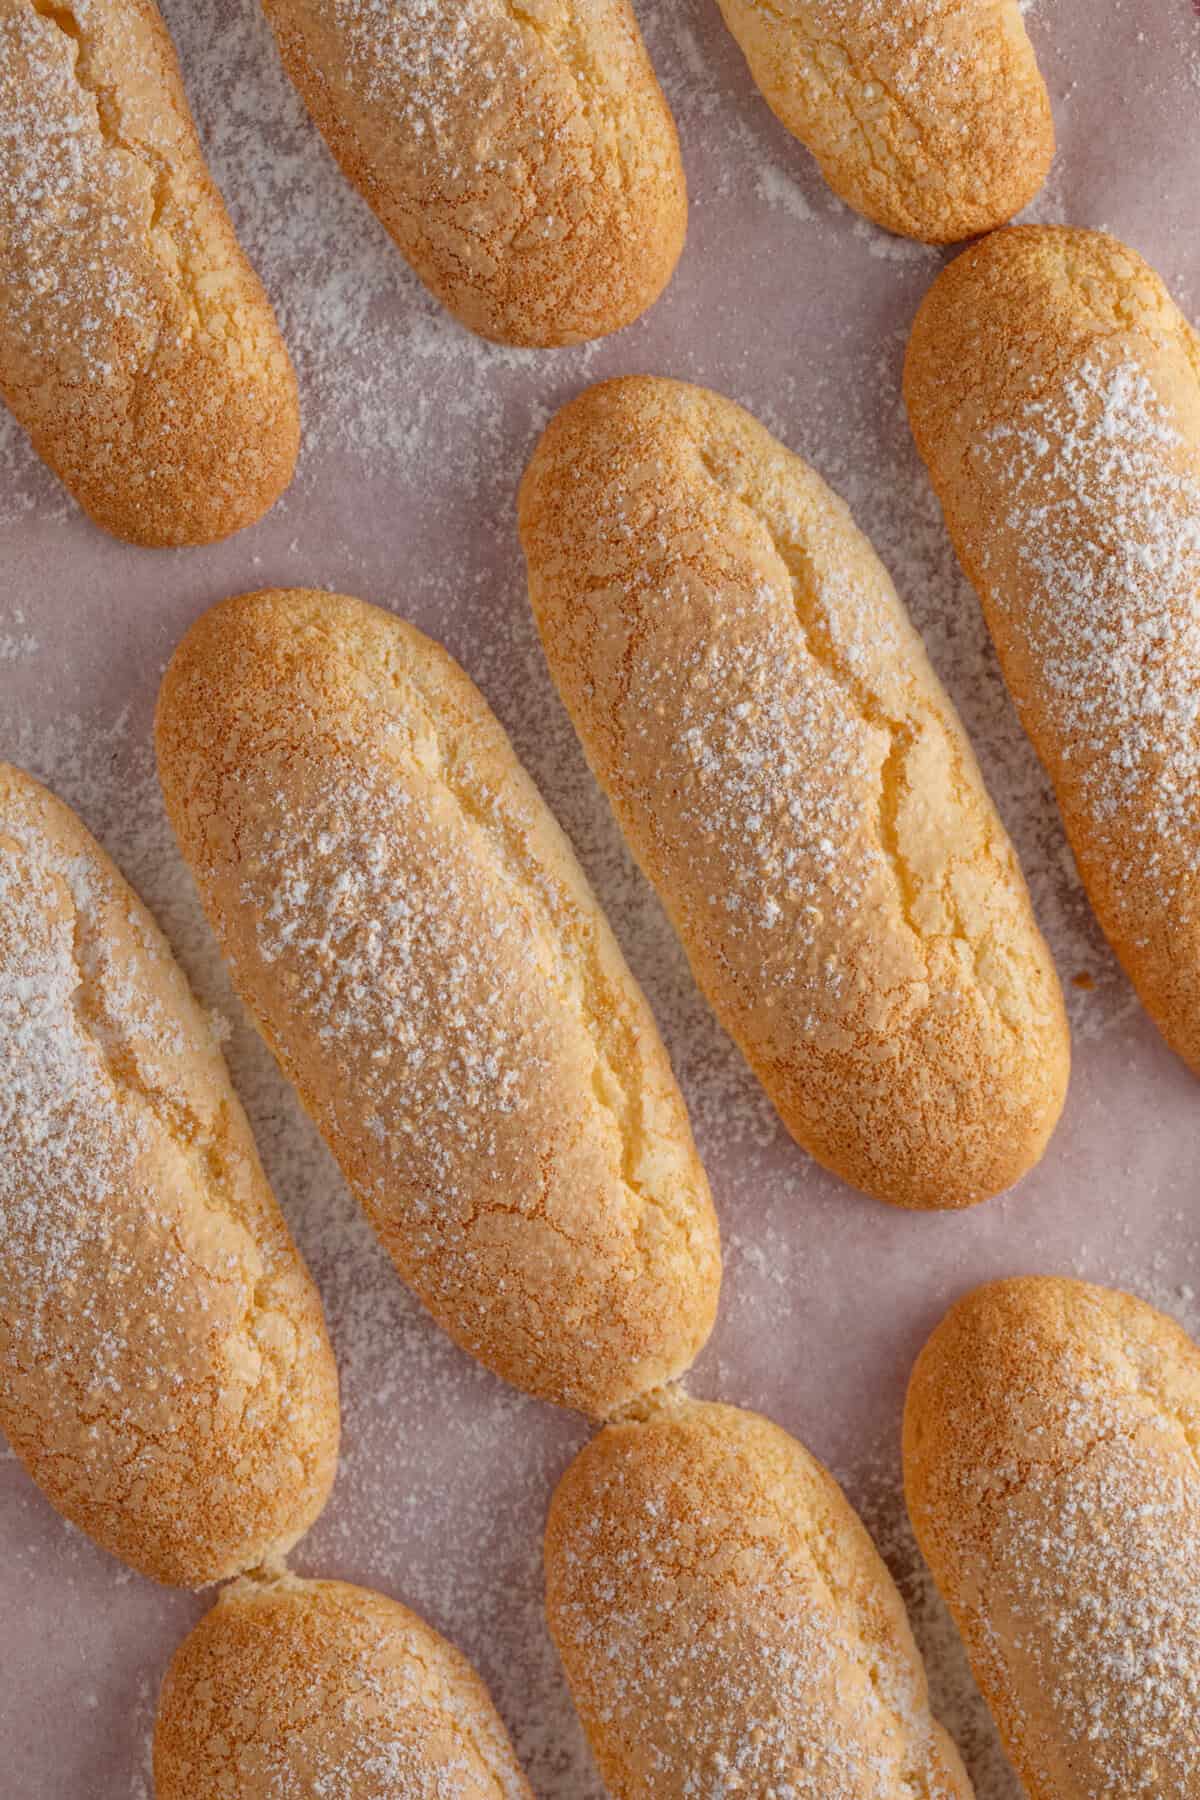
- Dust the fingers liberally with icing sugar (don't worry about excess on the tray!) and then bake for 15-18 minutes until slightly golden round the edges and crackled.
- Remove from the oven and cool on a rack before eating. Keep in an airtight container for up to 3 days or freeze.
Video
Notes
Nutrition
Recipes Using Gluten Free Sponge Fingers
You can happily eat these gluten free ladyfingers on their own – or with a coffee – but they’re also popular in the following desserts:
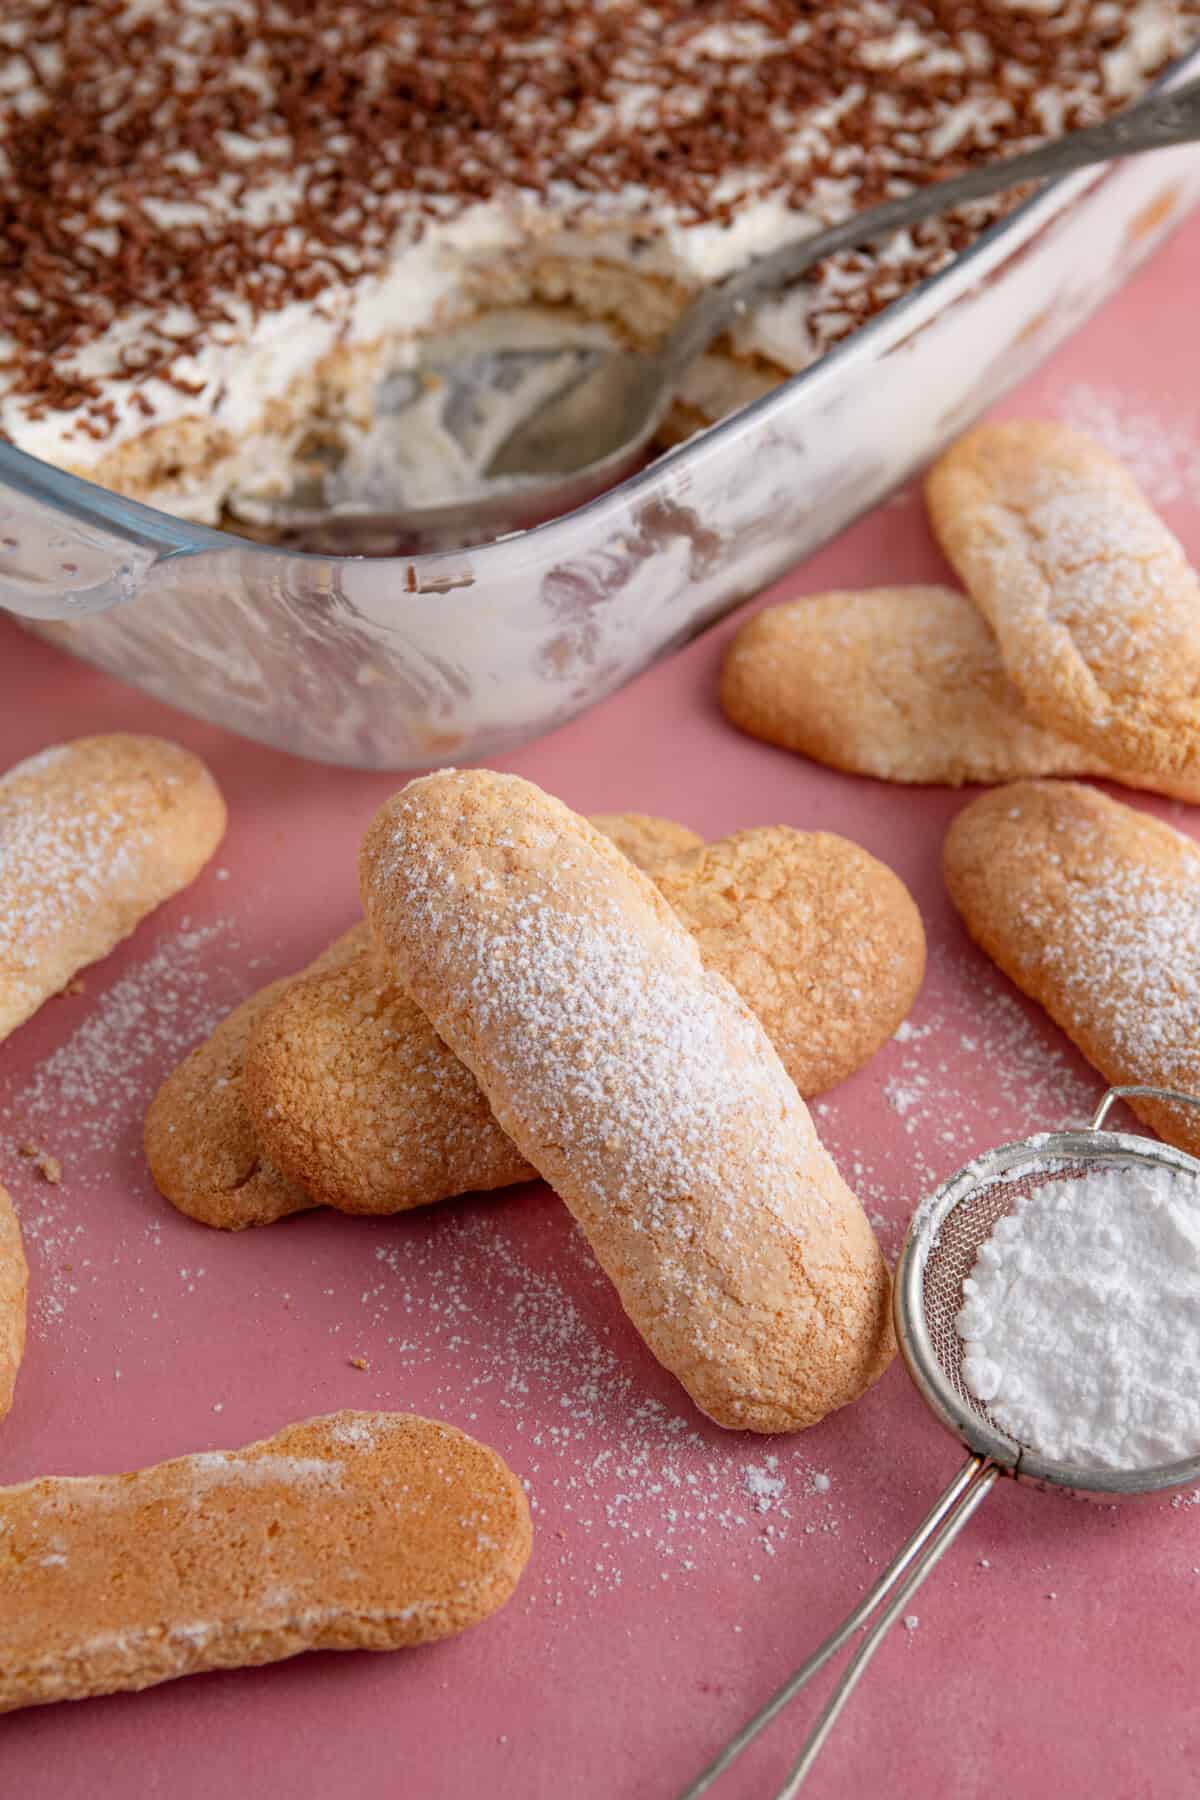
- The most popular use of gluten free ladyfingers is in a Gluten Free Tiramisu, where they are soaked in espresso and layered with a whipped mascarpone cream.
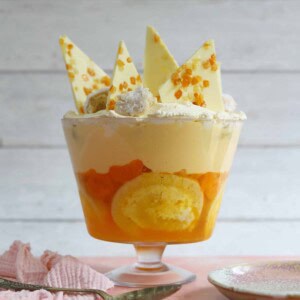
- Ladyfingers can also be used in a gluten free trifle – I always use these or my gluten free Madeira cake recipe as a trifle base.
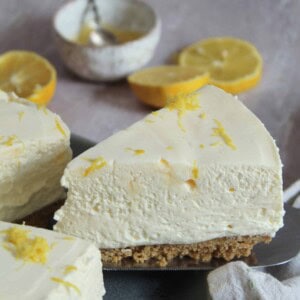
- Some people use ladyfingers for a cheesecake base. You could try this with my easy gluten free lemon cheesecake or my gluten free strawberry cheesecake recipes.
- Try dipping them in melted chocolate and sprinkling with chopped nuts for an extra special treat to enjoy on their own with a coffee!
More Gluten Free Dessert Recipes


Have you tried this recipe?
I have a huge favour to ask! It’s getting more and more difficult to get my recipes out there to the world – so if you try this and love it, it would mean a HUGE amount if you’d come back and leave a ⭐️⭐️⭐️⭐️⭐️ review and a little comment telling me what you thought! Just 30 seconds of your time would be such a huge support! 💛
Want to connect further?
- Tag me on Instagram with your amazing creations so I can share them!
- Join my Facebook group to meet other awesome gluten free people.
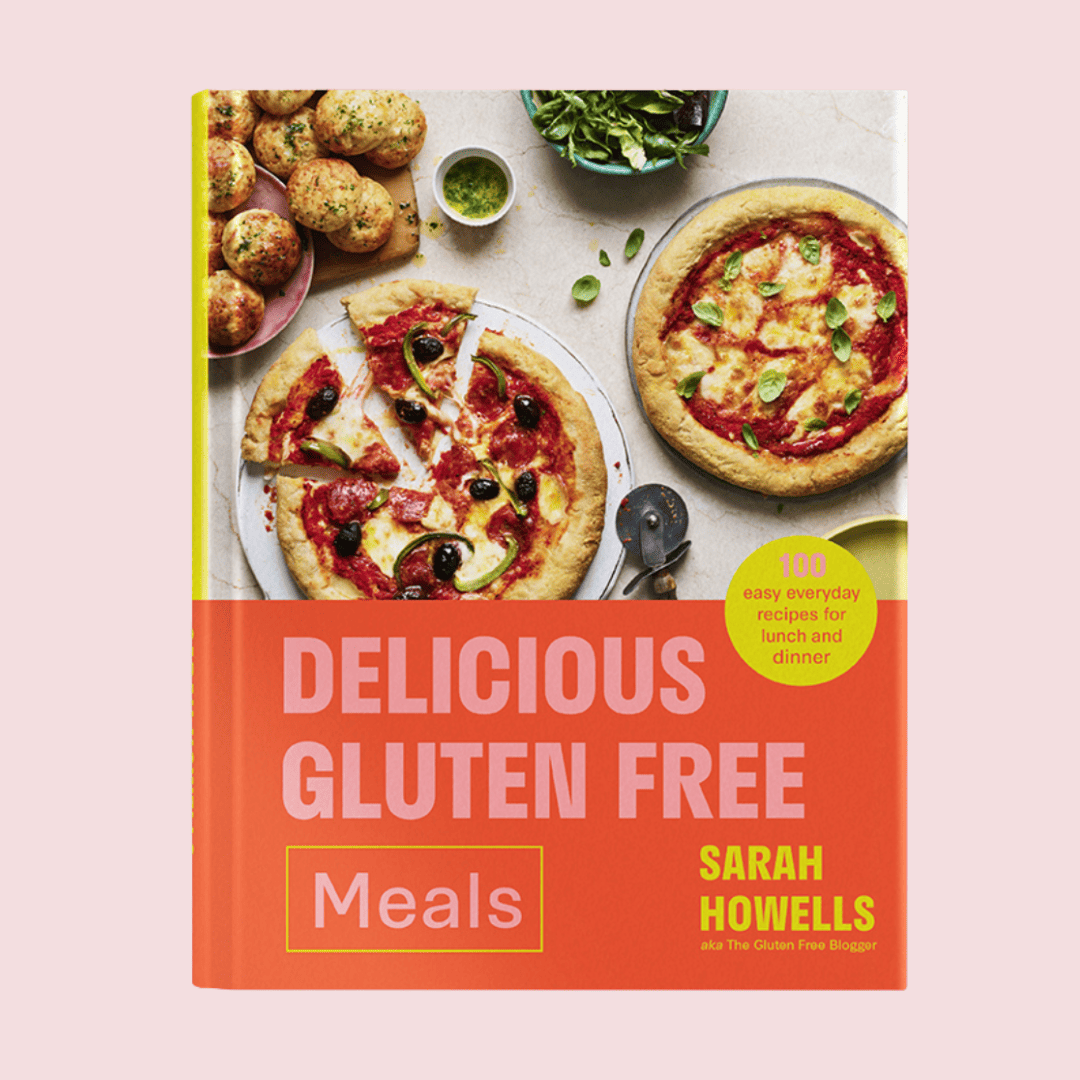
Get my cookbook!
Want more gluten free meals inspiration? My debut cookbook, Delicious Gluten Free Meals, has 100+ gluten free recipes, from breakfast and lunch ideas to dinners, desserts and sides.


This was so easy! I can cook just about anything, but baking is not my strong point. Thought I was going to for sure, stuff this up. Fingers came out beautiful, some look like they have arthritis but they taste good. Now for the Tiramasu.
They came out perfect having followed the exact recipe 👏🏼