This post may contain affiliate links for which I earn a small commission at no extra cost to you. For more info, check out my Disclosure Policy. Thank you for your support!
If you need to make a tiramisu or trifle, you need to give these super easy gluten free lady fingers a go.
These sponge fingers are the perfect blend of biscuit and cake, perfect for desserts or to enjoy as a light bite with a coffee.
These gluten free ladyfingers, also known as savoiardi, are really easy to make with just a few simple ingredients.
Made from eggs, sugar and gluten free flour, you can whip these up really quickly and they also freeze well too.
I always use these sponge fingers to make gluten free tiramisu but I do love to snack on them when I make a cappuccino too.
They’re so simple to make, I can’t believe they don’t sell them in the shops!
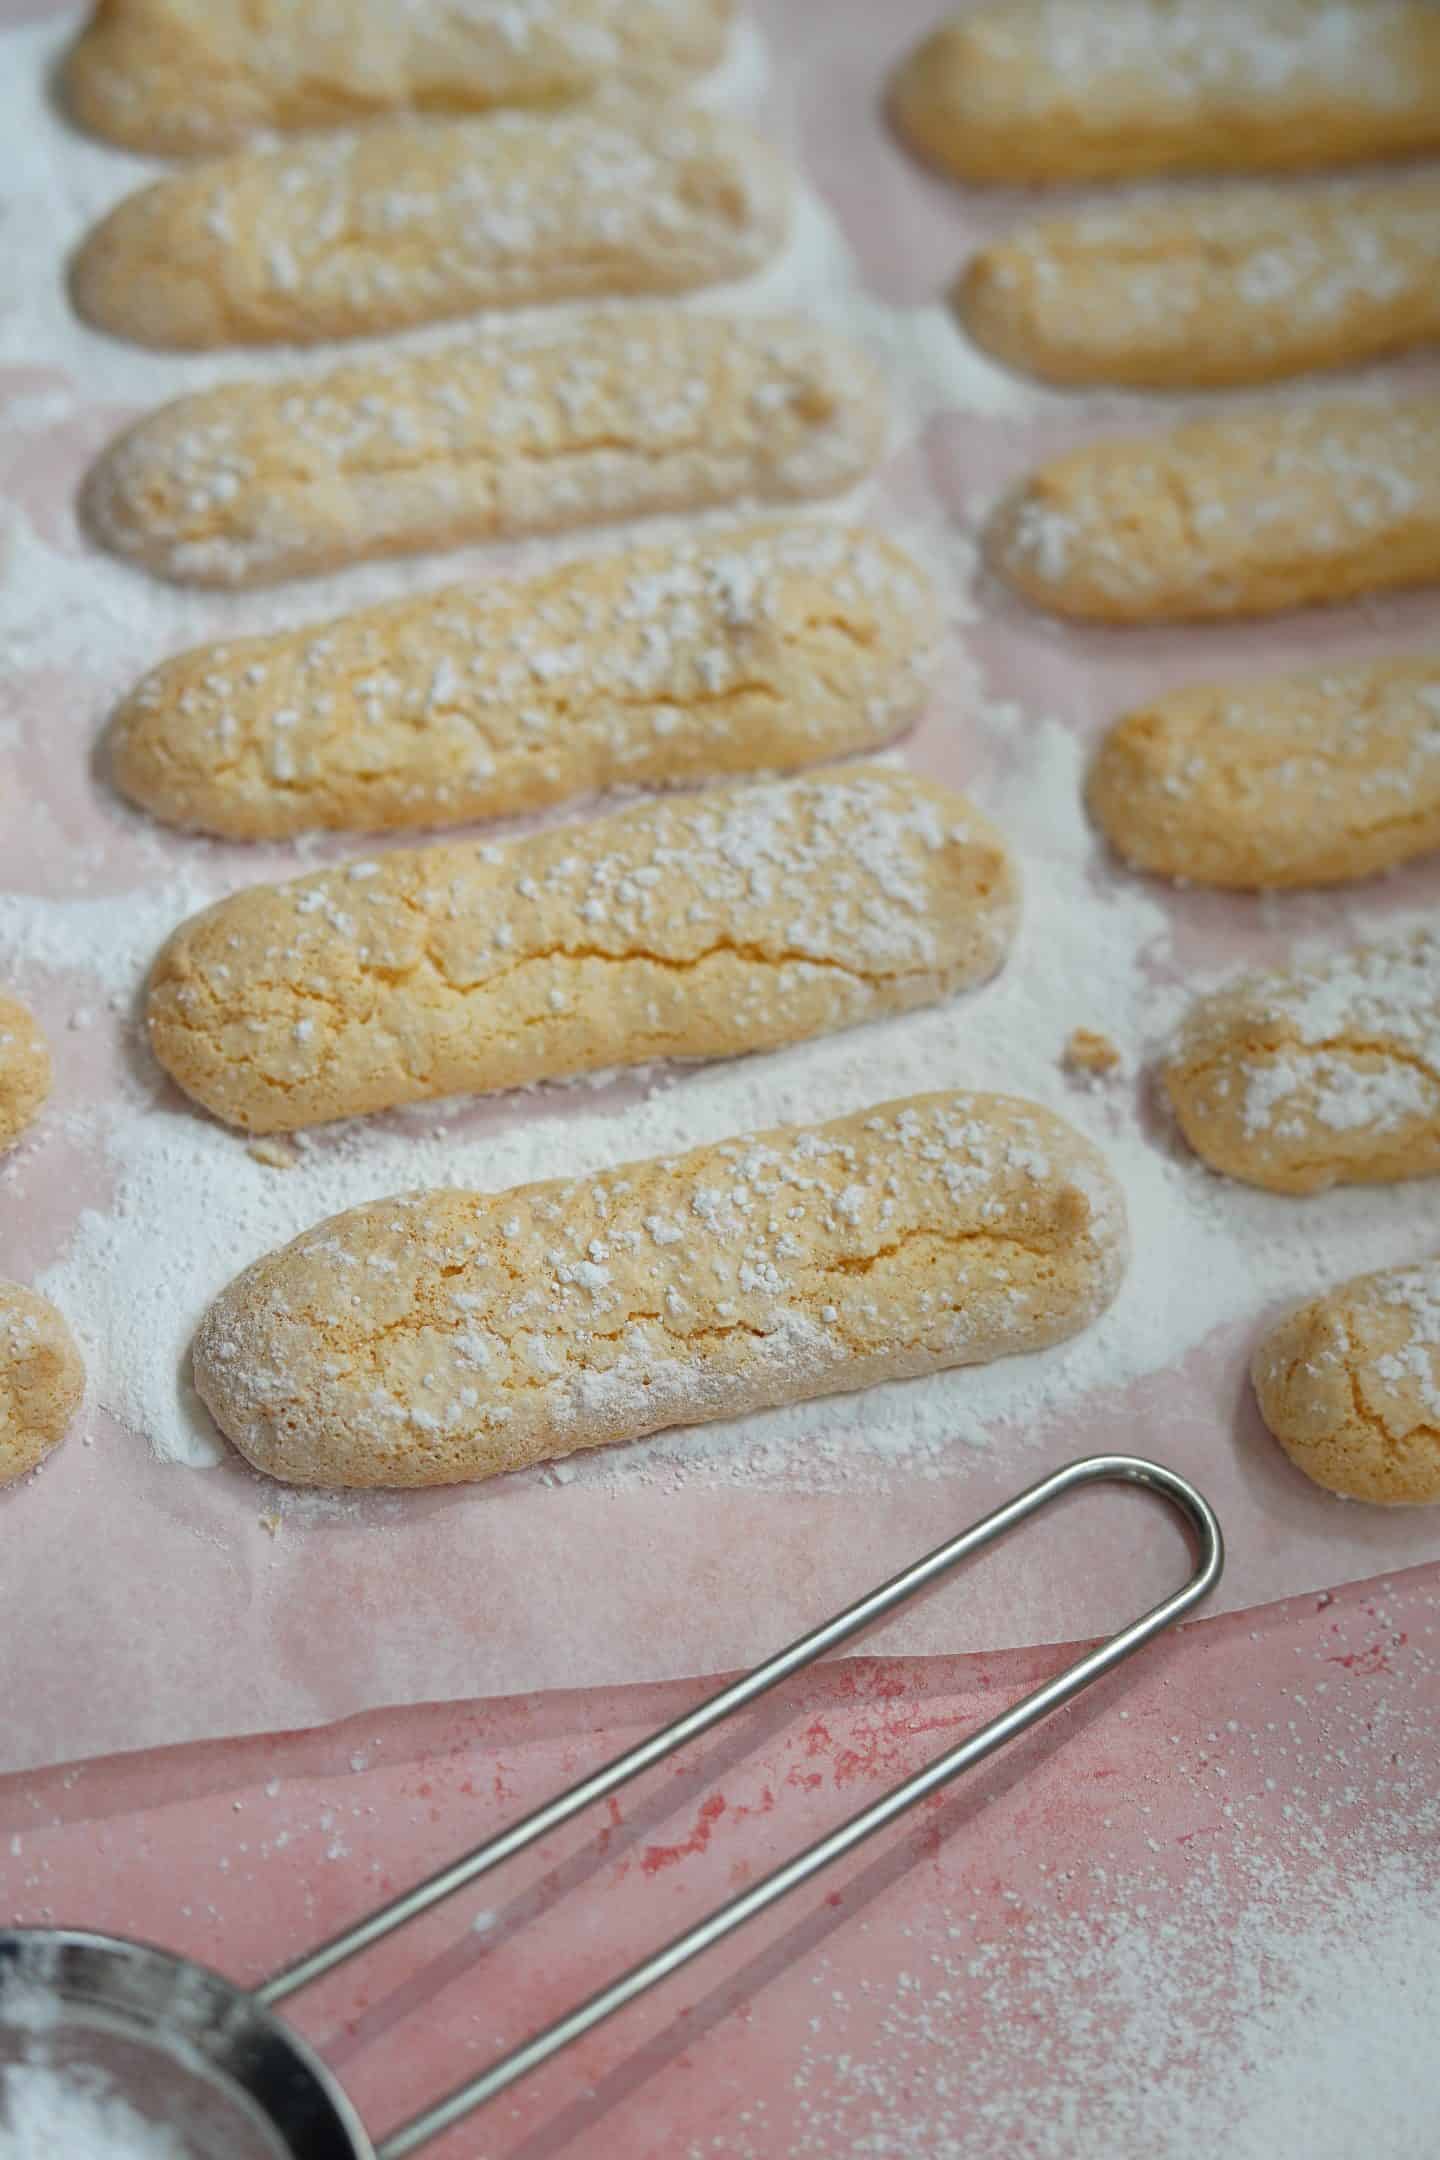
What are gluten free lady fingers?
If you’ve been gluten free for a long time, you might not have encountered sponge fingers like these before.
I remember always enjoying them as a kid (pre coeliac) when my Mum bought them for desserts.
Popular as a base for trifles, lady fingers are made from a light and fluffy batter based largely on whipped up egg.
The egg whites and yolks are both whipped up separately with sugar, before folding them together and sifting in gluten free flour.
Once mixed, pipe the finished batter into lines on a baking sheet and dust with icing sugar so that when they bake, you get a gorgeous crisp exterior.
Gluten free lady fingers are actually best when left for a day-or-so after baking, especially when using them in a dessert.
When slightly stale is when they are perfect for making tiramisu!
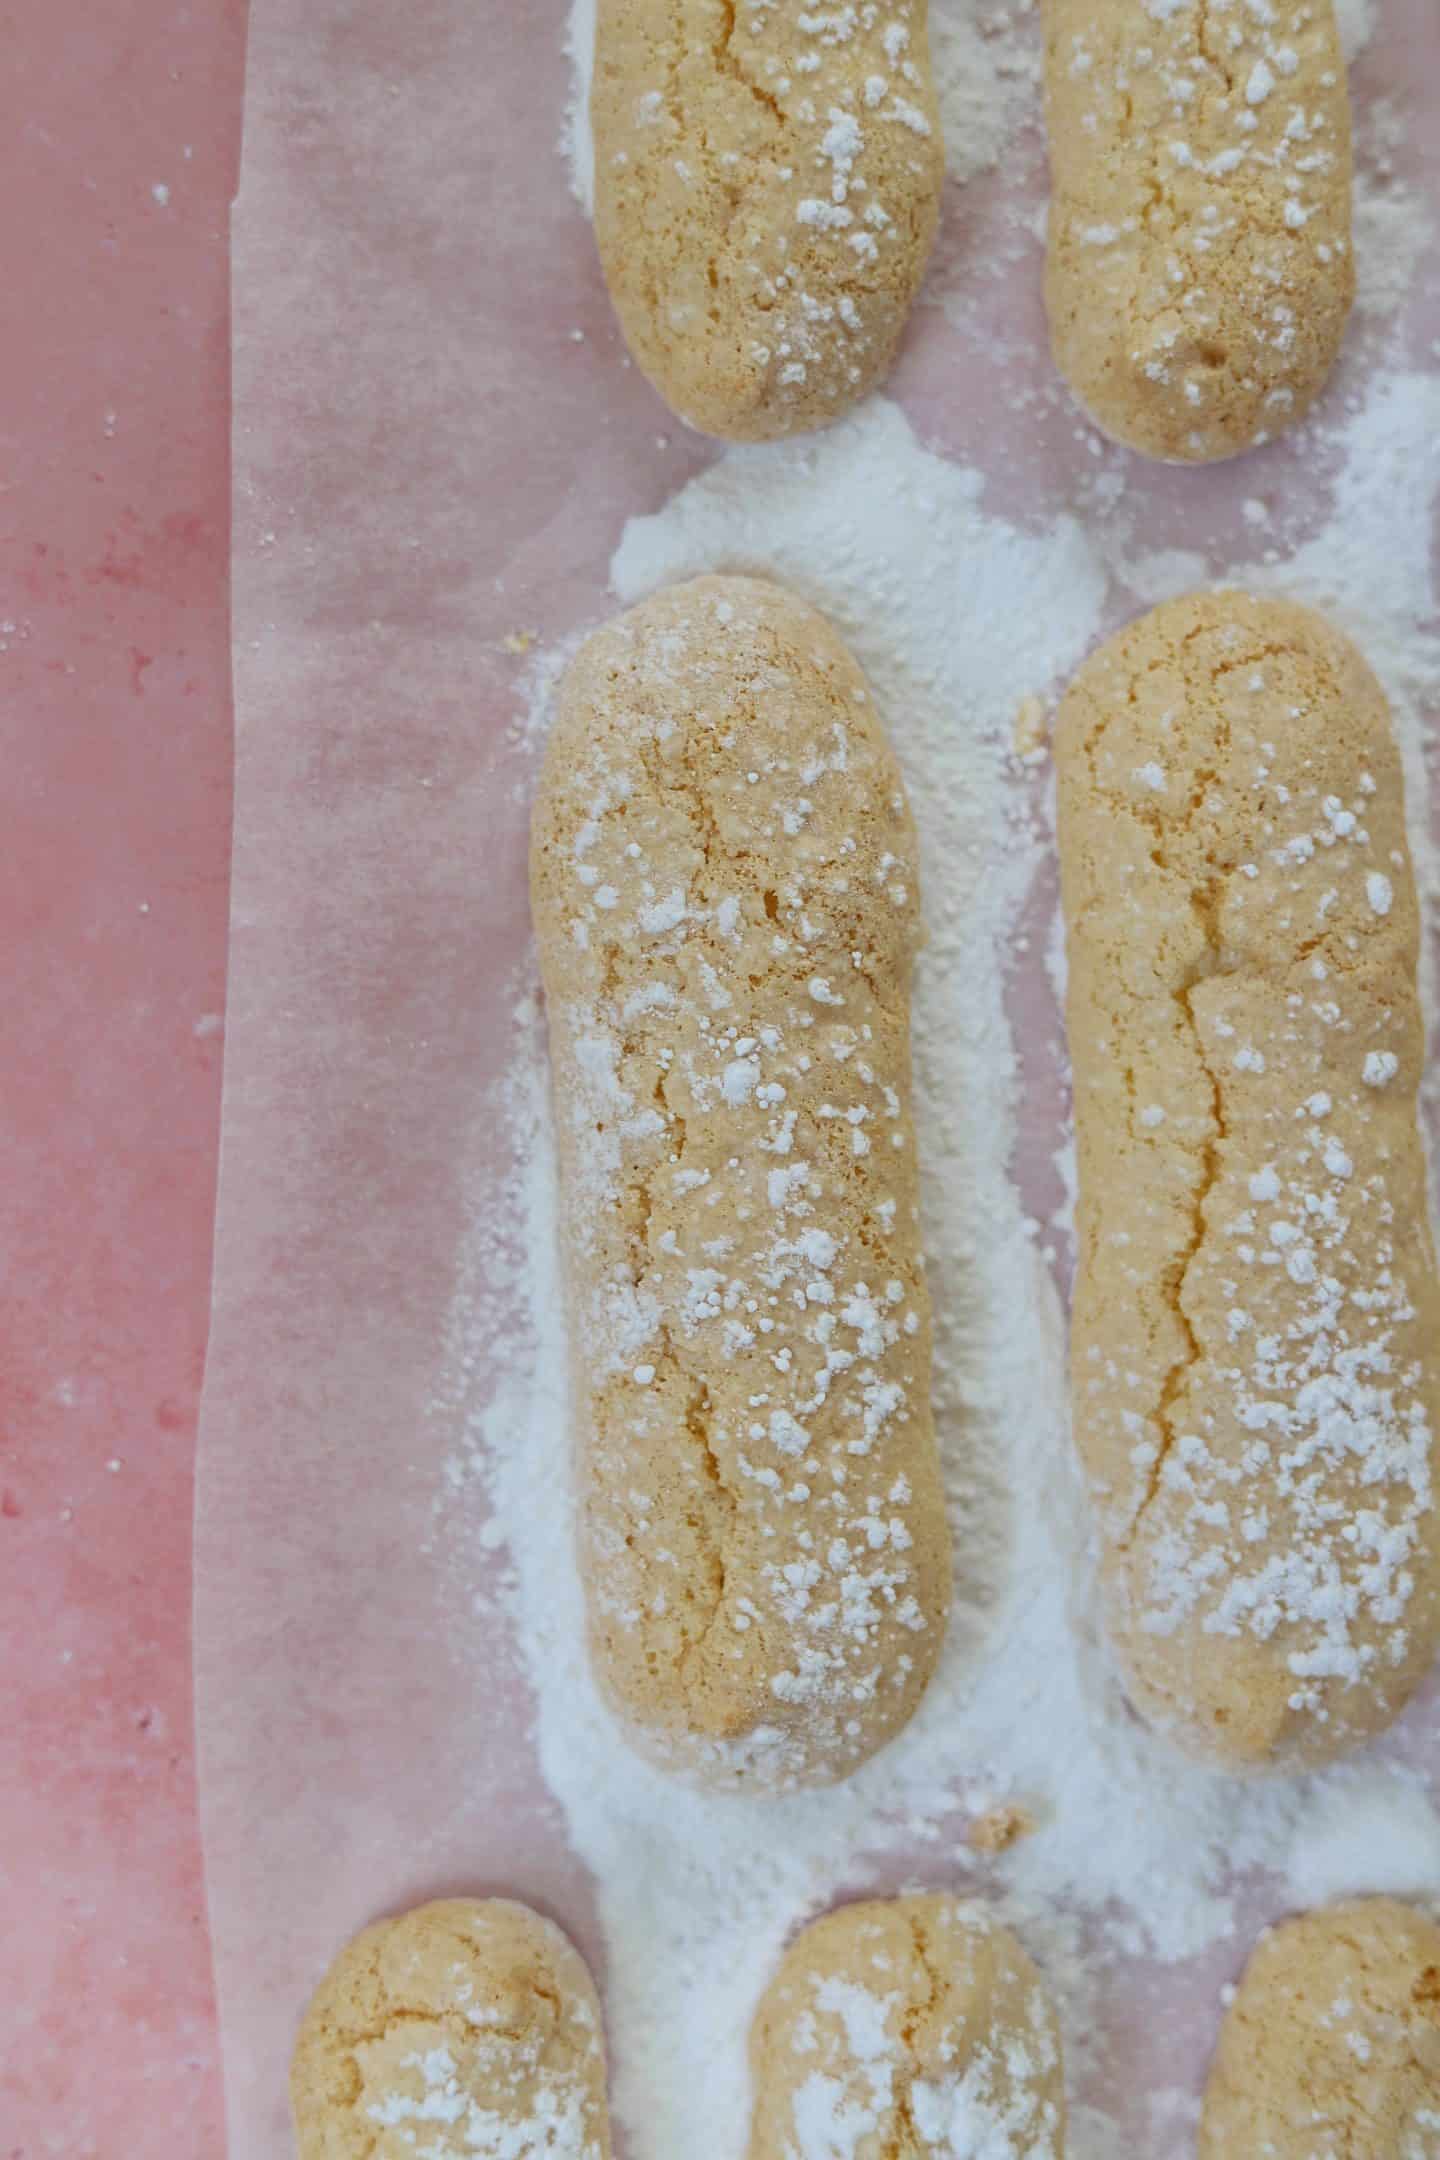
Ingredients
There’s a full printable recipe card below with the quantities and method, but here’s a list of the main ingredients you’ll need.
Egg is a big part of this recipe and as such this recipe is not vegan or egg-free.
If you want vegan lady fingers I’d suggest looking for a recipe specific to this rather than trying to straight-swap out the ingredients of this one.
That being said, these lady fingers are completely gluten free and dairy free.
- Eggs – The base of this whole recipe relies on eggs. Namely, three whole eggs separated into whites and yolks, plus one extra egg yolk. The fresher the eggs the better, and I use large eggs for this recipe.
- Granulated Sugar – You can use caster sugar if you only have this but I found that granulated sugar produced a much better texture.
- Plain Gluten Free Flour – I use the FREEE Plain White Gluten Free Flour in this recipe, which is a blend of rice, potato, tapioca, maize and buckwheat flours. You’ll need a similar Plain or All Purpose gluten free flour blend. Using singe flours like almond or coconut won’t work.
- Xanthan Gum – I add xanthan gum to a lot of bakes as it helps to replicate the texture of the gluten. I find these lady fingers are much better with it but you omit it if you cannot tolerate xanthan gum.
- Baking Powder – A little baking powder helps the lady fingers stay light and airy. Most baking powders in the UK are gluten free but always double check.
- Icing Sugar – This is crucial for creating that gorgeous, crackle top on the sponge fingers. Dust it on before baking and it absolutely transforms these. In the US you’ll need powdered sugar.
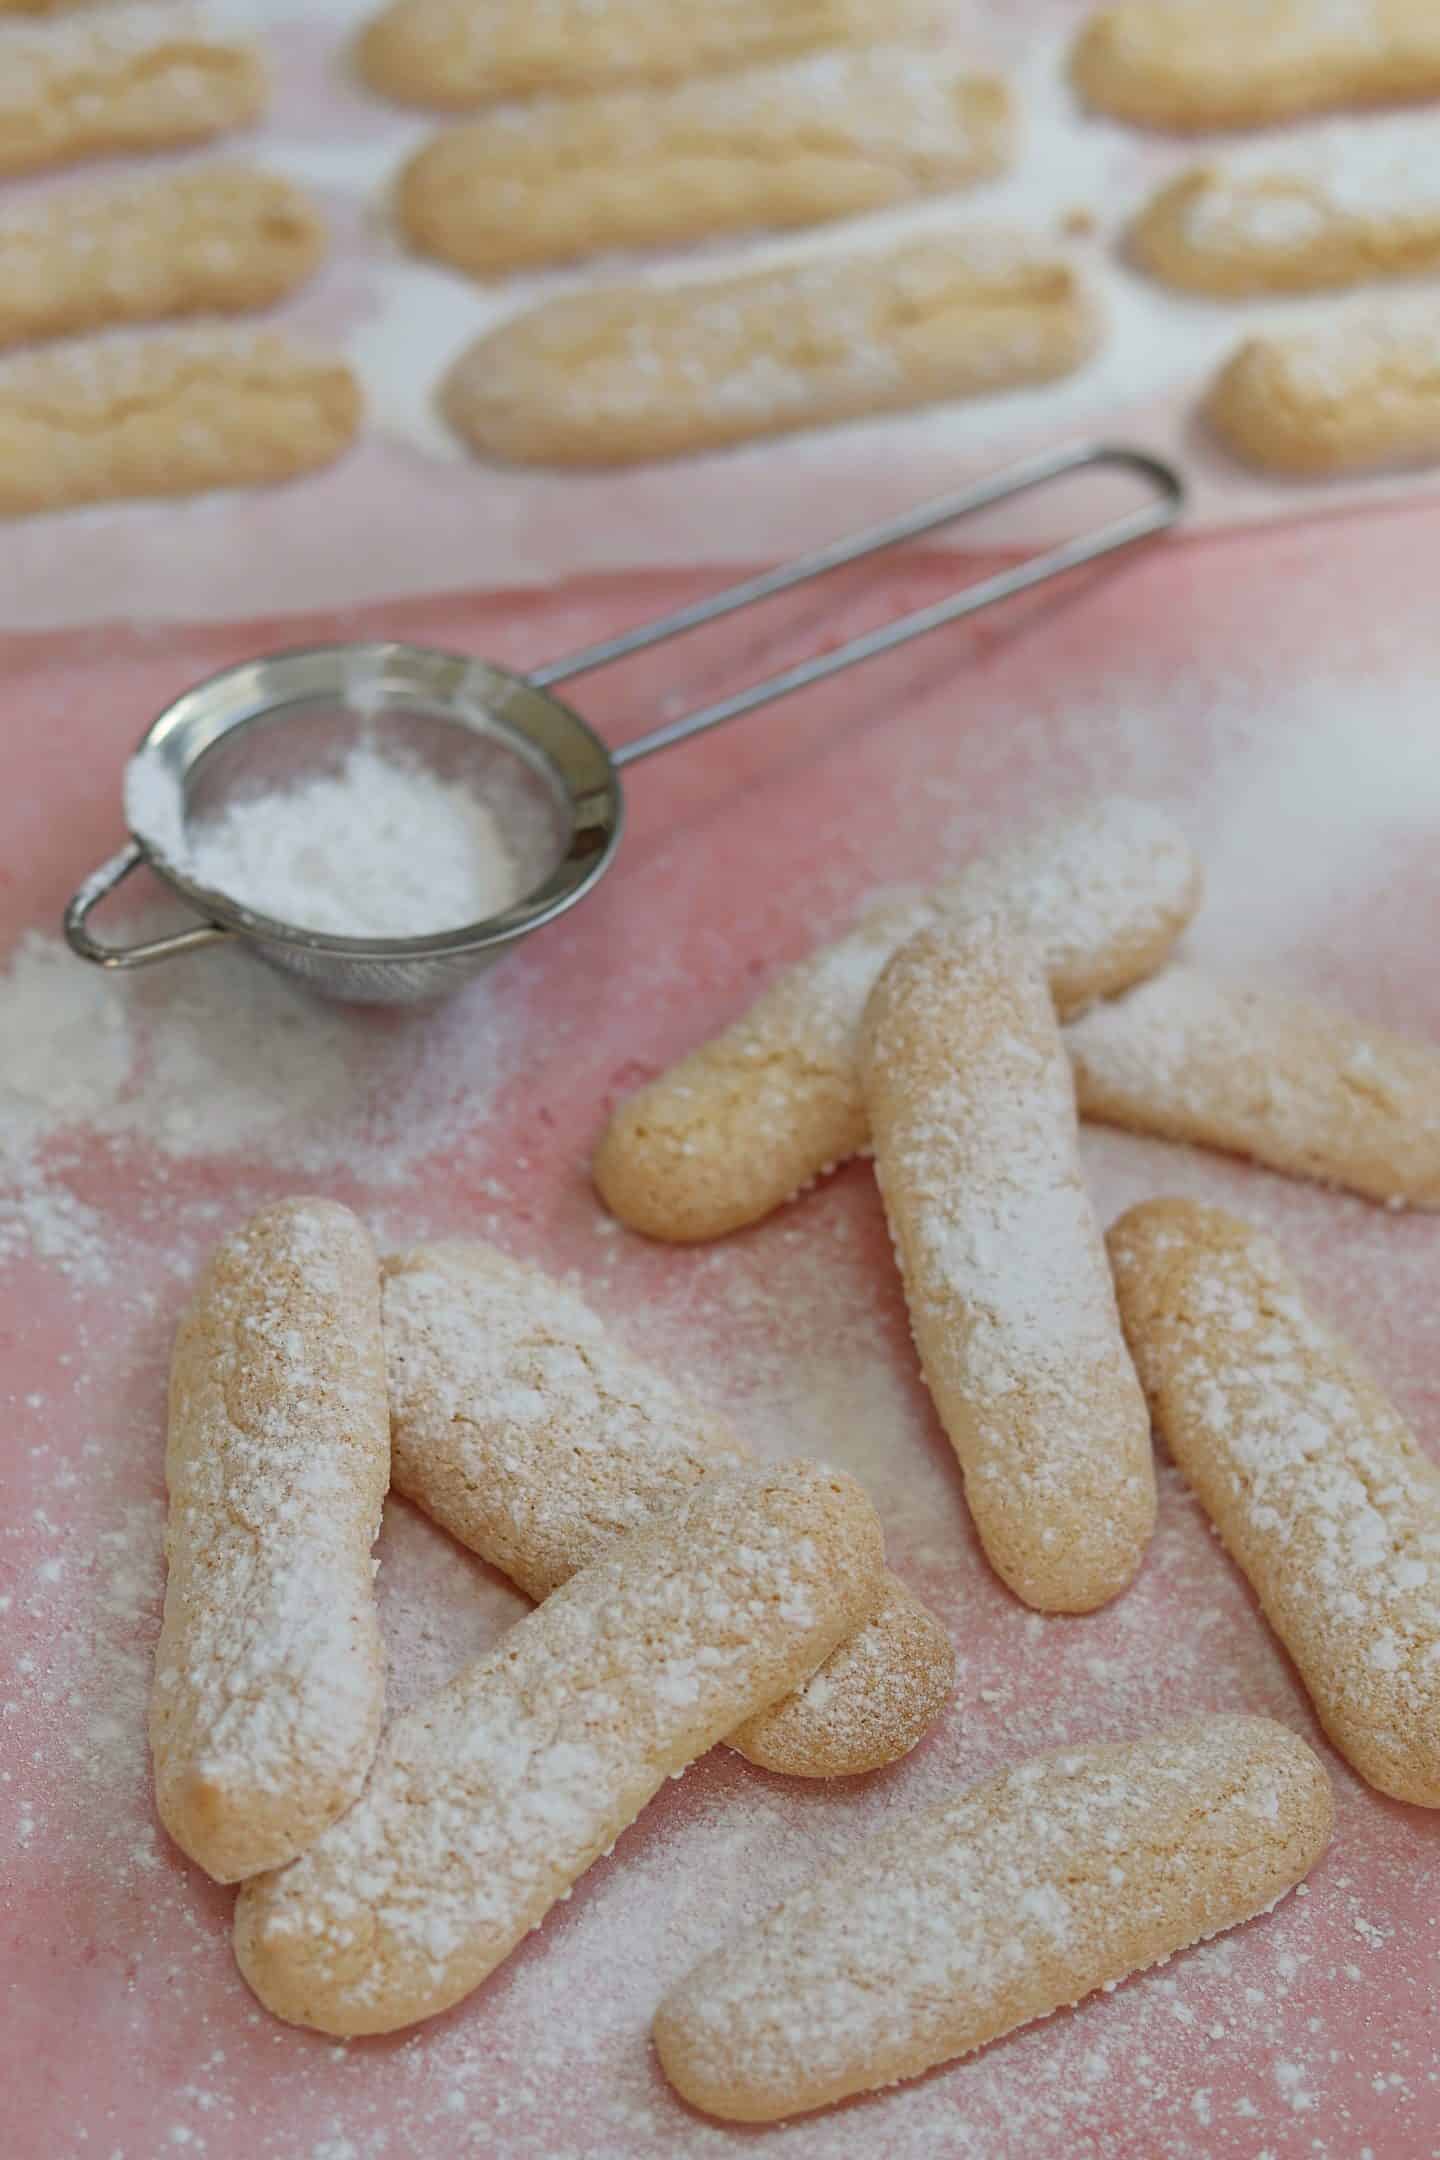
What can I make with gluten free lady fingers?
Once you’ve made these lady fingers gluten free, you can honestly do anything!
They’re great for using as the base of a trifle and I’ll be coming up with a recipe for that soon.
These lady fingers are also perfect for gluten free tiramisu as they soak up the coffee perfectly.
I’ve seen people use them as the base of a cheesecake or you can simple just enjoy them with a good ol’ coffee.
If you have any requests then let me know as these lady fingers are so easy I’ll be making a lot of them!
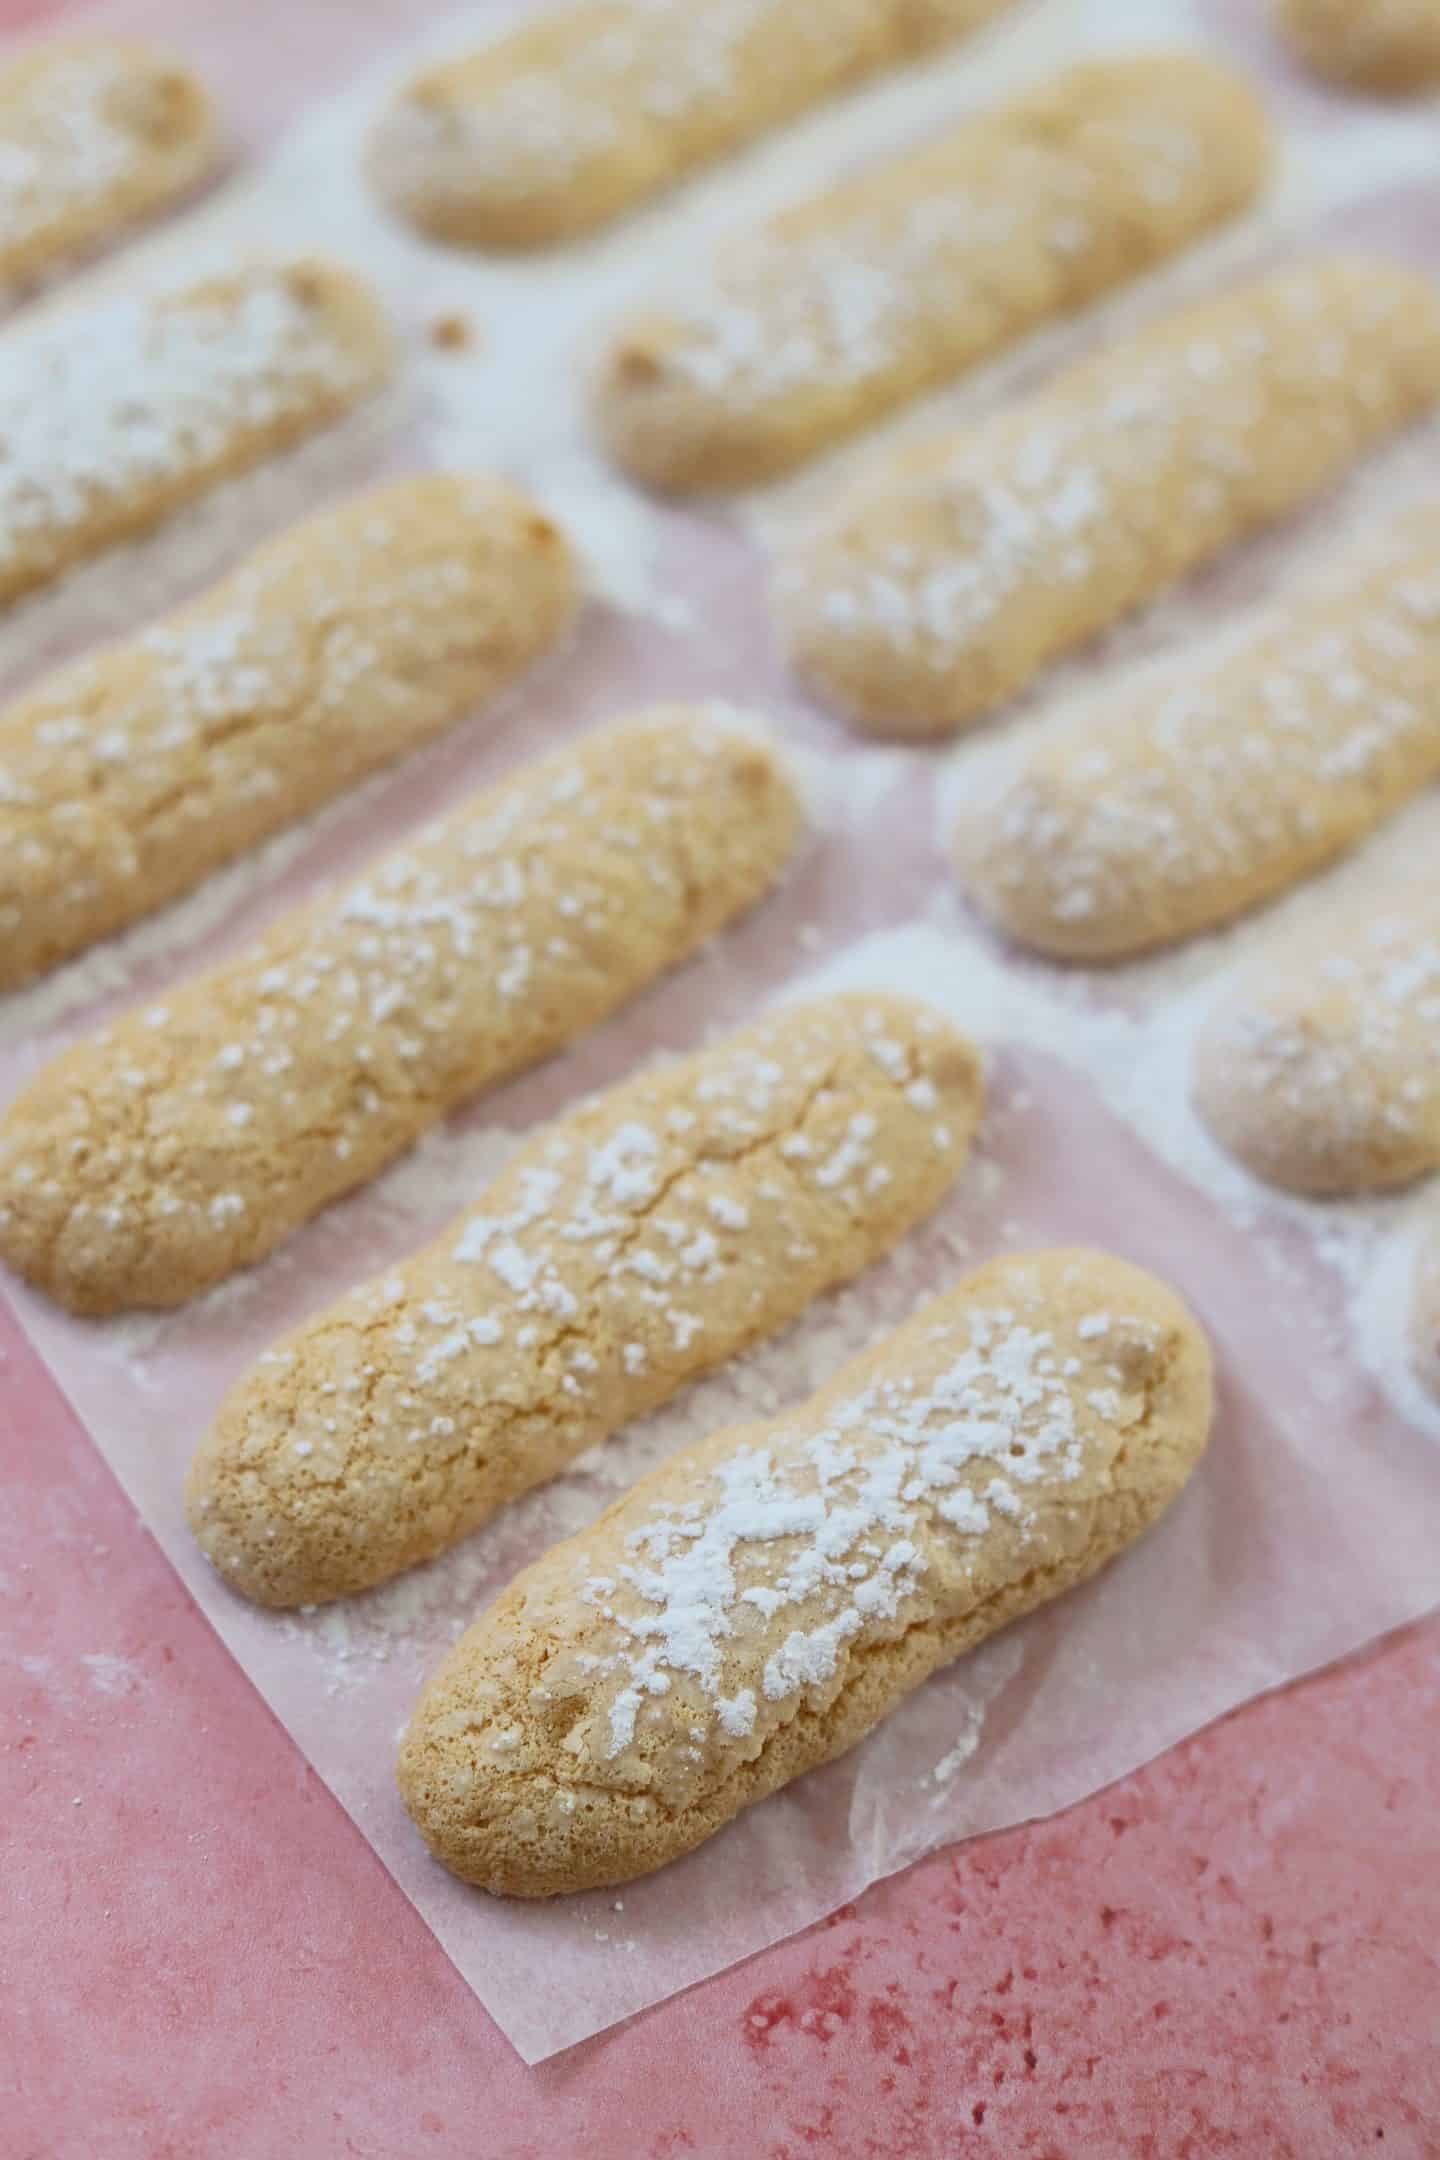
My gluten free lady fingers recipe
This recipe makes around 30 sponge fingers, which is enough for a gluten free tiramisu or trifle.
And you’ll probably have a few extra sponge fingers to snack on while you’re constructing it too!
Don’t forget these ladyfingers also freeze well so you can make a big batch and have them at the ready for an emergency dessert!
If you make this recipe and love it, please do let me know by tagging me on my Instagram or using #theglutenfreeblogger. I love seeing your bakes!
And please do leave a review to let others know you loved it too! It would mean the world to me.
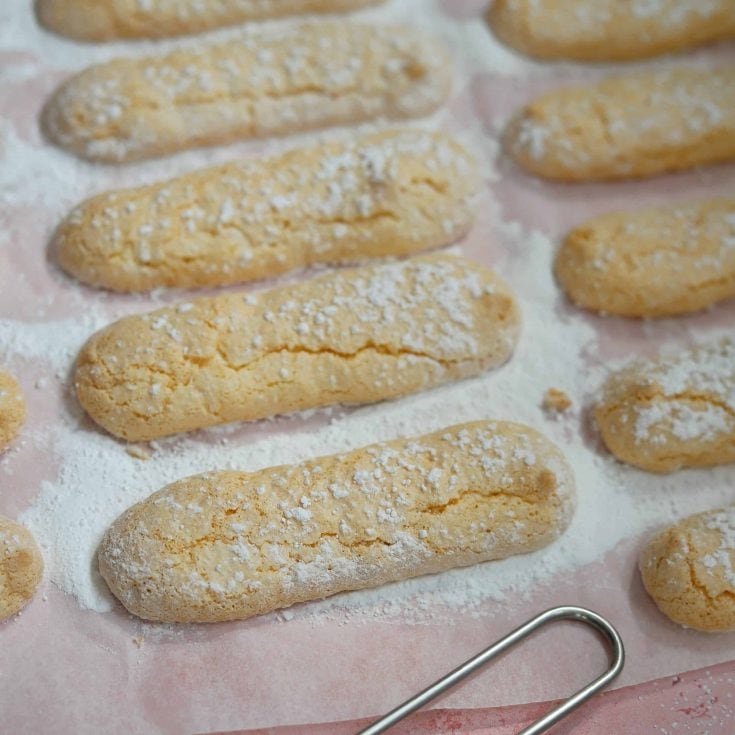
Gluten Free Lady Fingers (Sponge Fingers)
These gluten and dairy free lady fingers (savoiardi) are perfect for making trifle or tiramisu - or just for enjoying with a coffee.
Ingredients
- 3 large eggs
- 1 egg white
- 115g granulated sugar
- 140g plain gluten free flour
- 1/4 tsp xanthan gum
- 1 tsp baking powder
- Pinch salt
- 2-3 tbsp icing sugar
Instructions
- Preheat the oven to 180 C / fan 160 C / Gas Mark 4. Line two baking trays with baking paper. Fit a large, round (1A) nozzle to a piping bag ready for the mix.
- Separate the eggs into two large bowls. To avoid getting any yolk in the whites, I like the separate each one into a smaller bowl before adding to the main mixing bowl. Add the extra egg white to the egg whites.
- Add half the granulated sugar to the egg whites and using an electric whisk to beat until you have soft, glossy peaks. You should be able to turn the bowl upside down and nothing moves! Set to one side.
- Add the rest of the sugar to the egg yolks and beat with an electric whisk until the mix pales and goes fluffy - it should increase in size.
- Add a small amount of the egg white to the egg yolk mixture and fold in with a metal spoon, to loosen the mixture. Add the rest of the egg whites and fold gently until almost combined.
- Mix the gluten free flour, xanthan gum and baking powder in a bowl and then sift into the egg mixture. Fold in carefully until there are no streaks of flour - make sure you're folding not beating the mixture. You want to retain as much air in it as possible!
- Spoon the mixture into the piping bag and then pipe the mixture onto the baking sheets into thick lines, approximately 3.5 inches long. Make sure they're all around half-an-inch apart so they don't spread into each other.
- Dust the fingers liberally with icing sugar (don't worry about excess on the tray!) and then bake for 15-18 minutes until slightly golden round the edges and crackled.
- Remove from the oven and cool on a rack before eating. Keep in an airtight container for up to 3 days or freeze.
Nutrition Information:
Yield:
30Serving Size:
1Amount Per Serving: Calories: 46Total Fat: 1gSaturated Fat: 0gTrans Fat: 0gUnsaturated Fat: 0gCholesterol: 19mgSodium: 30mgCarbohydrates: 9gFiber: 0gSugar: 5gProtein: 1g
Need some more gluten free baking inspiration?
Want to have a go at some of the other gluten free baking recipes on the blog?
Give some of these other gluten free bakes and creations a try and see what you think!
There are plenty to choose from depending what sort of dessert you fancy:
If you do make this recipe please let me know! I’d love to see your photos using #theglutenfreeblogger, share them in my Facebook group or tag me on Instagram.
And if you have any recipe suggestions, please let me know in the comments what you’d like to see next!
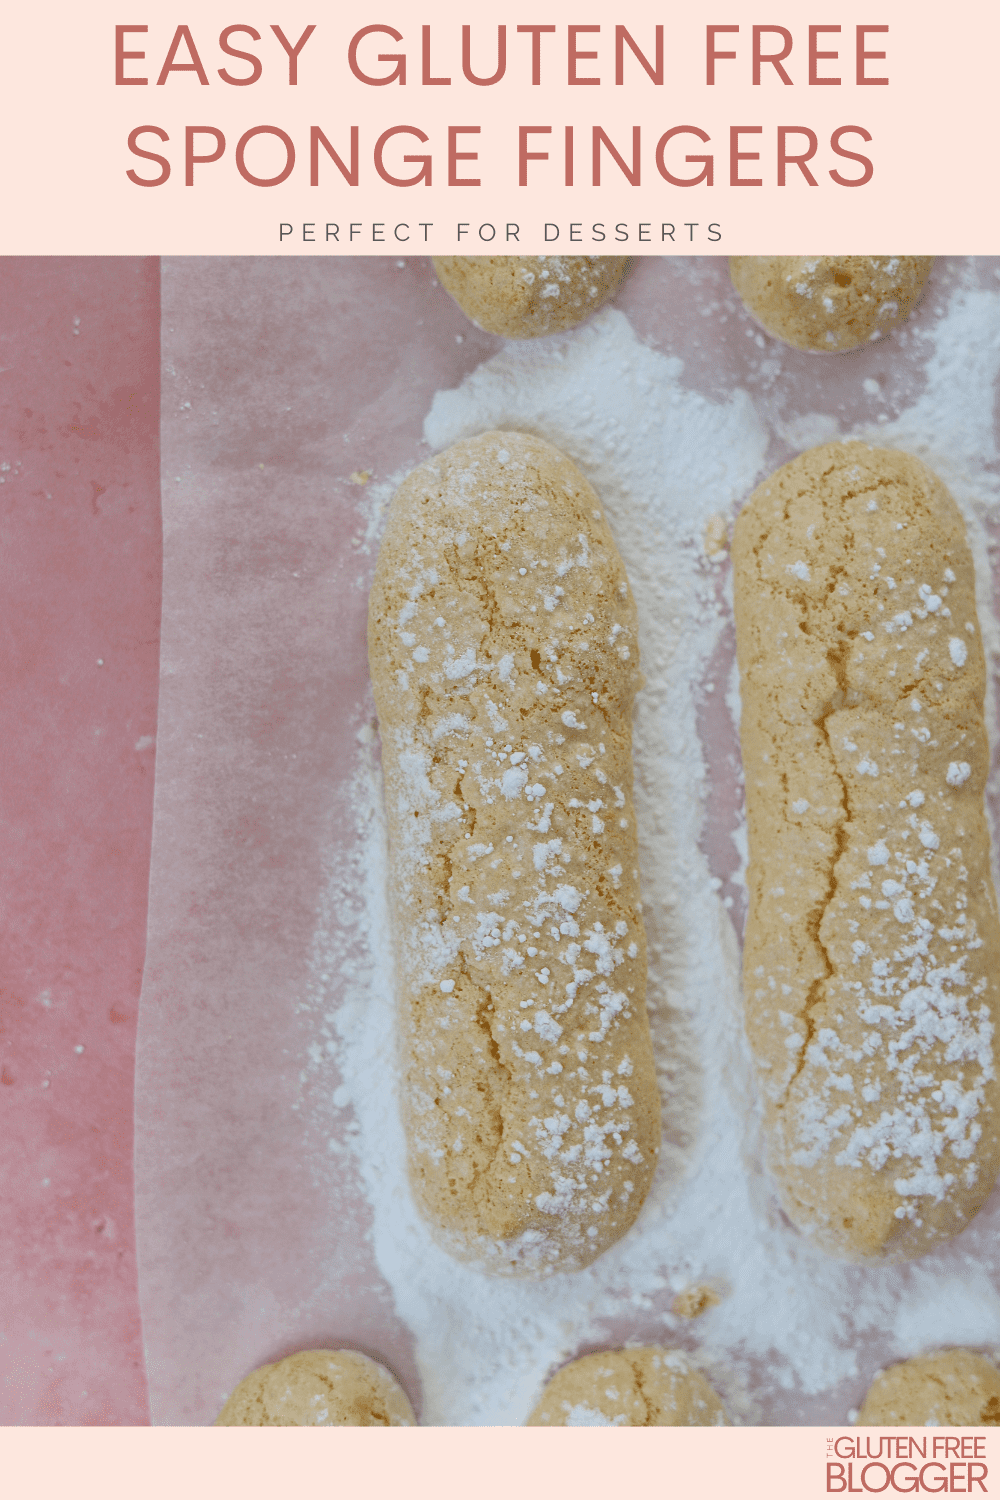
Like this Gluten Free Lady Fingers recipe?
Make sure you pin these recipe cards below for later!
Do head over and follow me on Pinterest too for more gluten free recipe inspiration.





Hello,
This Asus Chromebook is just 116 USD today:
https://amzn.to/3gARU1W
Peace
This recipe tastes amazing. Follow the steps accurately for success