This post may contain affiliate links for which I earn a small commission at no extra cost to you. For more info, check out my Disclosure Policy. Thank you for your support!
These Chocolate Easter Nests are such a nostalgic Easter treat – perfect for making with kids. This is an easy no-bake recipe that I used to make all the time as a child. Making gluten free Easter eggs harbours so many fond childhood memories for me!

Table of Contents
What you need to know at-a-glance:
- Why choose this recipe? These no-bake, easy Chocolate Easter Nests are so much fun to make, and are completely gluten free!
- Child-Friendly: The only ‘cooking’ involves heating the chocolate on a hob or microwave. I made these all the time as a kid and loved them.
- Dairy Free? Use a dairy free butter and dairy free chocolate for the nests, and source some miniature vegan chocolate eggs for the centre.
Whether you’re making this Chocolate Easter Nests Recipe with leftover Easter chocolate (I know, what even is that!?) or as an Easter holiday activity, you’re going to love them.
I used to make these all the time when I was a kid and have so many fun memories of scoffing them as an after-school treat.
In my pre-coeliac days I used to make these with Shredded Wheat. But since being diagnosed with coeliac disease I’ve always made them with gluten free puffed rice instead.
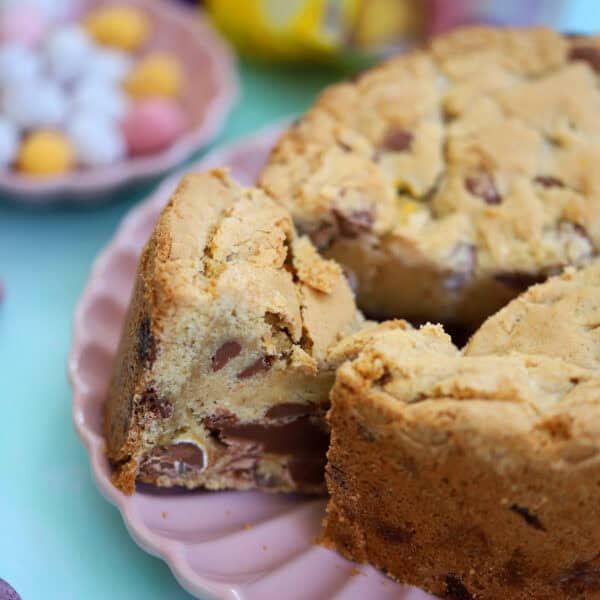
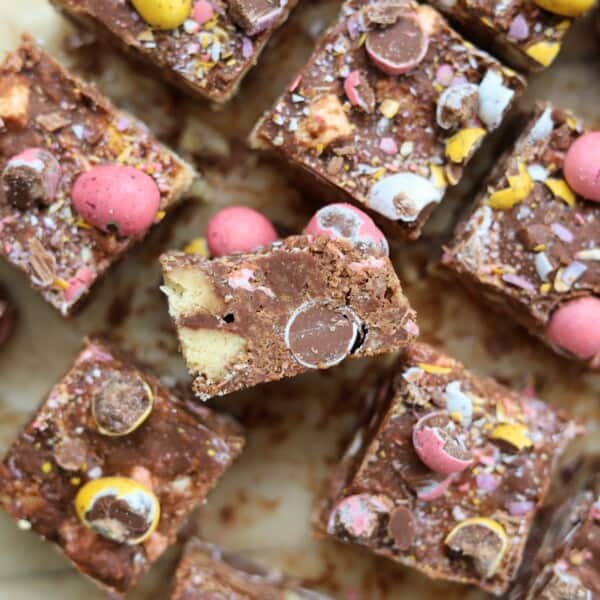
Why not have a little Easter baking session and make them alongside my Mini Egg Fudge, gluten free Mini Egg Cookies or gluten free Creme Egg brownies too?

Ingredients and Substitutions
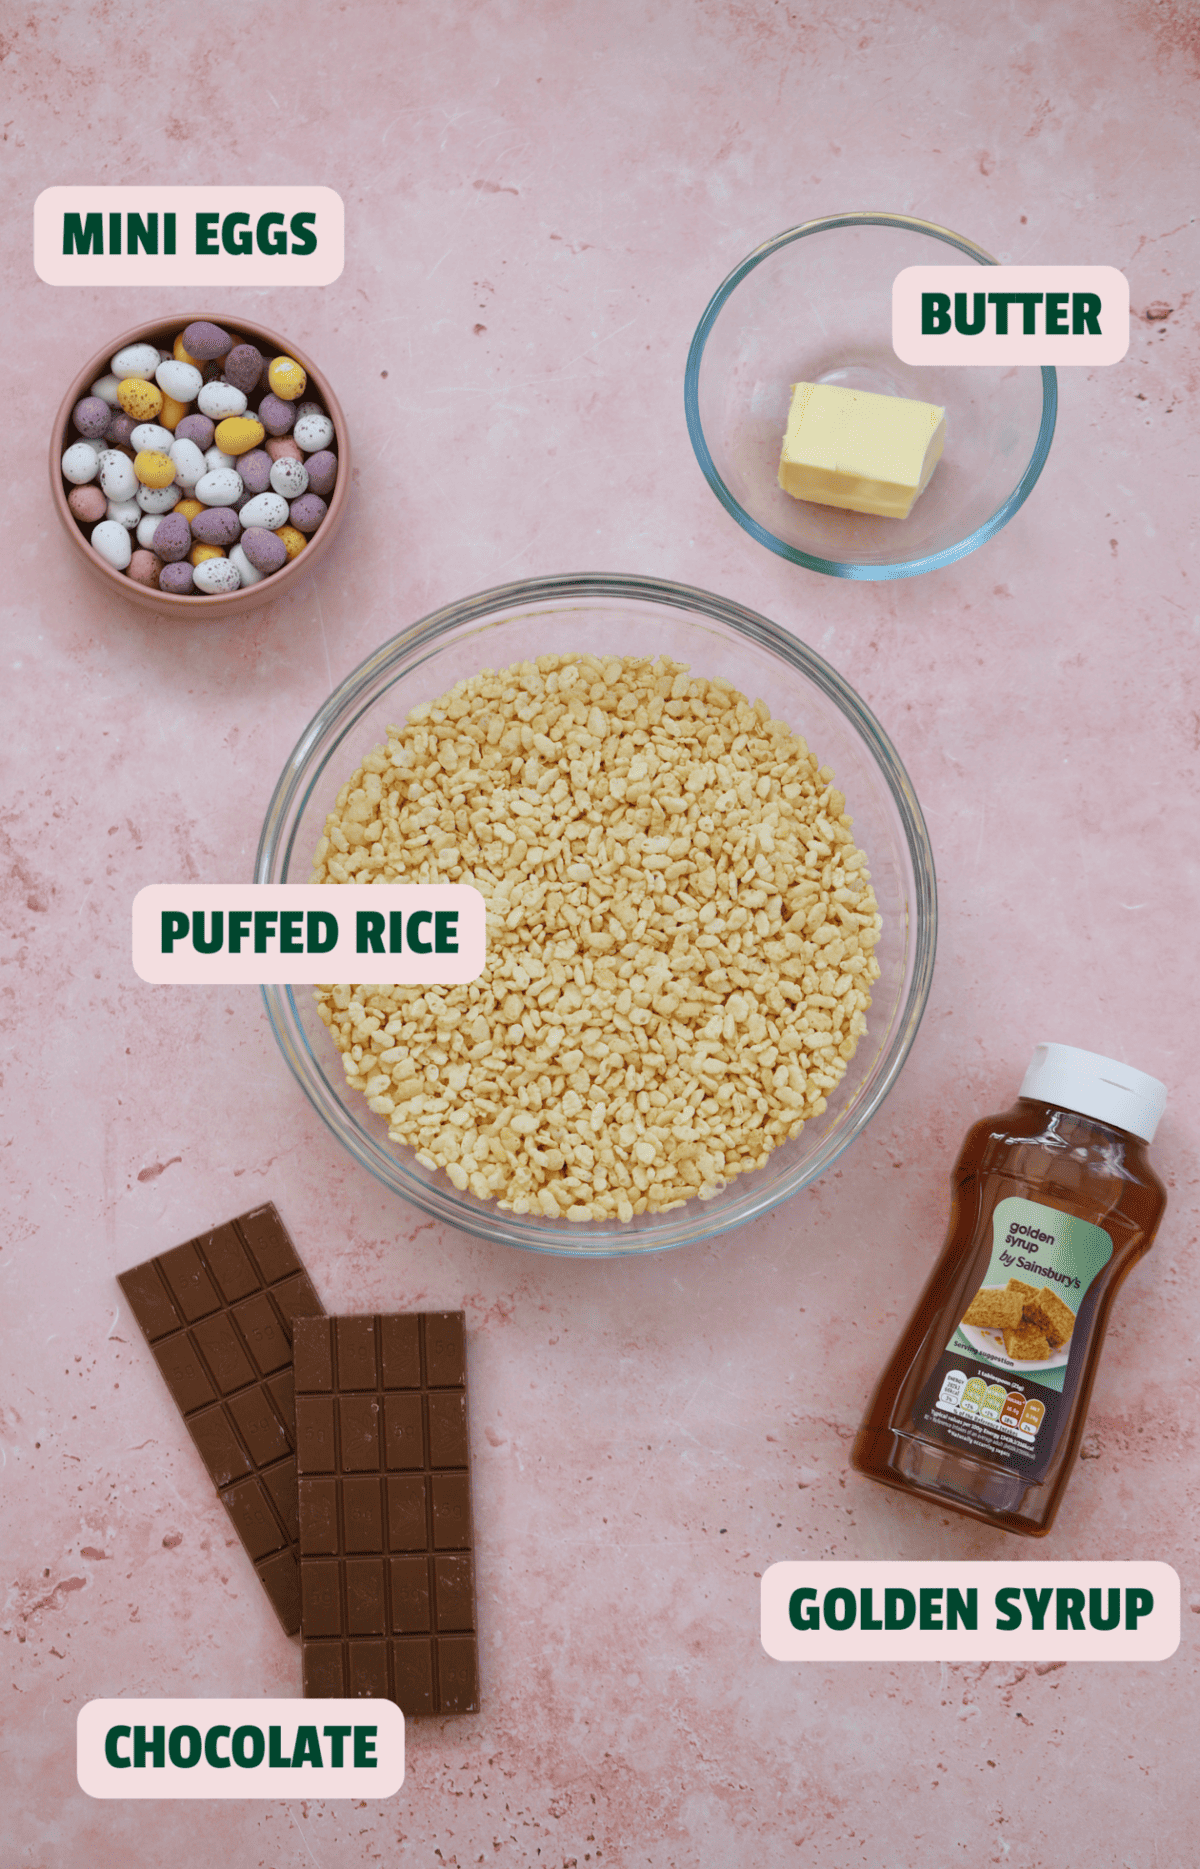
You only need 4 ingredients to make this easy chocolate Easter nests recipe:
- Chocolate: I use the Dr Oetker baking chocolate – you can swap this for a dairy free chocolate if needed.
- Unsalted Butter: Or use a vegan spread for dairy free.
- Golden Syrup: If you’re making these in the US the closest to Golden Syrup is probably a light treacle or light corn syrup. You can omit this to lower the sugar.
- Gluten Free Puffed Rice: Most supermarkets have their own brand of gluten free puffed rice in the free from aisle. You can also check the Coeliac UK scanner app to find suitable non-free-from brands. Alternatively use gluten free cornflakes or Nutribrex, which is a sorghum-based dupe of Weetabix.
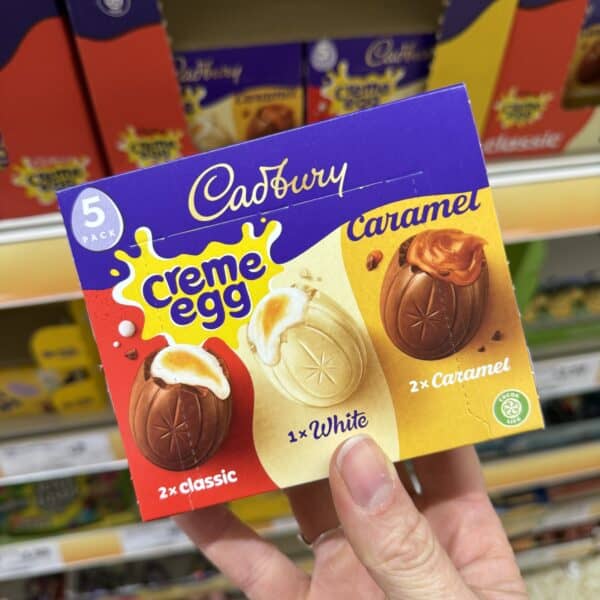
- Mini Eggs: Cadbury’s Mini Eggs are gluten free, or alternative use your favourite miniature gluten free Easter eggs (swap for dairy free ones if needed).
You’ll also need some cupcake cases for this, as well as a heatproof bowl and mixing bowl.
At-A-Glance: How To Make Easter Nests
The basic premise of making these cornflake cakes is so simple:
- Melt the chocolate, butter and syrup together
- Stir in the gluten free puffed rice
- Spoon the mixture between Easter cake cases
- Top with Mini Eggs and refrigerate!
Photo Guide: How to Make Chocolate Easter Nests
Here are some step-by-step photos to guide you through this recipe. I thought this would be helpful, especially if you’re making this with kids, so they can visually follow the process.

First, break up the chocolate and add it to a heatproof bowl along with the butter and golden syrup. Place the bowl over a pan of hot water.
Keep stirring the chocolate until it melts, then remove it from the heat. Alternatively, heat in 30-second intervals in the microwave until melted.
Add the puffed rice to a large mixing bowl and then pour over the melted chocolate mixture.

Use a spatula or wooden spoon to mix everything together so that all the cereal is completely and evenly coated.
Lay out the cupcake cases and add around 2 dessert spoons of the cereal mixture per case, to fill them. Gently press 2-3 Mini Eggs in the centre of each one, like a little nest.
Place the Easter egg nests in the fridge for around an hour to set before eating. If you can bear to wait that long!
Storing and Freezing Instructions
TO STORE: I recommend keeping these chocolate Easter nests in the fridge. They usually keep for up to a week, but can go a bit soft towards the end of this time. All the more reason to gobble them up quickly – as if you needed encouragement!

Have you tried this recipe?
I have a huge favour to ask! It’s getting more and more difficult to get my recipes out there to the world – so if you try this and love it, it would mean a HUGE amount if you’d come back and leave a ⭐️⭐️⭐️⭐️⭐️ review and a little comment telling me what you thought! Just 30 seconds of your time would be such a huge support! 💛
Want to connect further?
- Tag me on Instagram with your amazing creations so I can share them!
- Join my Facebook group to meet other awesome gluten free people

Chocolate Easter Nests Recipe
Ingredients
- 150 g milk chocolate, (I used Dr Oetker baking chocolate)
- 40 g unsalted butter
- 100 g gluten free puffed rice cereal, (I used the GoFree Gluten Free Rice Pops)
- 30 g Golden syrup, (optional – omit for a lower sugar version)
- 270 g bag of Mini Eggs, (or miniature chocolate eggs of choice)
Instructions
- Break up the chocolate and add it to a heatproof bowl along with the butter and golden syrup. Place the bowl over a pan of hot water. Keep stirring the chocolate until it melts, then remove it from the heat. Alternatively, heat in 30-second intervals in the microwave until melted.
- Add the puffed rice to a large mixing bowl and then pour over the melted chocolate mixture. Use a spatula or wooden spoon to mix everything together so that all the cereal is completely and evenly coated.
- Lay out the cupcake cases and add around 2 dessert spoons of the cereal mixture per case, to fill them. Gently press 2-3 Mini Eggs in the centre of each one, like a little nest.
- Place the Easter egg nests in the fridge for around an hour to set before eating.
Notes
- Step-by-Step Photos: Check out the blog post above for step-by-step photos of this method – perfect if you need a visual aid for young helpers!
- Storing: These chocolate Easter egg nests should really be kept in the fridge, and they’ll last up to a week. Sometimes longer, but they may start to go a little soft.
- Top Tip: Want to speed up the setting process? Pop them in the freezer for 15-20 minutes and you can eat these chocolate crispy Easter nests much sooner!
- Like this Recipe? It would mean SO much to me if you could leave a 5* rating with a little comment about how much you loved these Chocolate Easter Nests! It really helps to support my website. Thank you! xx
Nutrition
Frequently Asked Questions
Here are some FAQs about this easy Easter egg nests recipe. If you can’t find the answer to your question here or in the post above, please comment and I’ll try answer!
It’s important to heat the chocolate, butter and syrup together *slowly* otherwise it can go a little, er, odd. If you heat it over rapidly boiling water, or leave it in the microwave too long, it can separate and go kind of thick and weird.
Also make sure you don’t get water in the chocolate mixture, as this will also cause it to seize and go lumpy and grainy.
To make gluten and dairy free Easter nests, use a dairy free chocolate and swap the butter for a vegan margarine or something like Stork. Always double check the ingredients on your cereal, but free from puffed rice is usually dairy free too.
More Gluten Free Easter Recipes
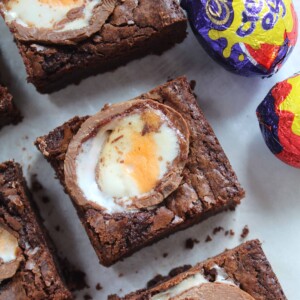 Gluten Free Creme Egg Brownies
 Gluten free Mini Egg cookies
 Gluten free chocolate orange mini egg cookies
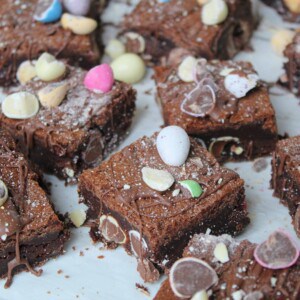 Gluten Free Easter Brownies
 Gluten Free Hot Cross Buns
 Mini Egg Cheesecake
 Gluten Free Mini Egg Rocky Road
 Gluten Free Salted Caramel Hot Cross Buns
 Gluten Free Simnel Cake
 Mini Egg Brownies
 Mini Egg Cookie Pie
 Gluten Free Carrot Cake Cupcakes
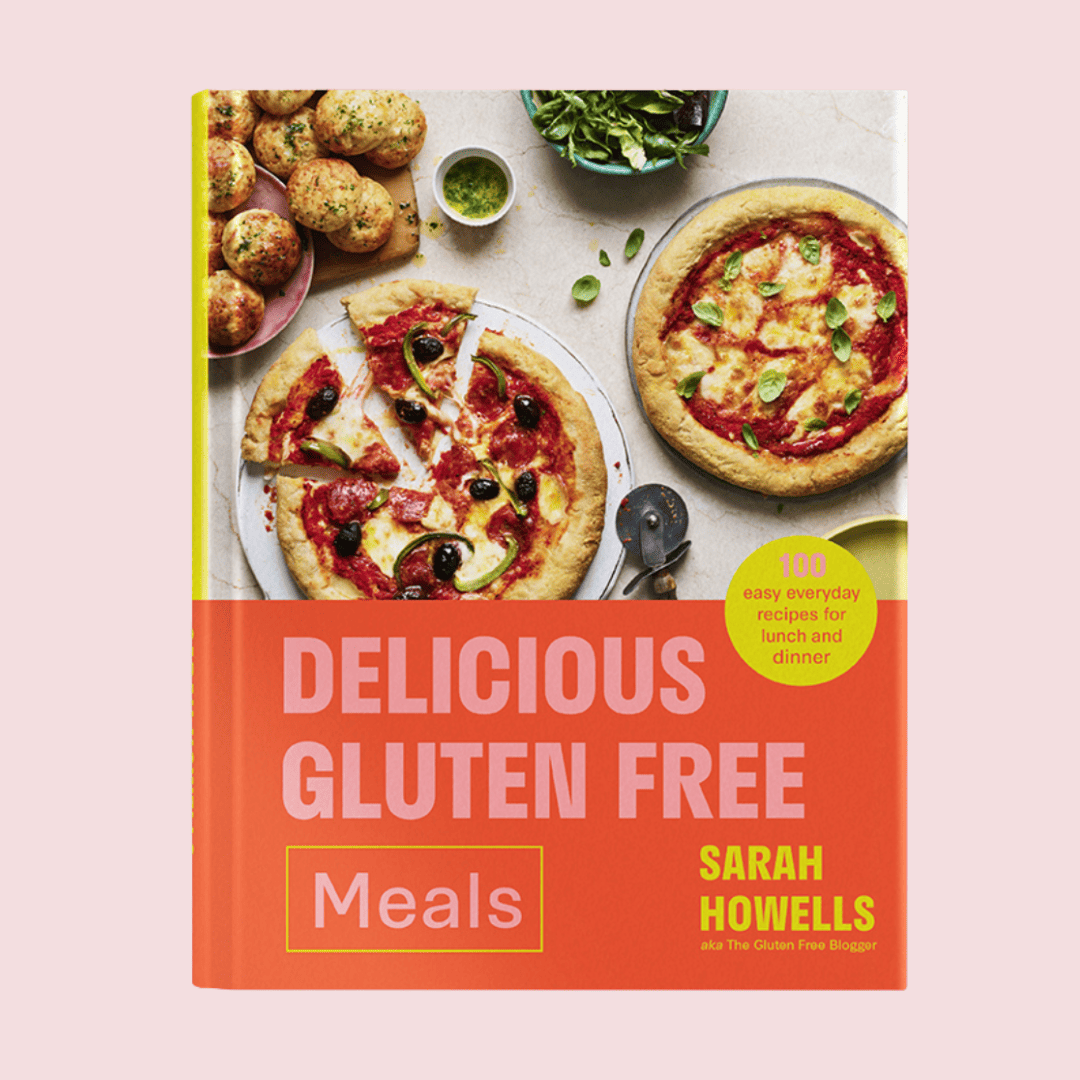
Get my cookbook!
Want more gluten free meals inspiration? My debut cookbook, Delicious Gluten Free Meals, has 100+ gluten free recipes, from breakfast and lunch ideas to dinners, desserts and sides.