This post may contain affiliate links for which I earn a small commission at no extra cost to you. For more info, check out my Disclosure Policy. Thank you for your support!
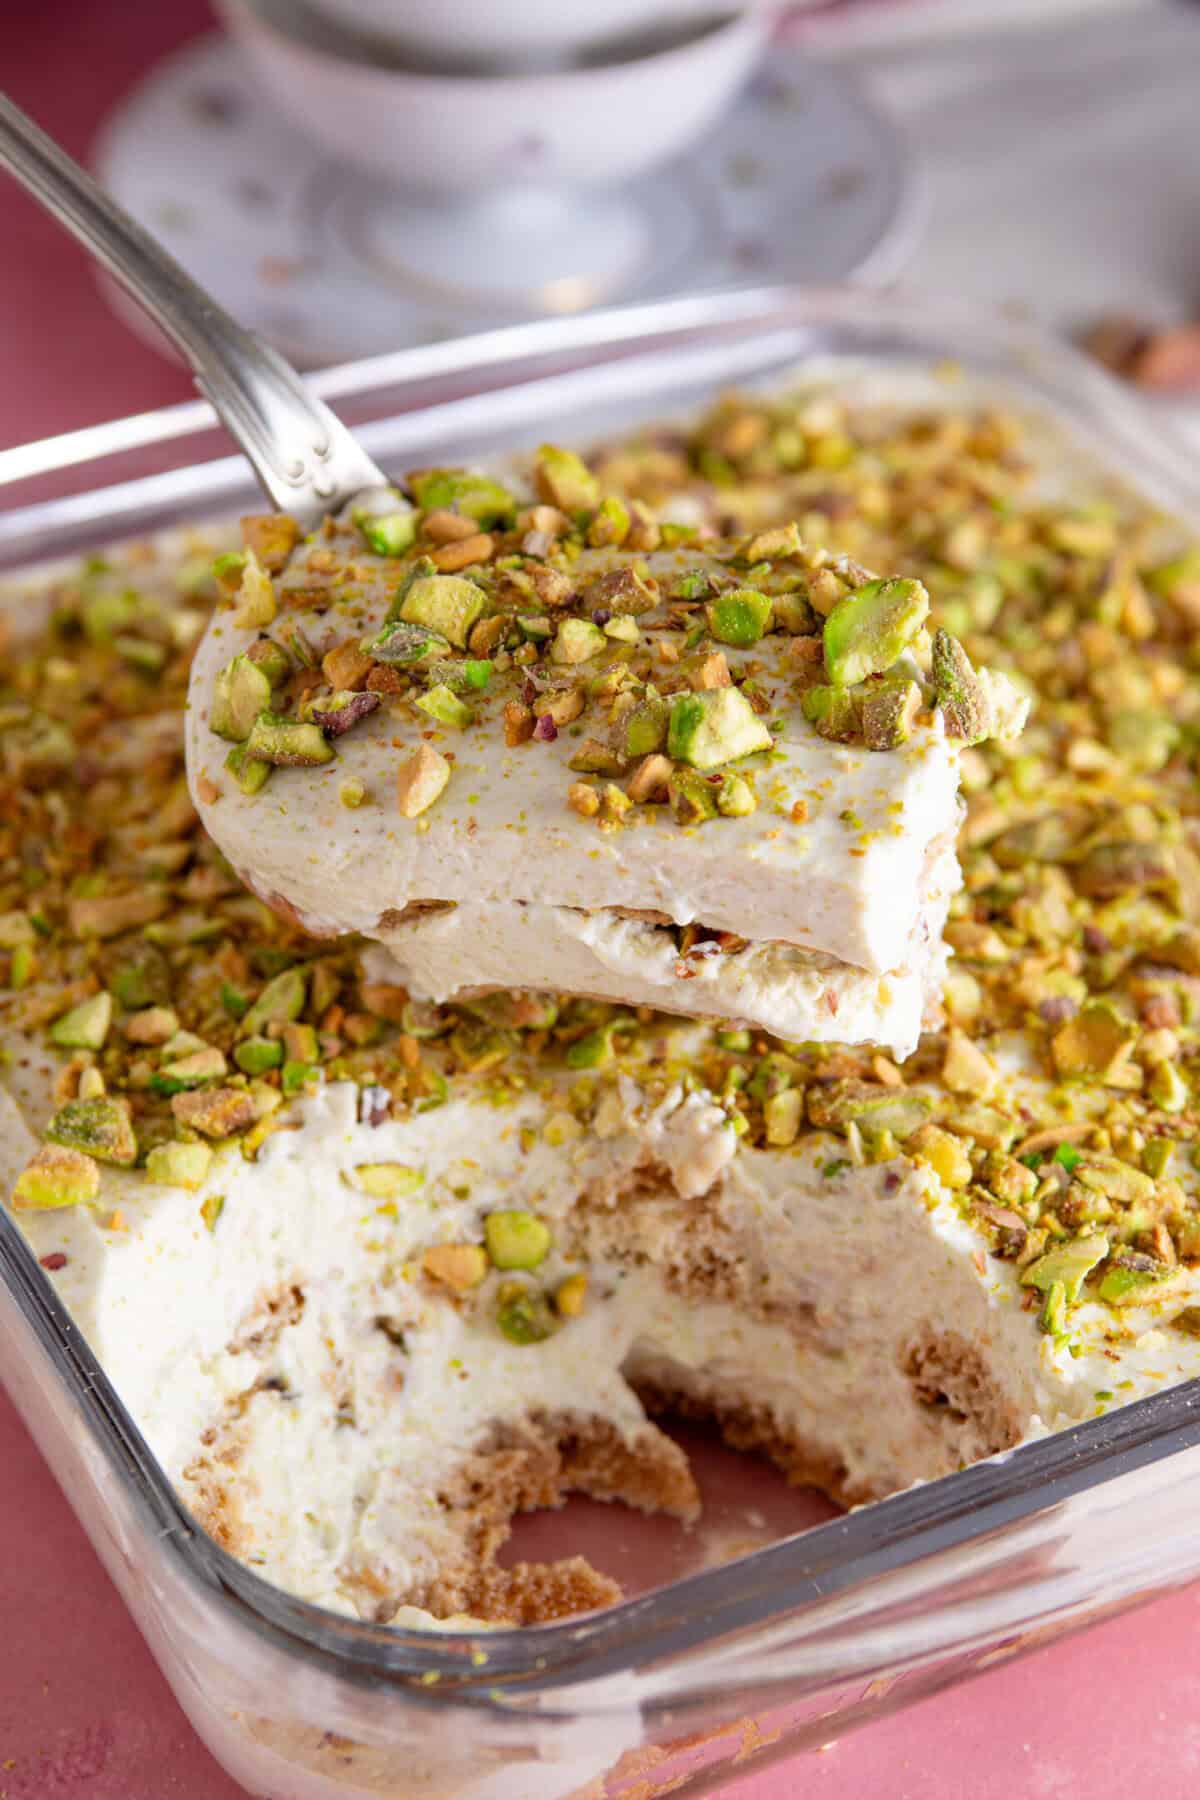
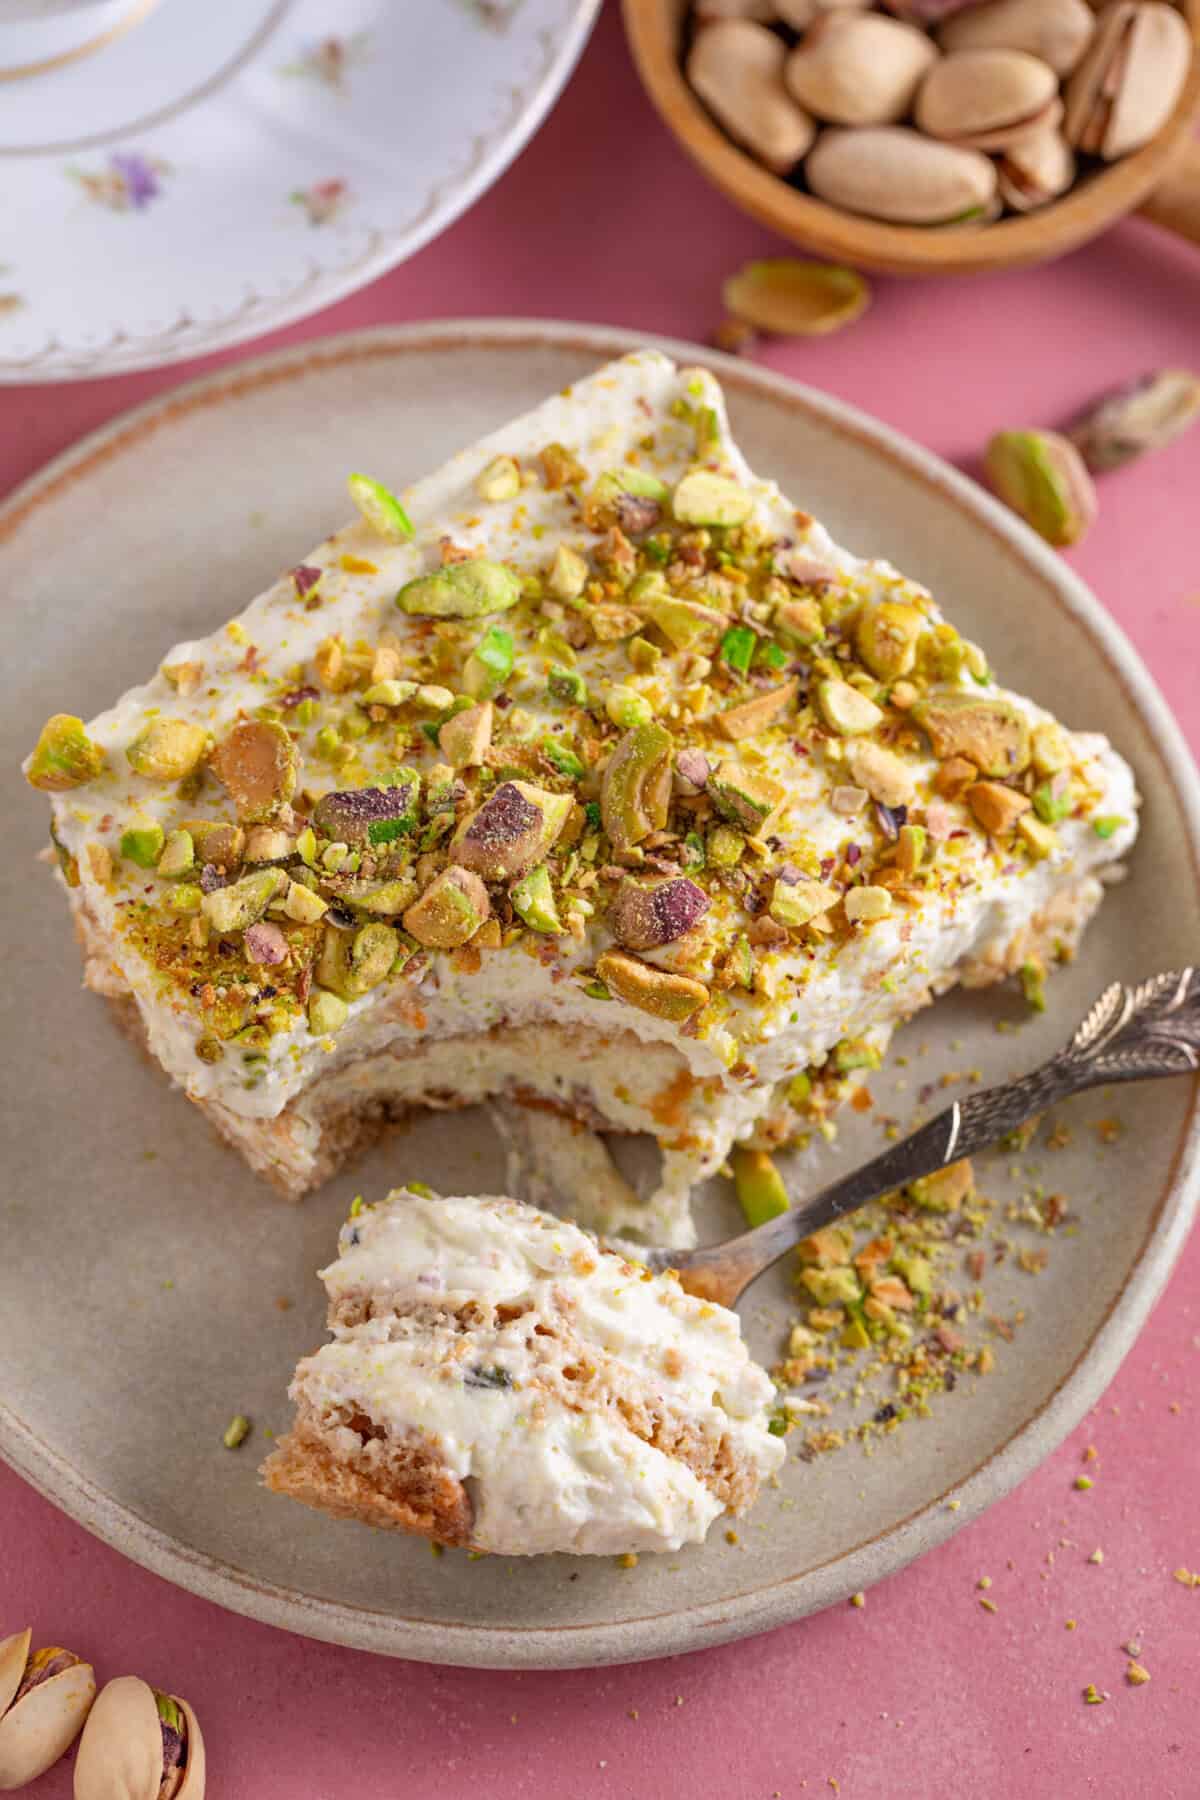
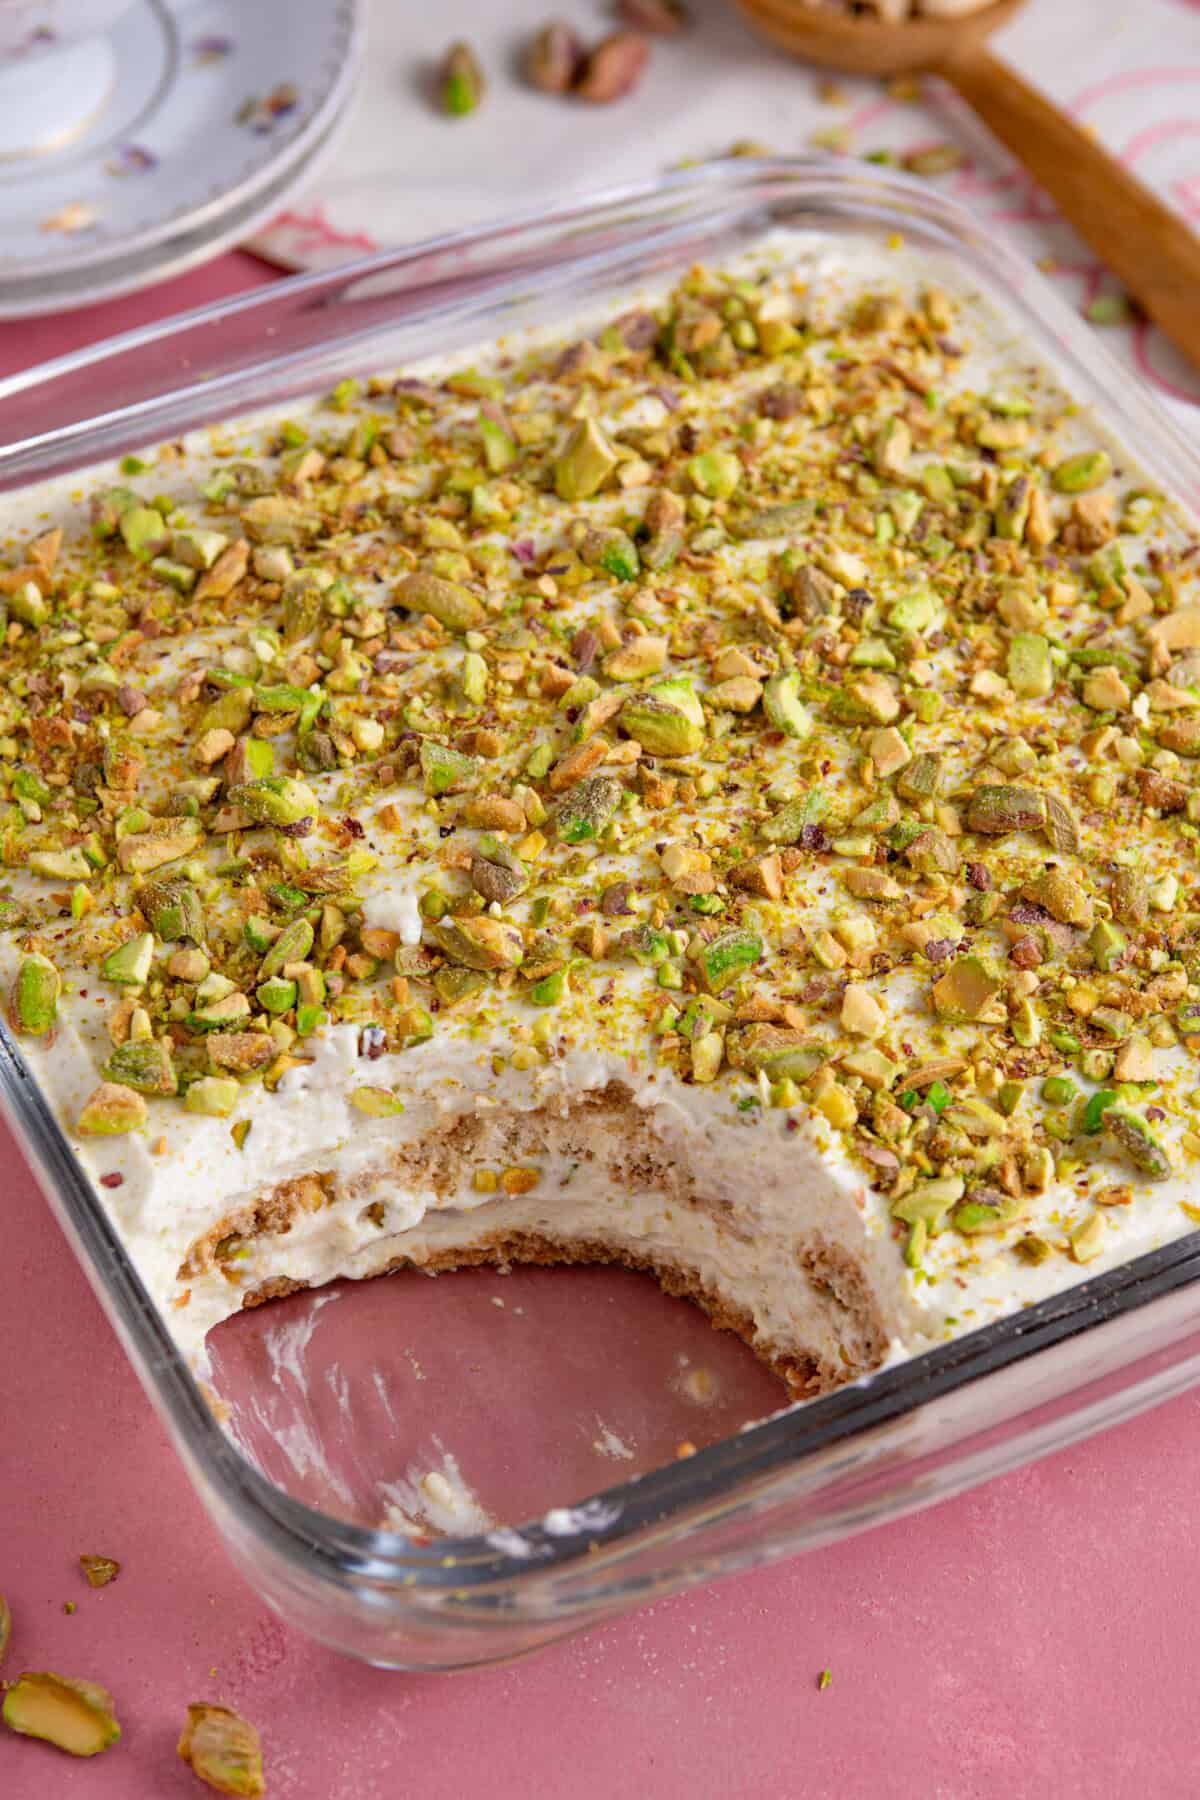
This Gluten Free Pistachio Tiramisu is my twist on a dessert favourite, with espresso-soaked sponge fingers layered between whipped pistachio and mascarpone cream. Topped with crushed nuts, it’s the ultimate pistachio-lover’s dessert!
Notes On This Pistachio Tiramisu Recipe
This Gluten Free Pistachio Tiramisu recipe is a really easy gluten free dessert for summer, which is 100% coeliac-safe, but nobody would ever know it’s gluten free.
I added a pistachio twist to my Gluten Free Tiramisu recipe, which is made without raw egg and using my homemade gluten free lady fingers.
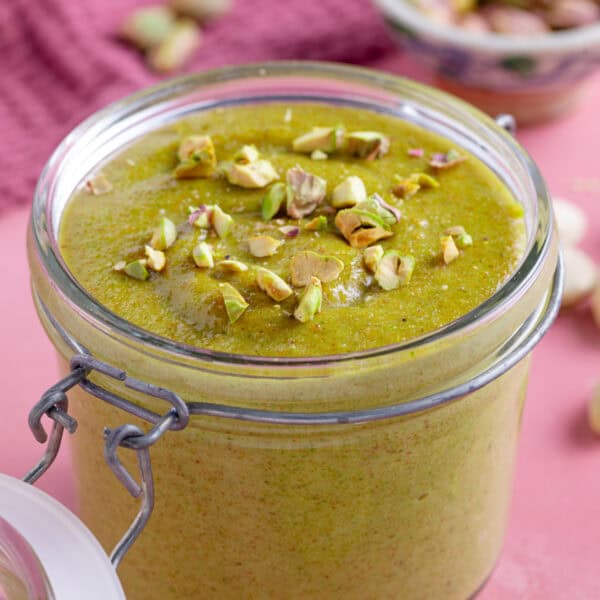
You can use homemade pistachio cream to take this to a whole new level, with a fragrant topping of vibrant, crushed pistachios to really finish it off.
It’s sweet, super light and the perfect dessert for summer. Plus you can make the components in advance and assemble on the day, if you want to save time.
Table of Contents
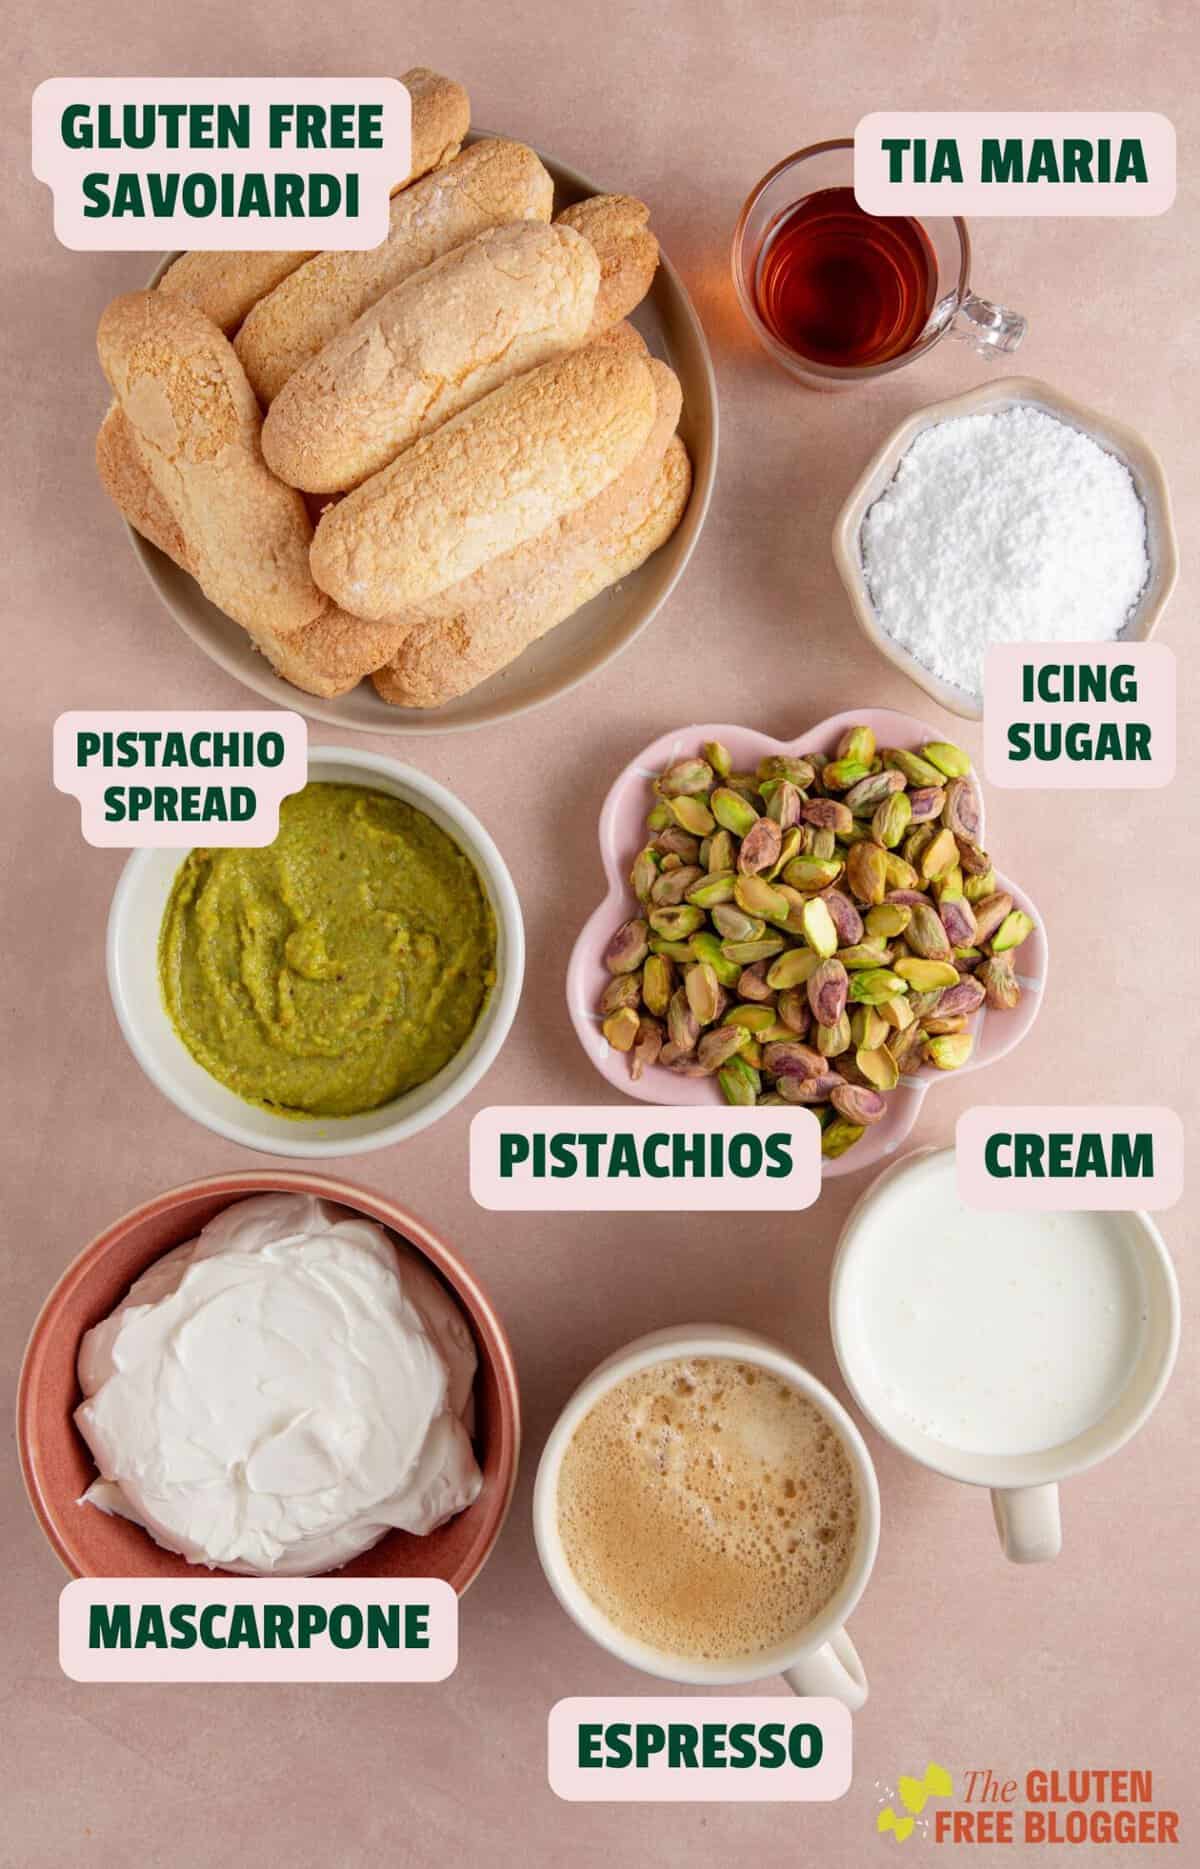
Ingredients and Substitutions
There’s a printable recipe card below for this pistachio tiramisu recipe with the full quantities. But here are the main ingredients and ideas for any swaps.
- Gluten Free Savoiardi: I recommend making my easy homemade Gluten Free Lady Fingers as I’ve never seen these in the shops. I did find some on Amazon which are quite pricey. Unfortunately the Schär gluten free ladyfingers aren’t on sale in the UK but are available across Europe.
- Mascarpone Cheese: You could use a standard, full-fat cream cheese.
- Icing Sugar: An authentic tiramisu made with raw eggs would use caster or granulated sugar. However because we’re using cream instead I find icing sugar creates a much lighter consistency and taste. In the US look for powdered sugar.
- Double Cream: Whipping up double cream (heavy cream) is my equivalent of using whipped up eggs and it creates a lovely, creamy taste and texture.
- Espresso: I recommend using espresso coffee but if you have to, you could make a strong coffee using around 2-3 tbsp of instant coffee in a mug of hot water.
- Tia Maria: Traditional tiramisu usually uses Marsala, so you could use this instead.
- Pistachio Spread: I use my homemade pistachio cream in this or you can use a jar of pistachio spread. Don’t use pistachio paste as this is 100% nuts and not sweet!
- Pistachios: I crushed pistachio kernels for extra colour and texture.
How to Make a Pistachio Tiramisu
There’s a printable recipe card below with the method. But here are some step-by-step photos to show you how easy this gluten free pistachio tiramisu is to make.
Storing and Making Ahead
TO STORE: Any leftovers of my gluten free tiramisu can be kept in the fridge for 1-2 days. Any longer and you may find it goes soggy! I wouldn’t recommend freezing.
TO MAKE AHEAD: The sponge fingers can be made a couple of days in advance (or well in advance and frozen). The cream layer can be made up to 24 hours before assembling, and kept in the fridge until ready to prepare.

Gluten Free Pistachio Tiramisu Recipe
Equipment
Ingredients
- 18-20 Gluten Free Ladyfingers, (using my homemade recipe)
- 75 ml espresso coffee, (cooled – see notes for using instant coffee)
- 60 ml Tia Maria, (or Marsala wine. For alcohol-free, replace with espresso)
For the Cream Layer:
- 250 ml double cream, (heavy cream)
- 50 g icing sugar
- 250 g mascarpone cheese
- 100 g pistachio kernels, (crushed)
- 100 g pistachio creme, (or pistachio spread)
Instructions
- Make the gluten free lady fingers and then allow to cool completely. The are actually best made at least a day or two before making the tiramisu – they absorb the coffee better if left to stale slightly!
- Make the espresso and allow to cool to room temperature.
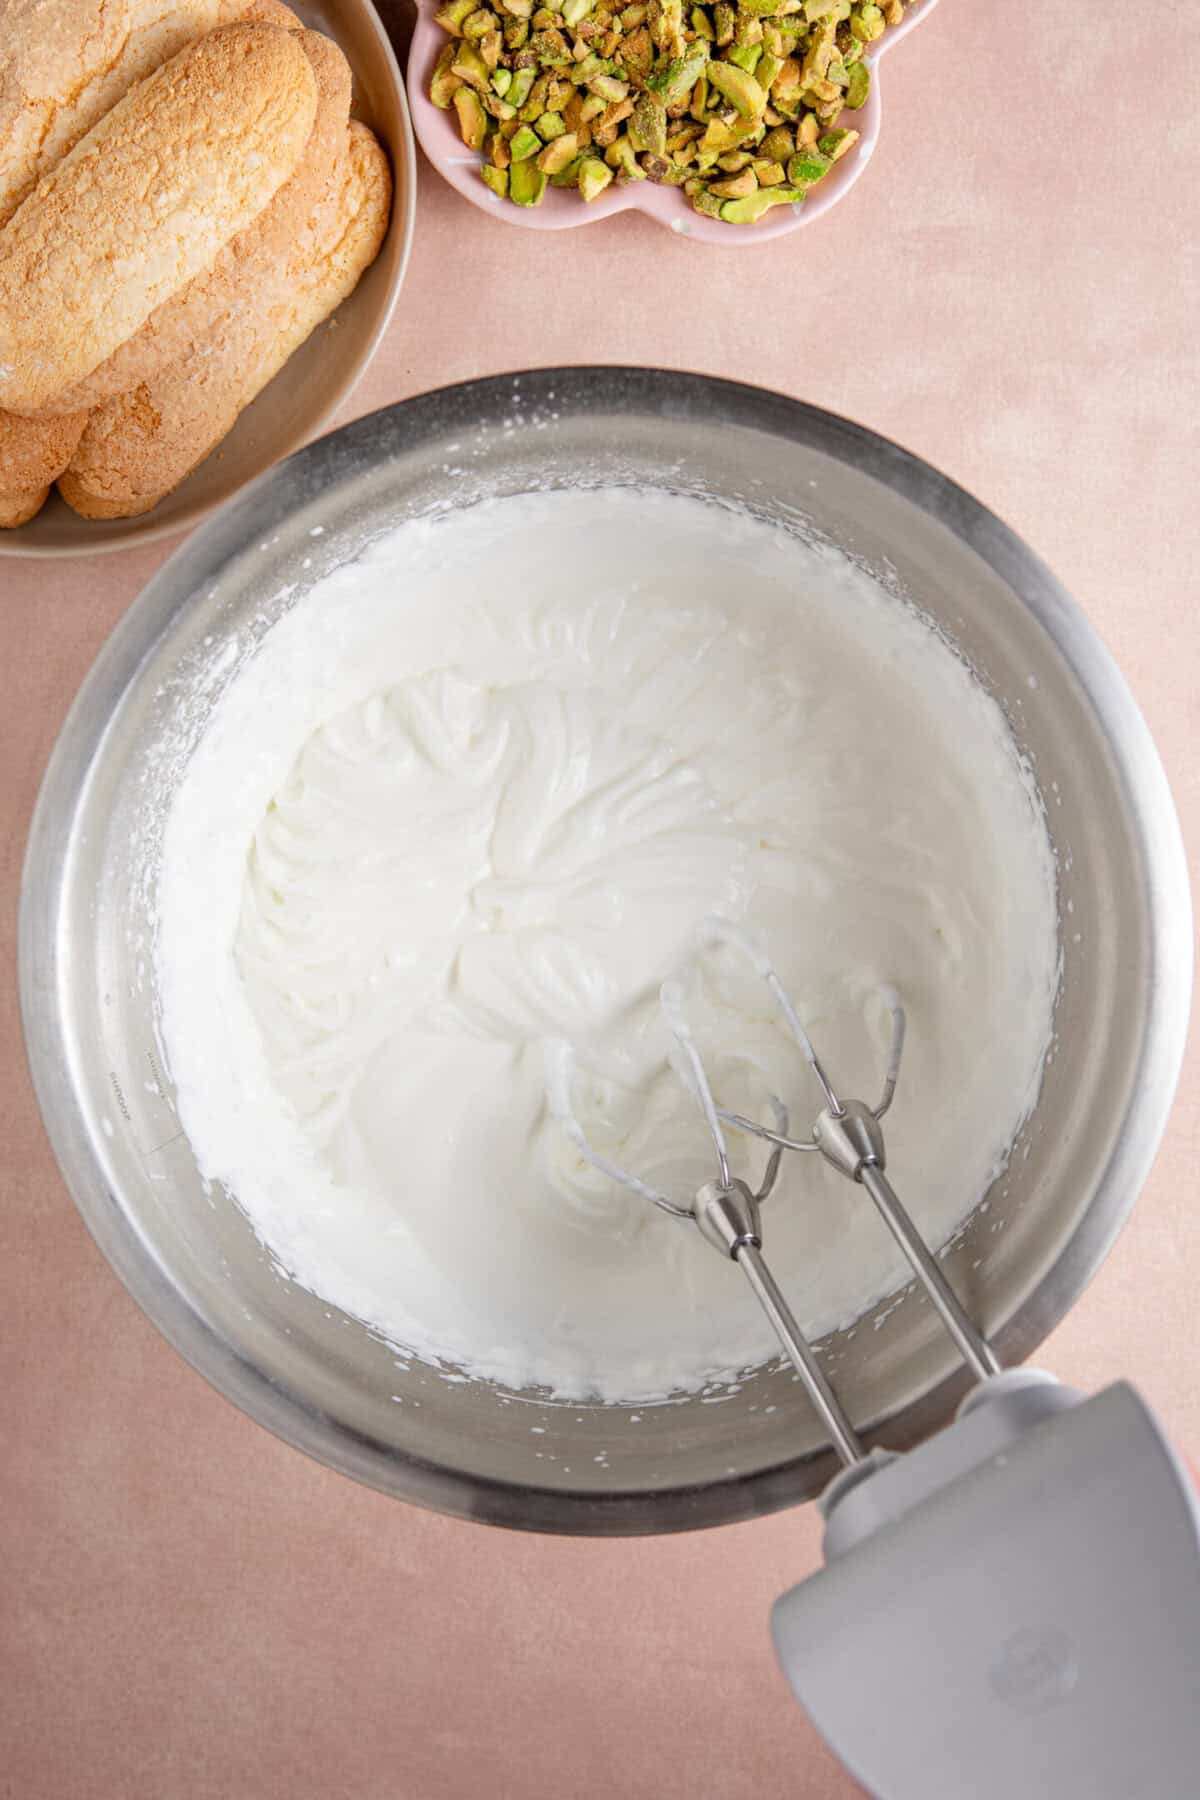
To make the cream layer:
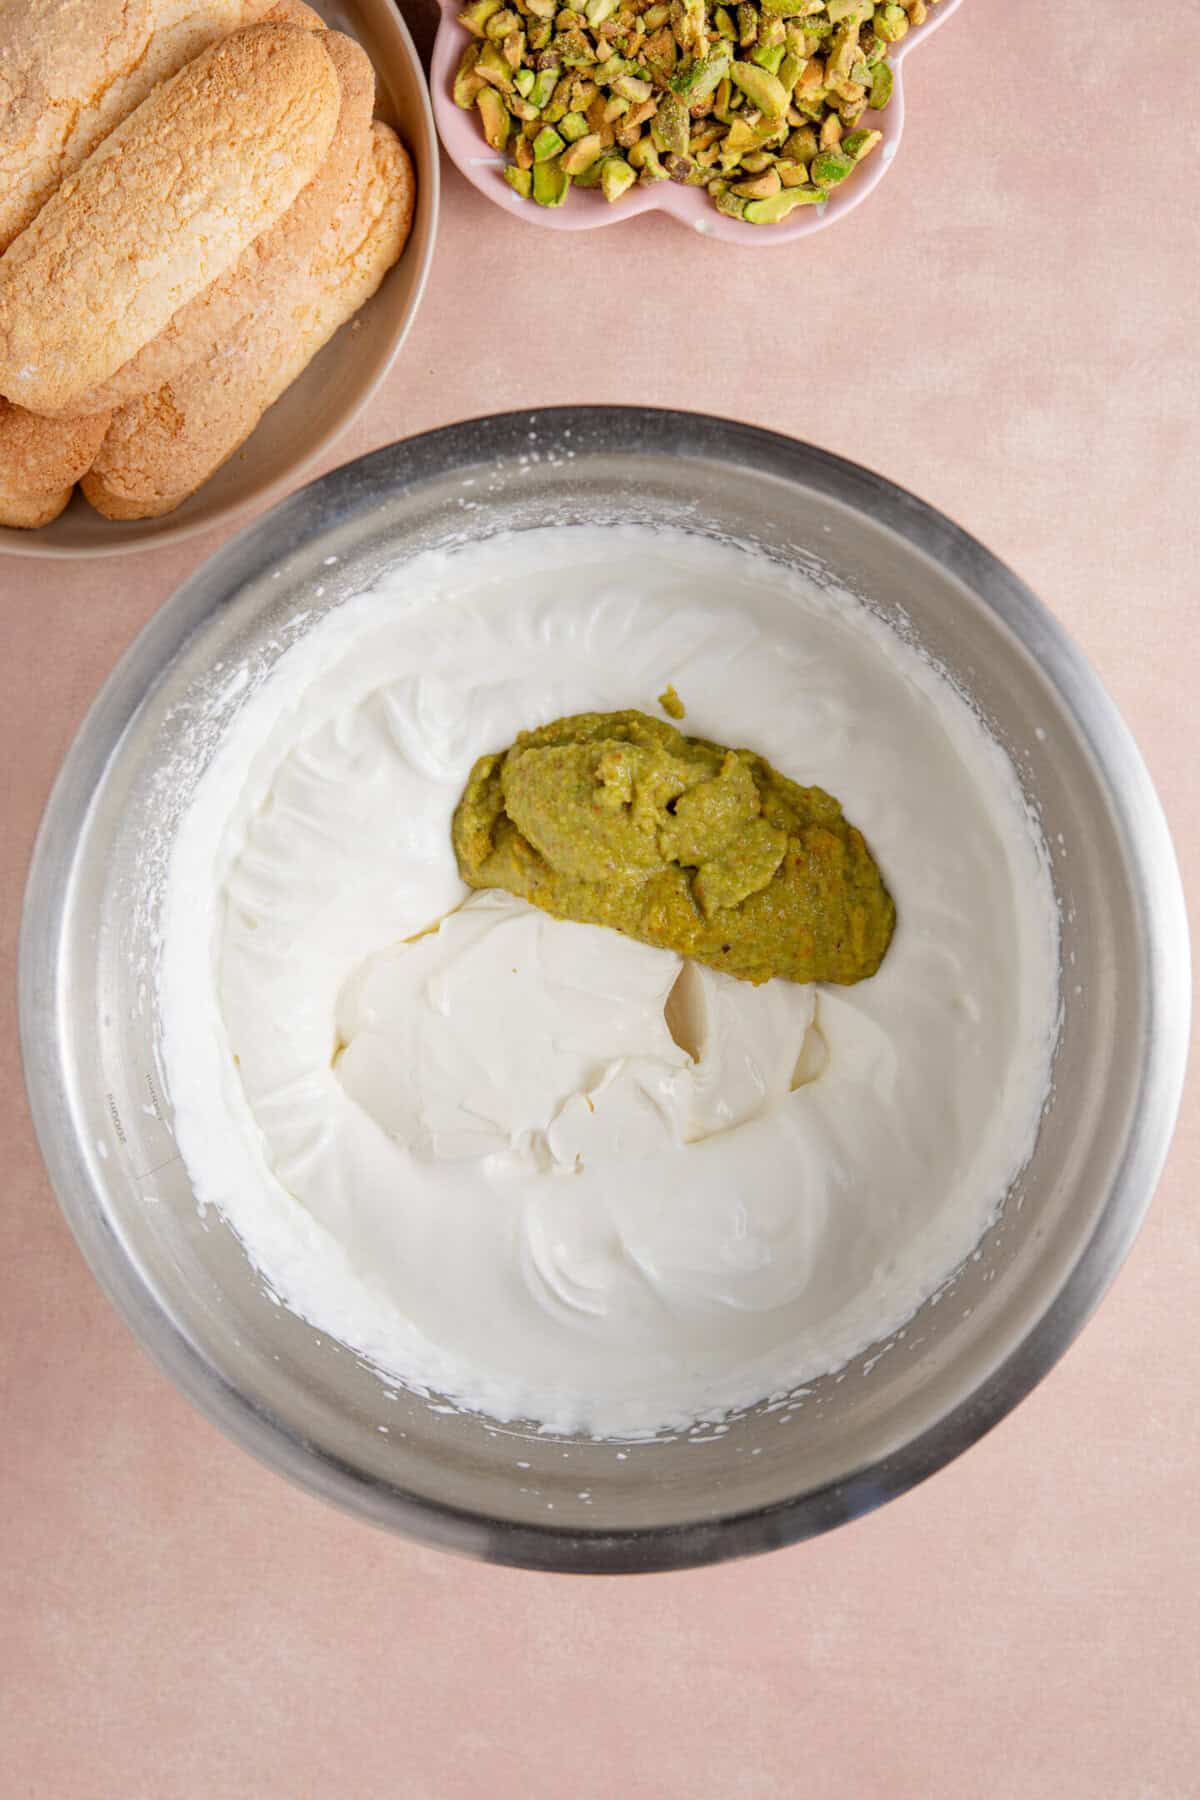
- Add the double cream to a large mixing bowl and sift in the icing sugar. Using an electric whisk, whip until it forms soft peaks. Be careful not to over-whip (it can change fast!) – you don't want the cream to be too stiff.
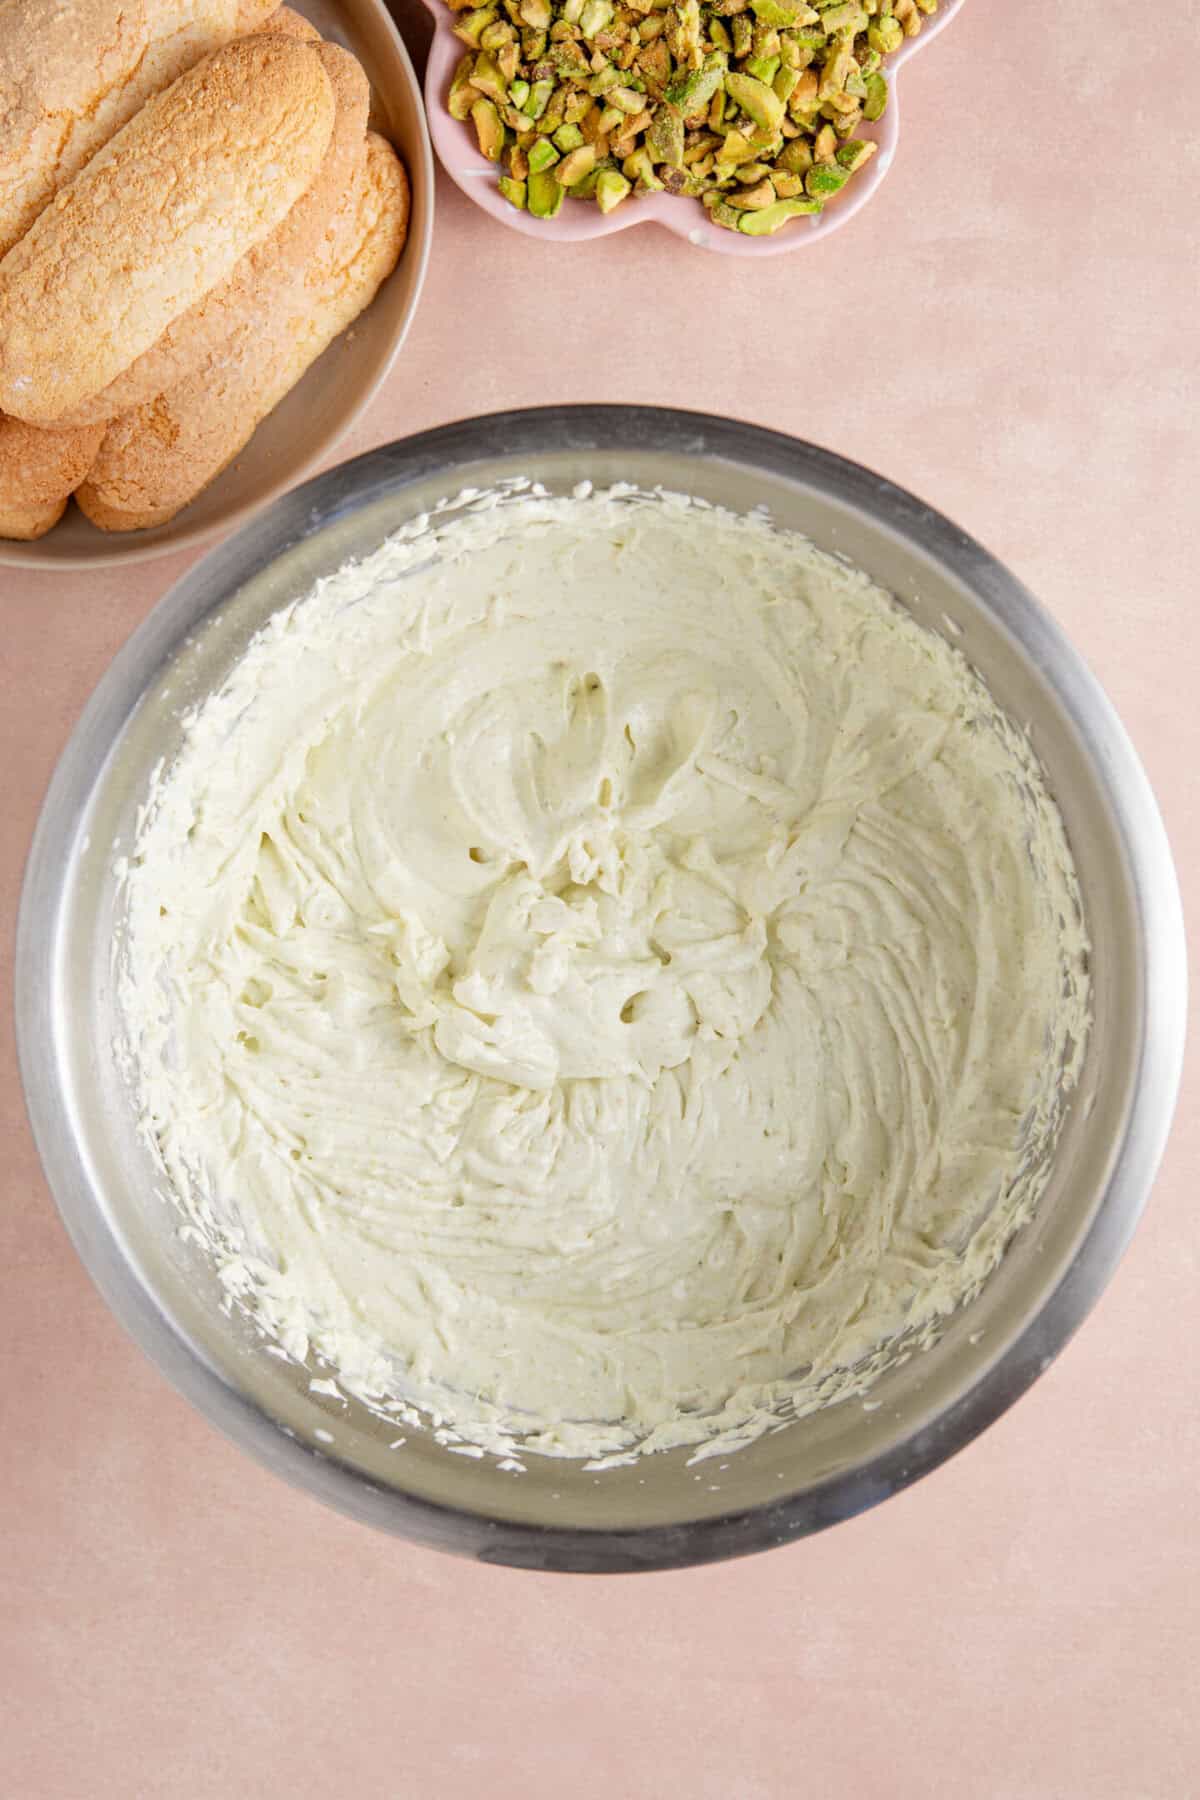
- Drain any excess liquid from the mascarpone cheese then add to the cream, along with the pistachio creme. Beat with the electric whisk for a minute or until combined with no lumps. It should still be quite thick but spoonable.
To construct the dessert:
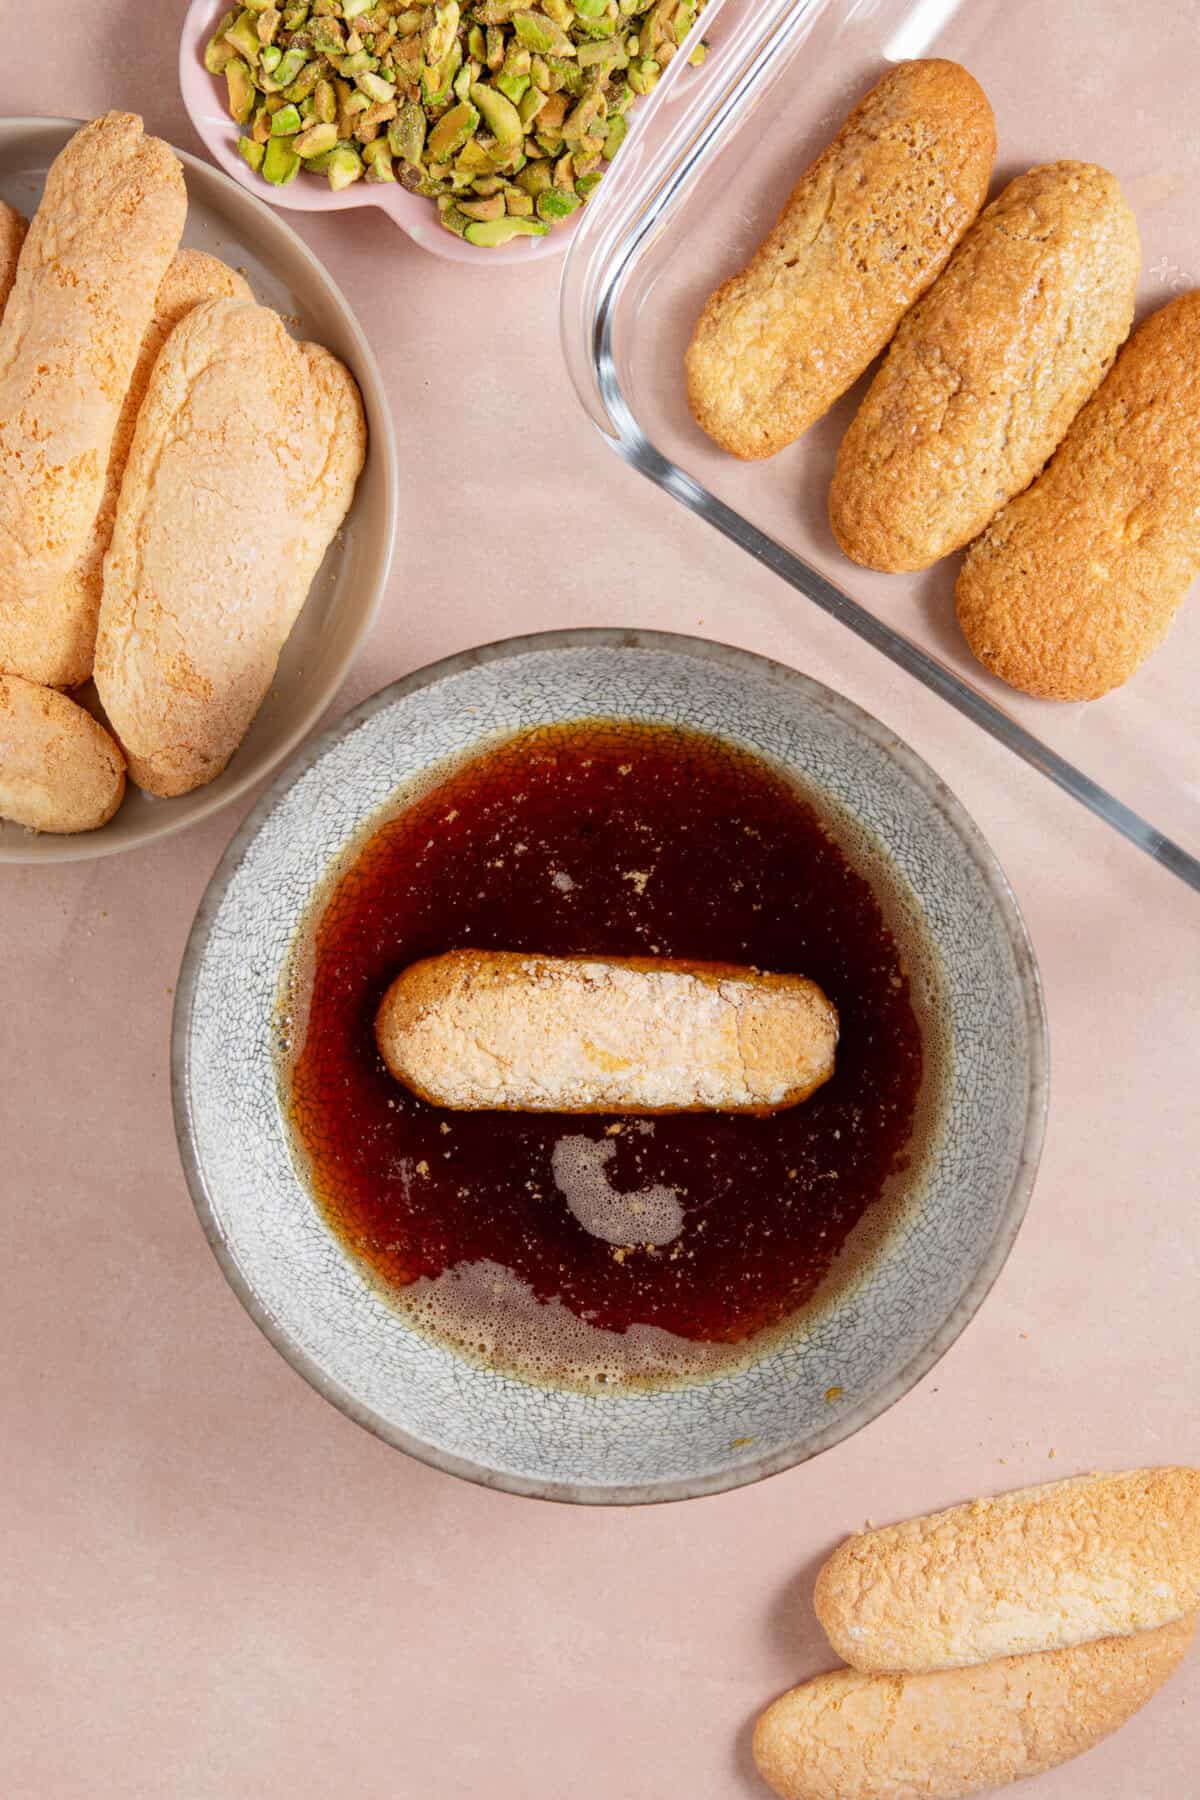
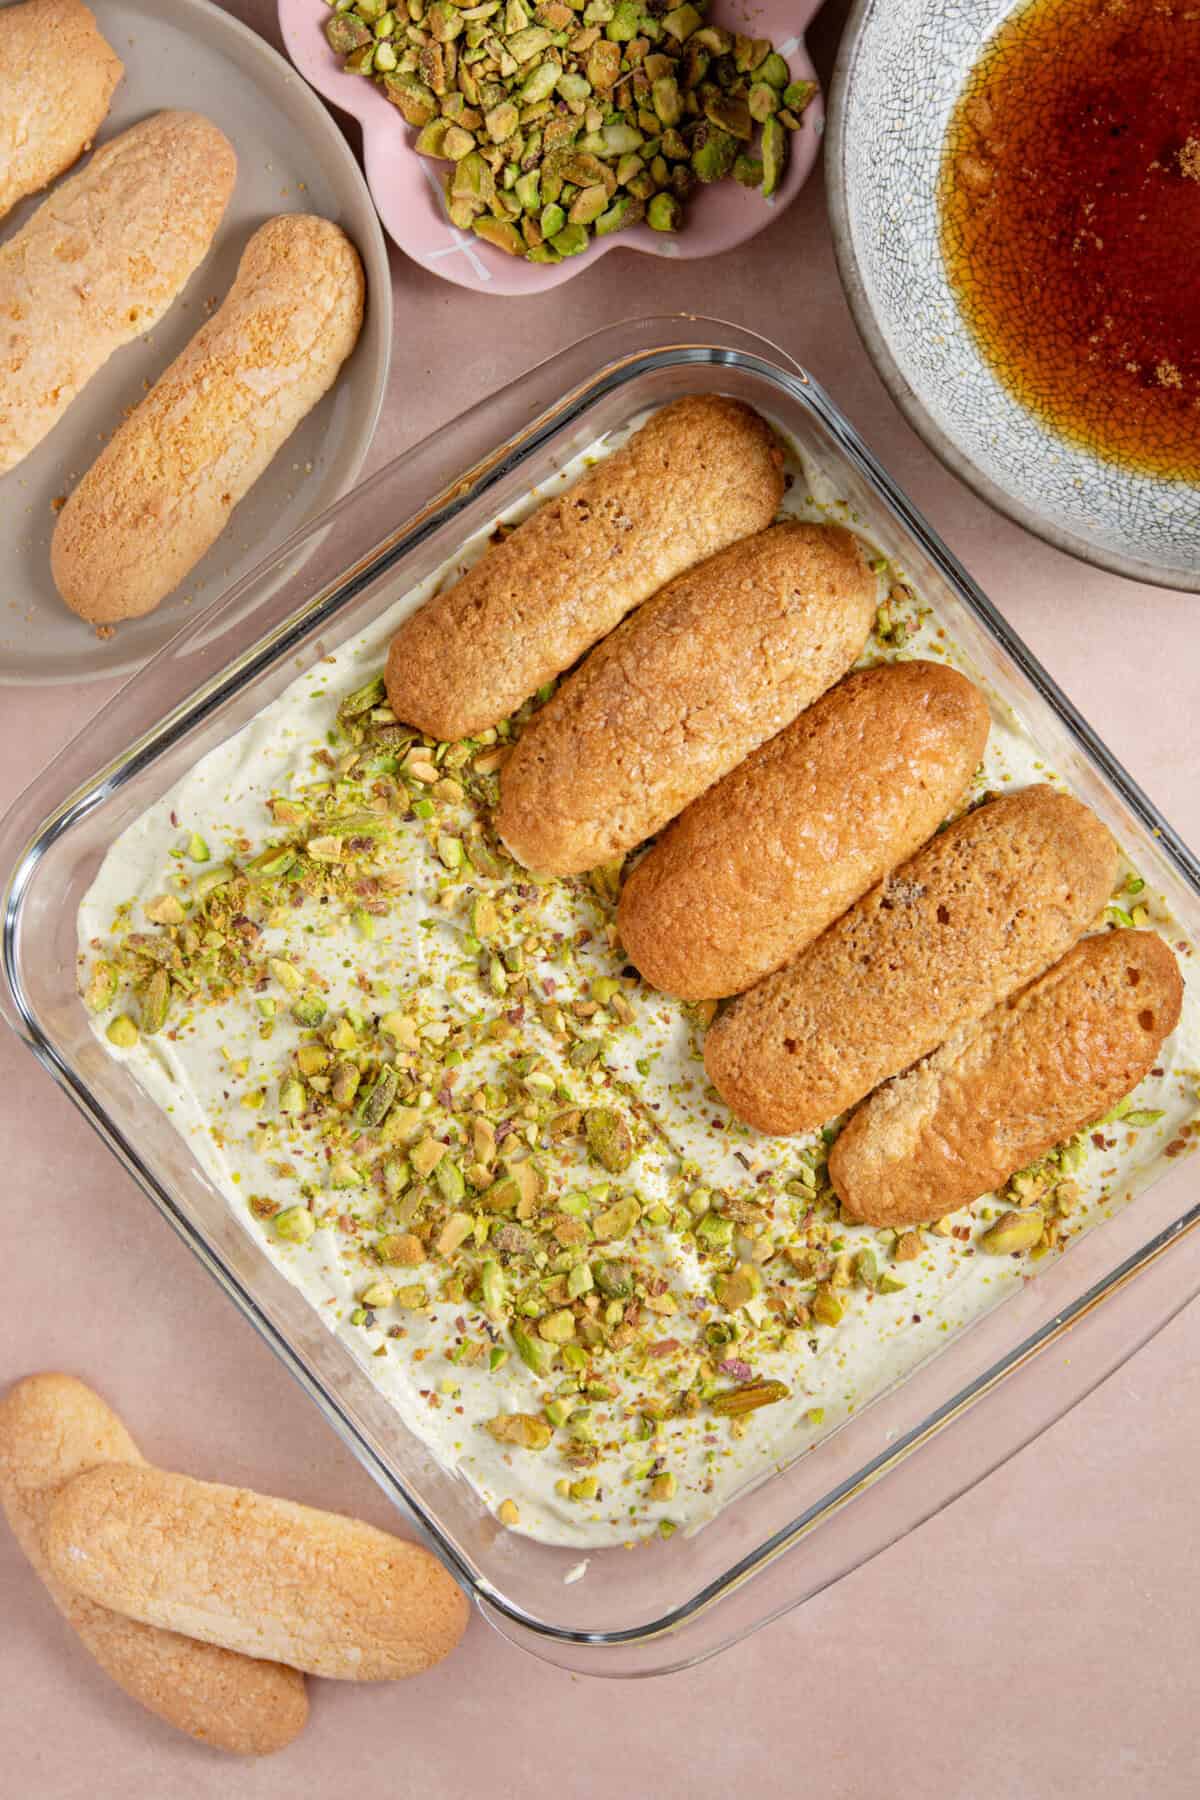
- Pour the espresso into a large, shallow bowl and add the Tia Maria. Get your serving dish ready (I used a 20cm x 30cm rectangular dish).TOP TIP: I find it helps to work out how the sponge fingers best fit in an even layer BEFORE soaking them. In my dish I wanted them all facing the same way, so had to cut some of the fingers in half before soaking)
- Working one-at-a-time, dip a sponge finger into the coffee, quickly turn it over then remove from the coffee and place in your serving dish. These absorb the coffee VERY quickly so do NOT leave them to soak! Keep going until you have created an even layer in the serving dish.
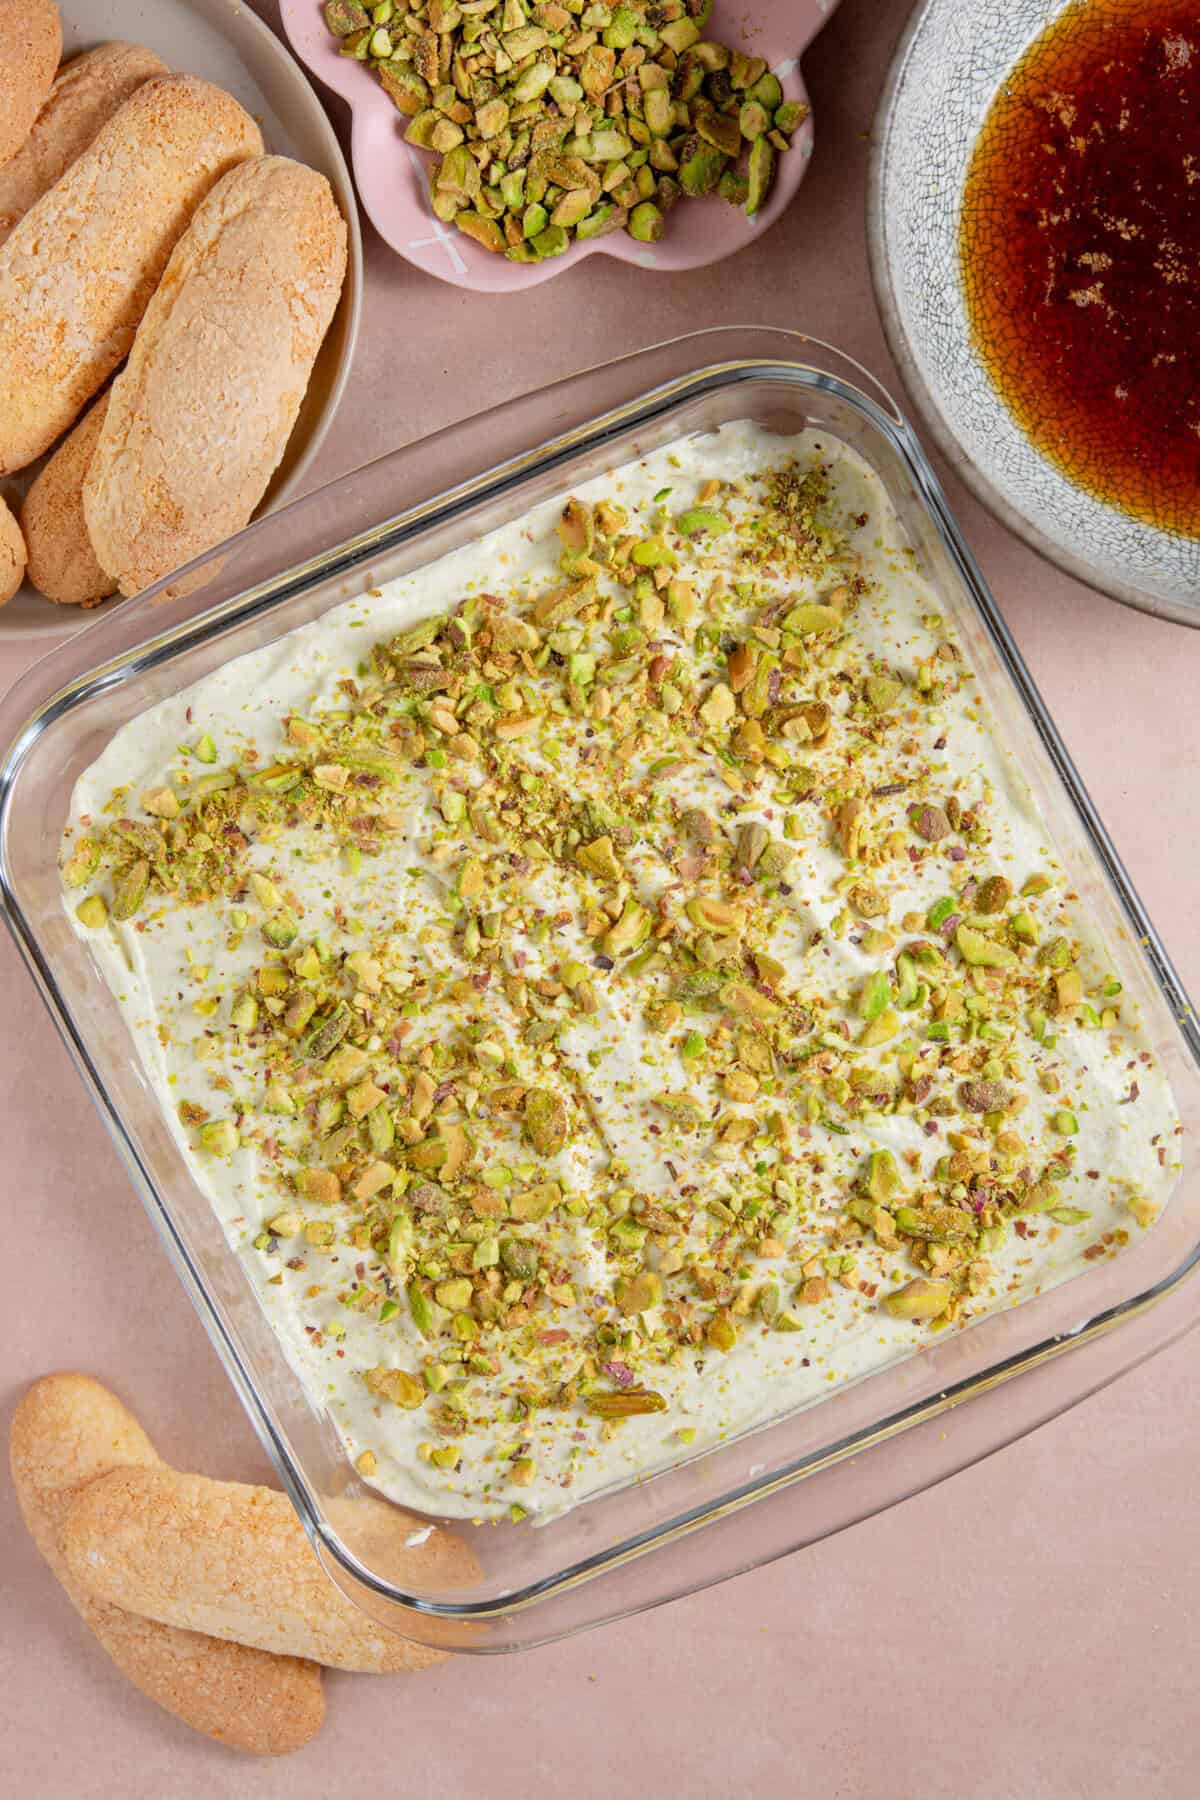
- Spoon half the cream mixture over the top of the sponge fingers and then use a palette knife to smooth it into one even layer. Sprinkle half the pistachio nuts on top.
- Repeat steps 5 and 6 with the remaining sponge fingers and then the remaining cream, so you have 2 more layers. Sprinkle the remaining pistachio nuts over the top and then place in the fridge for at least 4 hours. Don't skip this step, I know it's hard – once chilled, serve and enjoy!
Video
Notes
- To Use Instant Coffee: If you can’t get hold of espresso coffee, mix 2-3 tbsp strong instant coffee in a mug of hot water and leave to cool before measuring out what you need.
- Storing: You can make the lady fingers 2-3 days in advance, and the tiramisu up to 24 hours in advance. Any leftovers will keep for 1-2 days in the fridge.
Nutrition
More Gluten Free Dessert Recipes
If you like this pistachio tiramisu recipe then make sure you check out these other gluten free dessert recipes too…
- Gluten Free Tiramisu
- Gluten Free Trifle
- Pistachio and White Chocolate Cake
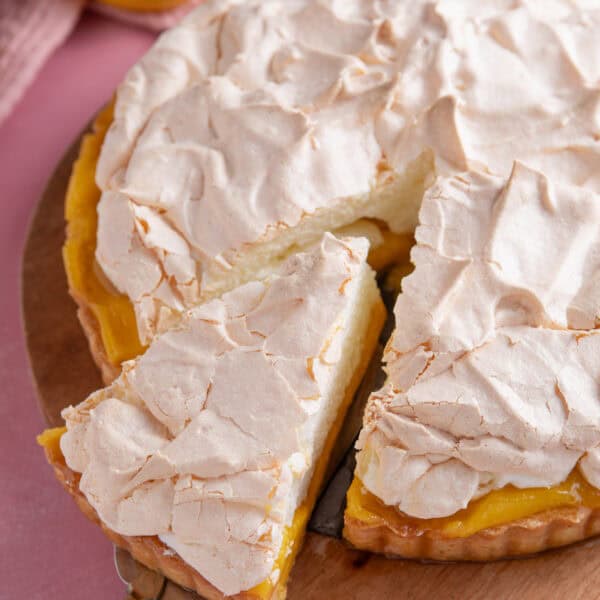
- Gluten Free Lemon Meringue Pie
Have you tried this recipe?
I have a huge favour to ask! It’s getting more and more difficult to get my recipes out there to the world – so if you try this and love it, it would mean a HUGE amount if you’d come back and leave a ⭐️⭐️⭐️⭐️⭐️ review and a little comment telling me what you thought! Just 30 seconds of your time would be such a huge support! 💛
Want to connect further?
- Tag me on Instagram with your amazing creations so I can share them!
- Join my Facebook group to meet other awesome gluten free people.
- Subscribe to my Mailing List for all my new gluten free recipes first!