This post may contain affiliate links for which I earn a small commission at no extra cost to you. For more info, check out my Disclosure Policy. Thank you for your support!
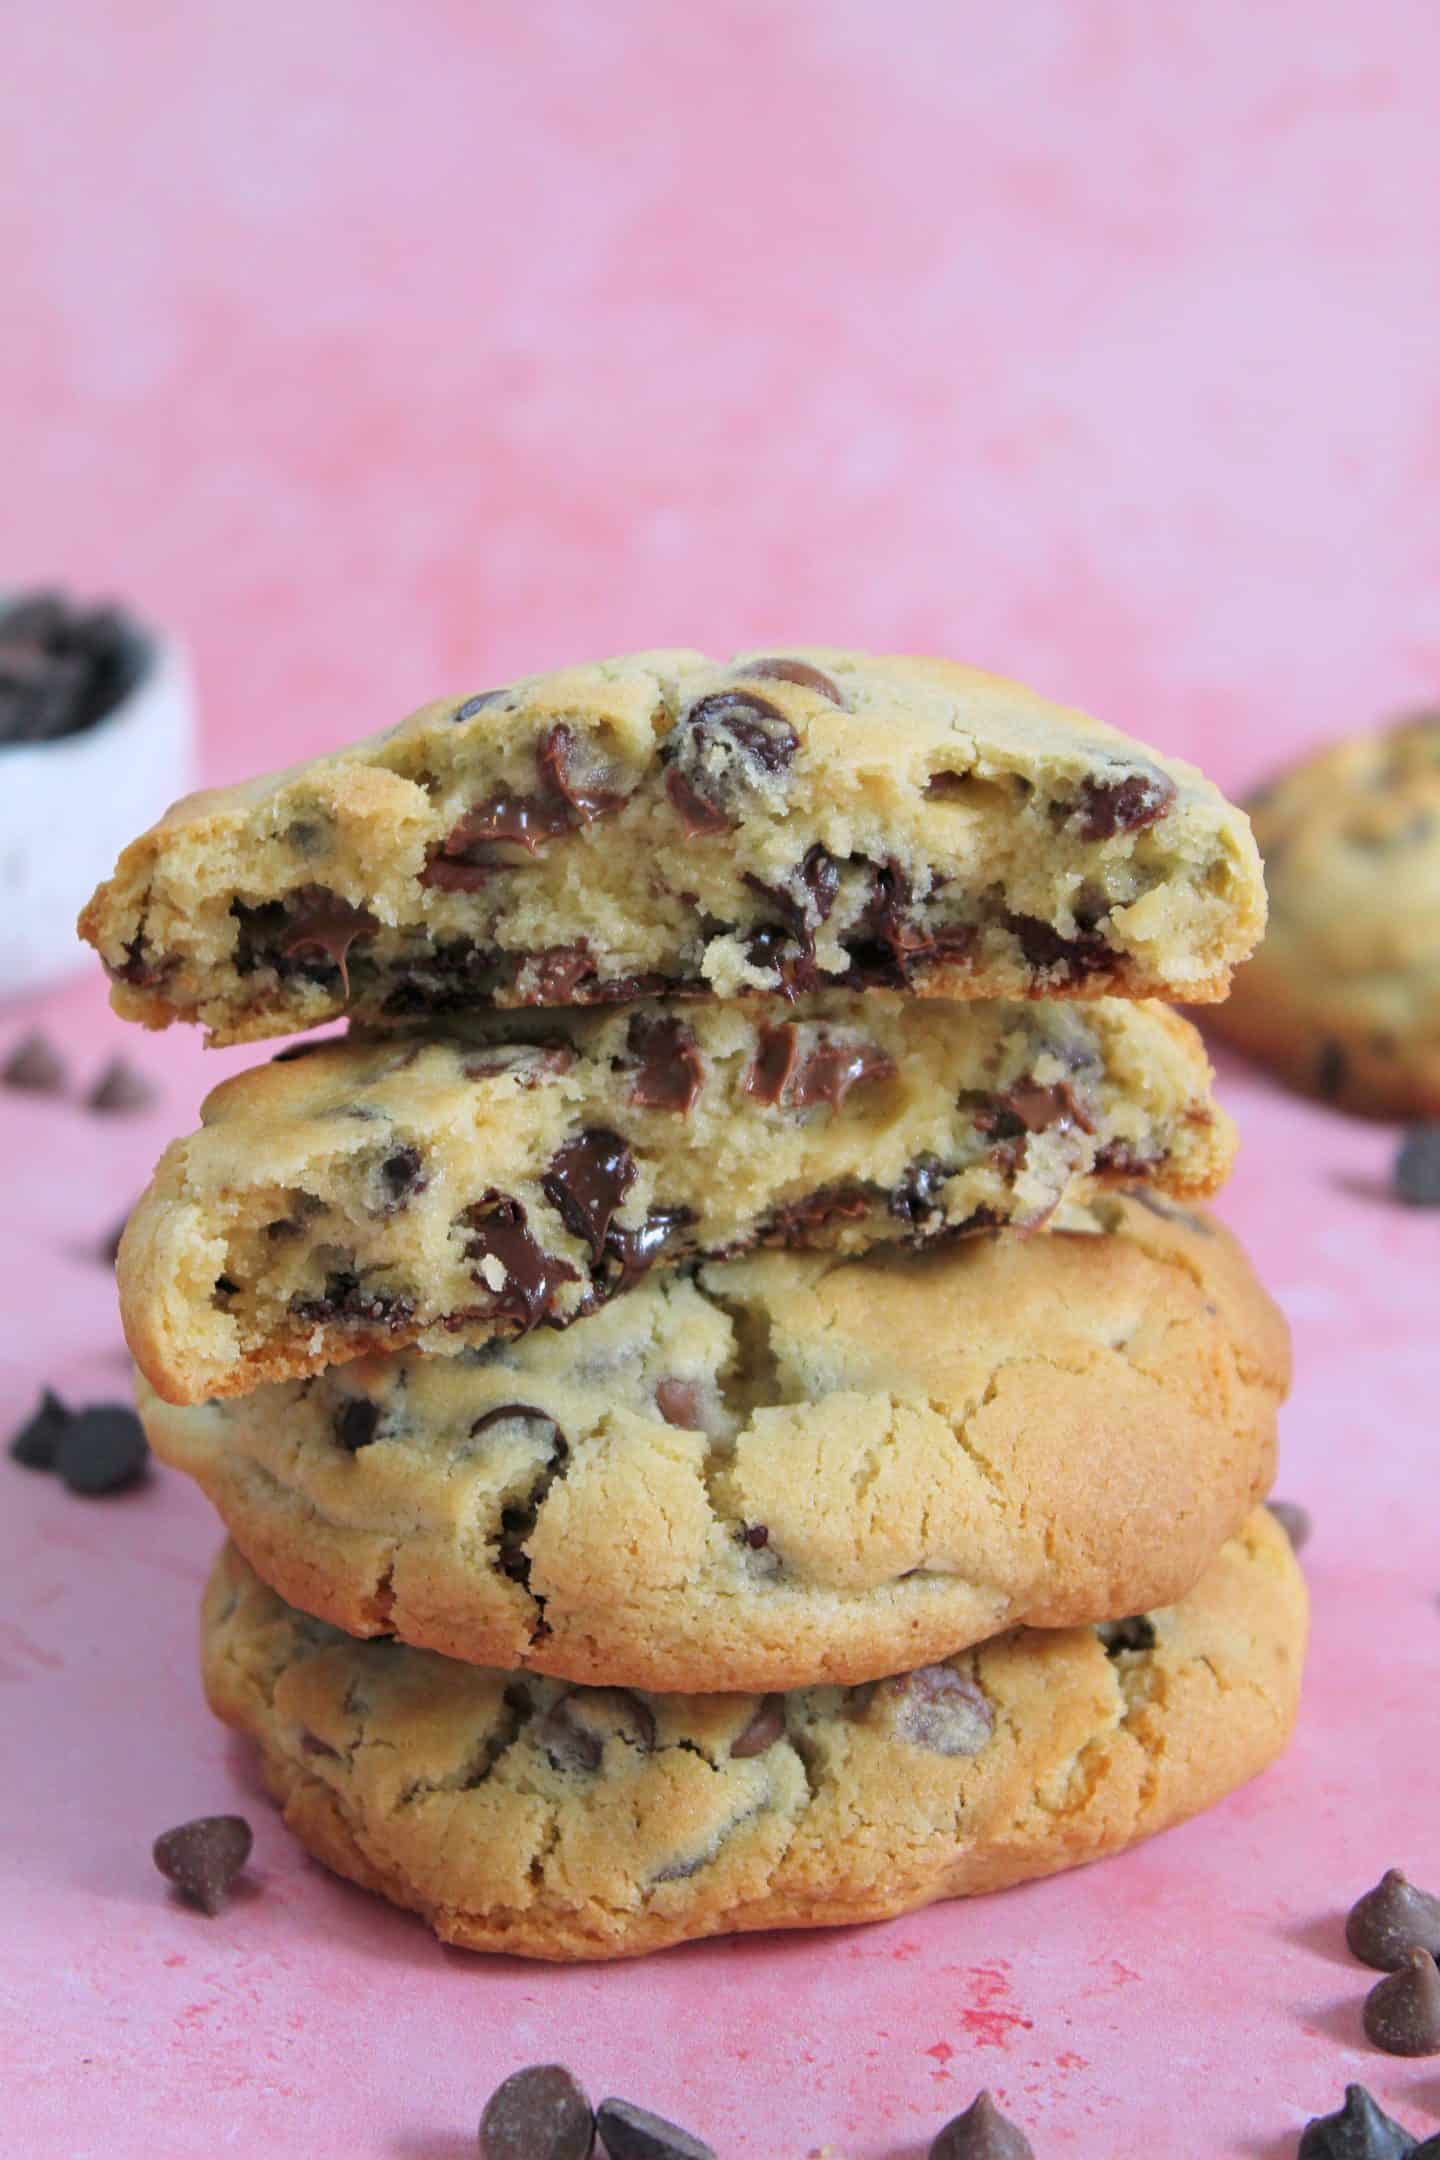
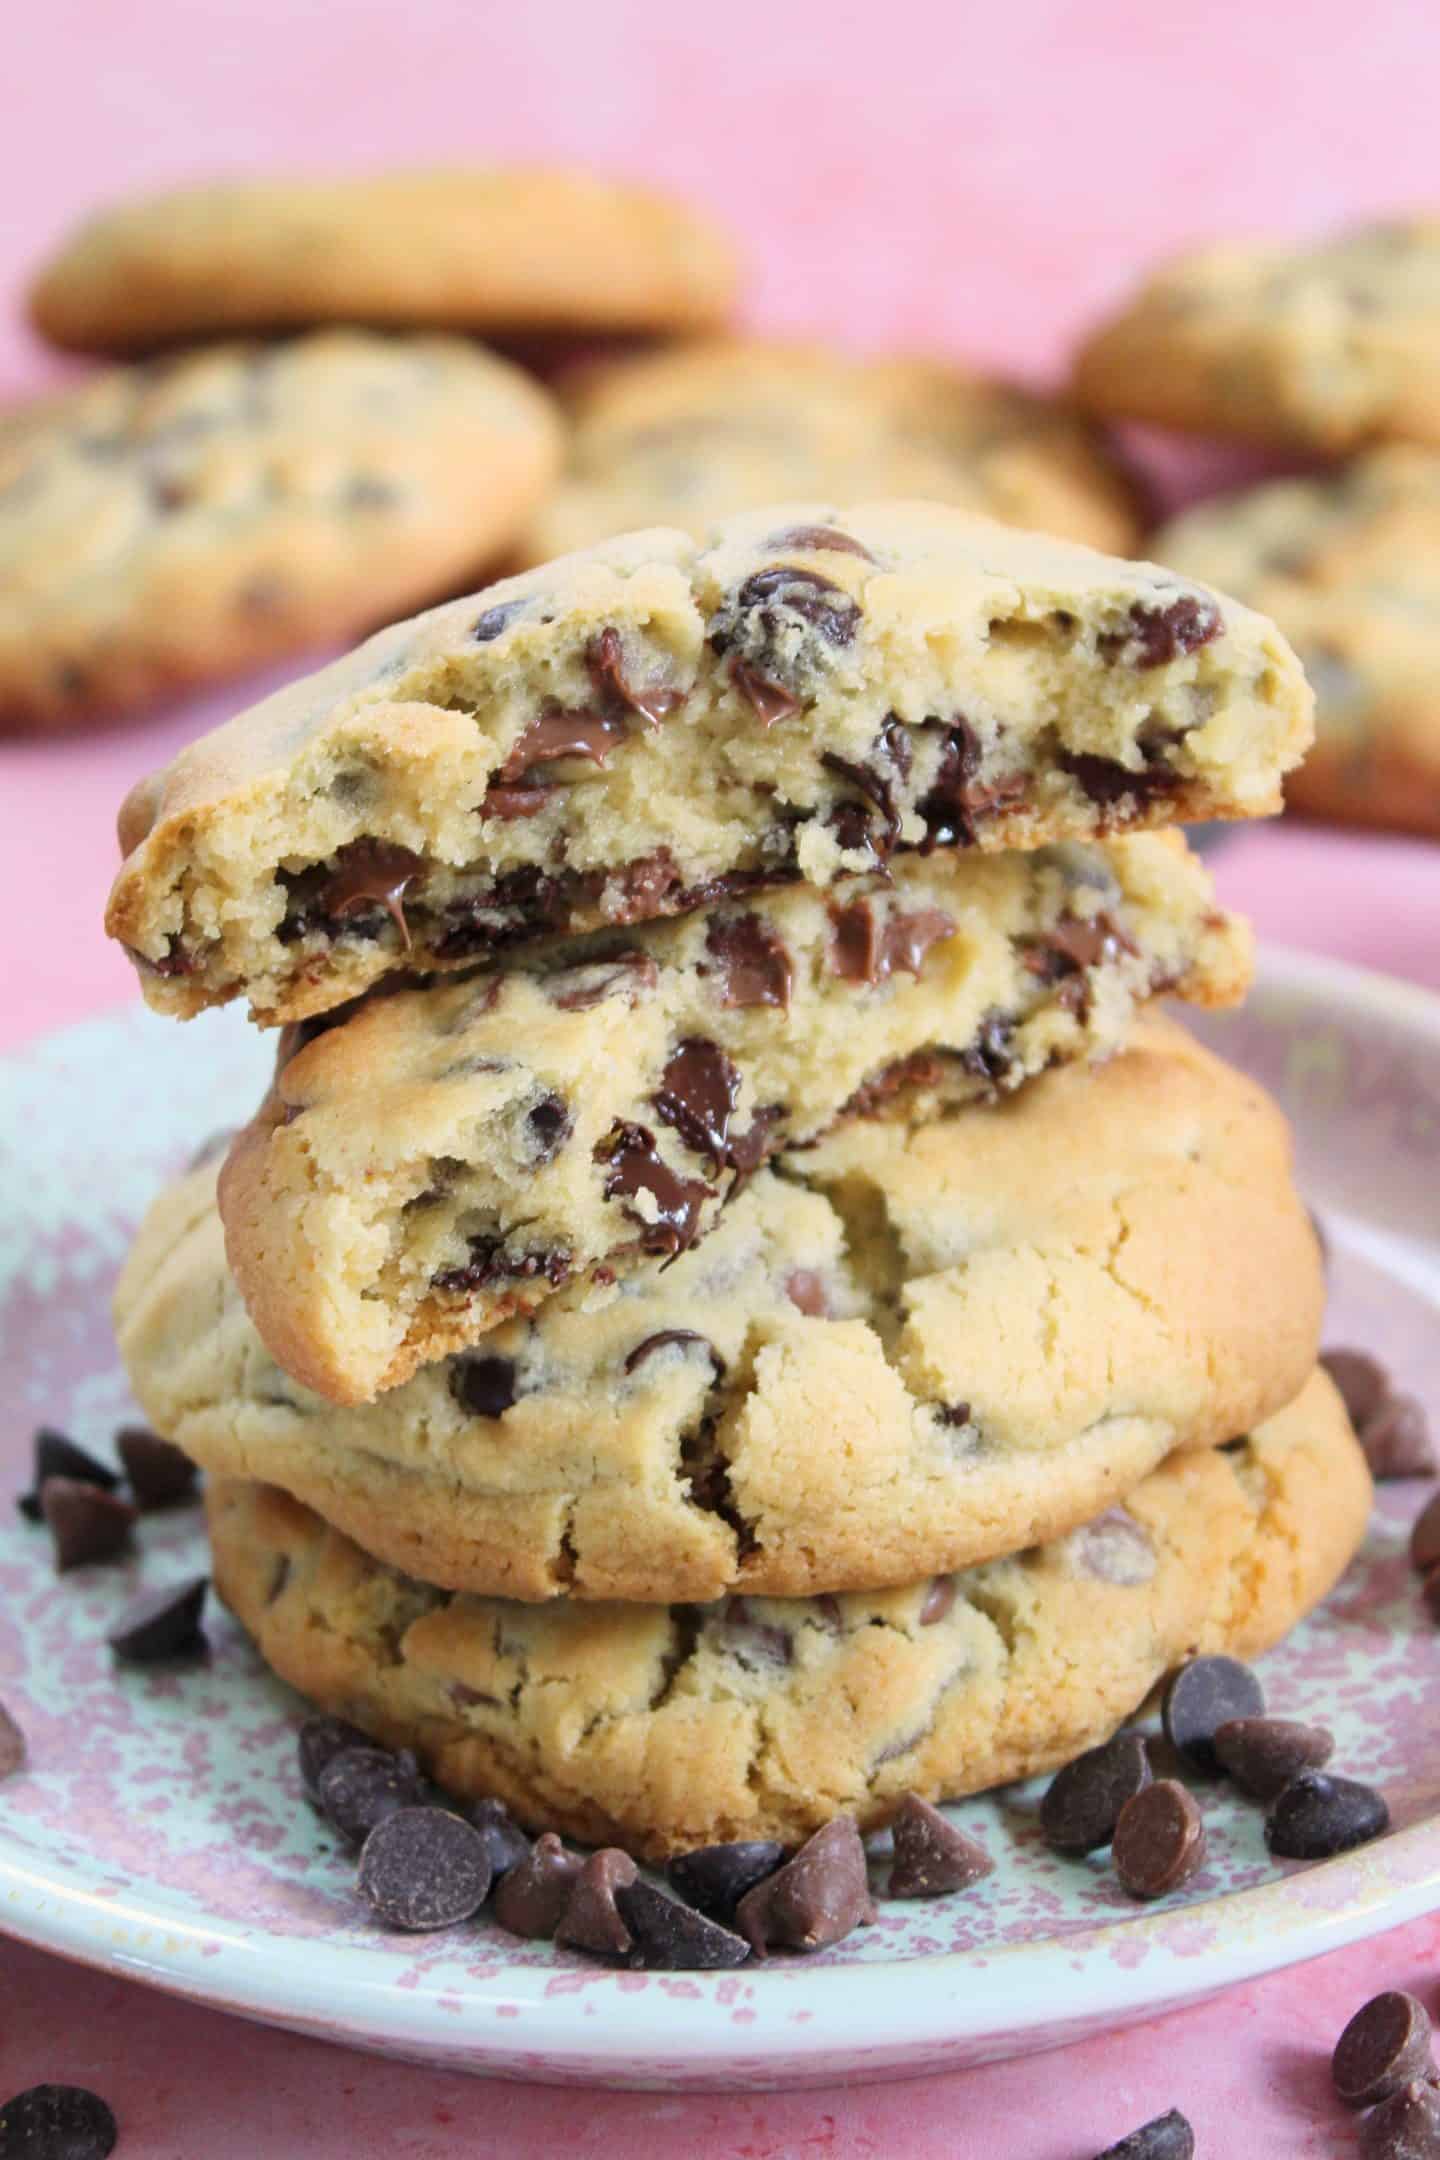
There’s something about these gluten free NYC cookies which sets them WAY above the rest – chewy, gooey and packed with melty chocolate chips.
New York Cookies is a recipe I’ve been trying to crack for ages and these gluten free New York cookies are just – dare I say it – perfect.
I tried to base this recipe on the famous Levain Bakery in New York, which often sees people queueing round the block to get hold of their 6oz, monster cookies.
New York City is just the most magical place (see my guide from my visit here) and I wanted to recreate something equally as magical in this recipe.
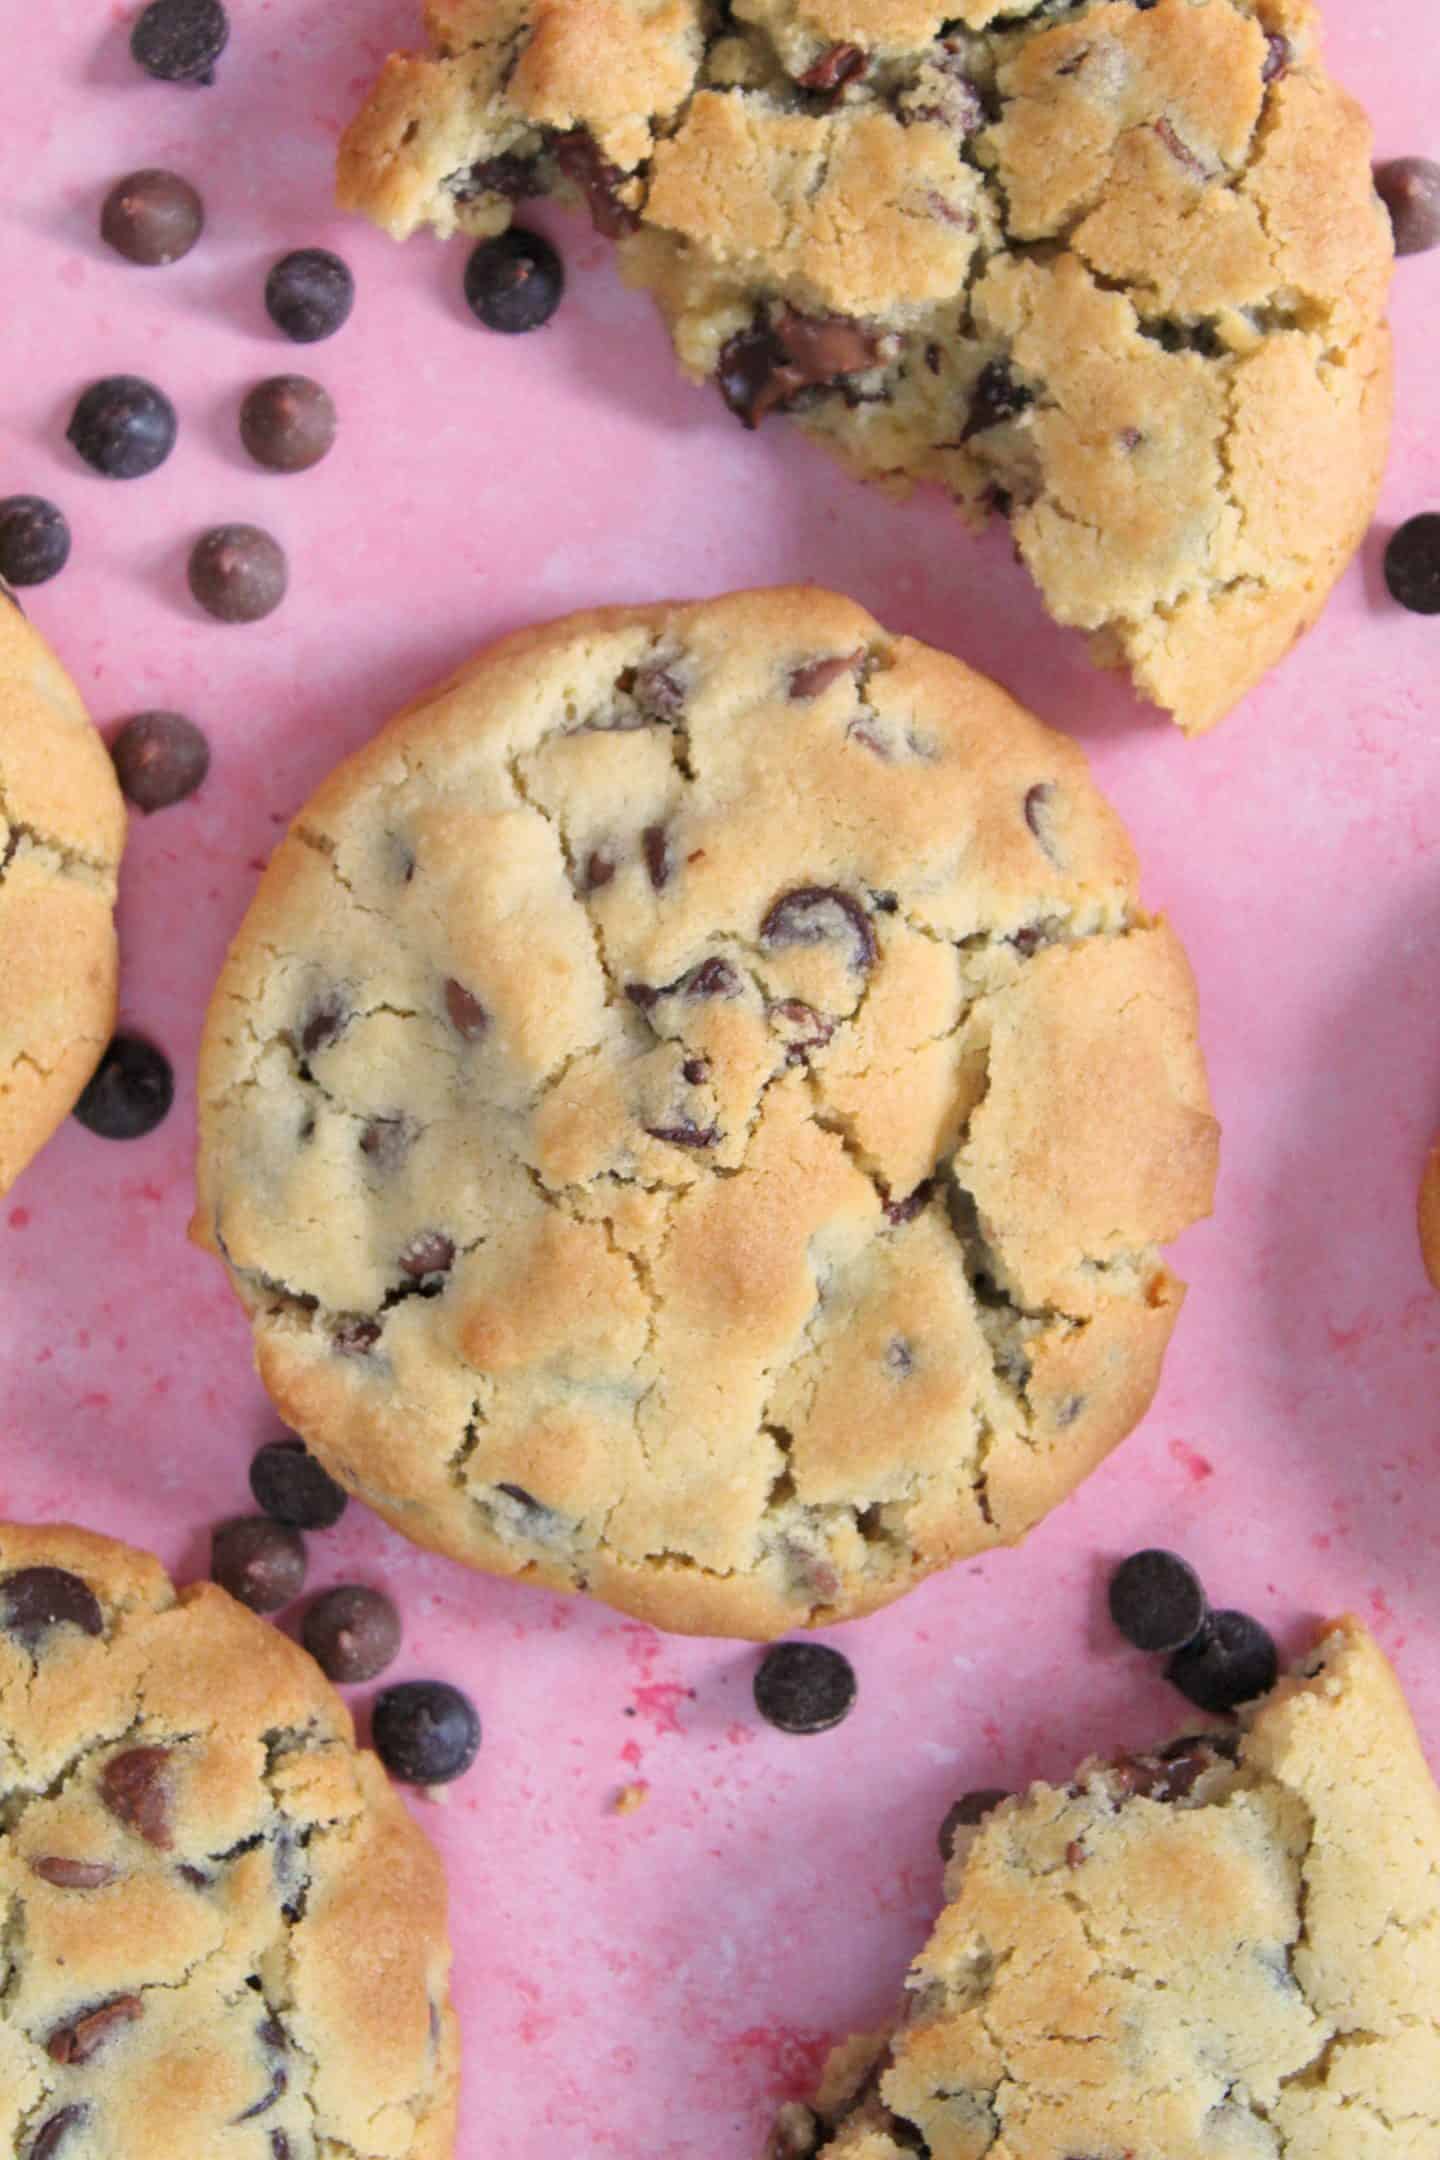
I have a real bugbear with everything gluten free being tiny, so these gluten free NYC cookies are everything you want them to be.
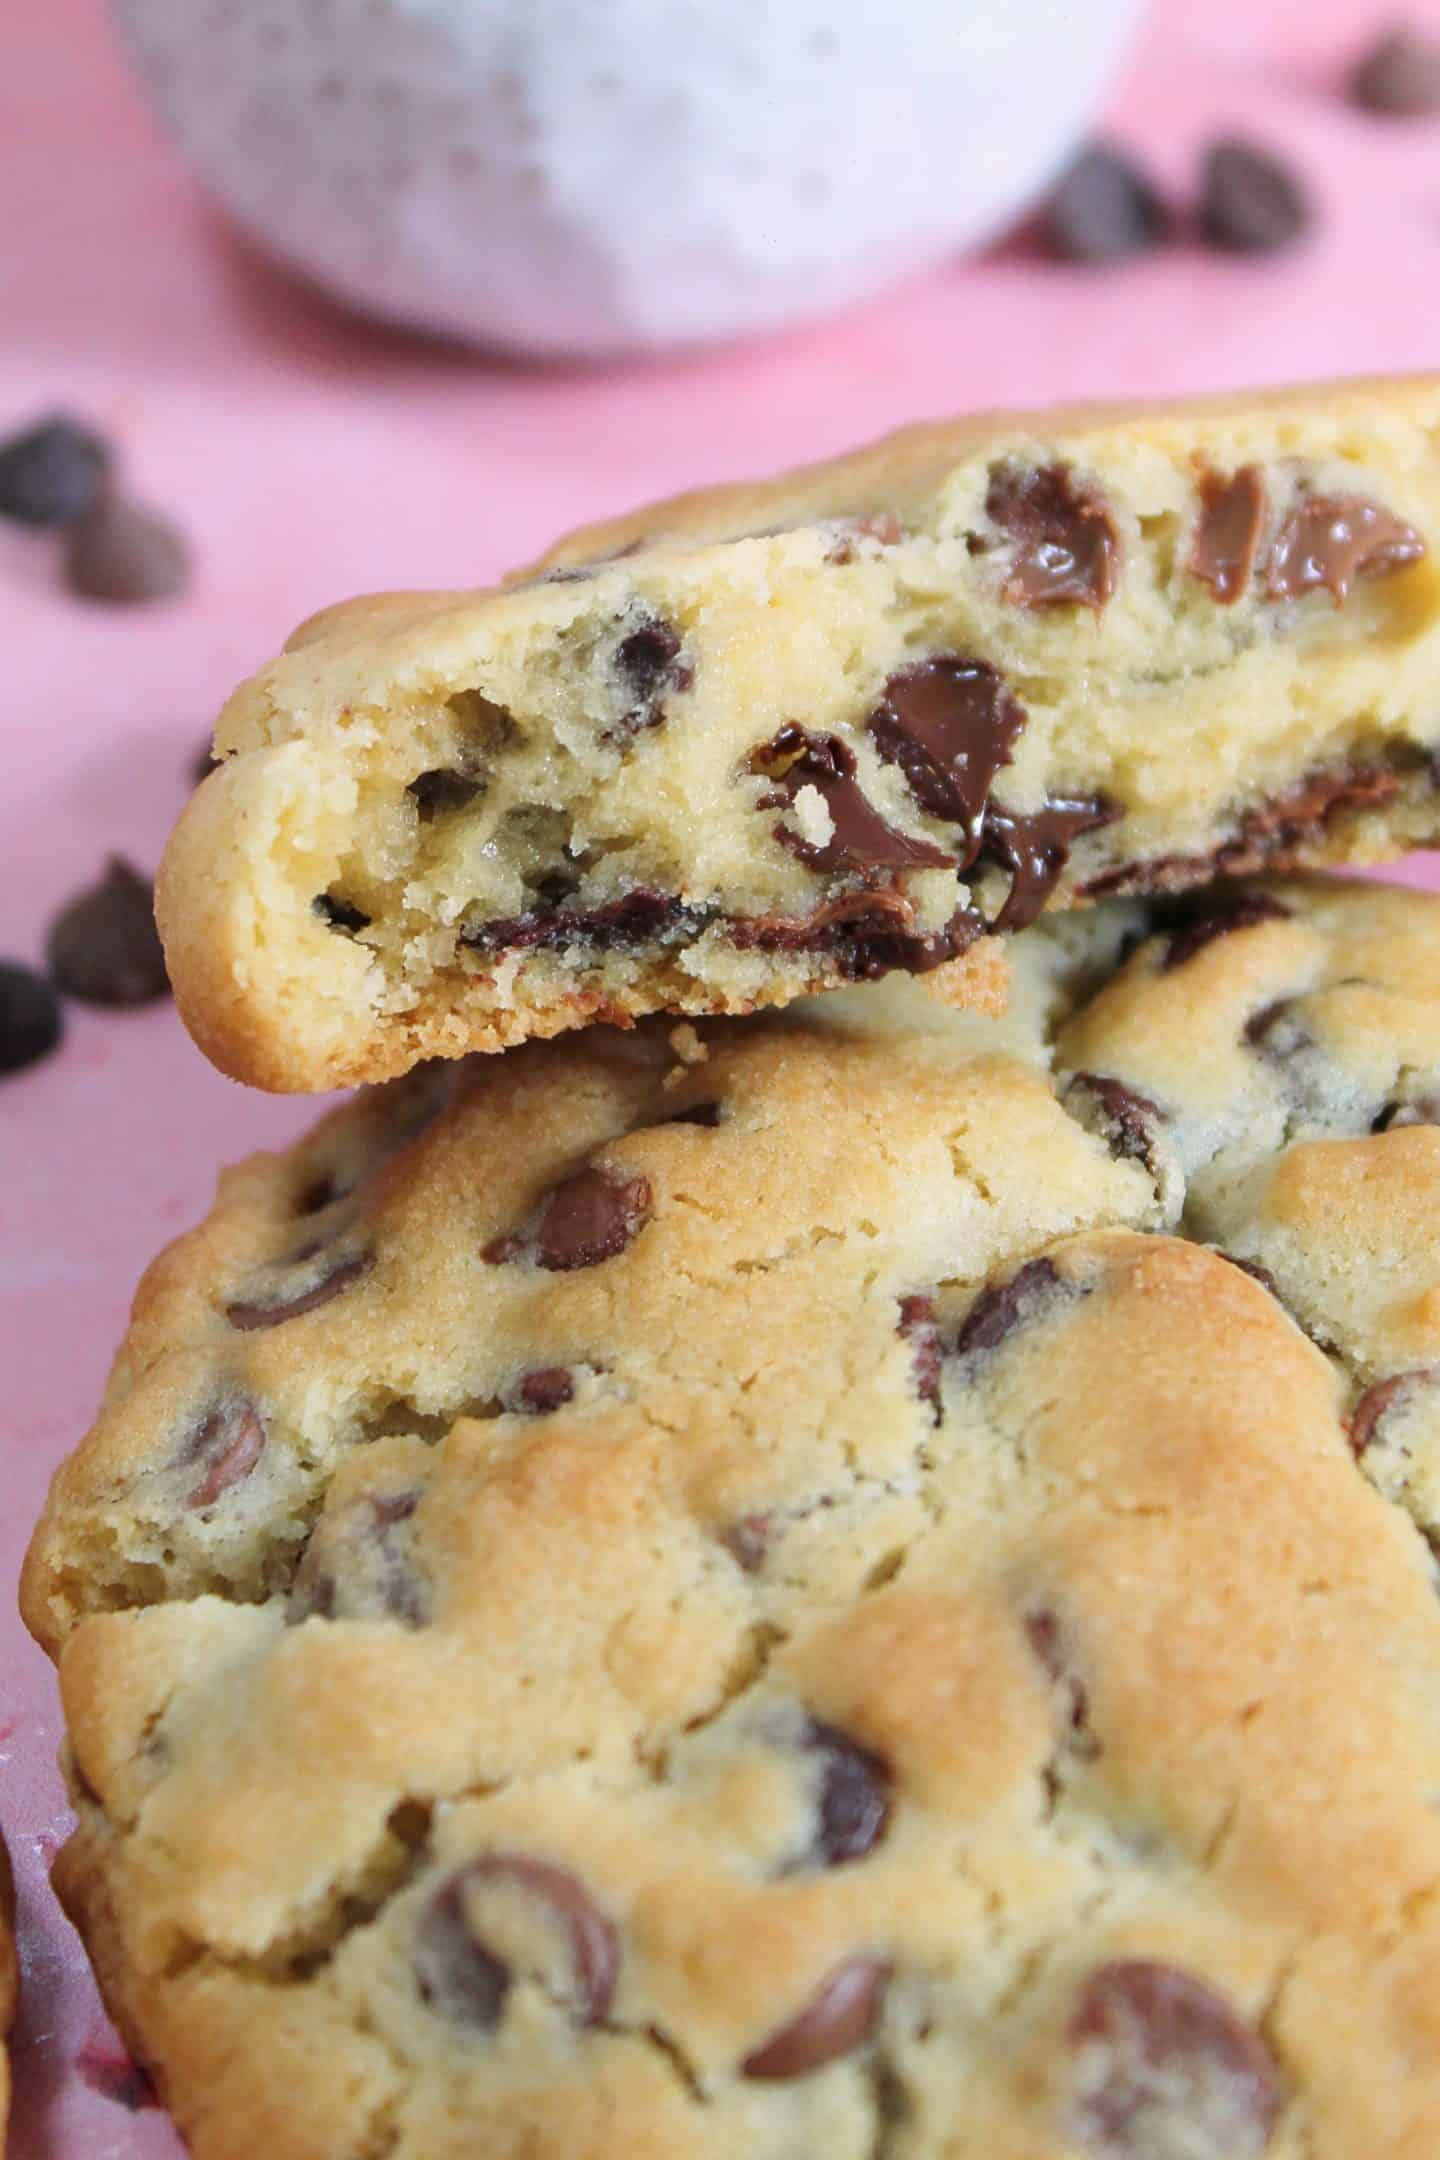
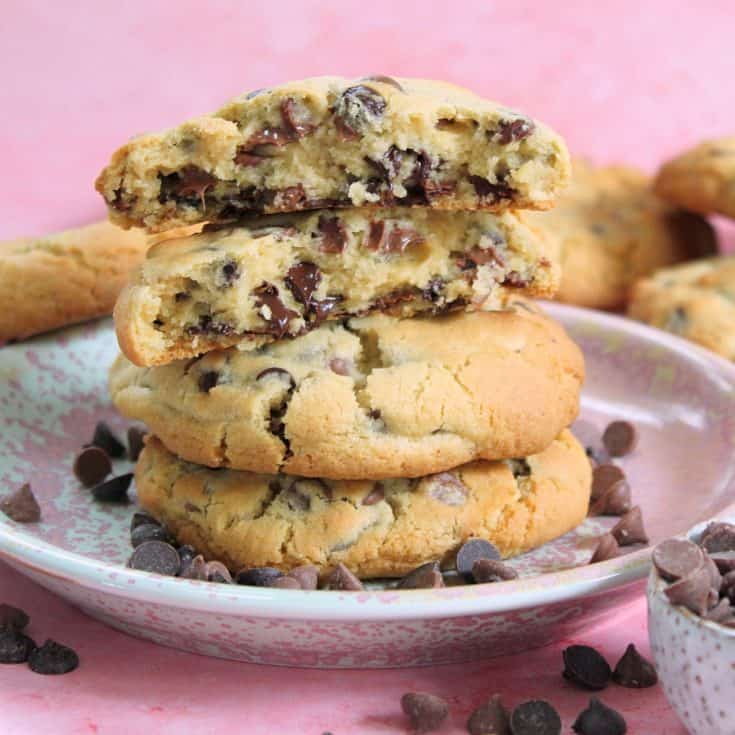
Giant, fat cookies with tonnes of chocolate chips, a gentle crunch round the edges and a gooey centre, they’re just delicious.
They’re delicious eaten freshly baked while still warm, and I love reheating them with a scoop of ice-cream for an extra treat!
What is a New York cookie?
The Manhattan-based Levain Bakery has become famous for it’s cookies which just look absolutely incredible.
They’re most known for the fact they’re a whopping 6oz (170g) and packed with chocolate, nuts and other treats.
The fact these cookies are so fat means they stay proper gooey in the middle – almost to the point of still being cookie dough.
They’re different to my gluten free chocolate chip cookies, in that they’re bigger with more chocolate and a much more gooey centre.
Basically, they’re unlike any other gluten free cookie I’ve tried and are now officially my new favourite recipe – I can’t stop eating them!
As I’ve never been able to eat the ‘gluten’ version, I am going out on a limb here when I say these are just like the Levain Bakery cookies.
This recipe was largely inspired by Jane’s Patisserie NYC Chocolate Chip Cookies recipe, which I have essentially tweaked and ‘de-glutened’.
I always find gluten free cookies aren’t always a straight swap from ‘normal’ recipes (unlike cakes) but Jane’s recipes are always super reliable!
She also has a new cookbook coming out soon with many of the recipes easy to make gluten free, I’d definitely suggest you check it out here!
What ingredients do I need?
Making these gluten free NYC cookies is actually really easy to do and only requires a few simple ingredients.
There’s a full printable recipe card below, but for the shopping list you’ll need…
- 75g granulated sugar
- 100g light brown sugar
- 110g unsalted butter (at room temperature)
- 1 large egg
- 1 tsp vanilla extract
- 300g plain gluten free flour
- 1 tsp baking powder
- ¼ tsp bicarbonate of soda
- ½ tsp salt
- 150g milk chocolate chips
- 150g dark chocolate chips
I always make this recipe with the FREEE by Doves Farm gluten free flour or any supermarket plain gluten free flour blend.
In the US you’ll want to make these NYC cookies using All Purpose gluten free flour.
I prefer to make them with plain gluten free flour then add the baking powder in so you can get the amounts just right.
Personally I haven’t yet attempted this recipe dairy free but if you did, I’d recommend using something like the Stork baking block instead of butter.
I think regular margarine would be too soft and the cookies would lose their shape in the oven.
With the sugar I’d absolutely recommend you stick to the recipe and use the same ratio of light brown and granulated sugar that I have.
Using caster sugar won’t get the same texture and trust me, I have eaten a lot of these NYC cookies to get them right!
You can of course use just milk or dark chocolate chips but I love a mixture of both… and I like a LOT of them.
How to make gluten free NYC cookies
Making these gluten free NYC cookies honestly is so simple, you’ll wonder why you never made them sooner.
Again the full recipe card is down below but here is a brief overview to show you just how easy they are to make.
Obviously I have gone for a chocolate chip cookie recipe, but you could jazz it up to make chocolate chip walnut cookies (a Levain classic!) or even triple chocolate cookies!
To start with, you’ll need to cream together the butter and sugars.
Then you simply beat in the egg and vanilla extract, then mix up the remaining dry ingredients and mix them into the batter.
The real key part of the recipe is the chilling stage – what’s the single most important thing you can do for perfect gluten free cookies?
Do not, under any circumstances, cut down or skip the chilling part of this recipe!
You might think you can chuck them in the fridge for 10 minutes or just chance it and pop the dough straight in the oven but trust me, IT WILL NOT WORK.
What you’ll end up with is one giant mess as the cookie dough spreads like crazy and morphs into one giant cookie mess.
Perfect if you want a cookie bar, but you’ll lose all the amazing texture of how these gluten free NYC cookies should have.
You MUST chill the cookie dough IN THE FREEZER for at least one hour.
That’s it, it’s that simple. Don’t change it or cut it down – just one hour (or more, more is fine!) in the freezer before baking.
Then bake them straight from the freezer once your oven is hot.
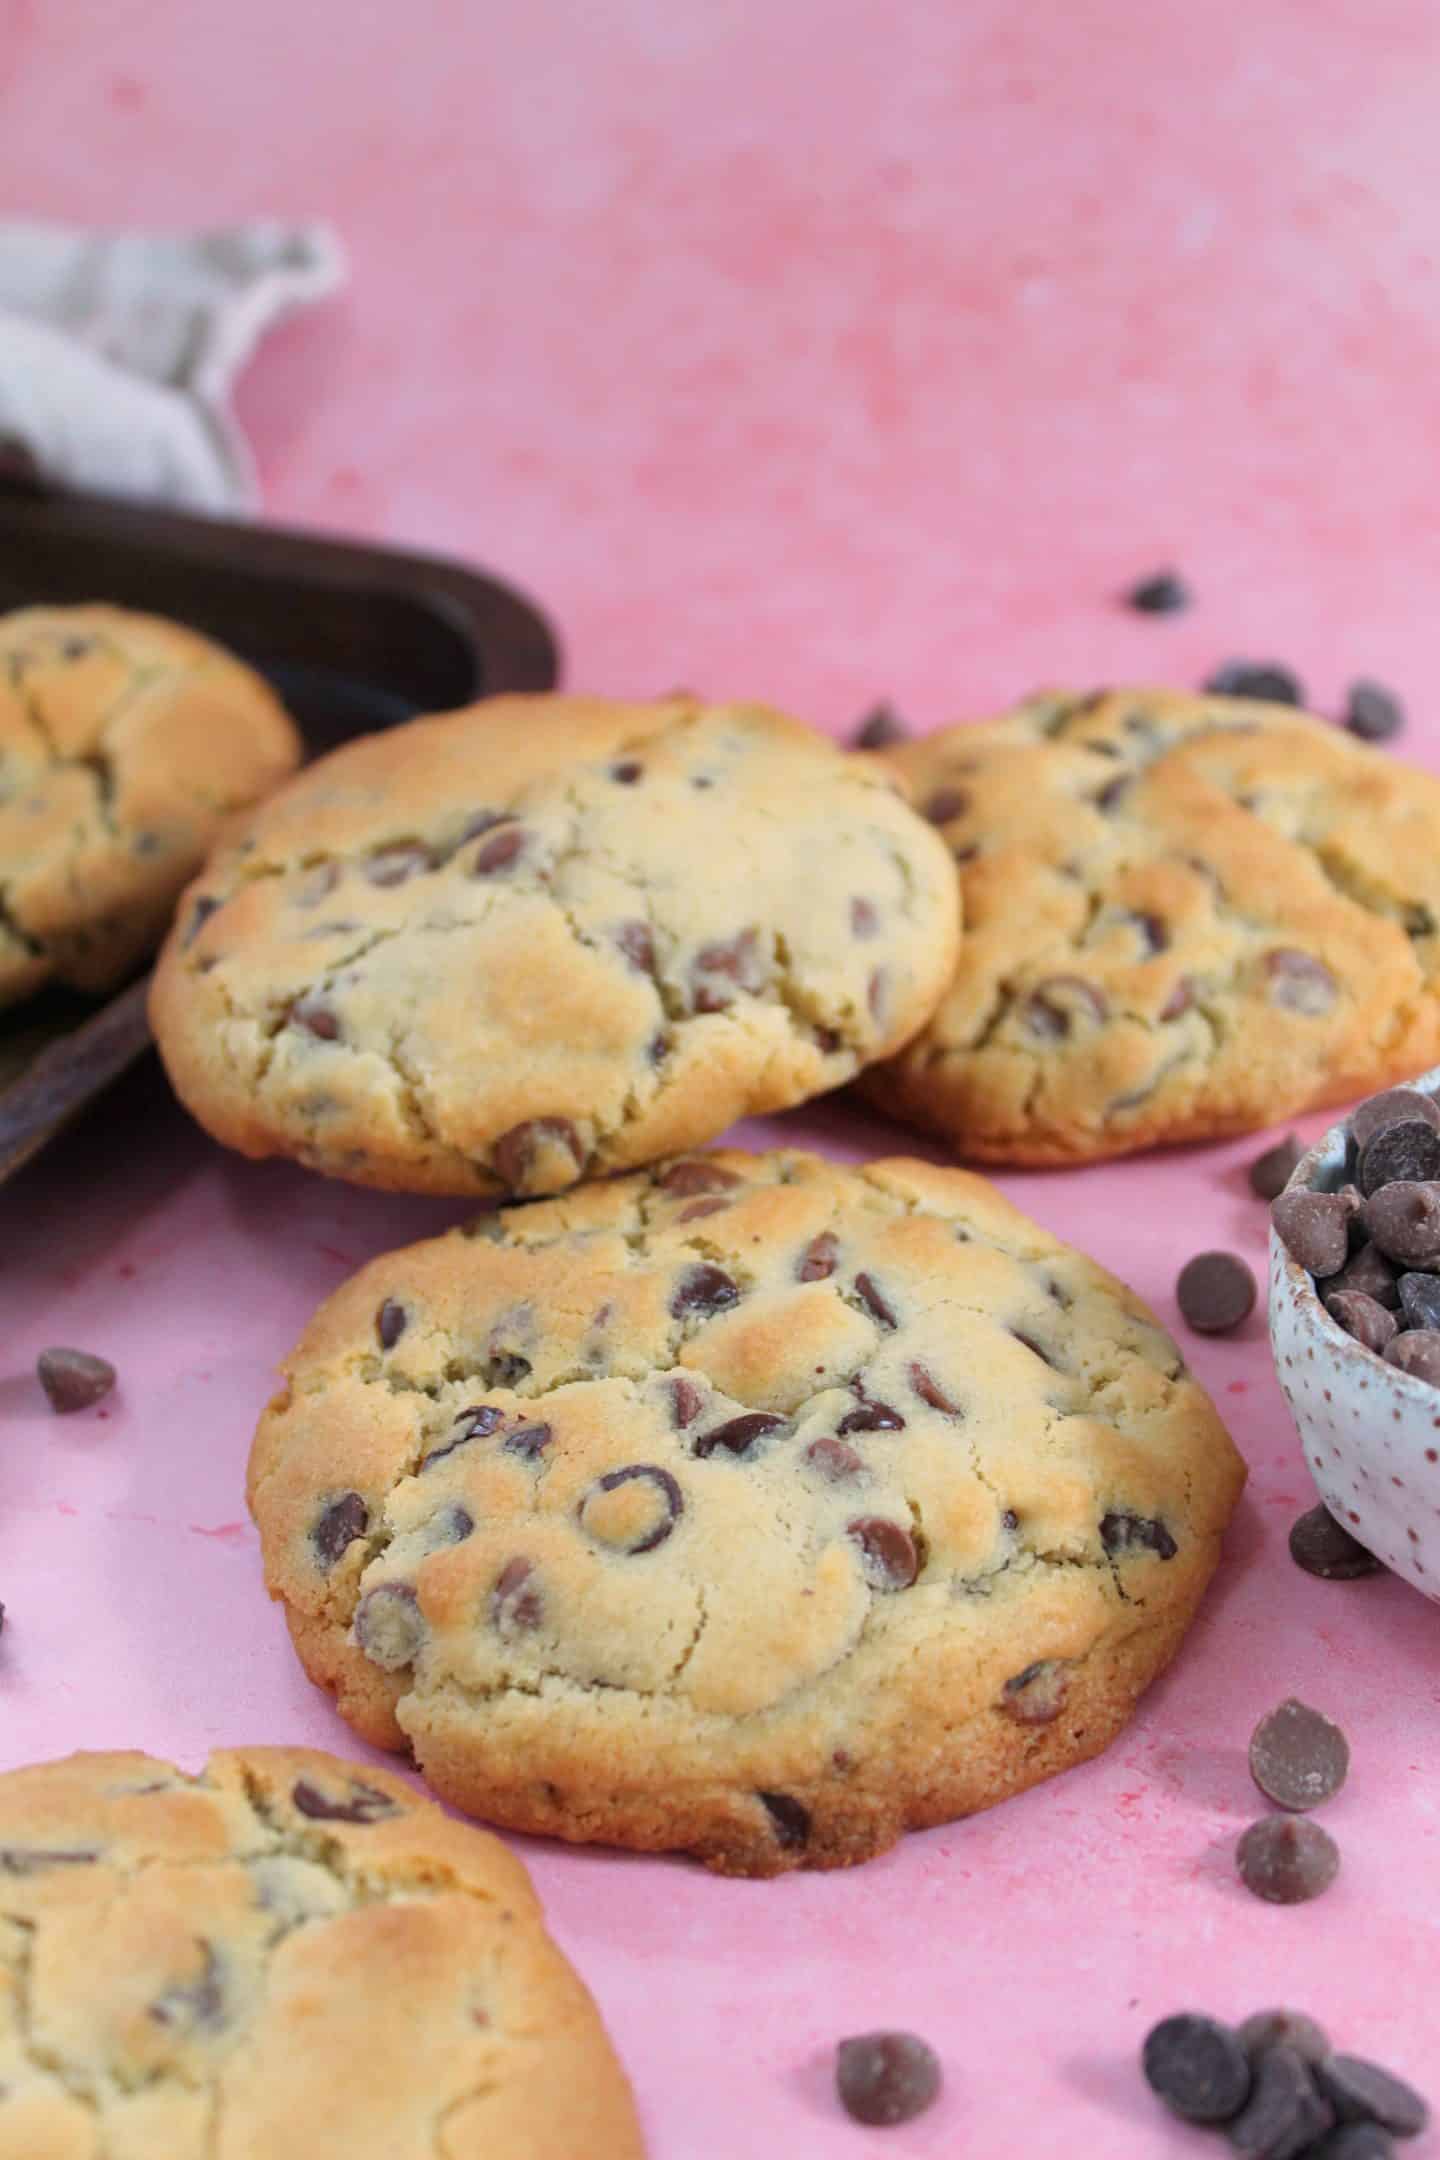
Having the cookie dough so cold means they won’t spread too much and you’ll keep that gorgeous, thick dome shape.
And while flat cookies are great in their own right, they’ll be more chewy and less gooey, and that’s not what we’re going for.
My gluten free New York cookies recipe
This recipe makes eight of the most deliciously chunky gluten free cookies you’ll ever taste!
It’s easy to follow with basic ingredients – and both the cookies and dough freeze really well.
If you make this recipe and love it, please do let me know by tagging me on my Instagram or using #theglutenfreeblogger. I love seeing your bakes!
And please do leave a review to let others know you loved it too! It would mean the world to me.
Gluten Free NYC Cookies
This easy gluten free NYC Cookies recipe makes eight giant, gooey, chewy, melty chocolate chip cookies - New York style! A really simple recipe, just do NOT skip the chilling part! Can be made into smaller cookies - see notes.
Ingredients
- 75g granulated sugar
- 100g light brown sugar
- 110g unsalted butter (at room temperature)
- 1 large egg
- 1 tsp vanilla extract
- 300g plain gluten free flour
- 1 tsp baking powder
- 1/4 tsp bicarbonate of soda
- 1/2 tsp salt
- 150g milk chocolate chips
- 150g dark chocolate chips
Instructions
- Add the granulated sugar and light brown sugar to a bowl and stir to mix. Add the softened butter and beat with an electric mixer (or wooden spoon) until creamy. The softer the butter, the easier this will be!
- Add the egg and vanilla extract and beat again to combine.
- Mix the gluten free flour, baking powder, bicarb and salt in a separate bowl and then add to the cookie mixture. Beat again until there are no clumps of loose flour.
- Pour in the chocolate chips and mix with a wooden spoon until evenly distributed.
- Break off lumps of dough (approx 110g each) and roll into a ball - it may be a little sticky but go with it! Place the balls on a lined baking tray (or chopping board) and place in the freezer for an hour. This stage is VERY important - do not skip it or your cookies will spread in the oven into one giant mess!
- When the hour is almost up, pre-heat the oven to 200'C / Fan 180'C / Gas Mark 4. Remove 2-3 cookie dough balls from the freezer and place on a lined baking sheet. I'd recommend only baking a couple at a time with a good few inches of space between them as they will spread.
- Bake for 10-12 minutes, until they have flattened slightly into a domed cookie shape and are lightly golden brown on top. Remove from the oven (trust me here - you want them to still be almost raw in the middle for that gooey centre) and place the a baking tray on a cooling rack. DO NOT attempt to move the cookies until they have cooled considerably as they will be very soft.
- Repeat until all the cookies are baked (you can also leave the dough in the freezer until you want it or bake them in batches). Leave the cookies to cool for at least half an hour if you can bear it, and for best enjoyment eat while they're still a little bit warm and the chocolate is all melty and delicious!
Notes
- These cookies are best eaten on the day of baking but will keep for up to 5 days in an airtight container. They also freeze well, as does the dough pre-baking.
- If you choose to make smaller cookies you will need to adjust the cooking times. For cookies which are half the size, I'd recommend baking for 6-7 minutes before checking.
- This recipe was adapted from Jane's Patisserie NYC Chocolate Chip Cookies recipe, which I have tweaked and 'de-glutened' with much testing!
NEED SOME MORE GLUTEN FREE cookie recipes?
If you want to have a go at some of the other gluten free baking recipes on the blog, why not give some of these a try? They’re perfect to satisfy any cake cravings!
- Gluten free chocolate orange mini egg cookies
- Chewy Gluten Free Cookies
- Classic gluten free choc chip cookies
- Giant double chocolate cookies
If you do make this recipe please let me know! I’d love to see your photos using #theglutenfreeblogger, share them in my Facebook group or tag me on Instagram.
And if you have any recipe suggestions, please let me know in the comments what you’d like to see next!
Oh – and don’t forget to sign up for my e-newsletter where you’ll know about all my latest posts and competitions first!
LIKE THIS GLUTEN FREE NYC Cookies RECIPE?
Make sure you pin these recipe cards below for later!
Do head over and follow me on Pinterest too for more gluten free recipe inspiration.




I have to leave a comment now because oh my! I spent this afternoon making cookies for my mum when she returns from a quick trip away. Noting better than the smell of a cookie! My mum has been allergic to gluten for years now and I love to bake yummy things for her but honestly I resort to boxed cakes because they always taste decent. I risked making these cookies and firstly the cookie dough is dangerous could be eaten raw! Secondly, FREEZE YOUR DOUGH, who knew!? This recipe is incredible. I am speechless and beyond amazed at how good it is. I made them at the recommended weight then popped them in the freezer (a bit unsure). Wanted to trial a couple before the guest of honor arrives, honestly how I have only eaten one I don’t know! They are delicious and so easy. I was nervous taking them out at 15 mins when they were golden…I looked and was like “they are raw and a little gloopy” left them for 30 mins as recommended by Sarah and I AM AMAZED! They are glorious. Next up will be the iced buns and then might even attempt some bread and cinnamon buns. I am so excited. Thank you SARAH! x You are a gluten free angel x
Hi, I’m looking forward to making these for my gluten free husband today! Could you please confirm what type of butter/marg is best. Do I need stork?