This post may contain affiliate links for which I earn a small commission at no extra cost to you. For more info, check out my Disclosure Policy. Thank you for your support!
If there’s one cake recipe everyone should have in their arsenal, it’s my gluten free Victoria sponge recipe. Nothing beats this one-bowl gluten free cake recipe, with two light and fluffy gluten free sponges sandwiching a layer of smooth buttercream and strawberry jam.
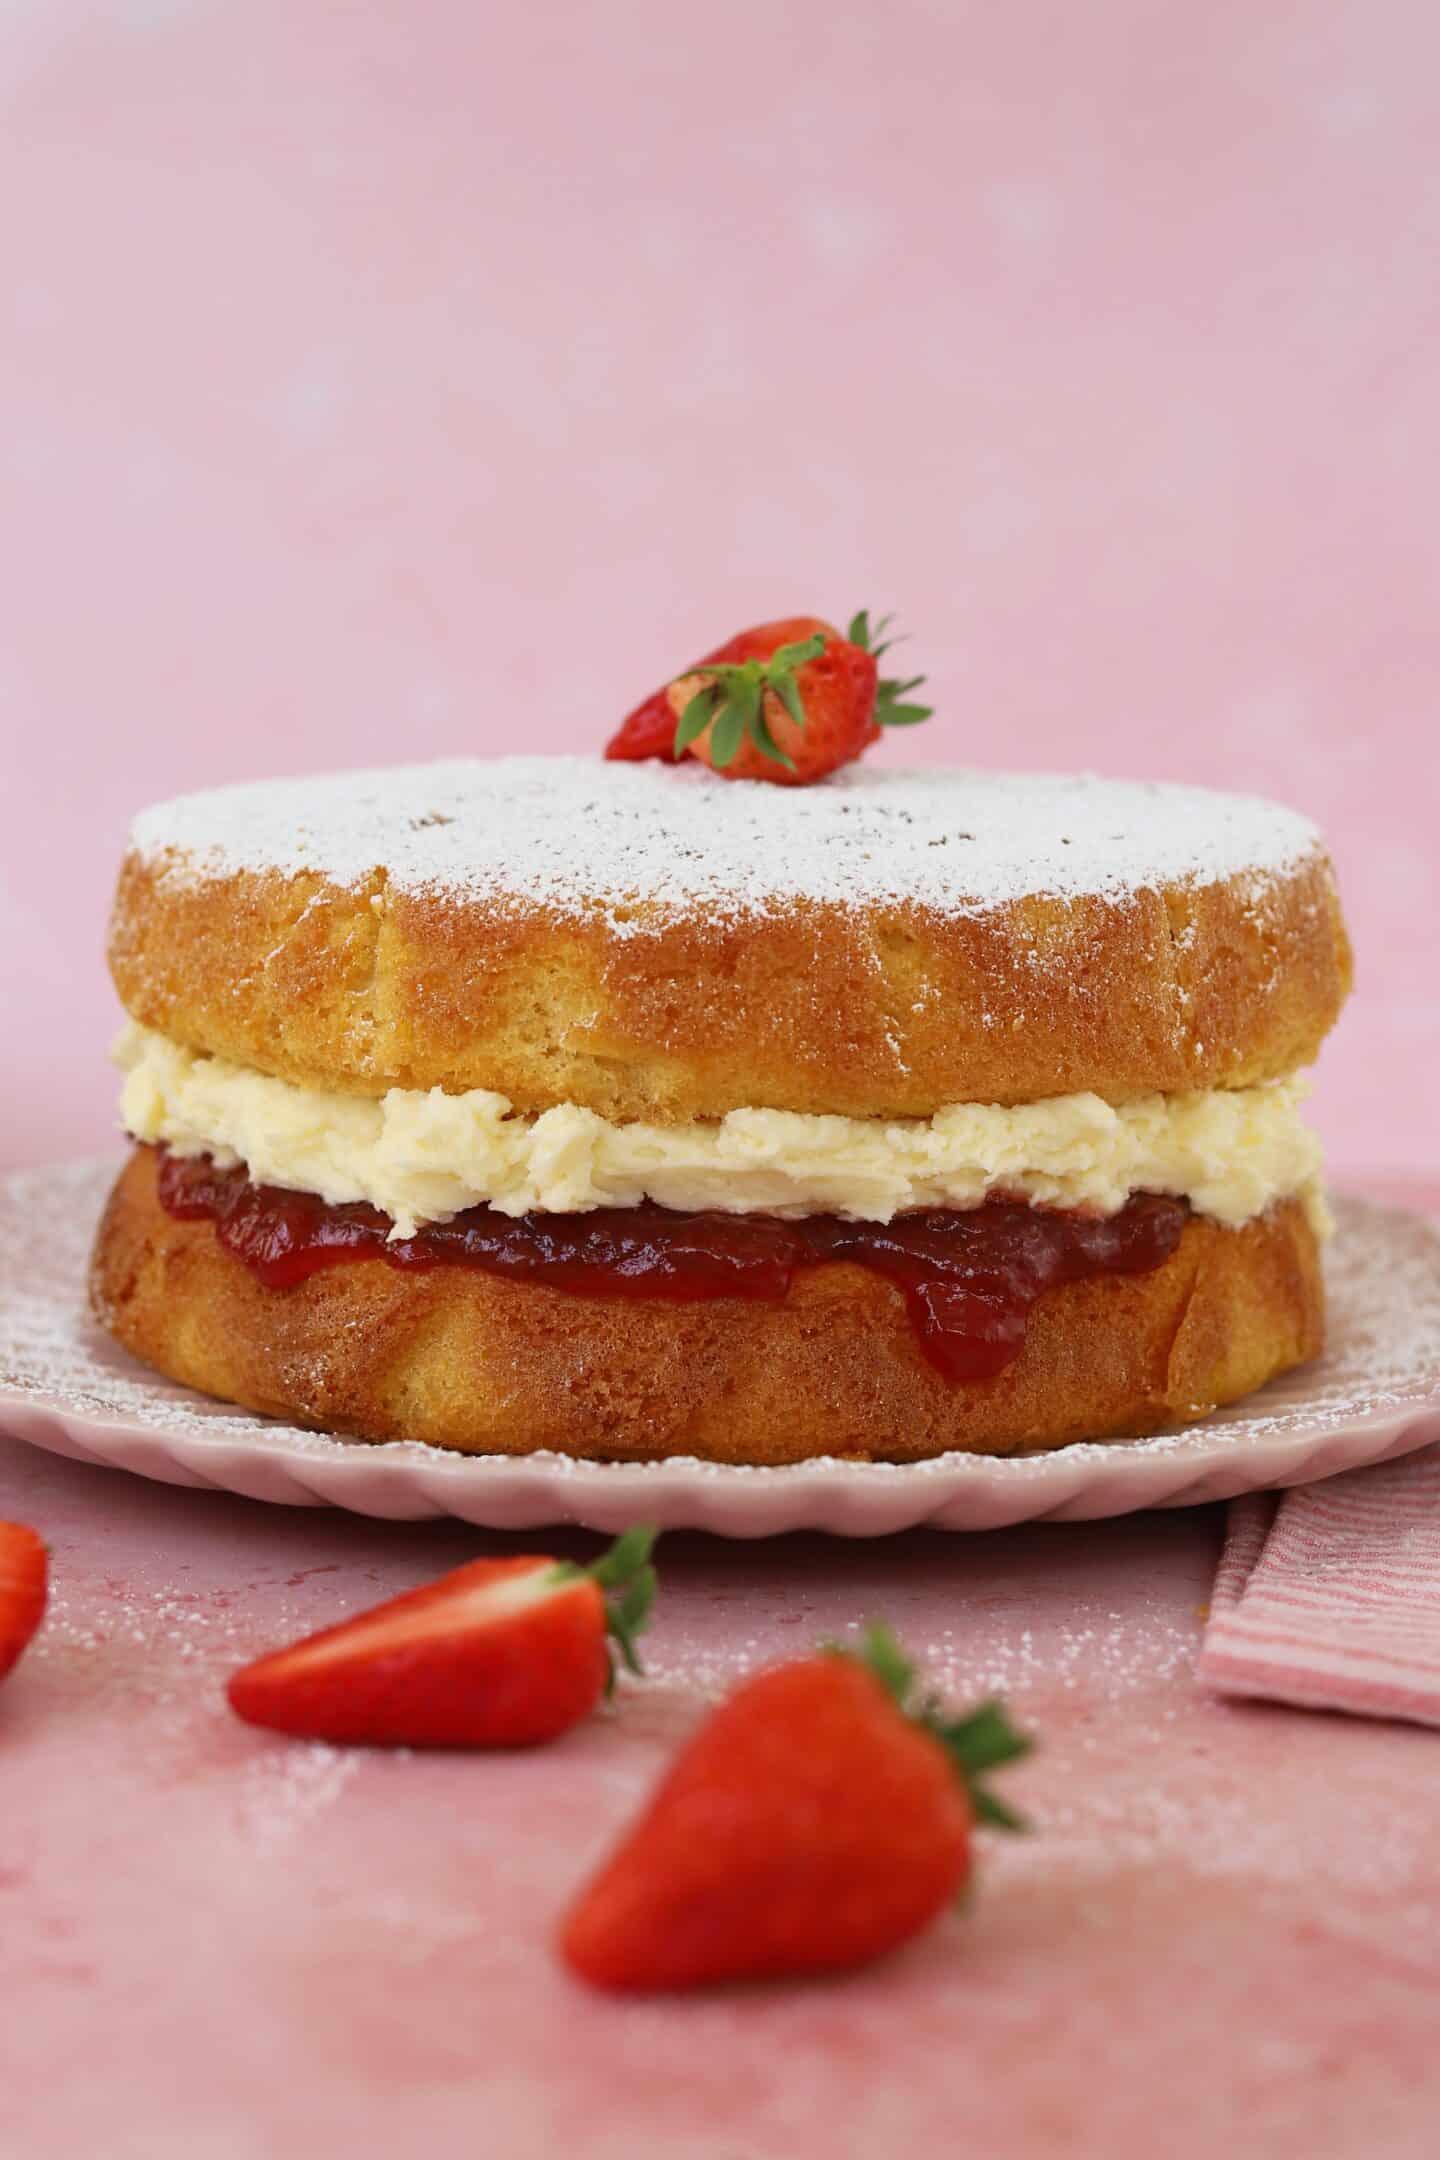
A gluten free Victoria sponge is an absolute classic which can be used for a gluten free birthday cake, wedding cake, or as part of an afternoon tea spread.
I have many fond memories of making this gluten free Victoria sponge recipe with my Mum as a kind, so I’m super excited to share it with you!
Plus I have some super easy swaps for making it completely dairy free – I think the cake itself actually works better dairy free anyway.
What is a gluten free Victoria sponge?
A Victoria sponge is, essentially, a basic gluten free sponge cake.
Two super light sponges are sandwiched together with buttercream and lashings of strawberry jam.
Apparently, the cake is named a Victoria sponge because Queen Victoria herself was said to enjoy a slice with her afternoon tea.
In fact, no matter the occasion, this gluten free Victoria sponge cake is the perfect gluten free afternoon tea treat.
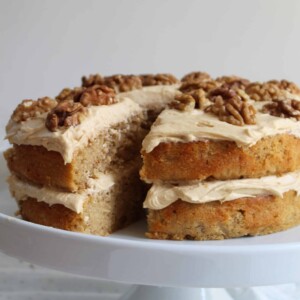
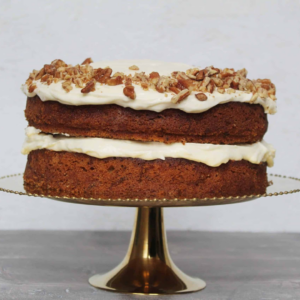
It’s the perfect accompaniment to a plate of warm gluten free scones or served up with my gluten free lemon drizzle cake or gluten free carrot cake.
I like mine with so much jam it oozes from the sides, and a super thick layer of buttercream.
Some recipes use fresh cream and you can use this if you prefer. I find buttercream is more to my taste and also gives the cake a bit more longevity.
As a child I used to try find the bit with the most icing sugar on top, so a heavy dusting of icing sugar to finish it off is non-negotiable.
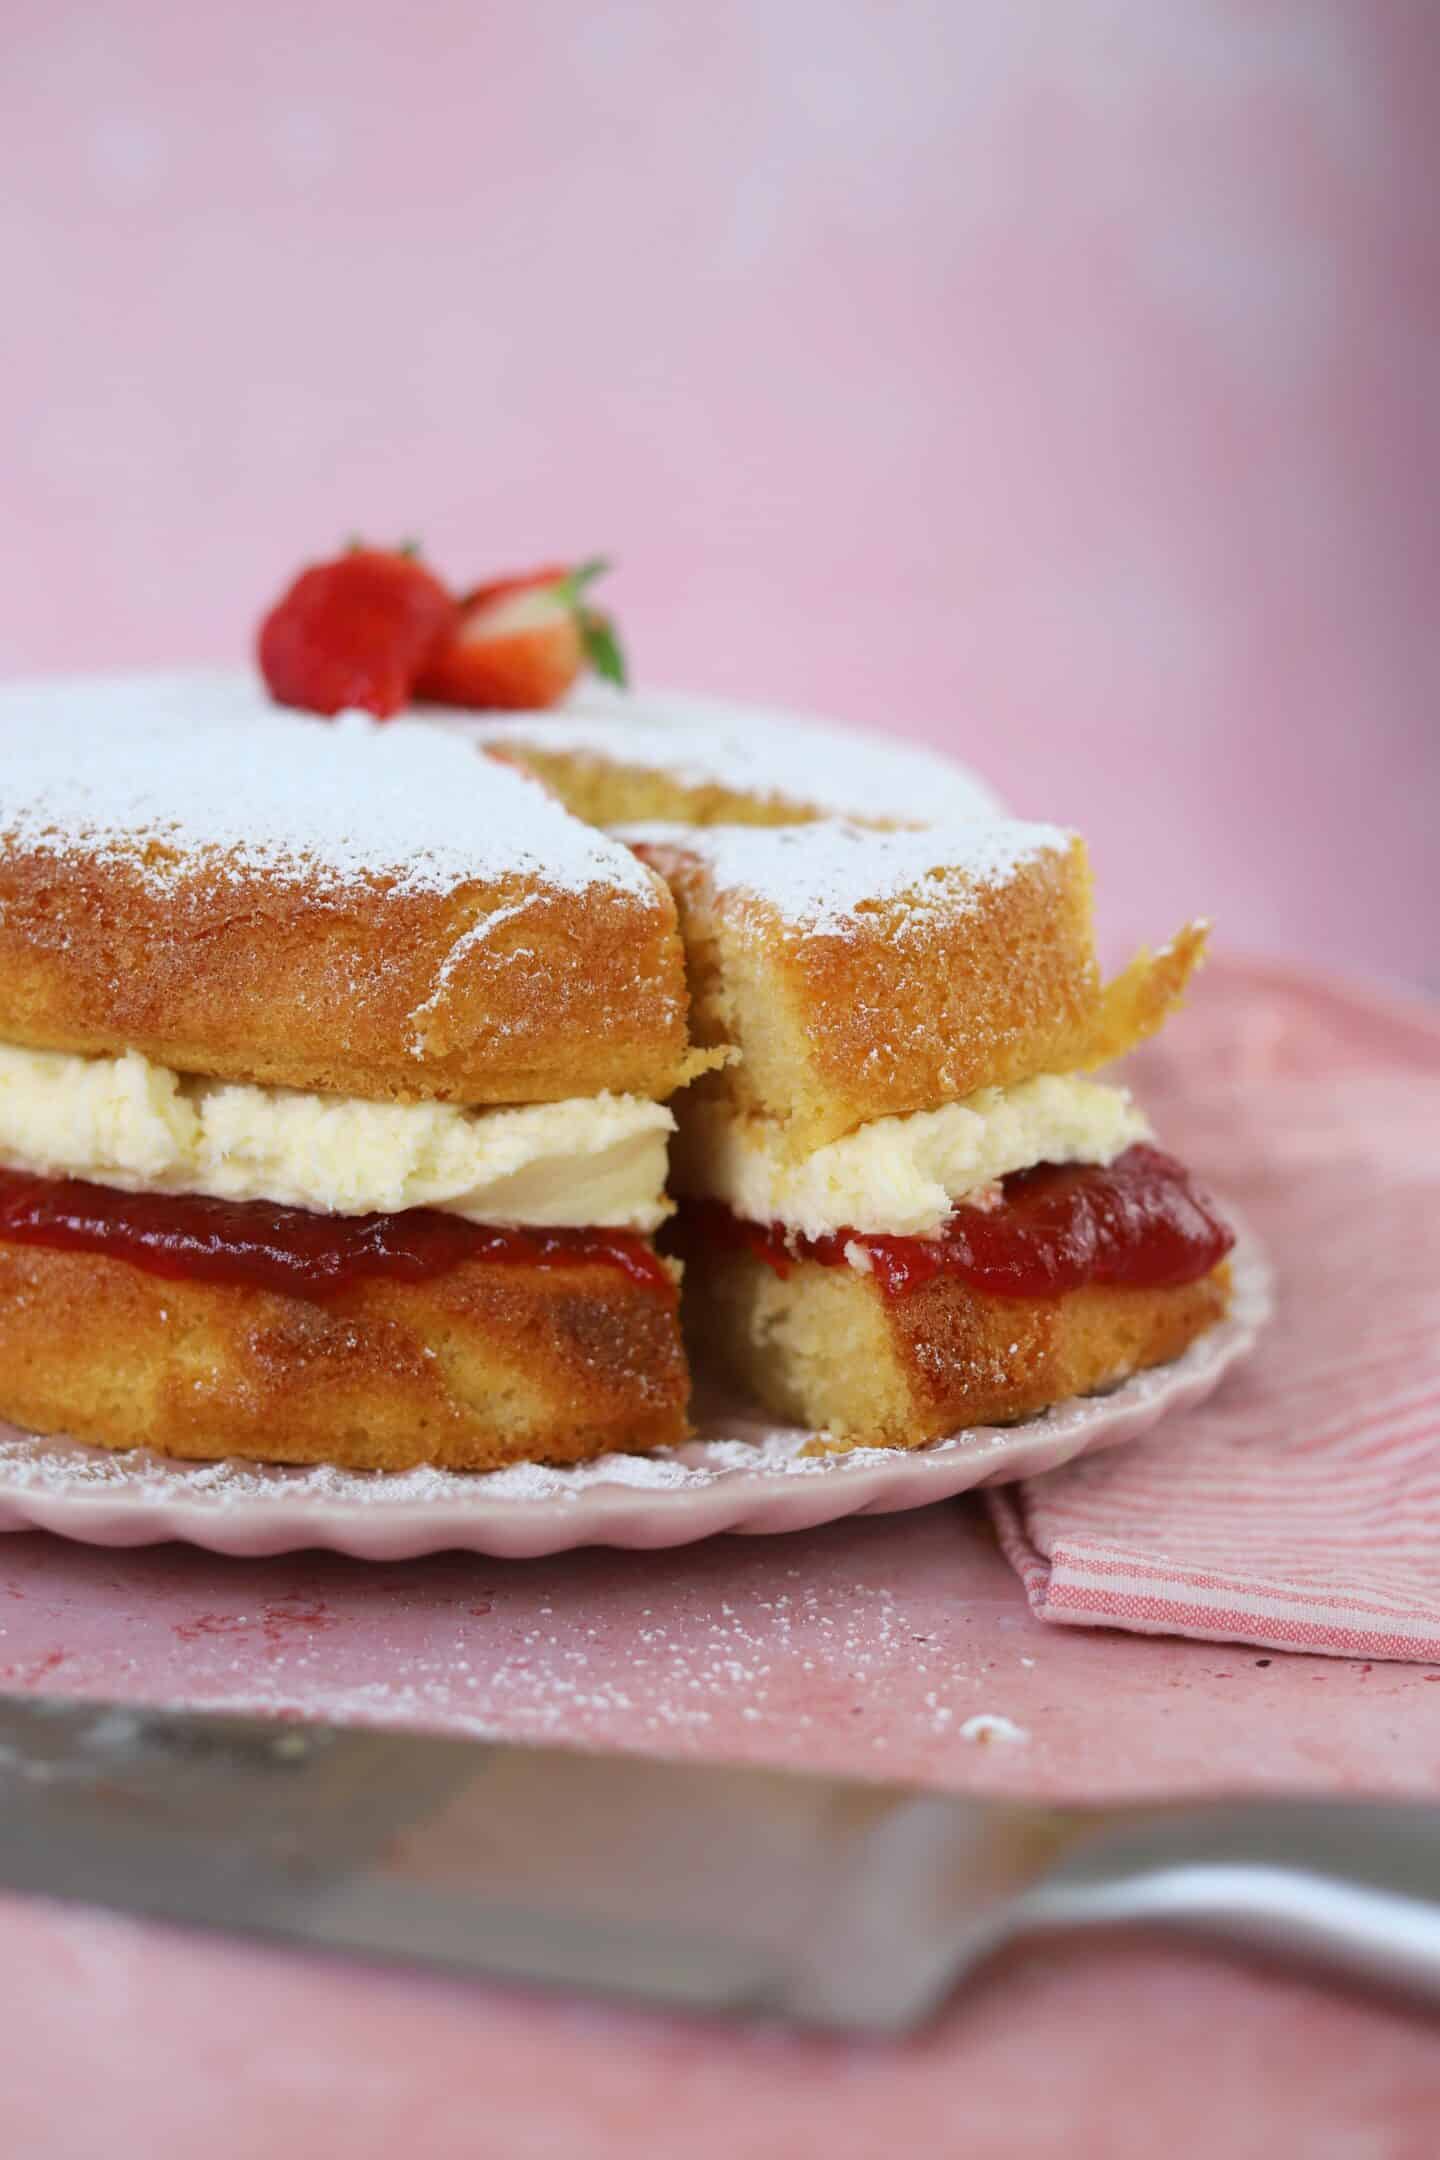
Victoria Sponge Cake Ingredients
This really is one of the easiest gluten free cake recipes out there, with minimal ingredients.
There’s a full printable recipe card down below with the method, but for the shopping list you’ll need:
- Caster Sugar – In the US you’ll want to look for Baker’s Sugar for this recipe.
- Stork Baking Spread – I always find I get much better results using this in cakes and it also makes the sponge dairy free. You can use unsalted butter if you prefer.
- Plain Gluten Free Flour – I always use the FREEE Plain Gluten Free Flour as it’s available in most UK supermarkets. Any plain gluten free flour blend should work – in the US you’ll want an All Purpose gluten free flour.
- Baking Powder – Always ensure your baking powder is gluten free as some are not safe. If you prefer to use a self-raising gluten free flour instead of plain, you only need to add 1 tsp of baking powder to the mixture.
- Xanthan Gum – A little goes a long way! This helps to replicate the texture of the gluten. Omit it if you cannot tolerate it (or if your flour mix already contains it) but you may find the cake a little more crumbly in texture if there is none in your flour mix.
- Eggs – This recipe uses large UK eggs.
- Milk – I use milk to help loosen the cake batter a little. If making this recipe dairy free you can replace this with a dairy free milk of choice.
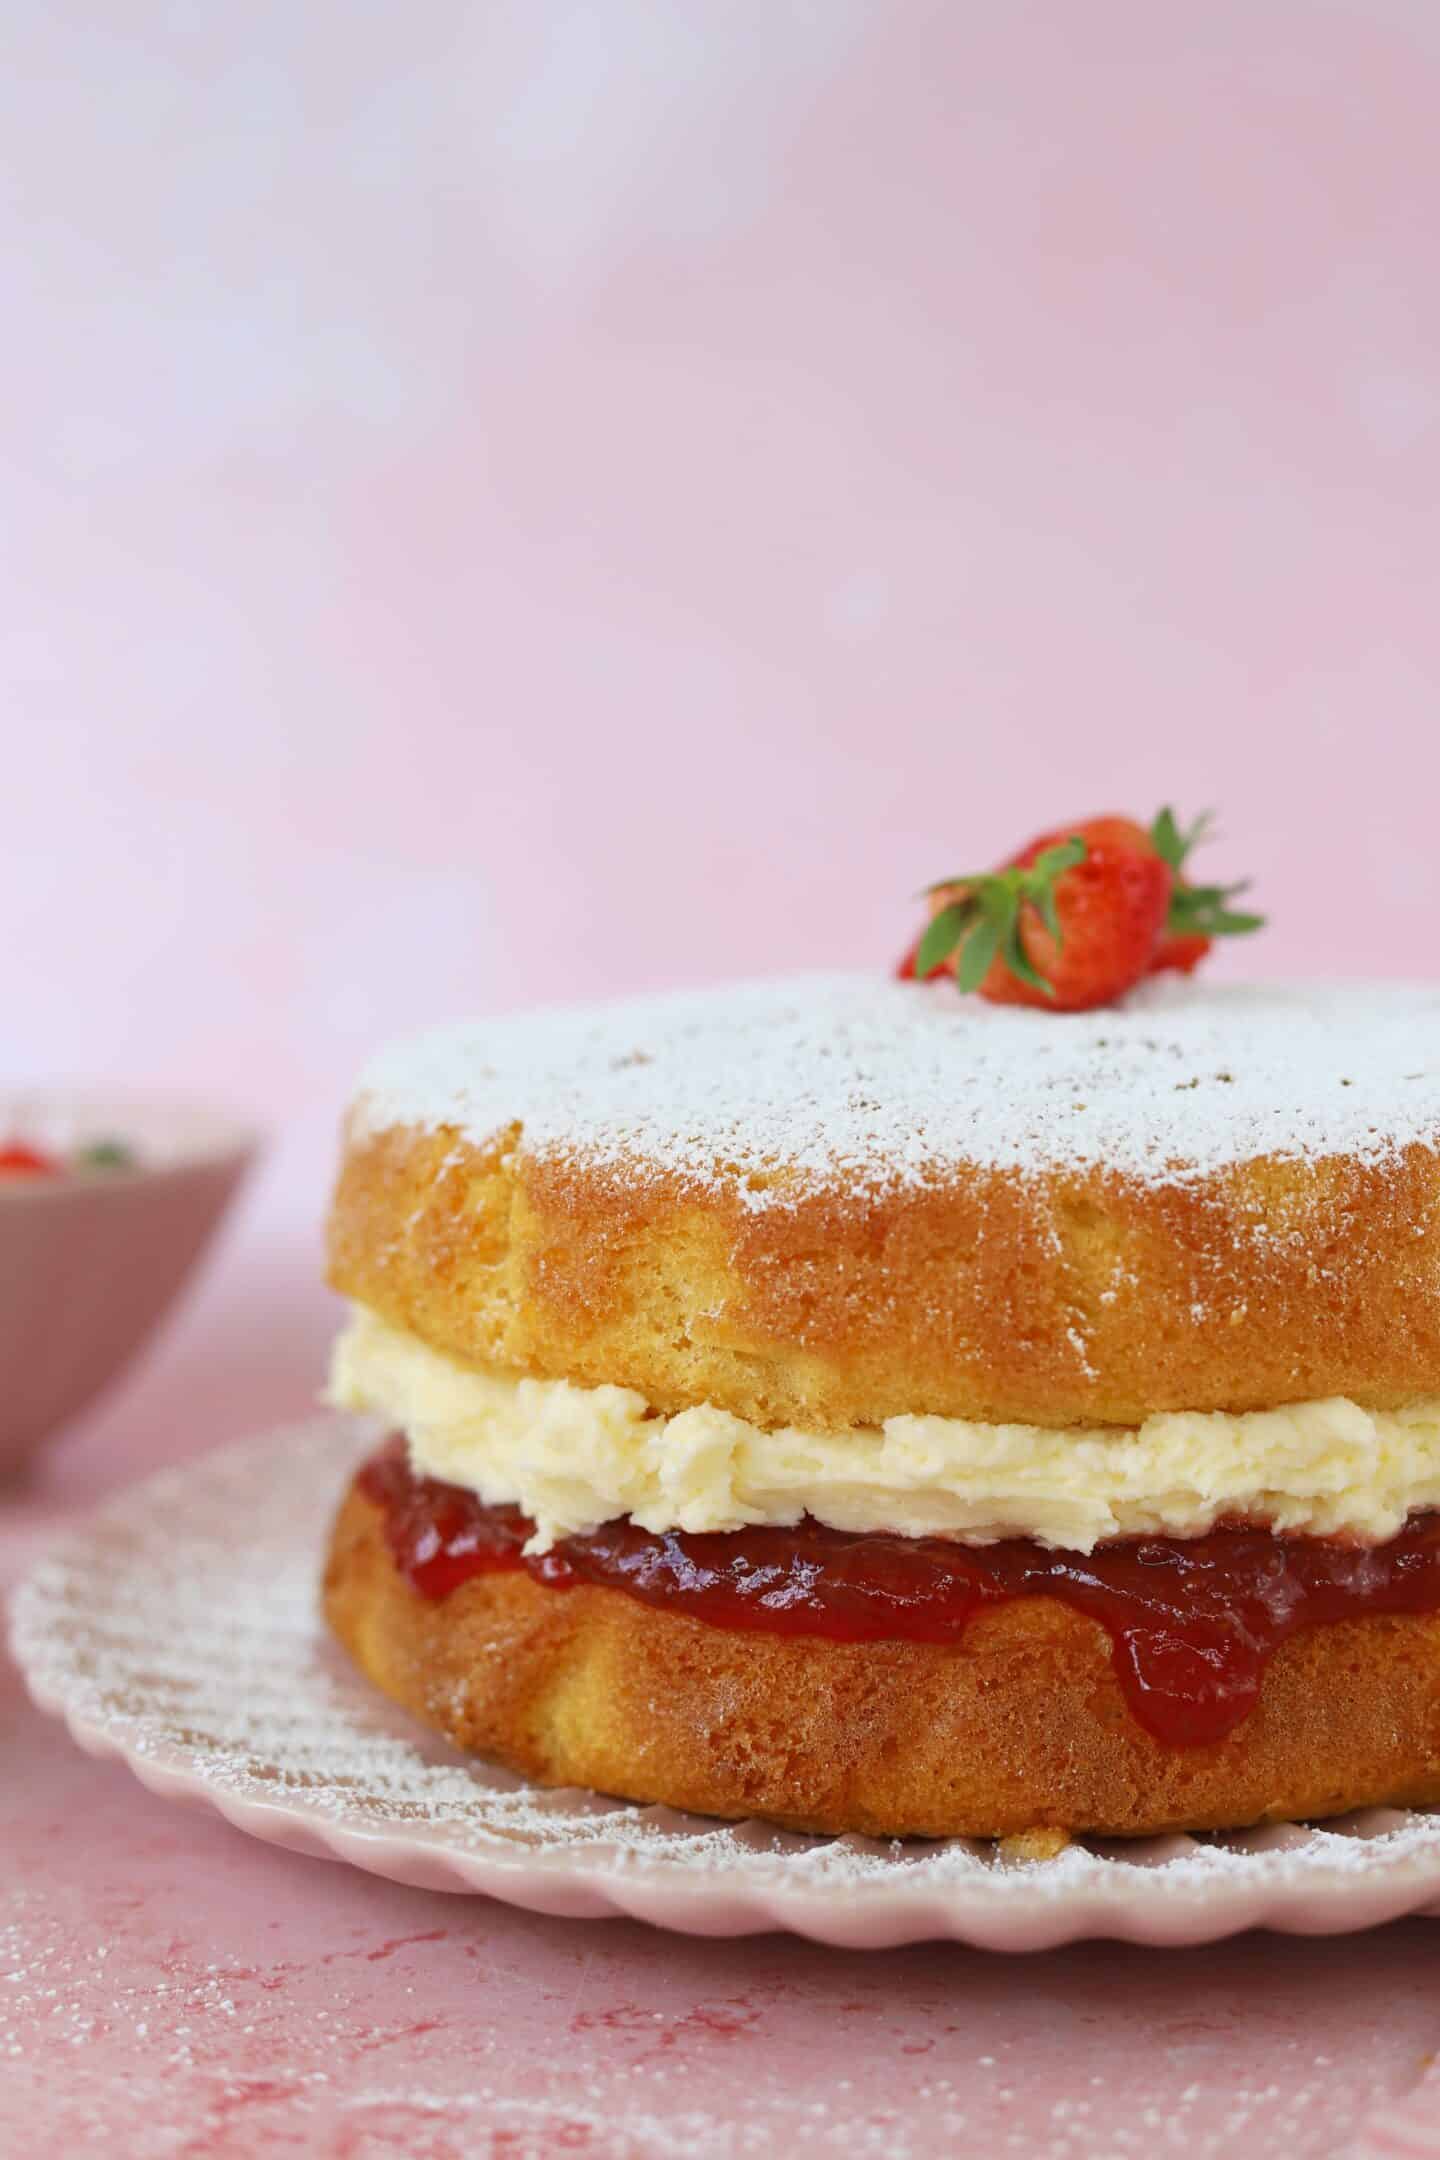
For the Victoria Sponge Cake filling you’ll also need the following ingredients:
- Unsalted Butter – This is for the buttercream filling and it’s important to ensure it is at room temperature! If making this recipe dairy free, use a vegan butter of choice.
- Icing Sugar – or in the US you may find it is called Confectioner’s Sugar instead. You need this for the buttercream plus extra for dusting.
- Vanilla Extract – essential for adding a lovely flavour to the buttercream.
- Strawberry Jam – If you prefer you can use a different flavour jam such as raspberry, apricot, plum or blackcurrant. Any flavour jam works well!
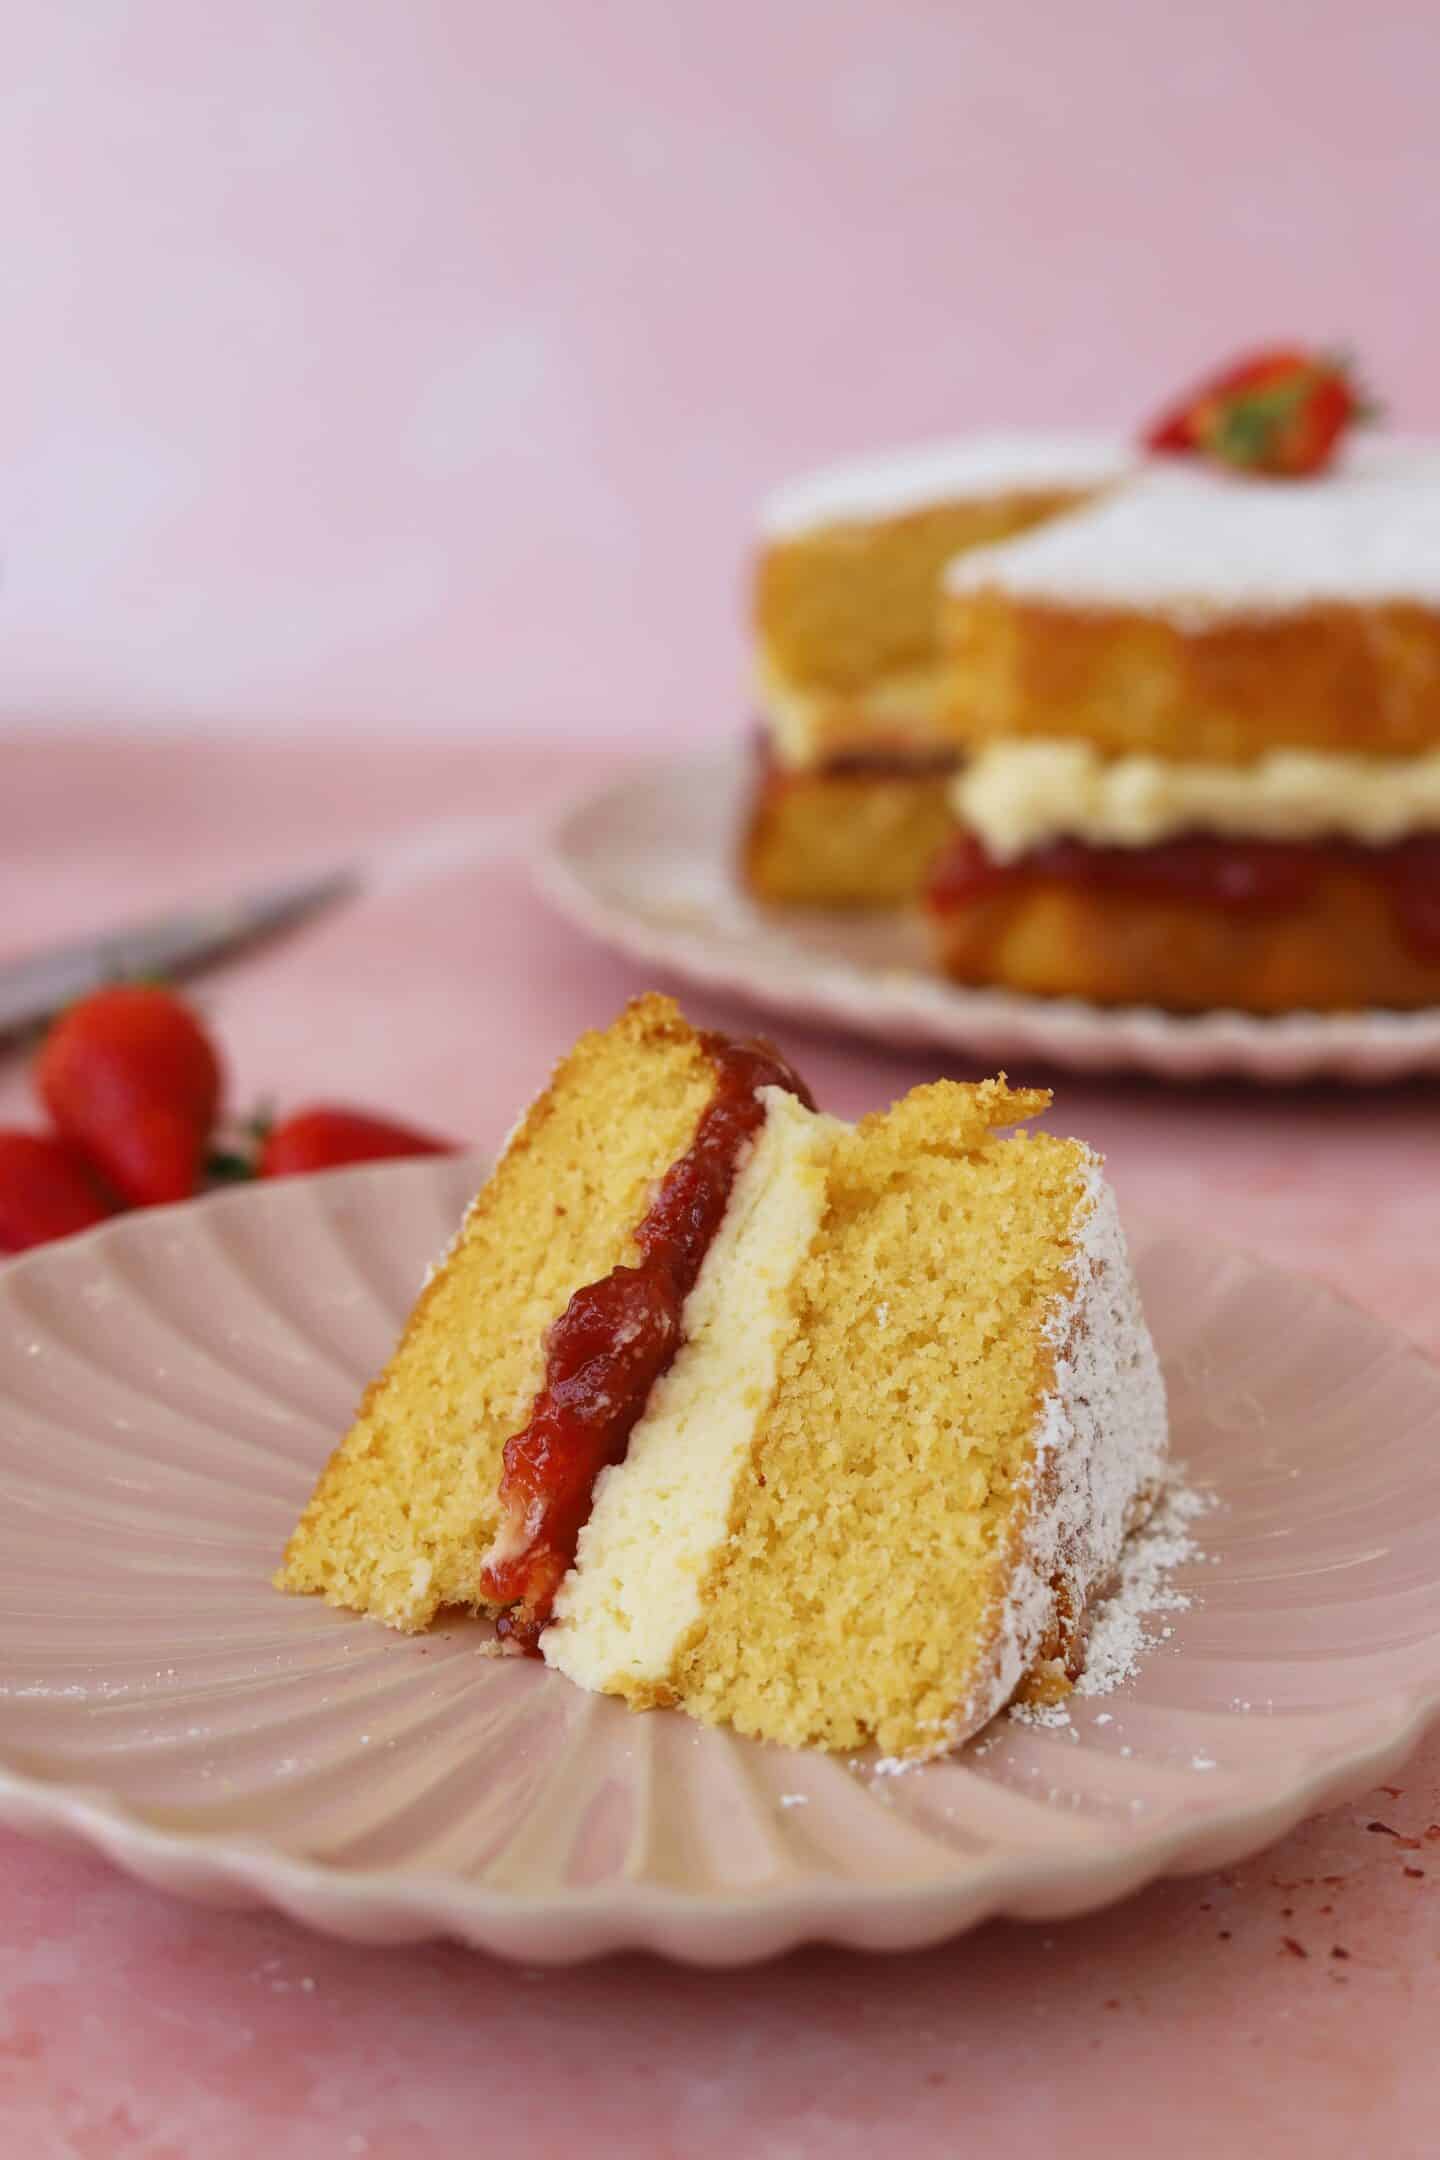
How to make a gluten free Victoria Sponge
Making this gluten free Victoria Sponge cake recipe is so simple – I’ve even included some step-by-step photos below.
To make my gluten free Victoria Sponge cake recipe:

Preheat the oven to 1809’C / Fan 160’C / Gas Mark 4. Grease and line two 20cm (8 inch) round baking tins (see below for how to line your tins).
Mix the gluten free flour, baking powder and xanthan gum together in a bowl and set to one side.
Add the caster sugar and Stork to a large mixing bowl and beat with an electric whisk for a minute until creamed together.

Add the eggs and milk to the mixture and then sift in the flour mix. Beat again with the electric whisk until the mixture has combined to form a smooth batter.
Divide the mixture evenly between the two cake tins and smooth out the tops. Bake in the oven for 30-35 minutes until golden on top and springy to the touch. A skewer inserted in the middle should come out clean.

Remove the cakes from the oven and place on a cooling rack. Leave to stand until the tins are cool enough to remove, then remove the tins and leave the sponge to cool completely.
To make your icing, add the butter, icing sugar, vanilla extract and milk to a large mixing bowl and beat together until it forms a smooth buttercream.
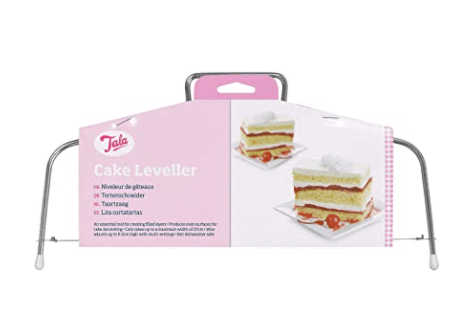
Use a cake-leveller to flatten the bottom sponge, and then spread evenly with the jam. Turn the other sponge upside-down and spread the buttercream in a thick, even layer over the flat side.
Sandwich the two sponges together with the cream and jam in the middle. Sprinkle liberally with icing sugar and serve straight away.

Recipe Tip
The golden rule of baking cakes is never open the oven door before they’re ready!
With these sponges you want to give them at least 30 minutes before you open the door to check them – and only then if you’re sure they’re baked.
If you’re unsure then give them a few more minutes, as opening the oven door too soon will result in a sunken cake.
How to line your cake tin using a cartouche
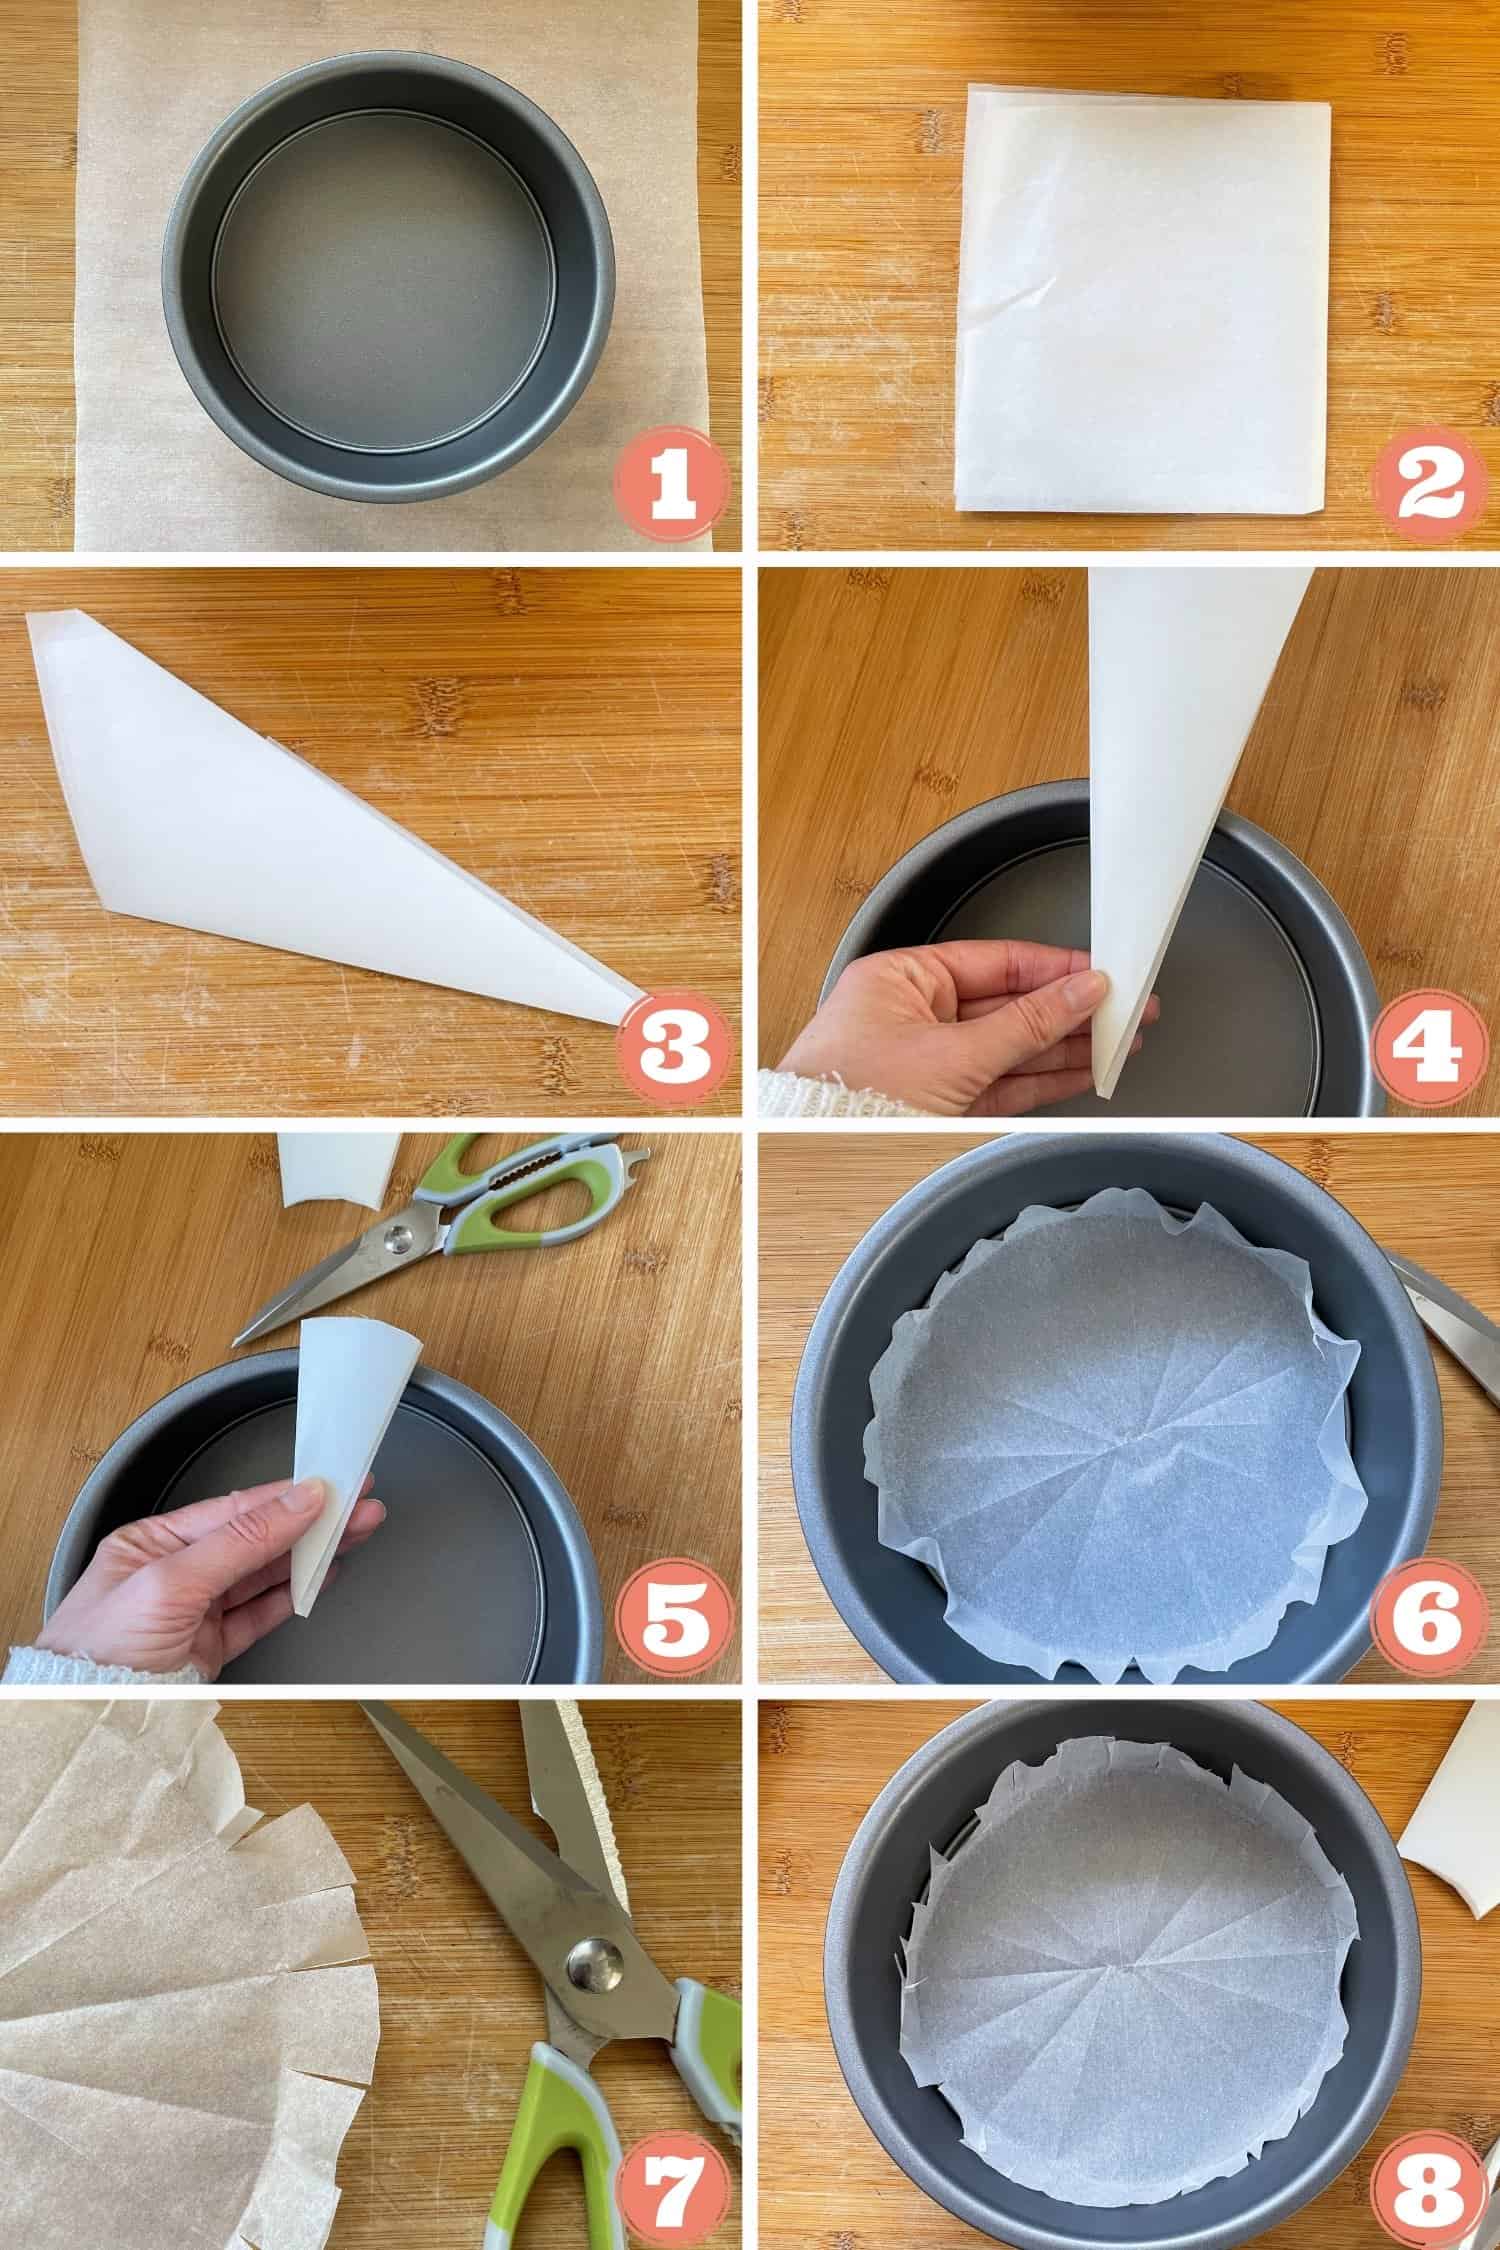
To line my cake tin for a Victoria Sponge, I always make a cartouche from baking paper (step-by-step photos below!).
To do this, take a square of baking paper, then fold it in half, and in half again so you have a square.
Next, fold this in half again from the corner so that it becomes a triangle, and then repeat again.
Hold this triangle over the top of the baking tin, so that the centre is in line with the centre of the tin.
Trim the large end at an angle just wider than the edge of the cake tin and unfold – you should have a circle which is just larger than the base of the tin.
Press the circle into the bottom of the cake tin, so that when you remove the paper, you can clearly see the outline of the base.
Then at 1-inch intervals, snip the excess in towards the base all around the edge.
When you grease your baking tin and place the cartouche back into the bottom, the edges should neatly fold up the side of the tin.
Frequently Asked Questions
Before we get cracking, here are the answers to some questions I get asked a lot about my gluten free Victoria sponge…
Most cakes are made with wheat flour, so unless specifically labelled as ‘gluten free’ or ‘free from’, Victoria Sponge will not be gluten free. However, this recipe is 100% gluten free and coeliac-safe and very easy to make. The gluten-eaters won’t even realise it’s gluten free!
I have tried and tested numerous combinations for this cake and I actually get the best results using Stork Baking Spread instead of butter. It makes the cake much lighter and fluffier and I also think it keeps for longer as well.
You can easily make this gluten free Victoria sponge completely dairy free with a few swaps. Simply use a dairy free milk such as almond, coconut or gluten free oat milk in place of normal milk. For the frosting I’d recommend using Stork baking block – but any dairy free or vegan spread should work as well as butter.
In terms of making this cake recipe vegan, I have not tried this myself and 5 eggs is quite a lot to replace, so I’m not sure how well a straight swap would work with an egg replacer. If you do try a vegan version of this though, please let me know in the comments so I can share what works!
This recipe uses xanthan gum and it’s important to measure it out correctly because a little goes a long way. If you use too much, the cake batter will become gummy and try to climb up the mixer! Double check if your gluten free flour contains xanthan gum – if it does then you can omit the extra in this recipe. If using gluten free self-raising flour, this is more likely to contain it than gluten free plain flour. You only need 1/4 of a teaspoon in this recipe which is plenty!
Yes, you can freeze gluten free Victoria sponge! If you want to make this ahead of time, I recommend making the cakes and cooling them completely. Then wrap in clingfilm before freezing on a flat surface. You can then defrost them and decorate when ready.
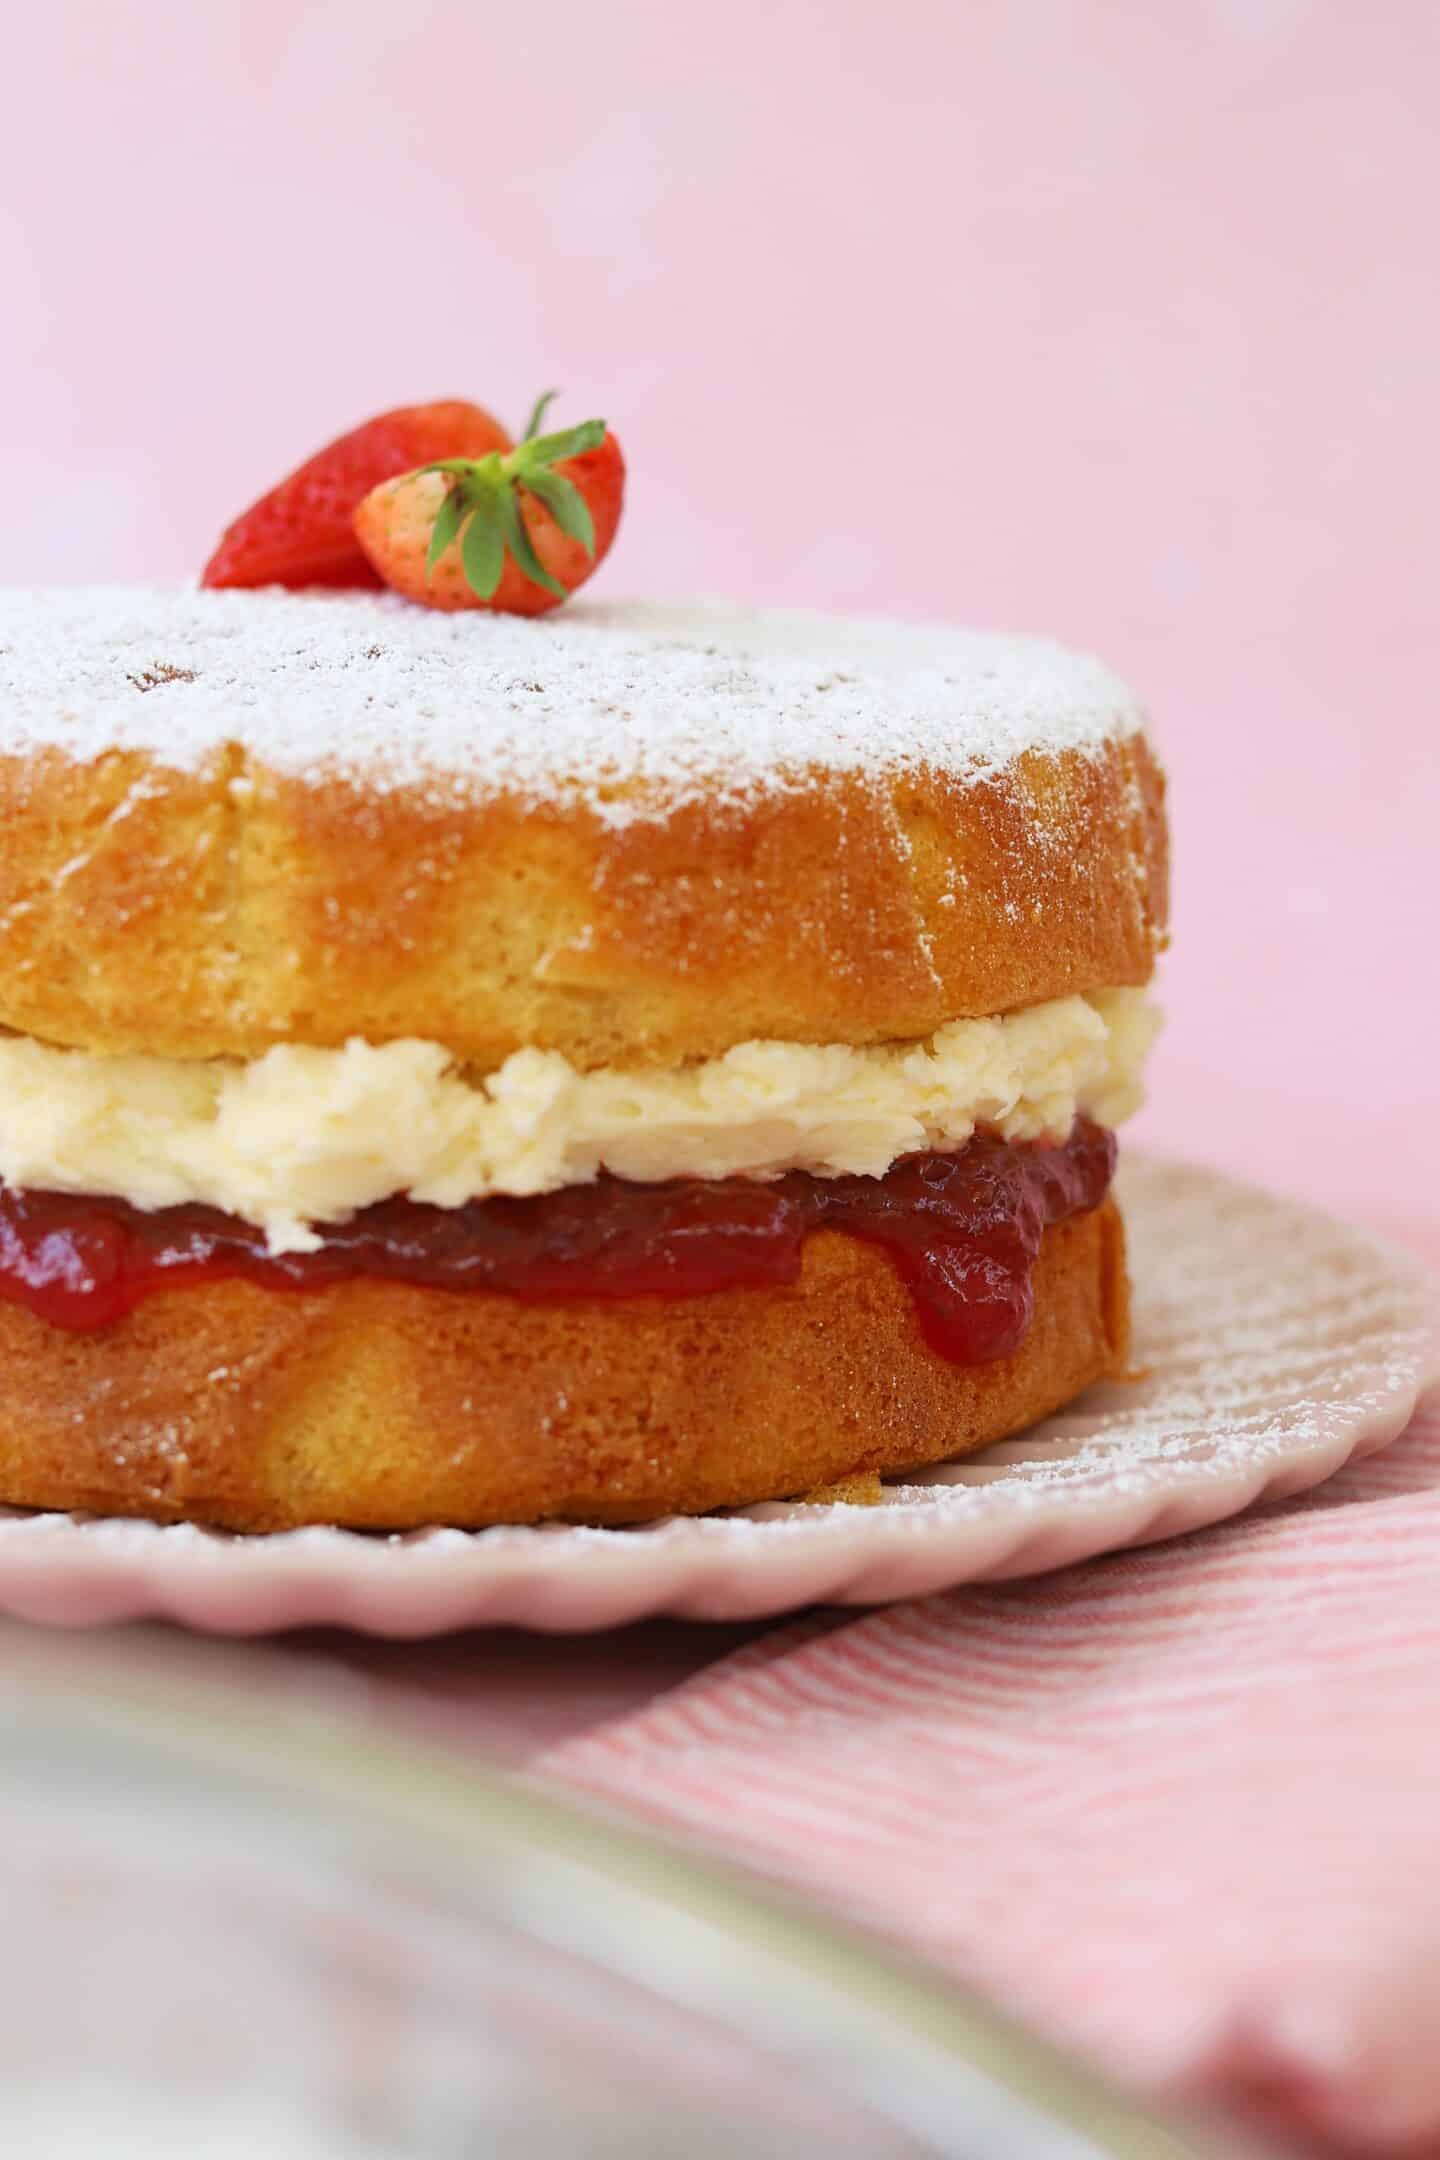
Here it is, the simple yet incredible gluten free Victoria sponge cake recipe you never knew your life was missing!
This recipe makes a 20cm (8 inch) two-tier cake for sharing, perfect as a gluten free birthday or celebration cake.
You might also like
If you make this recipe and love it, please do let me know by tagging me on my Instagram or using #theglutenfreeblogger. You can also share your creations in my Facebook group! And please do leave a 5* review ⭐️⭐️⭐️⭐️⭐️ to let others know you loved it too! It would mean the world to me and really helps support my website.
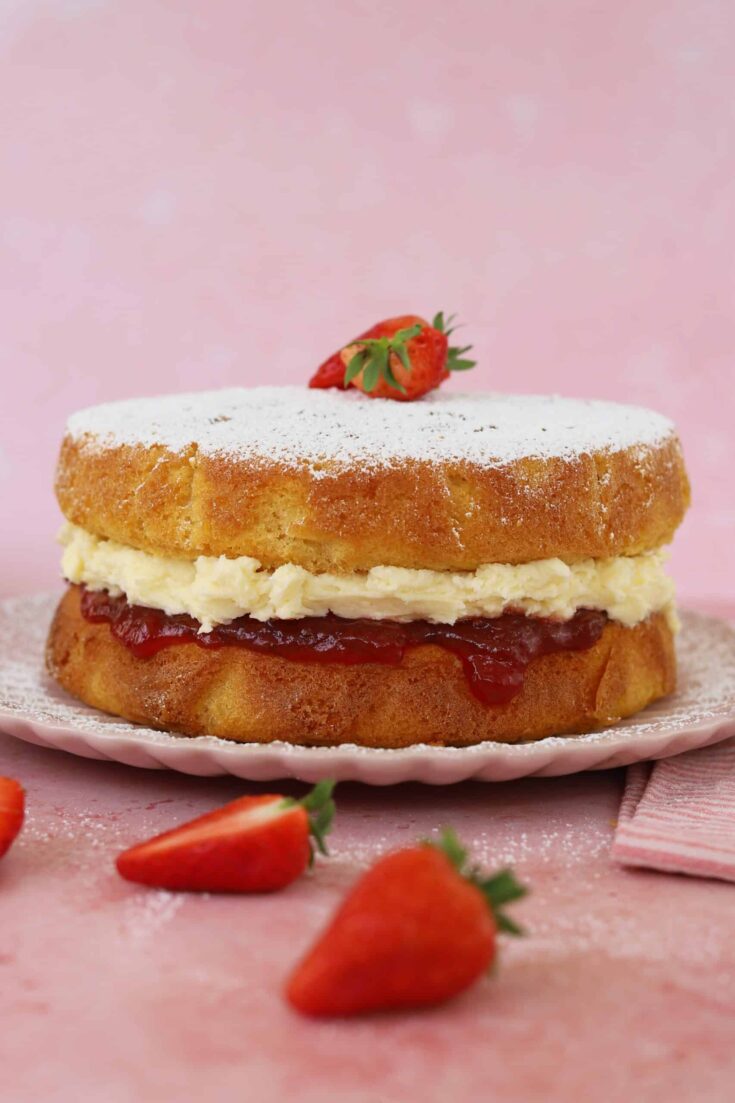
Gluten Free Victoria Sponge
My gluten free Victoria sponge cake recipe is one of the easiest gluten free cakes ever! Light and moist sponge with buttercream and jam. This makes two 20cm-diameter sponges which is enough for 10-12 people.
Ingredients
- 250g plain gluten free flour
- 4 tsp baking powder
- 1/4 tsp xanthan gum
- 250g caster sugar
- 250g Stork Baking Spread
- 5 large eggs
- 3 tbsp milk
For the filling:
- 100g unsalted butter (room temperature)
- 200g icing sugar
- 1 tsp vanilla extract
- 2 tbsp milk
- 3-4 tbsp good quality strawberry jam
- Icing sugar (to dust)
Instructions
- Preheat the oven to 180'C / Fan 160'C / Gas Mark 4. Grease and line two 20cm (8 inches) round baking tins (see blog post above for details on how to line your tins). Mix the gluten free flour, baking powder and xanthan gum together in a bowl and set to one side.
- Add the caster sugar and Stork to a large mixing bowl and beat with an electric whisk for a minute until creamed together.
- Add the eggs and milk to the mixture and then sift in the flour mix. Beat again with the electric whisk until the mixture has combined to form a smooth batter.
- Divide the mixture evenly between the two cake tins and smooth out the tops. Bake in the oven for 30-35 minutes until golden on top and springy to the touch. A skewer inserted in the middle should come out clean. *Do NOT open the oven before 30 minutes and hold off until you know the cakes are done, otherwise they will sink!
- Remove the cakes from the oven and place on a cooling rack. Leave to stand until the tins are cool enough to remove, then remove the tins and leave the sponge to cool completely. (See notes if you're making the sponge ahead of time)
To assemble:
- To make your icing, add the butter, icing sugar, vanilla extract and milk to a large mixing bowl and beat together until it forms a smooth buttercream.
- Use a cake-leveller to flatten the bottom sponge, and then spread evenly with the jam. Turn the other sponge upside-down and spread the buttercream in a thick, even layer over the flat side. Sandwich the two sponges together with the cream and jam in the middle.
- Sprinkle liberally with icing sugar and serve straight away.
Notes
- If making the sponges ahead of time, once they have cooled completely, wrap them tightly in clingfilm. You can store them for a couple of days like this in an airtight container, or freeze them and defrost when ready to use.
- Once assembled keep your cake in an airtight container - it will keep for up to 3 days.
Recommended Products
As an Amazon Associate and member of other affiliate programs, I earn from qualifying purchases.
Nutrition Information:
Yield:
12Serving Size:
1Amount Per Serving: Calories: 411Total Fat: 9gSaturated Fat: 5gTrans Fat: 0gUnsaturated Fat: 4gCholesterol: 96mgSodium: 204mgCarbohydrates: 78gFiber: 1gSugar: 57gProtein: 5g
More gluten free cake recipes…
Get my cookbook!
Want more gluten free meals inspiration? My debut cookbook, Delicious Gluten Free Meals, has 100+ gluten free recipes, from breakfast and lunch ideas to dinners, desserts and sides.





What is stork?
It’s a type of margarine, 80% vegetable fat.
This is very informative and helpful post in the blog posting world. Your every post always give us some qualitative things. thank you much for sharing this post.