This post may contain affiliate links for which I earn a small commission at no extra cost to you. For more info, check out my Disclosure Policy. Thank you for your support!
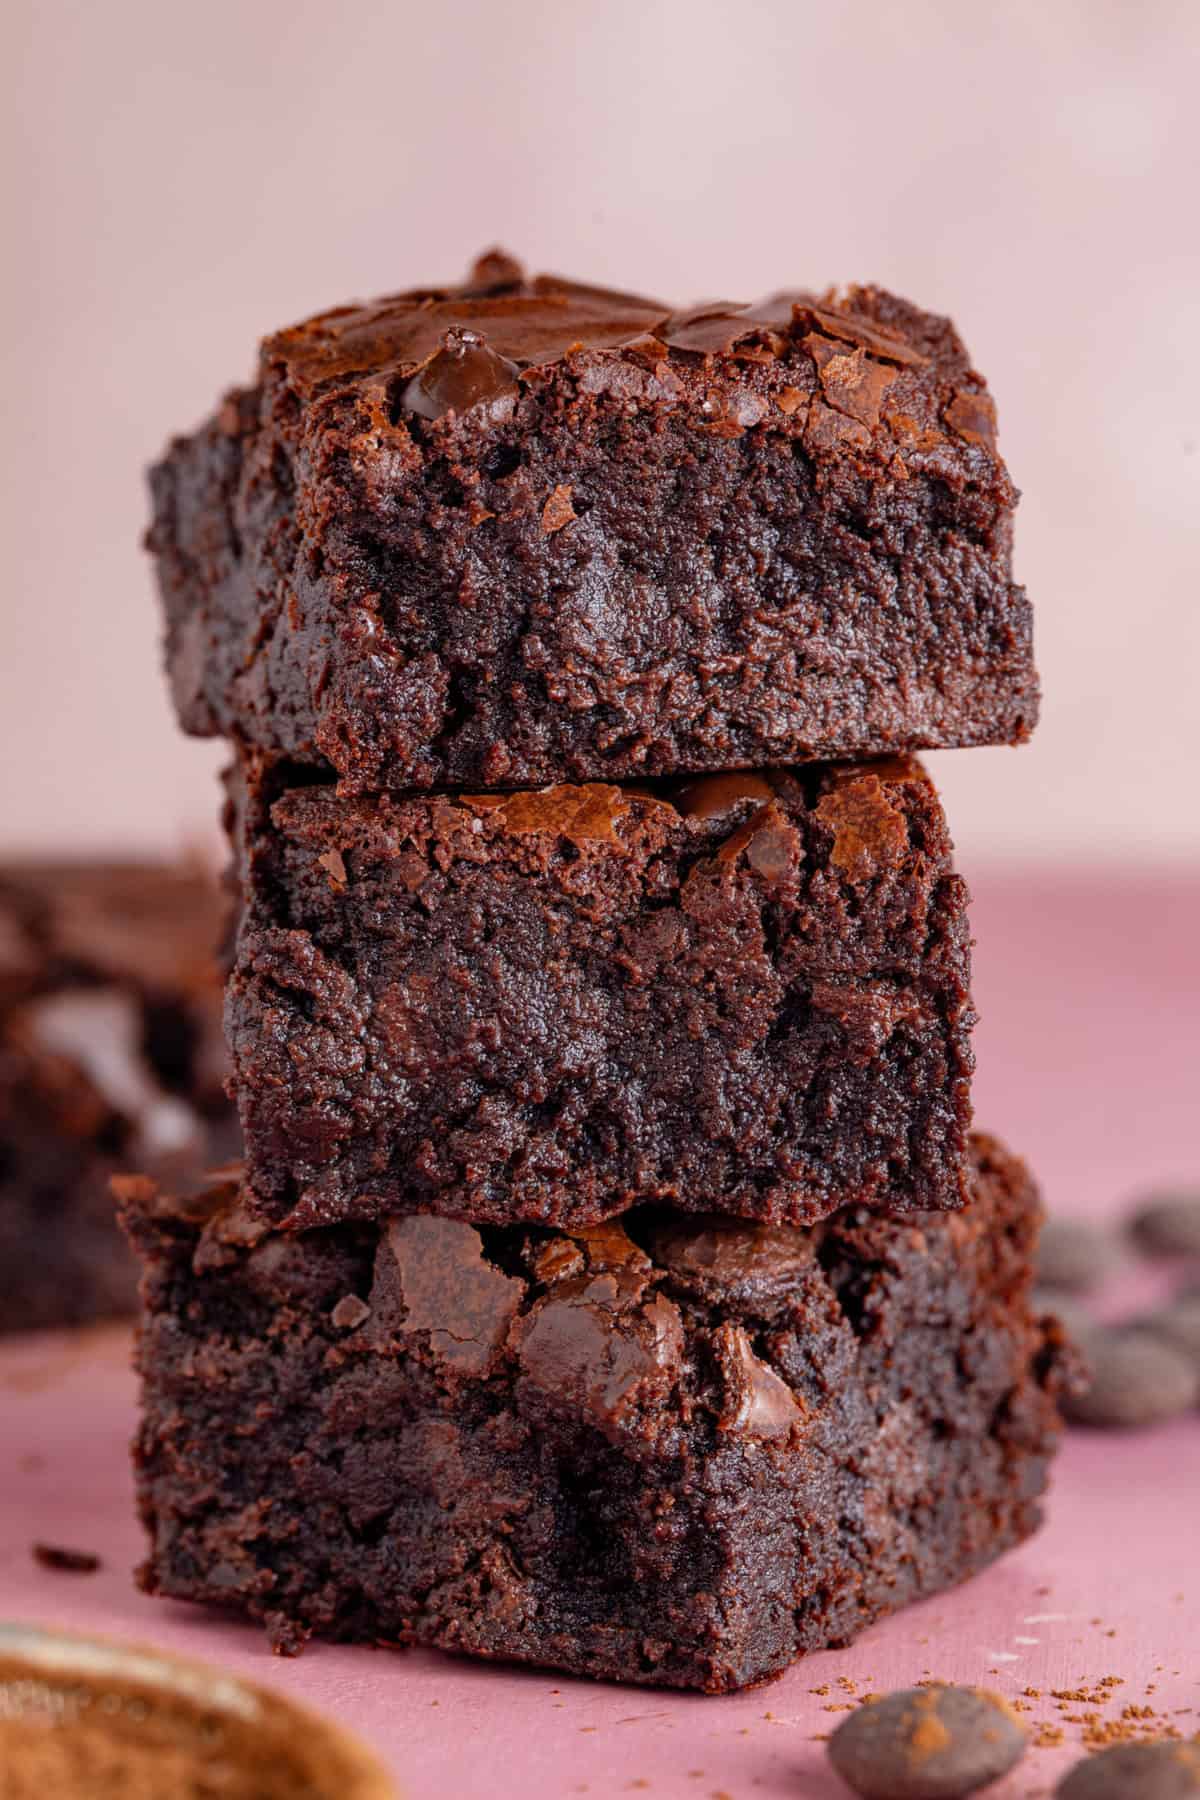
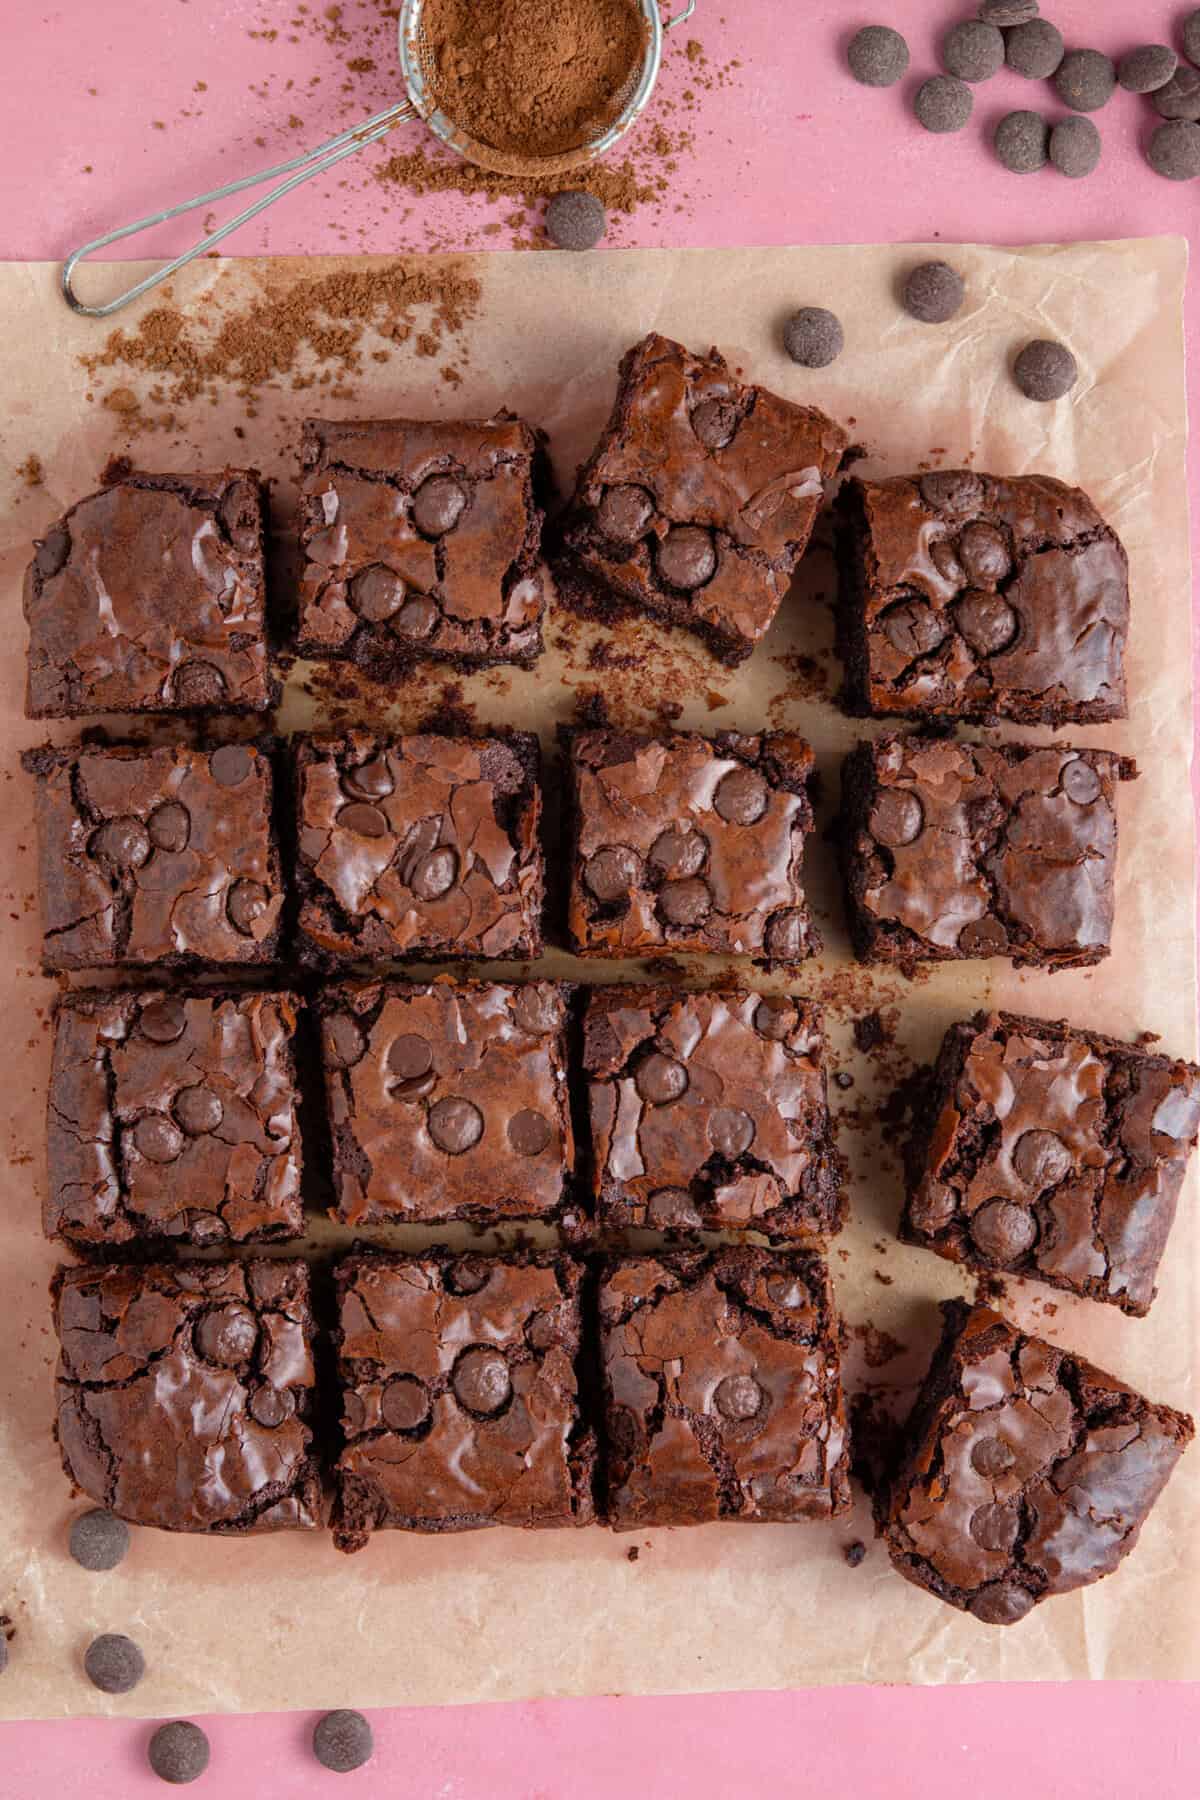
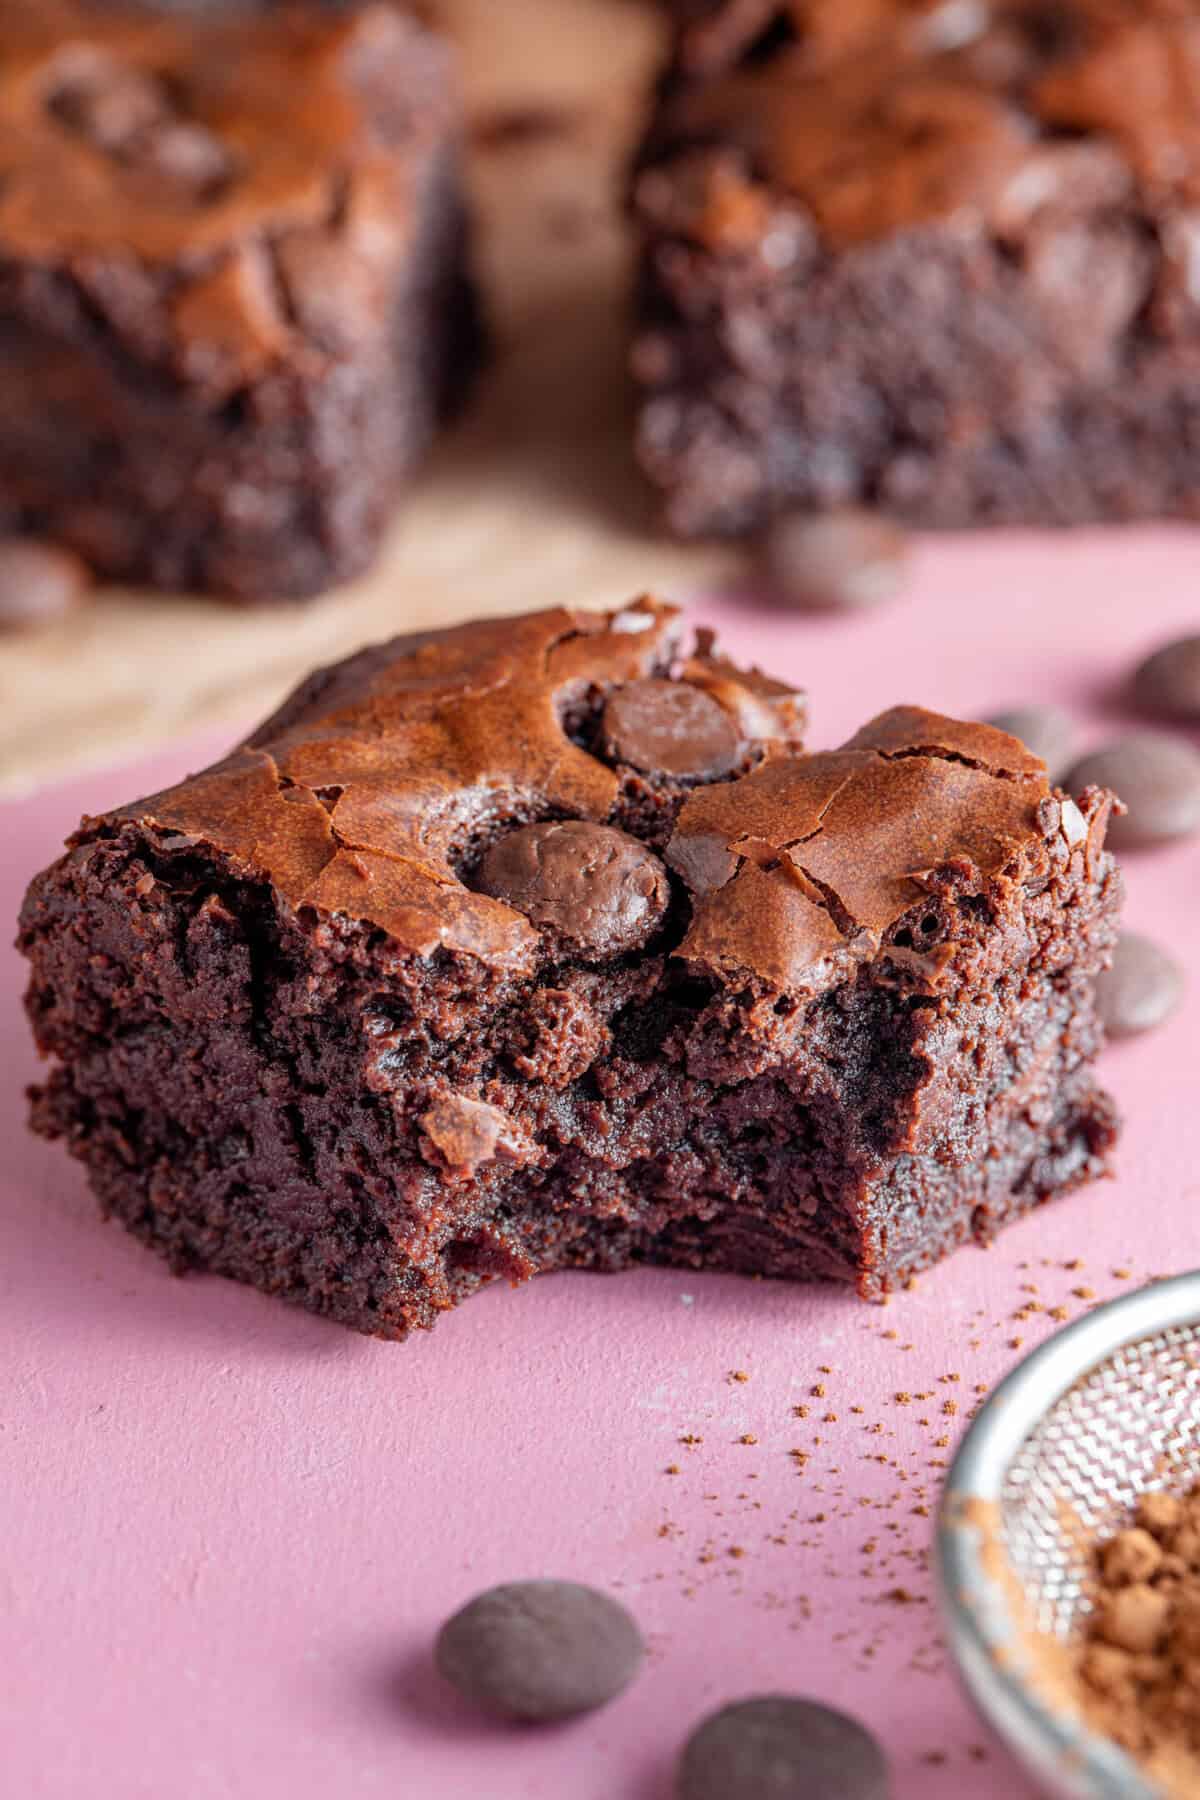
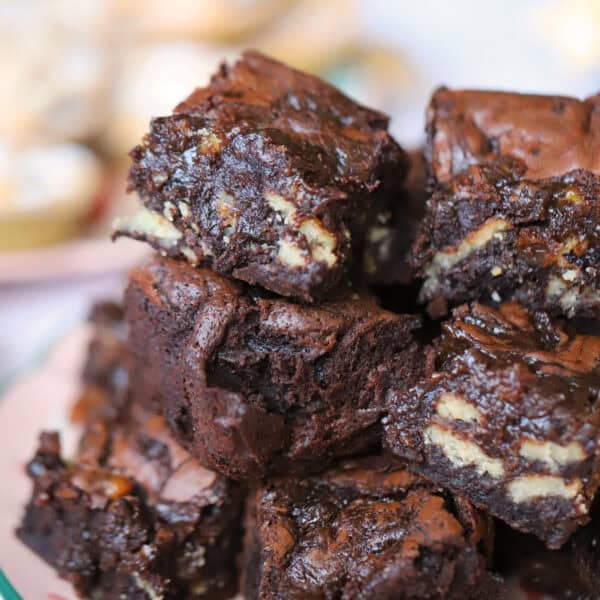
If you’re looking for the BEST Gluten Free Brownies recipe ever, look no further. This recipe is exactly what a chocolate brownie should be – delicious, fudgy, crackled on top, and packed full of chocolate. No boring, dry, cake-like gluten free brownies here!
Note On These Gluten Free Brownies
- Why choose this recipe? Not only do these easy gluten free brownies have dozens of ⭐️⭐️⭐️⭐️⭐️ reviews, I’ve been making gluten free brownies this way for 20+ years. They are gooey, delicious, and bake in just 30 minutes.
- Tried and Tested: I spent years testing this gluten free brownies recipe to get it just right – perfectly gooey and delicious! My Mum always made amazing gluten free brownies when I was growing up, so I learned from the best!
- Top Tip: Getting the eggs light and fluffy is what makes that crackled top. Also, you want the centre of the brownies to still wobble when you take them out of the oven, for that delicious fudgy texture.
- Updated October 2025: Readers have been enjoying these brownies since 2020, but now I’ve added some fresh new photos, step-by-step pics and a recipe video tutorial, plus a detailed FAQ section for any troubleshooting!
Table of Contents
Don’t just take my word for it…
Kim left ⭐️⭐️⭐️⭐️⭐️ and said: “Best brownies I’ve ever made! Perfect moist fudgy texture with a crispy top and a rich taste.“
Caroline also left a ⭐️⭐️⭐️⭐️⭐️ review and said: “We have baked these 3 times now, they are fab!”
Ingredients and Substitutions
There’s a printable recipe card below for these fudgy gluten free brownies with the full quantities. But here are the main ingredients and ideas for any swaps.
- Plain Gluten Free Flour: I usually use the FREEE gluten free flour which you can find in all UK free from aisles, but other blends like M&S or Asda plain gluten free flours will work too. In the US you’ll want a gluten free all purpose or 1:1 baking flour.
- Chocolate: I use a mixture of dark chocolate and milk chocolate but you can pick one or the other. A lot of chocolate has ‘may contain’ warnings so always double check – you can use the Coeliac UK scanner app to help you find safe products. The Dr Oetker baking chocolate bars are my favourite gluten free option.
- Butter: Or use a vegan margarine to make these brownies dairy free.
- Caster Sugar: In the US use baking or superfine sugar.
- Eggs: I’ve not tested an egg replacer but something like Ogg’s may work to make these brownies vegan, or using a replacement like a flax egg or sweet potato.
- Vanilla Extract
- Cocoa Powder: You can use normal cocoa powder or extra dark.
- Chocolate Chips: Again, be wary of ‘may contain’ warnings and ensure you use gluten free chocolate chips. I like to use a blend of milk, dark and white chocolate chips.

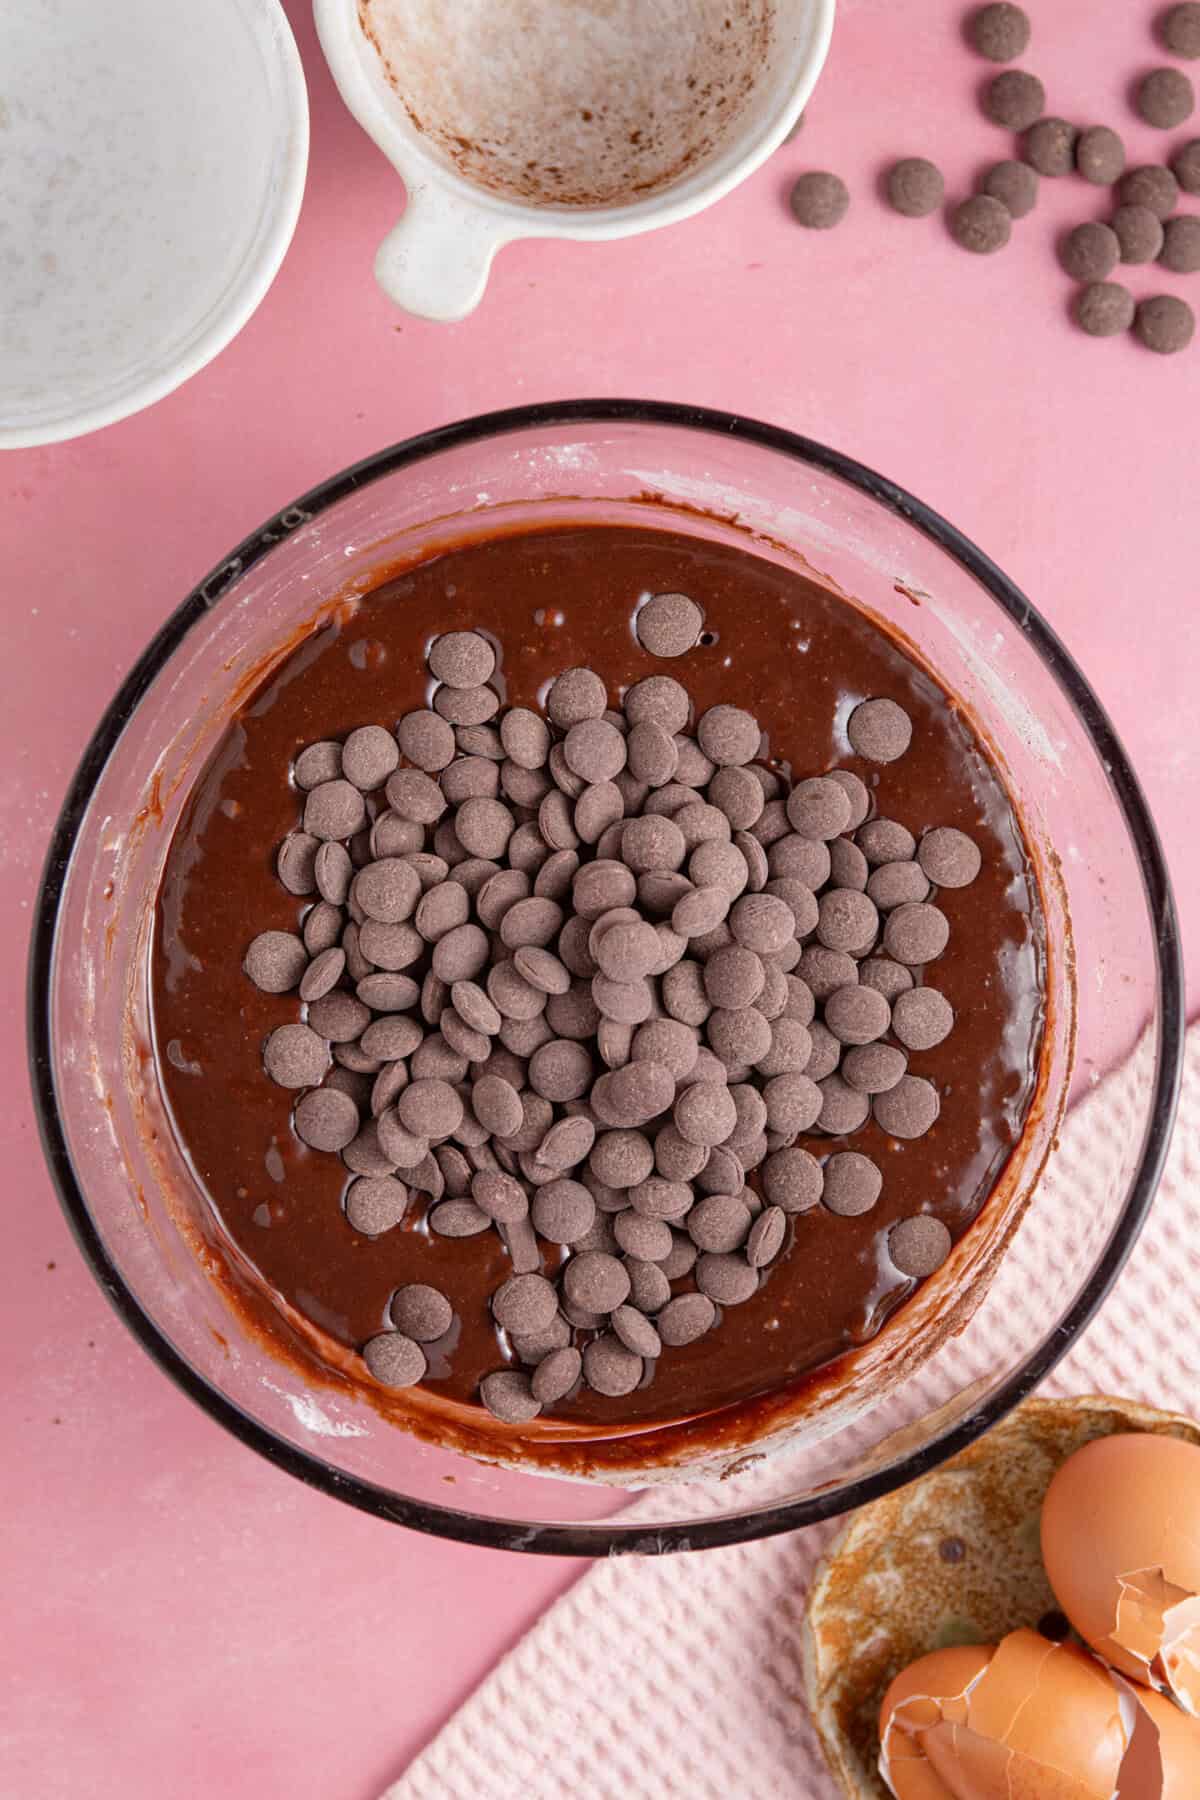
How to Make Gluten Free Brownies
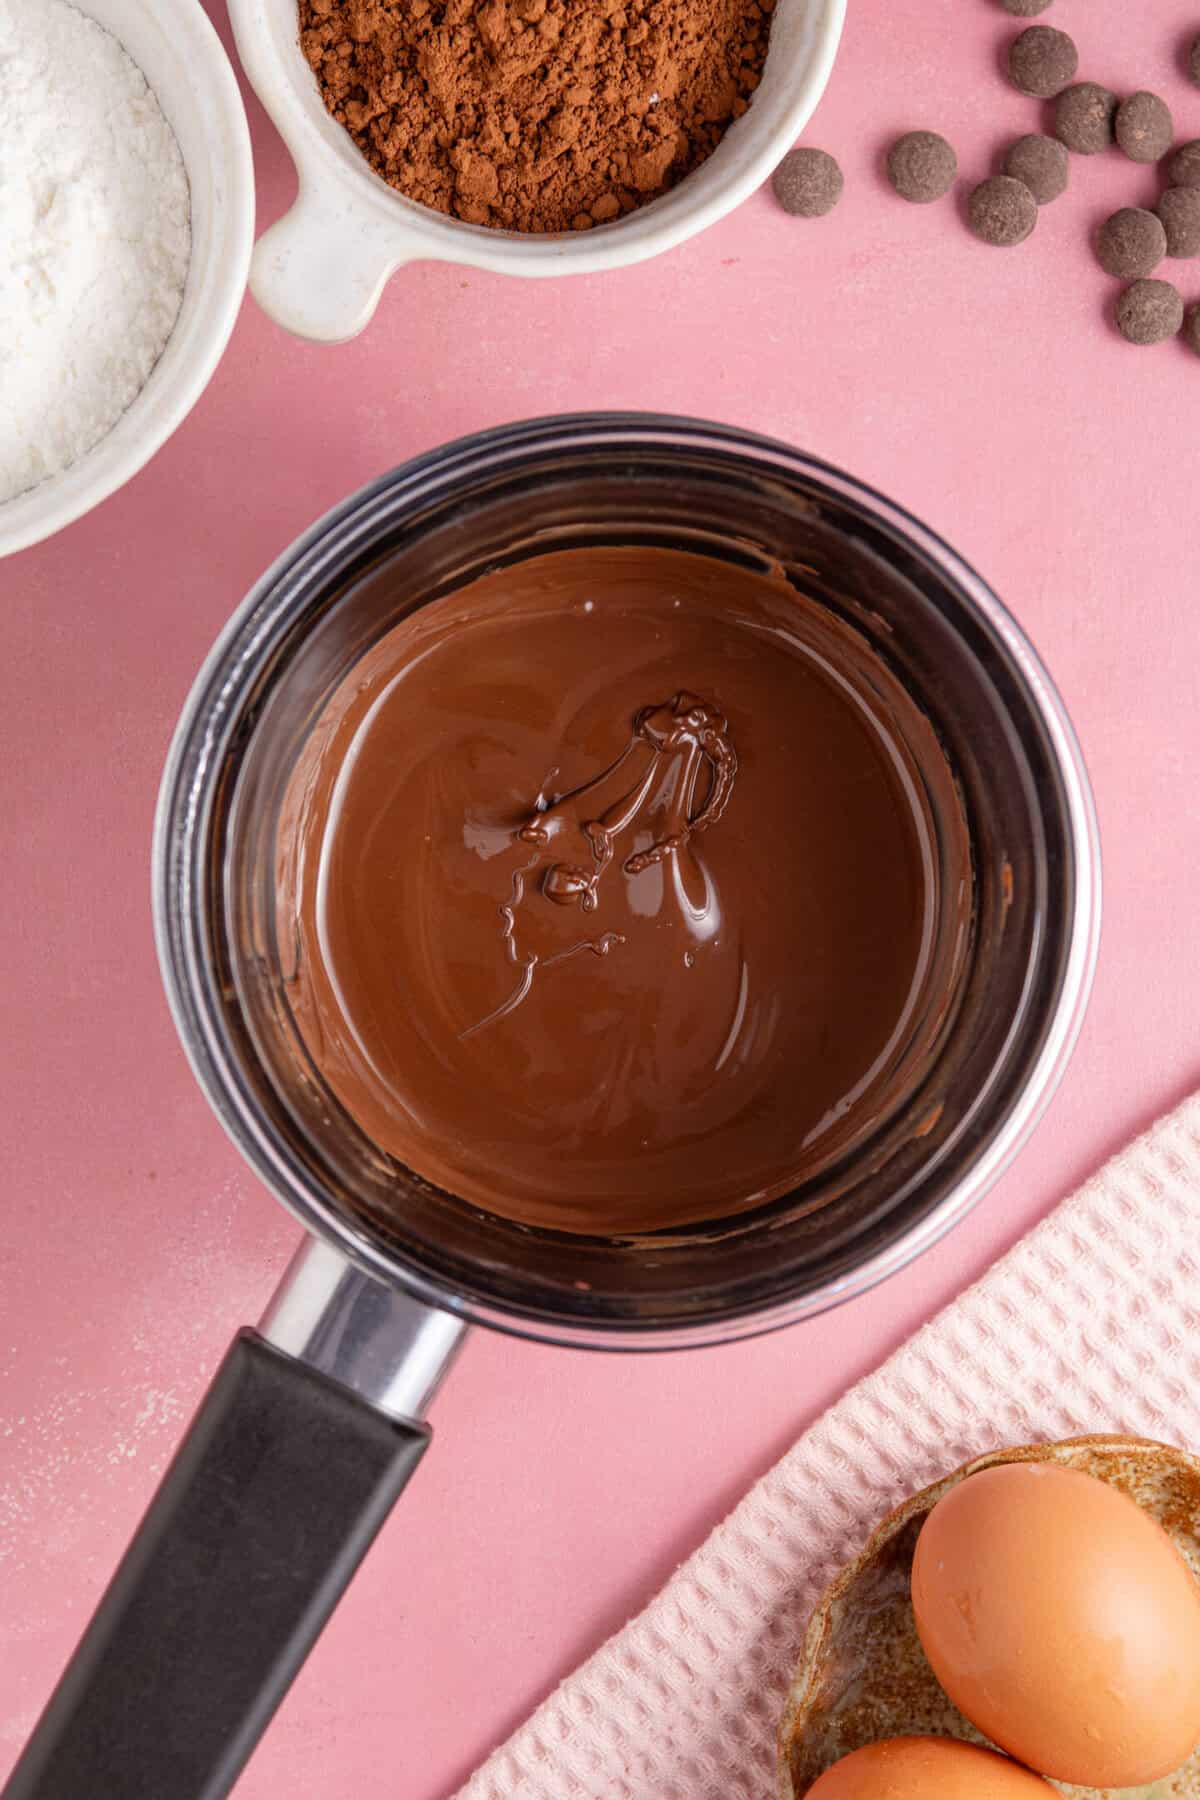
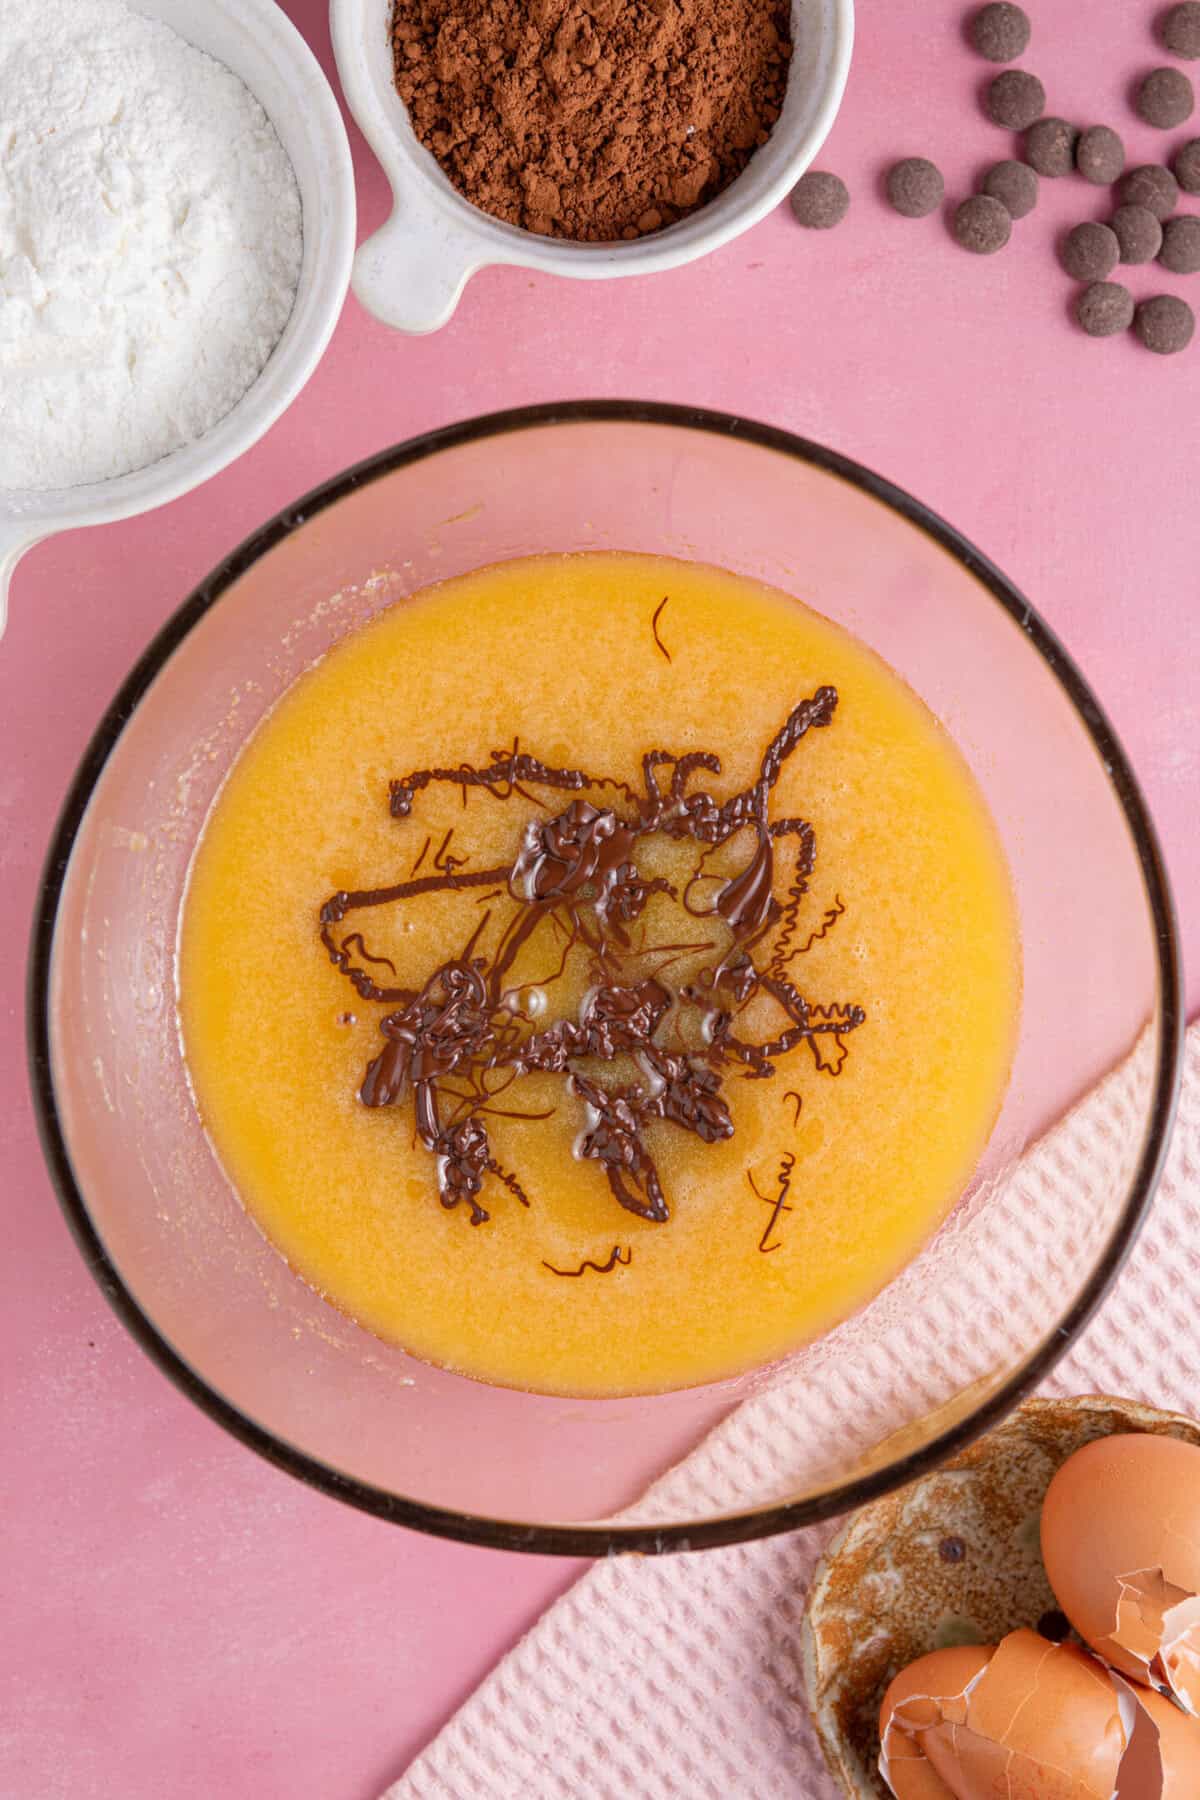
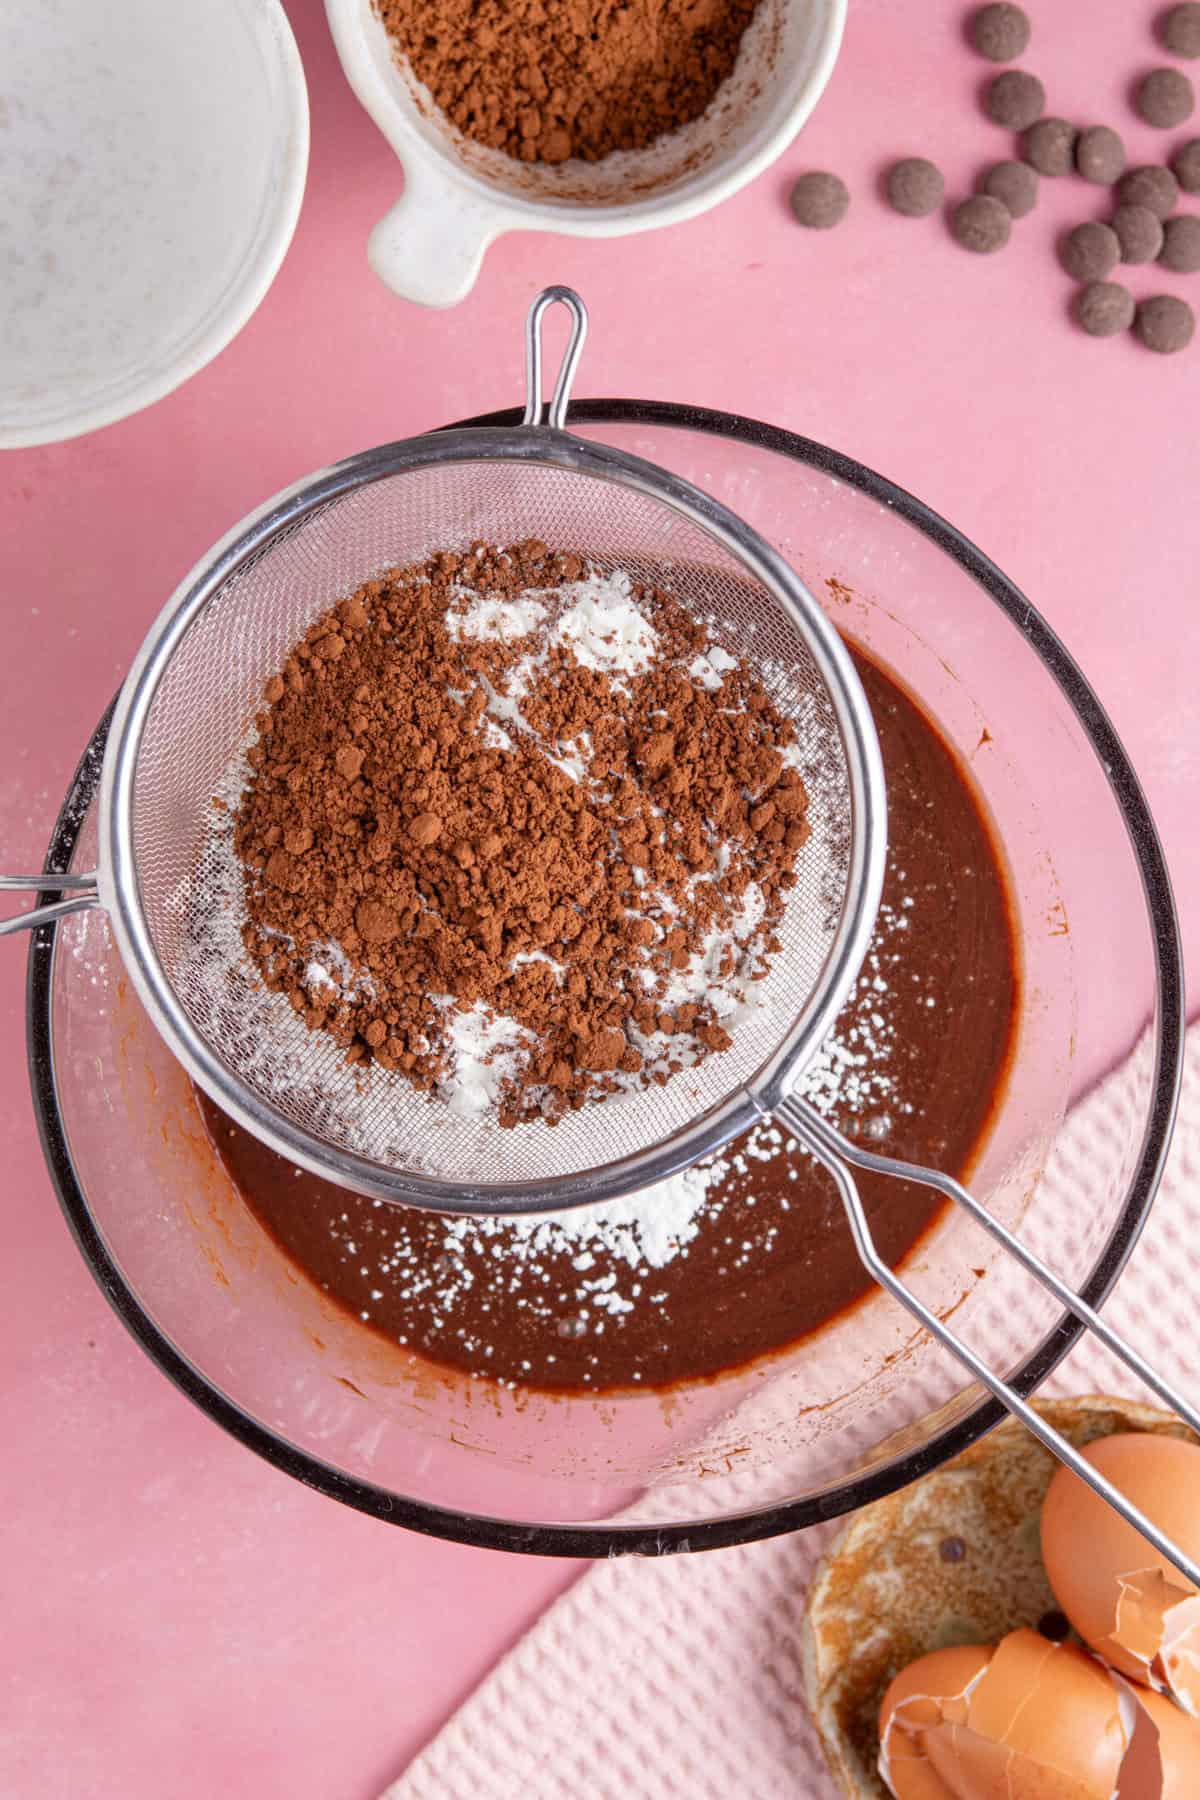
There’s a printable recipe card below with the method. But here are some step-by-step photos to show you how easy this gluten free chocolate brownies recipe is to make.

Storing and Freezing Instructions
TO STORE: Once cooled completely and sliced, you can keep these gluten free brownies in an airtight container at room temperature for around a week.
TO FREEZE: Simply slice up the brownies and freeze them between sheets of baking paper. Defrost at room temperature whenever you need a chocolate hit.
Variations
This gluten free brownie recipe is perfect as a base recipe to vary how you like! Here are some suggestions for way you can mix it up:
- Triple Chocolate Brownies: Add a mixture of white, milk and dark chocolate chips to the mixture to make triple chocolate brownies.
- Chocolate Orange Brownies: Add 1 tsp orange extract instead of vanilla extract to make these into chocolate orange brownies.
- Peanut Butter Brownies: You can swirl peanut butter into the top of the brownie mixture before baking to make peanut butter brownies.
- Christmas Brownies: Press some leftover gluten free chocolates into the brownie mixture, or even crushed candy canes – or make my Mince Pie Brownies.
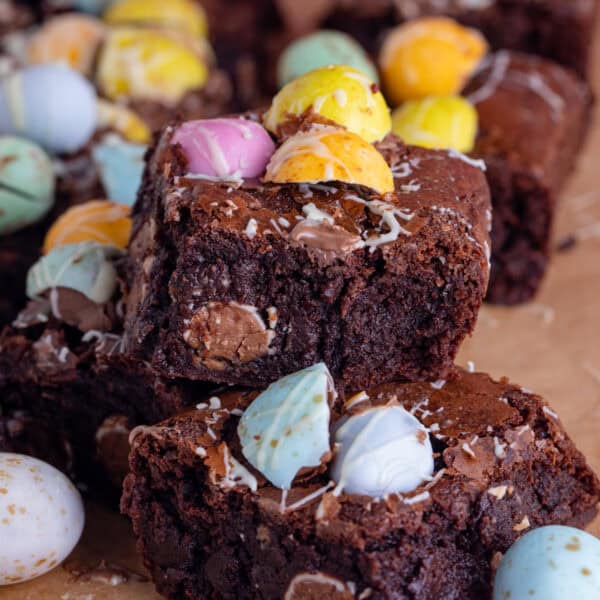
- Easter Brownies: You can make all sort of adaptations of this recipe for Easter, from loaded Easter Brownies to gooey Creme Egg Brownies.
Frequently Asked Questions
Here are some FAQs about this delicious gluten free brownies recipe – if you can’t find the answer to your question here or in the post above, please comment and I’ll try answer!
If you want to make a gluten and dairy free brownies recipe, simply switch the butter for a vegan butter and the chocolate for a dairy free chocolate. I’ve not tested an egg replacer but I’d either use a replacement like Oggs, or something like sweet potato, which will help to add to the fudgy texture.
Brownies should be gooey and fudgy, not dry and cake-like. The most common cause of dry brownies is over-baking. You want the brownies to still wobble in the middle when you take them out of the oven – don’t worry, they will firm up as they cool. If you cook them until the centre is firm, they’ll be overdone.
Yes, you can! You could happily halve the recipe and this should bake in a loaf tin for a much smaller batch of brownies. You’ll need to reduce the cooking time to around 20 minutes – again, ensuring the middle still wobbles.
Of course! The brownie batter itself doesn’t contain any nuts (I know a lot of recipes do!) so simply avoid adding any extra nuts to the mixture.


Gluten Free Brownies Recipe
Equipment
Ingredients
- 100 g dark chocolate
- 100 g milk chocolate
- 170 g unsalted butter
- 250 g caster sugar
- 2 large eggs
- 2 tsp vanilla extract
- 90 g gluten free plain flour, (I use FREEE or M&S or Asda's own brand plain gluten free flour)
- 40 g cocoa powder
- 1 tsp salt
- 150 g chocolate chips, (dark, milk or white chocolate)
- 125 g mixed chopped nuts, (optional)
Instructions
- Preheat the oven to 180C / Fan 160C / Gas Mark 4.. Line an 8-inch / 20cm square baking tin with baking paper and set aside.
- Break the chocolate into a bowl and melt over a bowl of boiling water. Once melted set aside to cool slightly while you start the rest of the recipe.
- Melt the butter in the microwave and add to a large mixing bowl with the sugar. Using an electric whisk, mix together until combined.
- Add the eggs and vanilla extract to the sugar/butter mix. Continue to mix with electric whisker for a minute until the mixture pales and starts to go fluffy.
- Add the chocolate to the mix – make sure it is warm but not too hot or it will cook the eggs (not good!). Using a spatula fold the chocolate in and mix until combined.
- Sift in the flour and cocoa powder. Add the salt, chocolate chips and most of the nuts (if using) and then fold the dry ingredients into the mix gently. You don't want to over mix – just enough so there are no lumps of flour.
- Once combined, pour into the lined baking tin and spread out evenly. Sprinkle any leftover chocolate chips and nuts on top. Place the brownies in the oven and bake for 30 minutes.
- Remove from the oven and cool on a wire rack completely before cutting them up. It is very important to ensure the brownies cool completely before cutting. I would give them at least a couple of hours before cutting into them. They should be a bit wobbly still when they come out of the oven but will firm up as they cool.
Video
Notes
- Top Tip: I cannot stress enough how important it is to let these brownies cool completely before cutting them. They need to be quite liquid still when they come out of the oven to firm up into gooey, fudgy brownies!
- Storage: These brownies can be stored for up to a week at room temperature, or frozen for up to 6 months.
- Weighing Scales vs Cups: You can toggle this recipe card to convert the ingredients into cups. However, I always recommend using weighing scales – these are cheap to buy and much more accurate. And in gluten free baking, a tiny variation can make a huge difference!
Nutrition
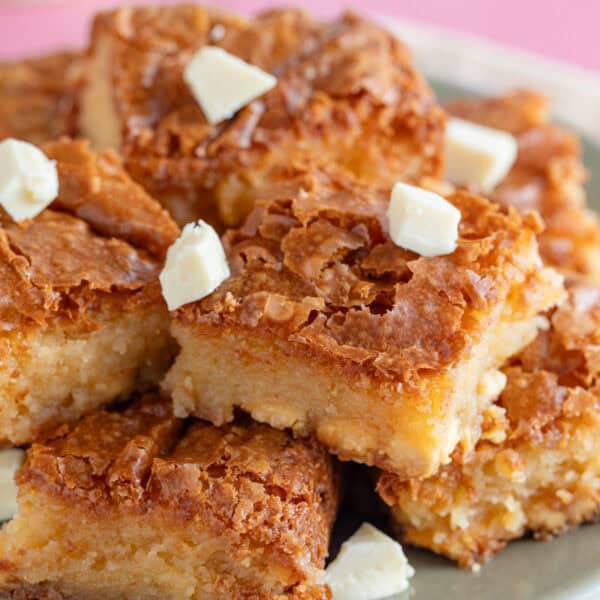
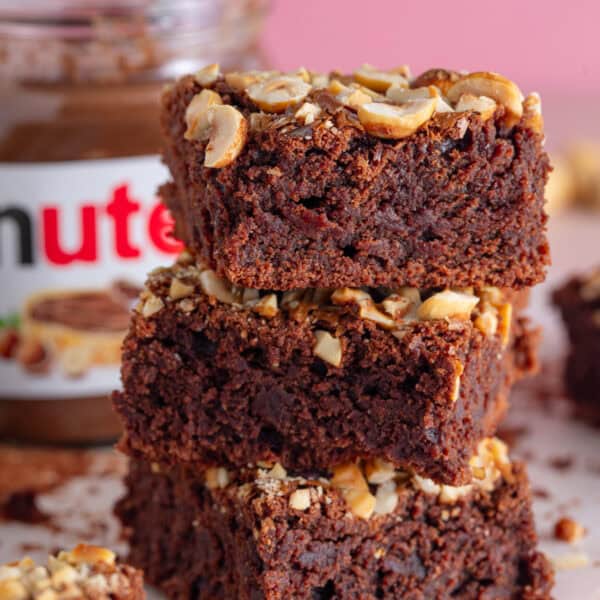
More Gluten Free Brownie Recipes
If you like this gluten free chocolate brownies recipe then make sure you check out these other gluten free brownies too…
Have you tried this recipe?
I have a huge favour to ask! It’s getting more and more difficult to get my recipes out there to the world – so if you try this and love it, it would mean a HUGE amount if you’d come back and leave a ⭐️⭐️⭐️⭐️⭐️ review and a little comment telling me what you thought! Just 30 seconds of your time would be such a huge support! 💛
Want to connect further?
- Tag me on Instagram with your amazing creations so I can share them!
- Join my Facebook group to meet other awesome gluten free people
More Recipes for Chocolate Lovers


Get my cookbook!
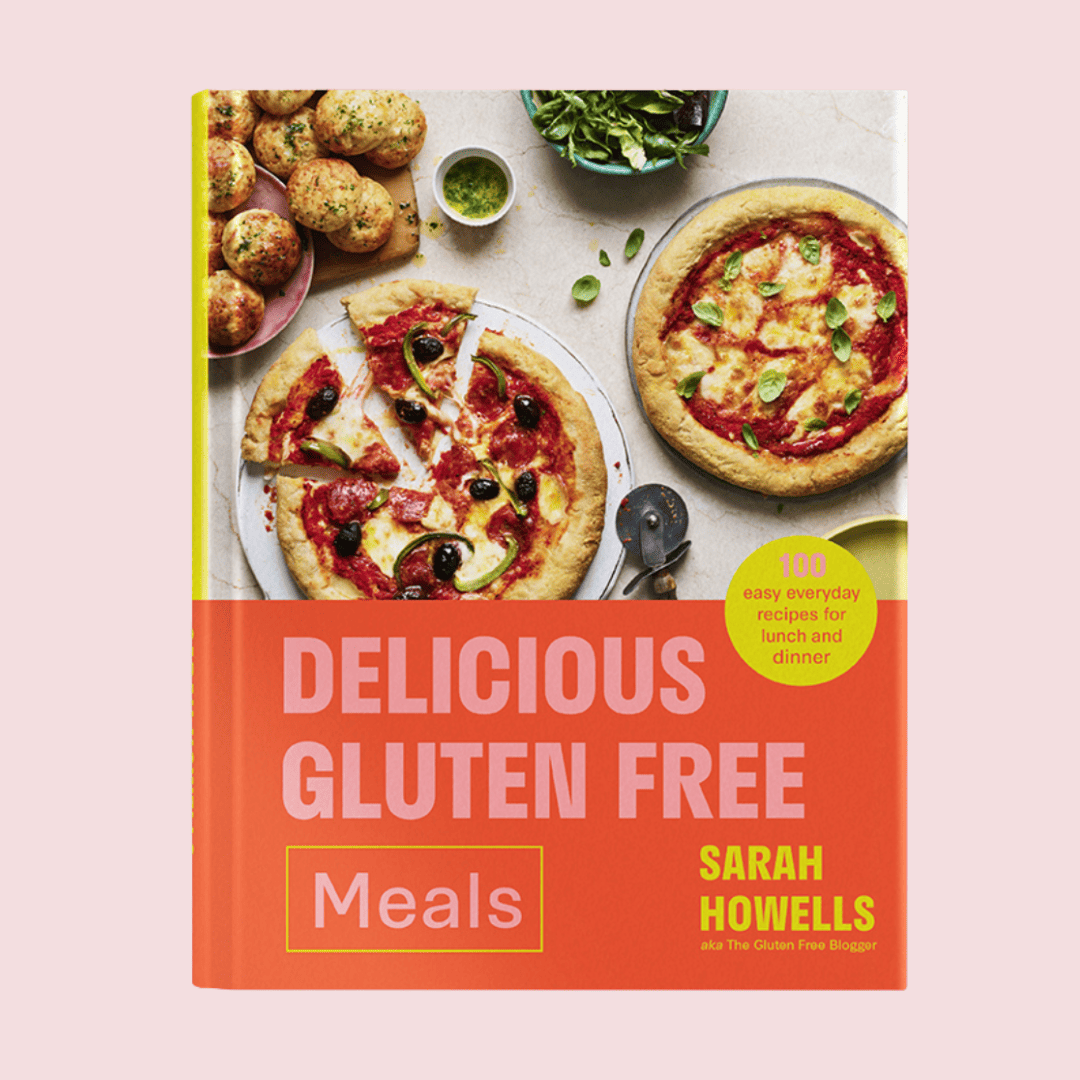
Want more gluten free meals inspiration? My debut cookbook, Delicious Gluten Free Meals, has 100+ gluten free recipes, from breakfast and lunch ideas to dinners, desserts and sides.


Made these for the first time for a friend. OMG the best she had ever tasted. Thank you.
All my friends agree that these are the best brownies ever – gluten free of otherwise. Only problem is, they disappear too quickly! Thanks for the recipes.