This post may contain affiliate links for which I earn a small commission at no extra cost to you. For more info, check out my Disclosure Policy. Thank you for your support!
This gluten free gingerbread house post is sponsored by Schär – find out more about where you can get hold of their awesome products here!
If you want the ultimate baking project you HAVE to give my gluten free gingerbread house recipe a go.
I promise it’s the most magical thing to bake and so much fun – the perfect festive activity.
Making a gingerbread house doesn’t have to be anywhere near as daunting as you think it might be, trust me.
All you need to do is cut out the templates from your own homemade gingerbread, whip up some royal icing and then get hold of some Schär treats to decorate it.
And don’t worry, I’ve got a full step-by-step guide to help you – so whether you’re baking this in a day or over a weekend, you can’t go wrong.
It’s a great chance to let your creativity flow, it makes a wonderful decoration and it’s perfect or making with kids.
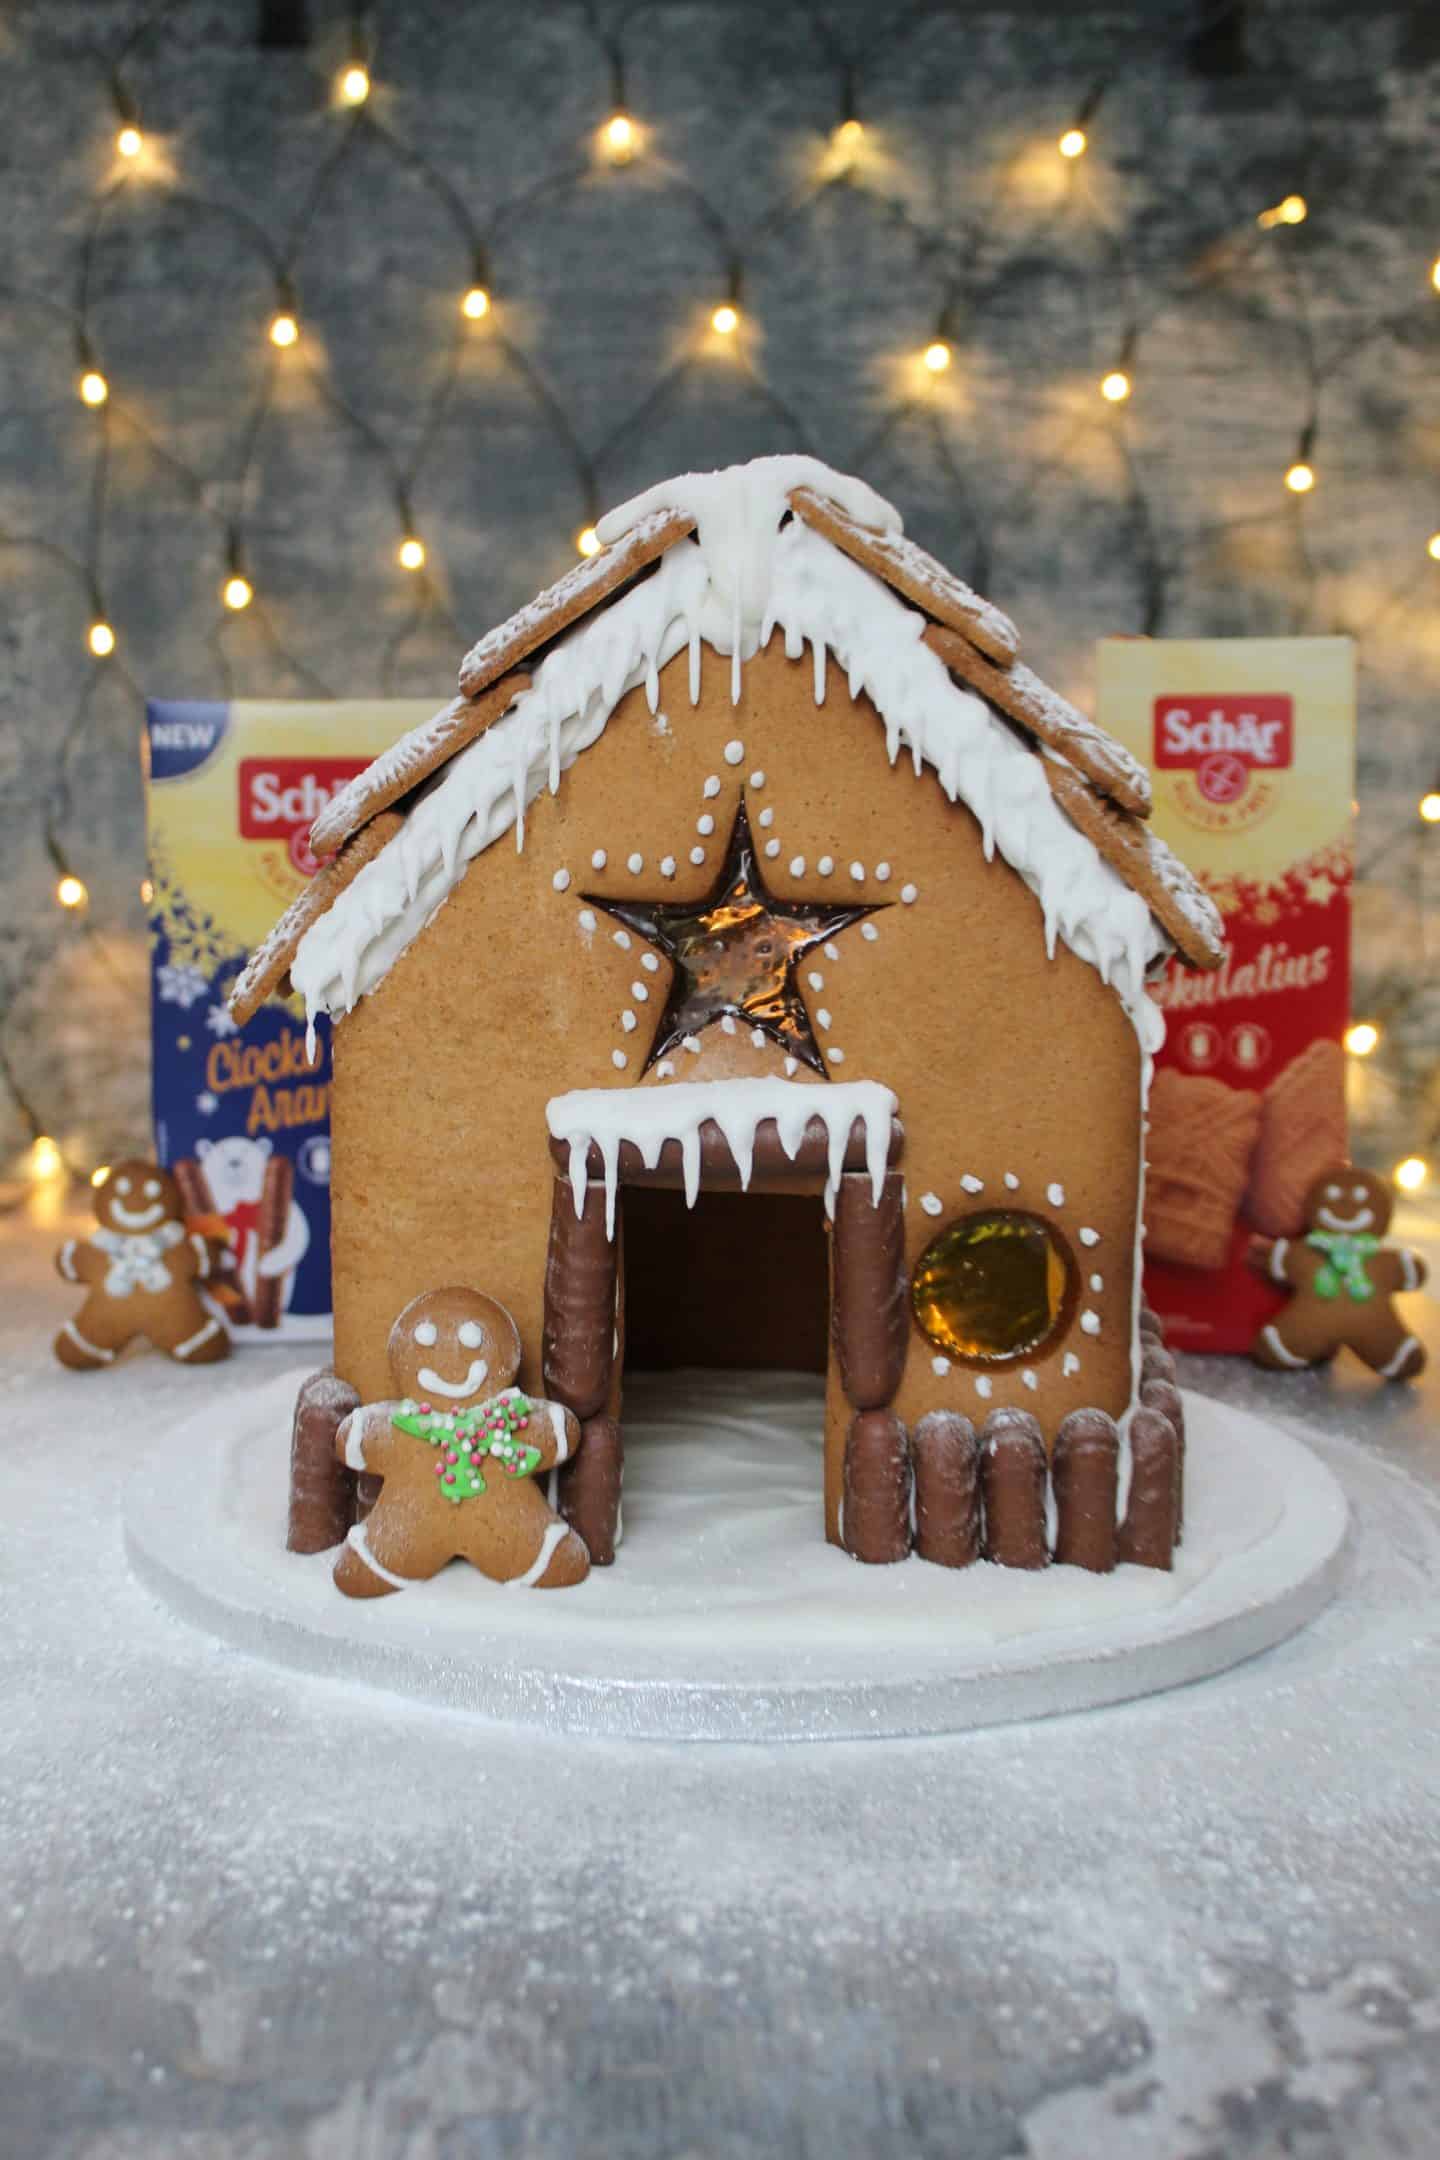
How to make a gluten free gingerbread house
Before you start to panic that you’ve taken on a mammoth task here, the key thing to take home is that this is supposed to be fun!
With enough creativity and patience you can create the most spectacular of gingerbread houses.
And if it goes wrong, it’s always pretty easy to patch up with enough icing – just say it’s extra snow and work it into the design!
Gingerbread house template
This recipe is designed to make a medium-sized gingerbread house which will fit on a 10-inch foil cake stand.
To make this house you’ll need A gingerbread house template – I used this one by the BBC (minus the chimney parts) which you can download and print.
This will make your life even easier – just cut out each shape and then use the templates to cut your house pieces from the gingerbread dough.
You’ll need two pieces for the front and back, two side pieces and two roof pieces.
If you want to get inventive and create porches, chimneys and doors then go-ahead, but I’m giving you the basics to create a simple yet delightful house.
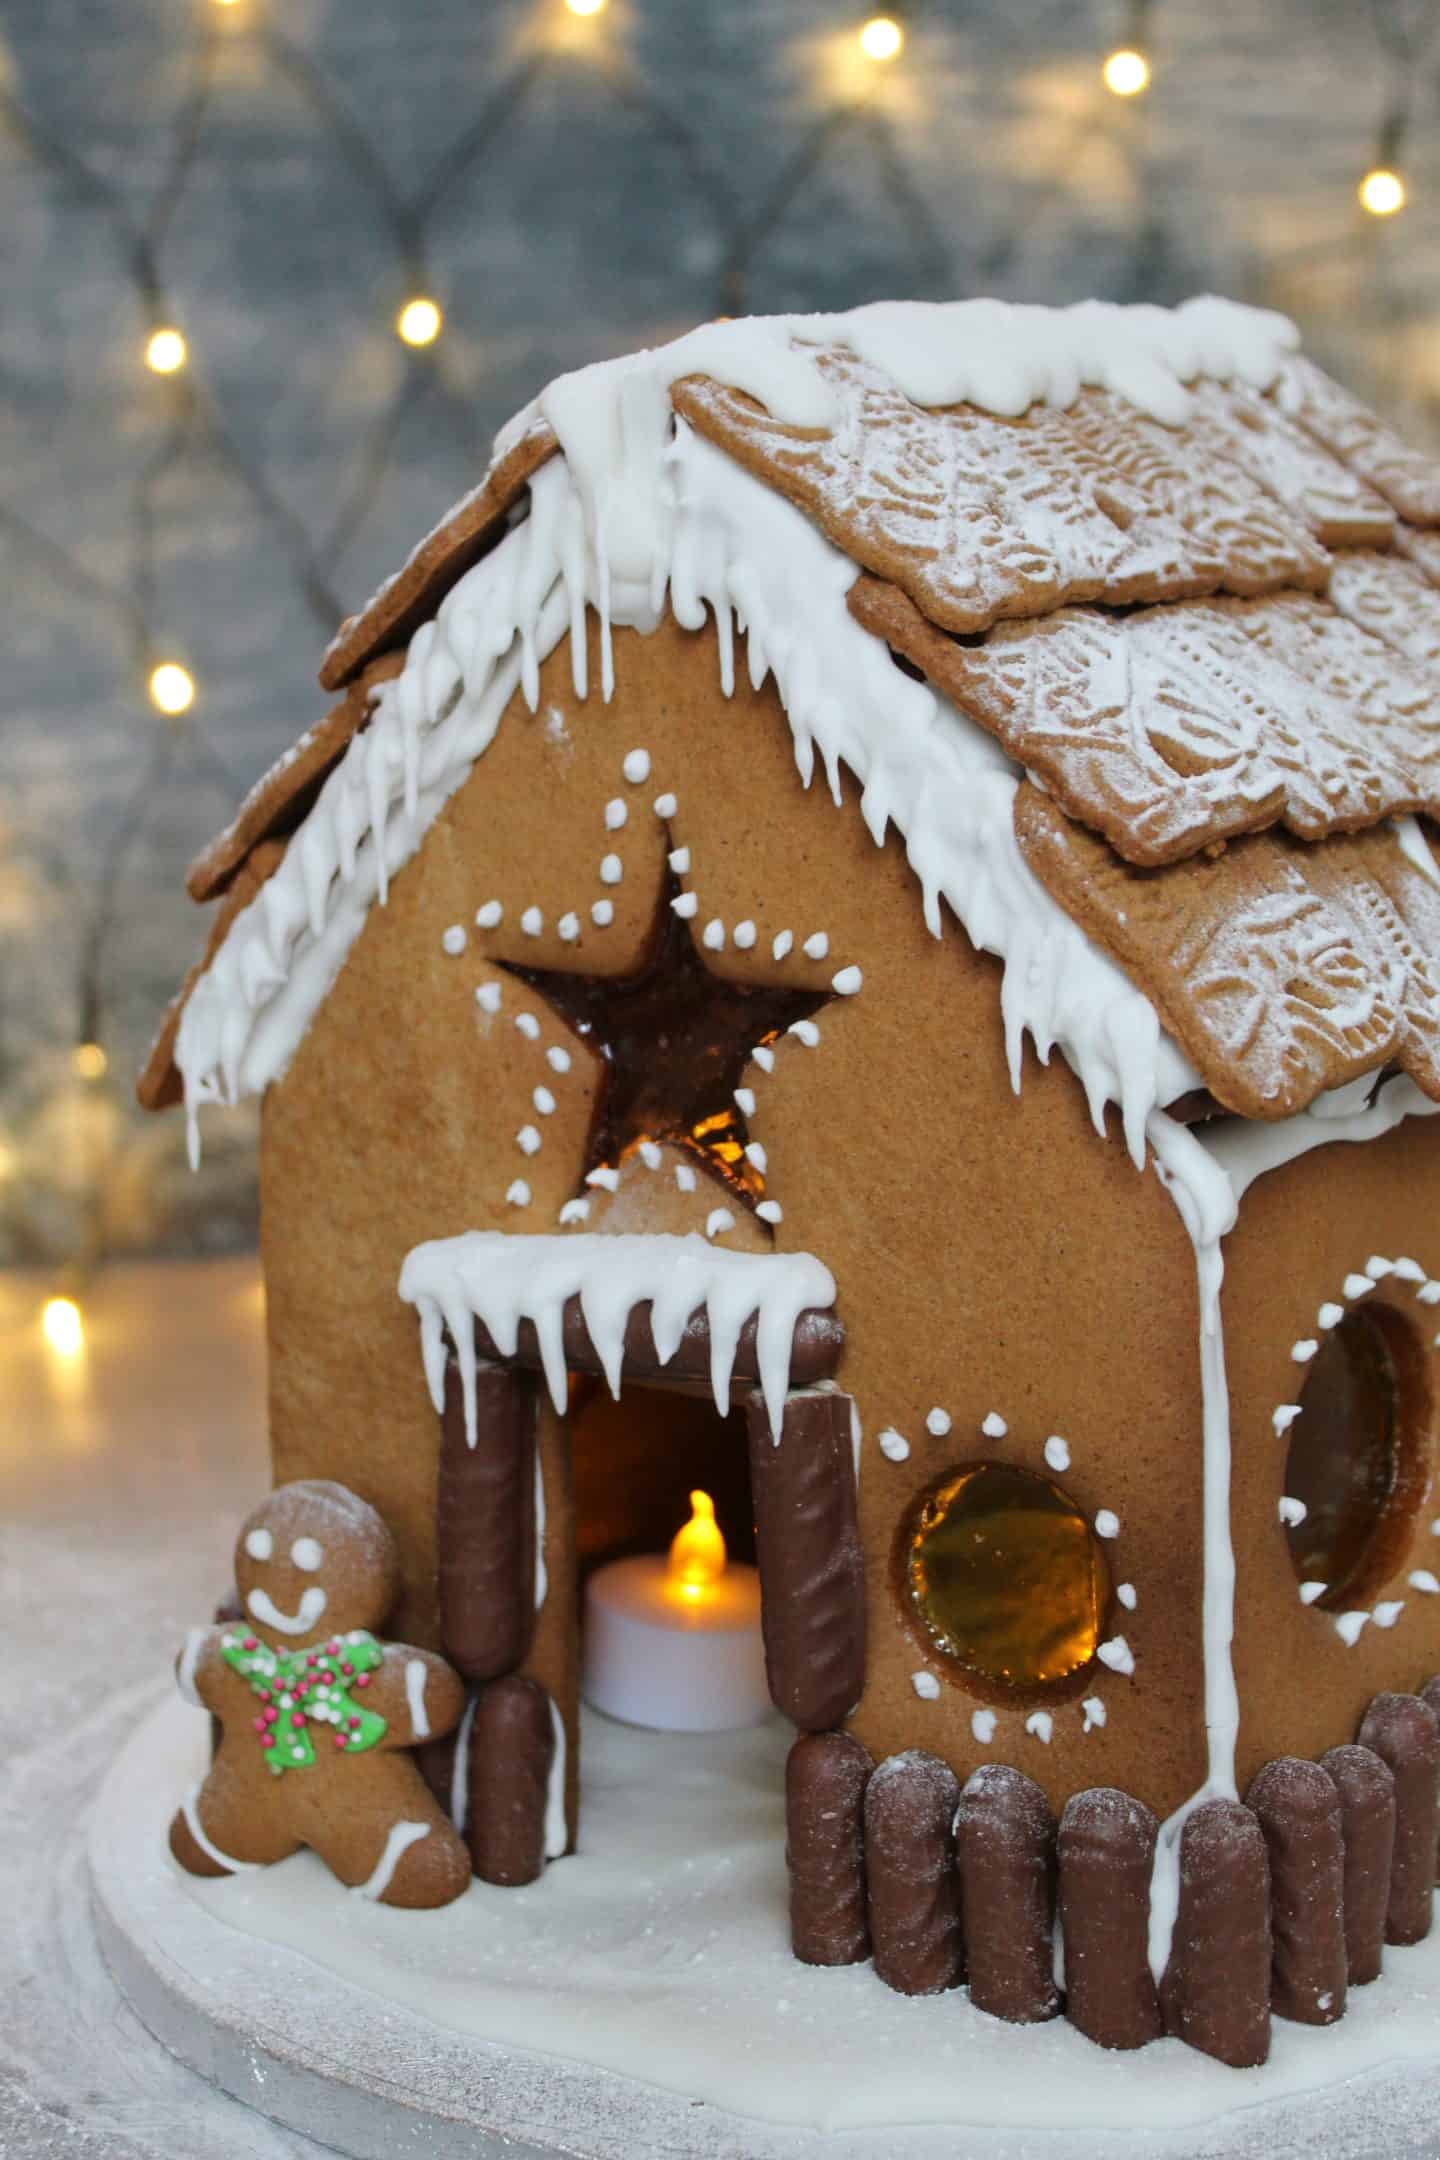
Ingredients
There’s a full printable recipe card below with all the ingredients, but for the shopping list you’ll need:
FOR THE GINGERBREAD:
- 200g light brown sugar
- 150g butter
- 110g golden syrup
- 600g plain gluten free flour (I used Schär All Purpose Baking Mix)
- 6 tsp ground ginger
- 1 tsp mixed spice
- ½ tsp xanthan gum
- 1 tsp bicarbonate of soda
- 2 eggs
All of these ingredients are really easy to find in the shops and you can pick up the Schär All Purpose Baking Mix in Asda, Waitrose and Ocado.
It’s a really easy-to-use plain / All Purpose gluten free flour blend and a dream to work with.
FOR DECORATION:
- Boiled sweets
- 3 packs Schär Spekulatius biscuits
- 1 pack Schär Chocolate Orange Fingers
- Gluten free sprinkles
- Icing sugar
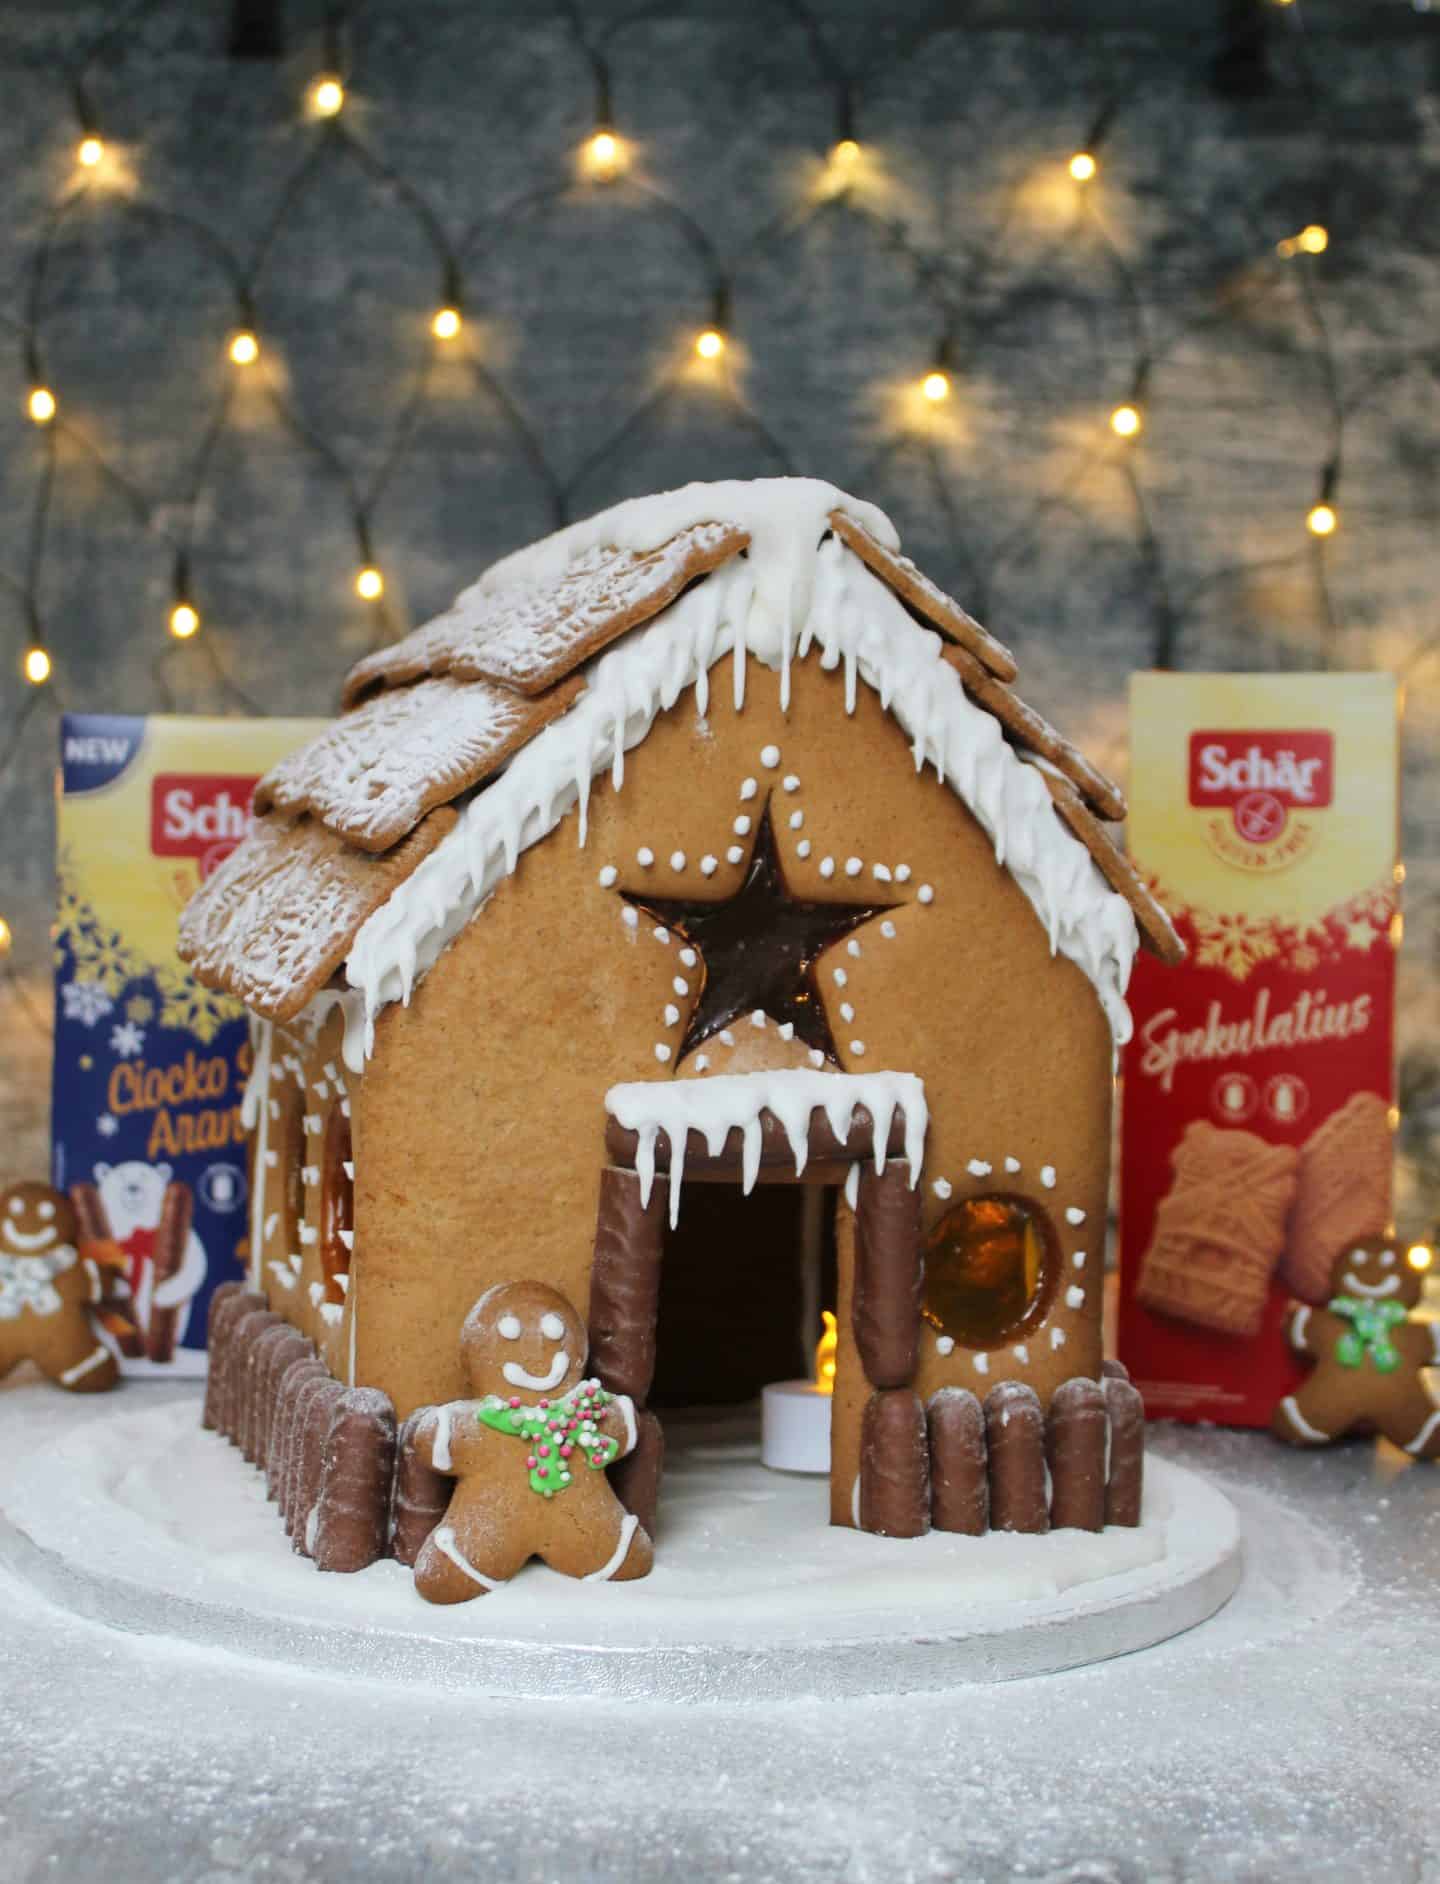
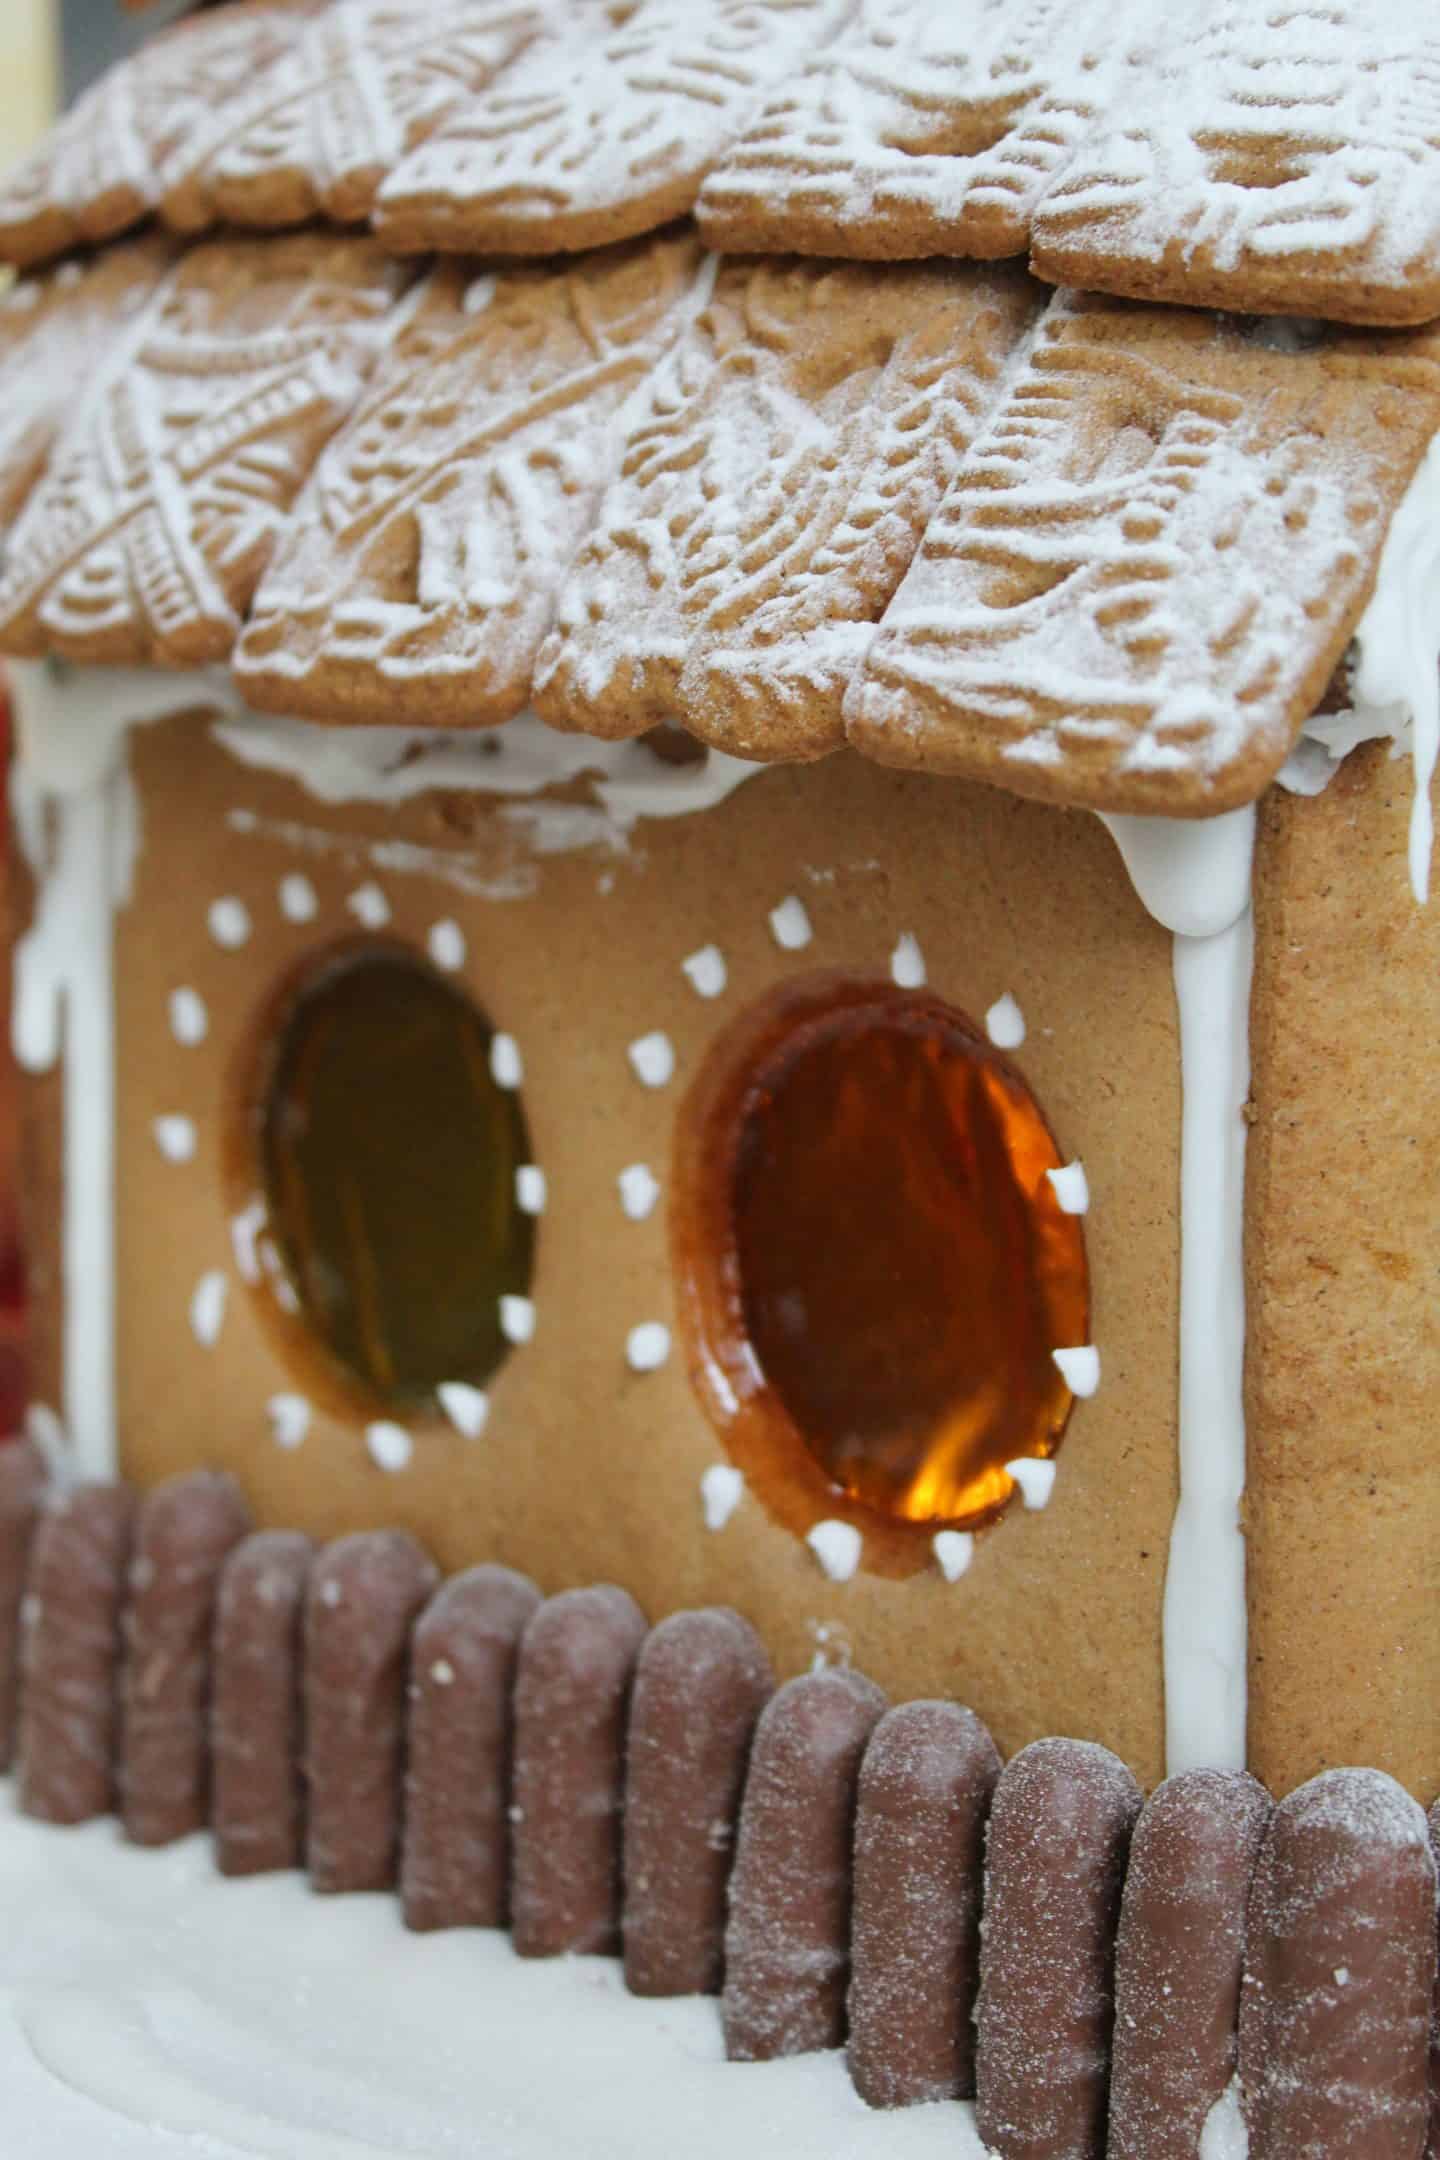
The decoration is what really makes this house something special and the Schär Gluten Free Spekulatius biscuits make the most beautiful roof tiles.
They taste beautifully spicy and just like the epitome of Christmas I always stock up at this time of year.
You can find them in the free from aisles in Asda and Sainsbury’s – and I highly recommend buying extras to make my gluten free ‘Biscoff’ Cheesecake too!
The Schär Gluten Free Chocolate Orange Fingers are new this year and are a delicious treat – it was hard not to eat them when making this house!
You can find them in Asda, Morrisons and Ocado – or you could also use the ‘normal’ Schär Gluten Free Chocolate Fingers too which are in the above shops as well as Sainsbury’s and Waitrose.
You could also use some other Schär goodies for decoration including the Gluten Free Pretzels, which would make a lovely pattern stuck on the walls.

How to make gluten free royal icing
The good news is that royal icing is naturally gluten free and actually very simple to make.
There are a couple of different ways you can make it – I’ve popped my favourite in the recipe card below.
I choose to make royal icing with icing sugar and egg white powder.
You can make it with liquid egg whites (but this is often advised against for pregnant women, children, etc, unless using pasteurised egg whites).
And you can also buy royal icing sugar which has the egg white powder already mixed in.
Whichever way you choose is really simple, but here’s a breakdown of the three options I’ve tried and tested:
Royal Icing 1: Dried Egg White Powder
- 20g egg white powder
- 660g icing sugar
- 100ml cold water
Simply whisk everything together for around 4-5 minutes to hydrate the egg white powder and you’ll have a lovely thick icing which sets hard.
Royal Icing 2: Liquid Egg Whites
You can either use fresh egg whites or – as advised for safety – pasteurised egg whites which you can easily buy in a carton.
I tend to use 3 egg whites and around 450g of icing sugar, and then whip this up until it’s nice and thick – adding a touch of cold water if it needs thinning.
Royal Icing 3: Royal Icing Sugar
Another easy way to make royal icing is using royal icing sugar, which already has dried egg whites added to it.
Simply add water and mix until you get a lovely thick icing.
Whichever royal icing you choose, as long as it is nice and thick (around the consistency of toothpaste) it should work.
Just use whichever method is more accessible to you in terms of ingredients.
What equipment do I need?
You can buy gingerbread house kits with cutters but honestly, making this only requires a few bits of simple kit.
You’ll need some baking trays and baking paper, and either a sharp knife or a pizza cutter for cutting out the shapes.
I places my house on a foil cake board which are cheap and easy to find, but if you want you can use a plate, tray or chopping board – whatever you have to hand.
If you want to make some little gingerbread men to go with the house you will need some gingerbread man cookie cutters for these.
And of course piping bags are quite important to be able to construct your house – you can get away with trying to use a palette knife but it will get very messy!
A pack of LED tea-lights are really useful for popping inside once the house is done, so you can light up the windows without the risk of the house melting!
Other than that, all you’ll really need is some time, patience and steady hands – it’s quite easy to ‘bodge’ this recipe if you don’t have all the equipment.
I like to link you to the tools I use but there’s always a way around it if you can’t afford / don’t want to buy anything for this – it’s part of the fun of it!
My gluten free gingerbread house recipe
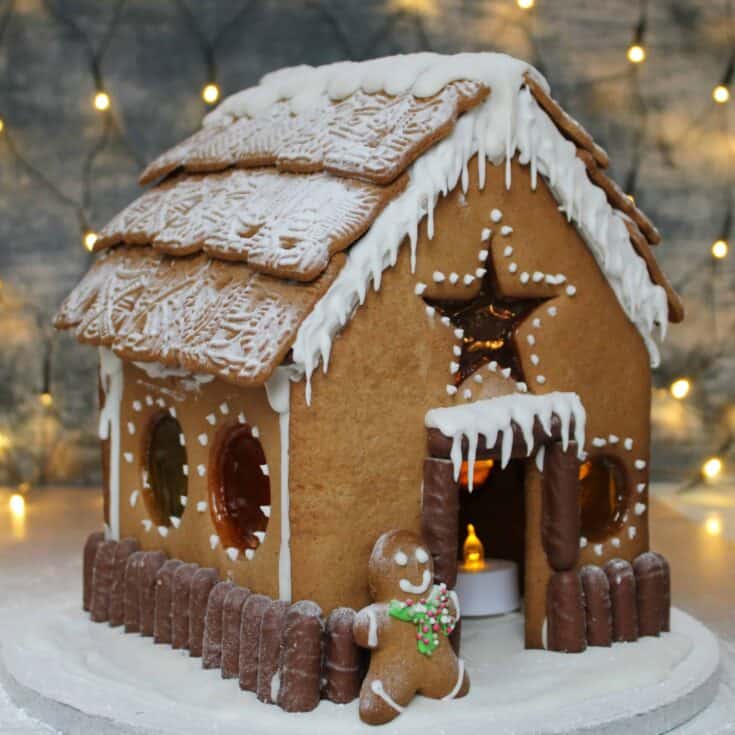
Get ready for the ultimate Christmas baking project because my gluten free gingerbread house recipe is here.
This recipe makes a gingerbread house which fits on a 10-inch cake stand, with enough leftover dough for a little gingerbread family too!
You can find some ideas and inspiration for your gingerbread men – and what to make with any leftover dough – here.
If you make this recipe and love it, please do let me know by tagging me on my Instagram or using #theglutenfreeblogger. I love seeing your bakes!
And please do leave a review to let others know you loved it too! It would mean the world to me.
Gluten Free Gingerbread House
This gluten free gingerbread house is the most fun to make - use this template to cut the shapes out. I recommend making this up to the stage of constructing the walls of the house, and then leaving it to set overnight before adding the roof and decorating.
Ingredients
For the gingerbread:
- 200g light brown sugar
- 150g butter
- 110g golden syrup
- 600g plain gluten free flour (I used Schär All Purpose Baking Mix)
- 6 tsp ground ginger
- 1 tsp mixed spice
- 1/2 tsp xanthan gum
- 1 tsp bicarbonate of soda
- 2 eggs
FOR THE ICING:
- 20g egg white powder
- 660g icing sugar
- 100ml cold water
FOR DECORATION:
- Boiled sweets
- 3 packs Schär Spekulatius biscuits
- 1 pack Schär Chocolate Orange Fingers
- Gluten free sprinkles
- Icing sugar
Instructions
To make the gingerbread:
- Add the light brown sugar, butter and golden syrup to a large saucepan and place on the lowest heat. Stir until melted and combined and then remove from the heat - don't let it boil.
- In a large mixing bowl, add the gluten free flour, ground ginger, mixed spice, xanthan gum and bicarbonate of soda and stir to mix together.
- Pour in the melted butter/sugar/syrup mixture and stir with a wooden spoon until it starts to clump together. Add the egg and continue to mix until it forms a sticky dough. Wrap the dough in clingfilm and chill for at least one hour.
- Once the dough has chilled, preheat the oven to 180'C / 160'C Fan / Gas Mark 4. Line 2-3 large baking sheets with baking paper and set to one side (you can do this in batches if your oven isn't big enough to fit it all in at once as there will be quite a few pieces!)
- Break off some of the dough (around 1/4) and place on one of the sheets of baking paper cut for your trays. Roll it out to around 6mm thick and then cut out however many pieces from the gingerbread template that will fit on one baking tray. It's best to do this using a large, sharp knife or a pizza cutter to get precise lines. You'll want to leave a few cm between the shapes so they don't spread into each other!
- Remove the excess dough so that just the shapes are left on the baking sheet and then carefully lift it back onto the baking tray. Cut windows in the sides of the house using cutters and then place a boiled sweet in the centre. Keep repeating this process until all of the pieces are cut out.
- Bake for 12-15 minutes, until the gingerbread is starting to brown on top. Note - it will still feel soft to touch, so ensure once you remove from the oven you DO NOT try to remove it from the baking tray until it has completely cooled and hardened! If you like, as soon as the gingerbread is out of the oven, place the template back on top and trim the edges so they are nice and neat, while still soft. Cool completely on cooling racks.
- If you have an excess dough, you can cut gingerbread men from this to go in and around your house - small gingerbread men will take around 8 minutes to bake.
To make the royal icing:
- Add the icing sugar, egg white powder and cold water to a large bowl and beat with an electric whisk until it is nice and thick, around the consistency of toothpaste. You need to beat for at least 4-5 minutes to give the egg white powder time to hydrate and thicken.
- After 4-5 minutes, you can add a little extra water if it's too thick, or a little extra icing sugar if it's too thin. You want it to be fairly thick so it holds the house together like glue. When ready to use, spoon into a piping back with a hole around 0.5cm - or a small round piping tip.
To construct your gingerbread house:
- When you're ready to construct your gingerbread house, preheat the oven to around 40'C - or the lowest setting, so it is just warm.
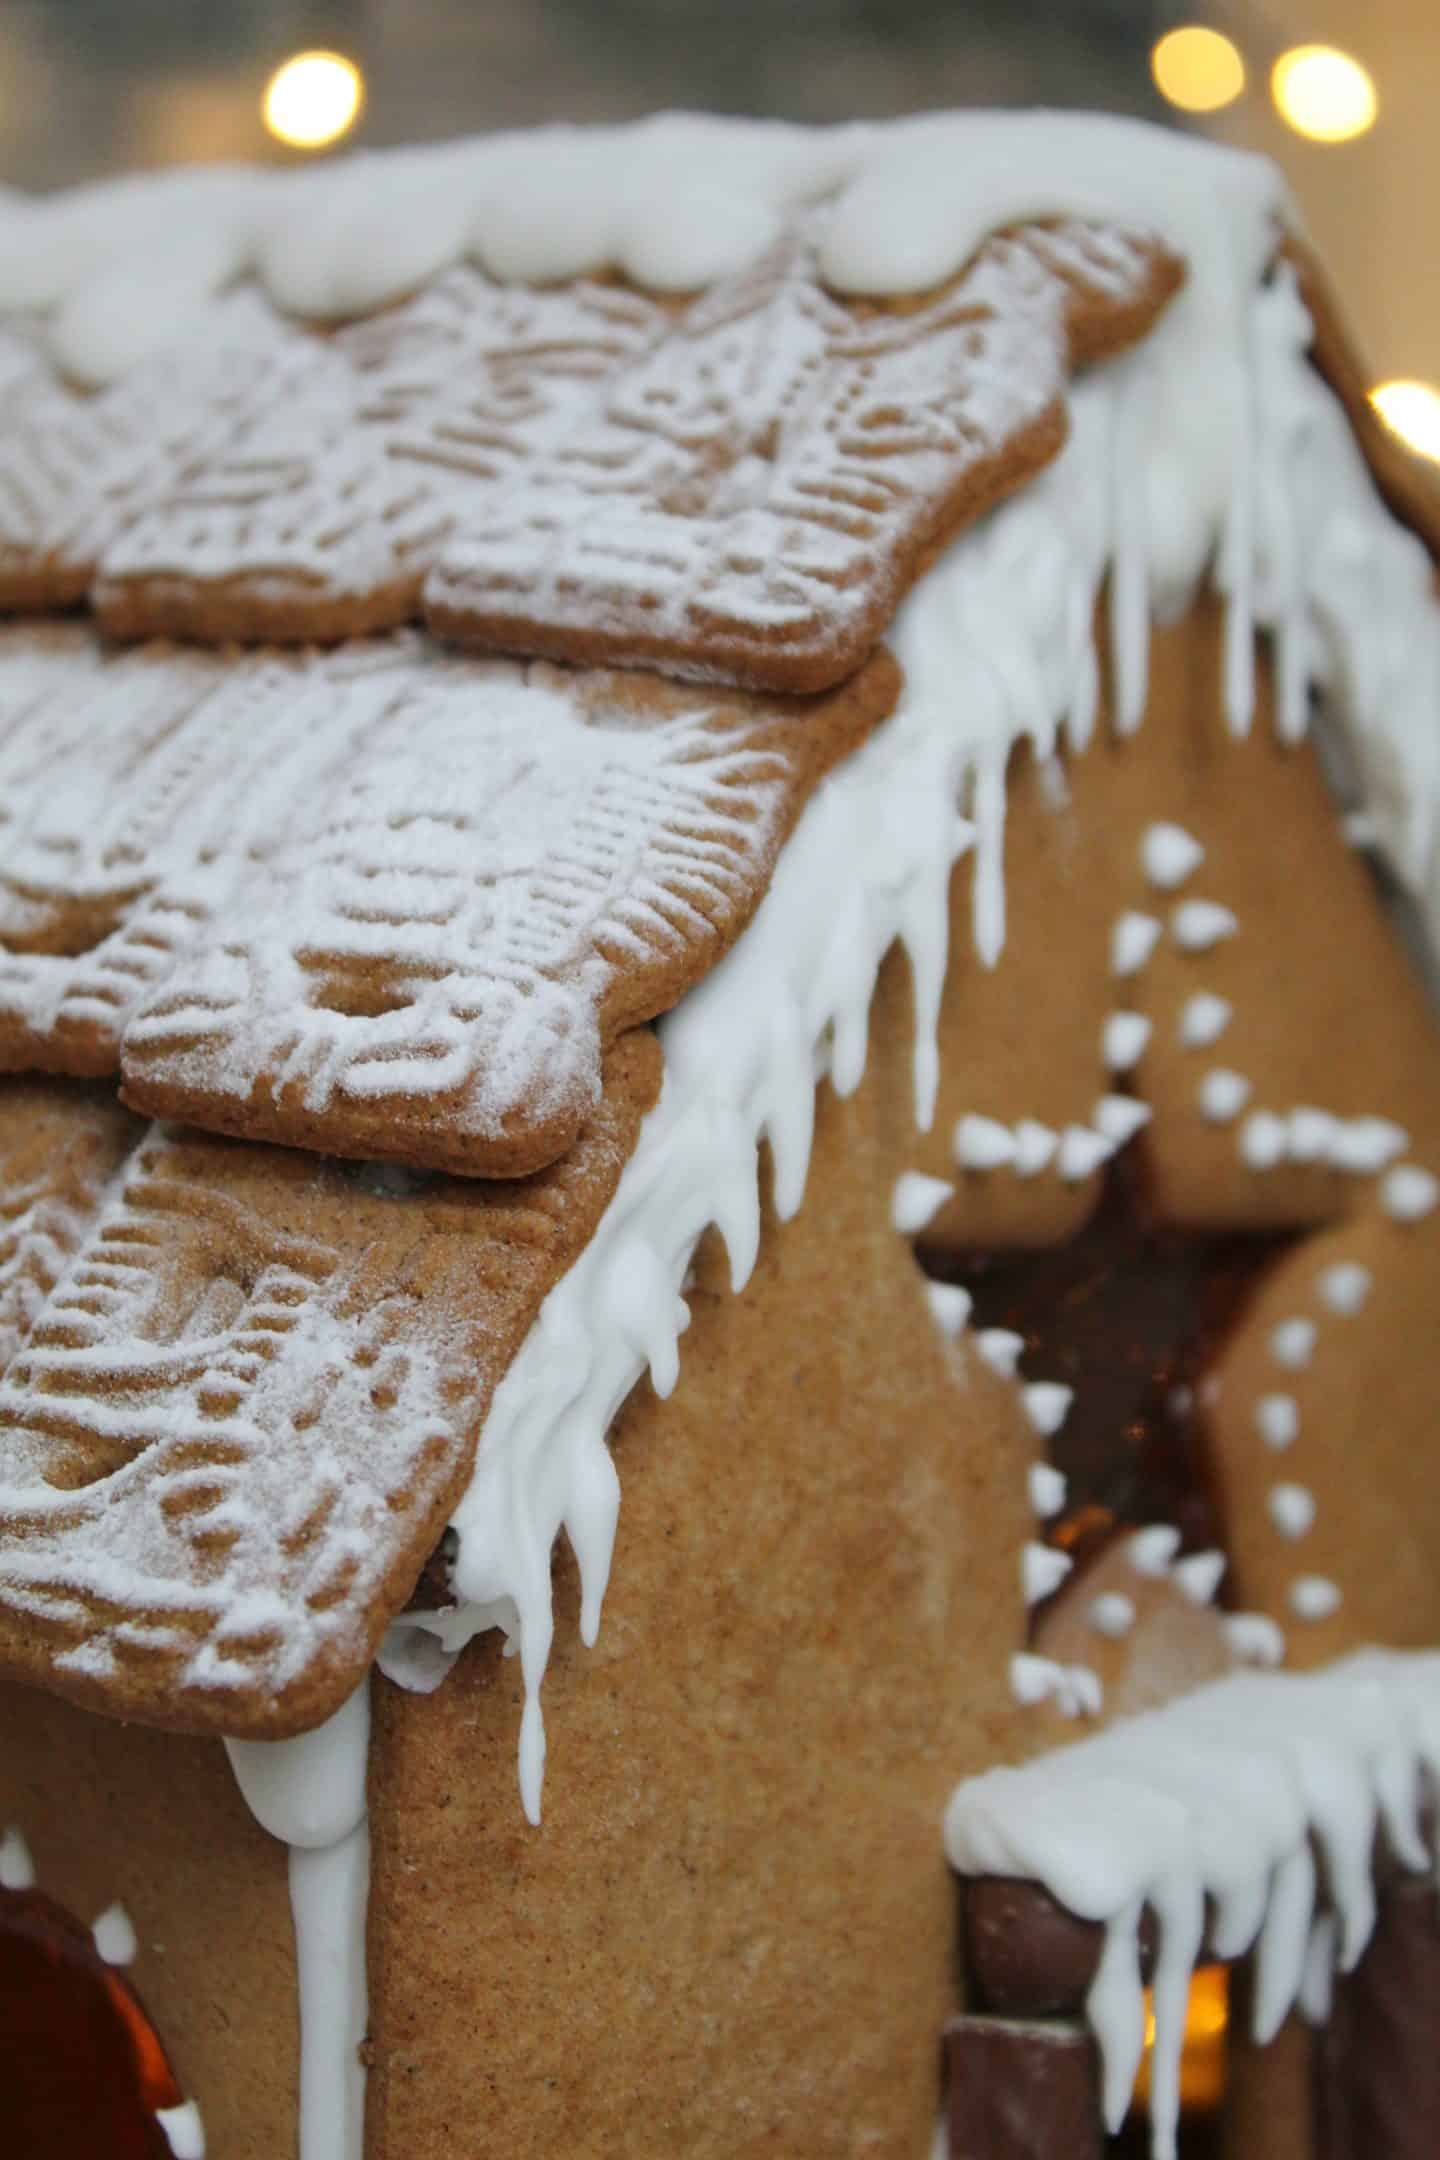
- First you'll need to create the roof tiles - it's easier to do this before constructing the house so you don't accidentally press too hard and knock it over! Lay your two roof pieces flat on a baking tray. Pipe thick lines of icing all over the roof piece, then starting from the bottom, lay a line of Spekulatius biscuits across it. Lay the next line so it is slightly overlapping the first one, and keep going until the whole roof piece is covered in tiles.
- Once you've finished both roof pieces, place in the oven for around 40 minutes. This just helps to speed up the hardening of the icing - or you can alternatively leave them overnight to set fully. Once removed from the oven allow to cool to room temperature again.
- Next construct your house. To do this, take the front of the house and pipe a line of icing down each side edge. Gently press the end of your side piece against the icing, so it is at a right-angle. Hold in place for a minute, and then repeat on the other side. This will then need to set - I find it best to support it with glasses or tins to make sure it doesn't fall over. Pipe a line of icing down each edge of the back of the house then press it against the two side pieces, so you have all four walls. Support this and leave overnight.
- Once the walls have set, it's time to add the roof. To do this, pipe a thick line of icing down the slanted edges of the front and back of the house, and then along the tops of the sides.
- Carefully lower one side of the roof into place and hold in place for around a minute - this should stick it enough for you to quickly repeat the process on the other side of the roof - try to get them to meet neatly in the centre but don't worry too much about any small gaps, we can fill these with icing after!
- Hold the roof pieces in place for a couple of minutes and then carefully use glasses or tins to support the bottom edge so they don't move. Leave to set for at least four hours before finishing the decoration.
To decorate your gingerbread house:
- This is the time to let your creativity flow! Firstly, I took a box of Schär Chocolate Orange Fingers and cut them in half. Then using your icing, stick them to the wall of the gingerbread house, working your way around the whole thing, with the cut side against the base, to create a cute little fence.
- You can also stick two further halves on either side of the front door, and a whole chocolate orange finger along the top to create a doorframe.
- Using a thin piping tip, pipe icicles around the edge of the roof, and also around the door frame if you wish. You can do this by simply dragging the tip down and away from the roof, and let gravity do the rest! I also iced a thick slather of 'snow' along the centre of the roof - it looks lovely and hides any gaps!
- You can also use the tin piping tip to ice dots around the windows - or any sort of patterns you like on the walls of your house.
- If you've made gingerbread men for the house, use the small piping tip to decorate them, adding eyes and a mouth, and giving them little scarves. I decorated these with gluten free sprinkles.
- Take 5-6 tablespoons of icing and slather over a foil cake stand with a small palette knife to create snow. VERY carefully lower the gingerbread house onto it and then leave to set. You can also stand your gingerbread men up against the house and the icing will help set them in place.
- Once your house has set, gently dust the whole scene with 'snow' (aka icing sugar) and pop a couple of LED tea lights inside the house to give the boiled sweet windows a lovely glow!
Notes
- Full details on the Schär gluten free products can be found here.
- This gluten free gingerbread house should stand for several weeks
as a decoration. I wouldn't recommend using a real candle inside it - instead use battery-operated LED tea-lights. - Any leftover (uncooked) gingerbread dough can be kept in the fridge for up to two weeks or frozen for up to six months.
- Any leftover royal icing can be kept in a lidded container in the fridge for up to a week. Stir vigorously before using.
To find out more about Schär’s amazing gluten free Christmas goodies, including Jaffa Cakes, Lebkuchen and more, check out their website here.
Need some more gluten free Christmas inspiration?
Want to have a go at some of the other gluten free baking recipes on the blog? Give some of these other gluten free recipes a try!
And don’t forget to check out my full Gluten Free Christmas page for lots of festive tips and tricks as well as tonnes more recipes.
There are plenty to choose from – here are a couple to get you going:
If you do make this recipe please let me know! I’d love to see your photos using #theglutenfreeblogger, share them in my Facebook group or tag me on Instagram.
And if you have any recipe suggestions, please let me know in the comments what you’d like to see next!
Like this Gluten Free Gingerbread House recipe?
Make sure you pin the recipe cards below for later!





What sort of boiled sweets did you use for the centre and how did they stick?