This post may contain affiliate links for which I earn a small commission at no extra cost to you. For more info, check out my Disclosure Policy. Thank you for your support!
If you’ve been craving freshly baked bread then you are going to LOVE this – the best ever gluten free baguette recipe.
There’s nothing that induces food envy quite like longing over a crusty, white, gluten-filled baguette, fresh and warm from the oven.
Decent gluten free baguettes can be hard to come by but with this super easy gluten free baguette recipe, you can whip them up at home in no time.
This recipe is similar to my gluten free bread rolls recipe but with a few tweaks and tricks for that ultimate baguette experience.
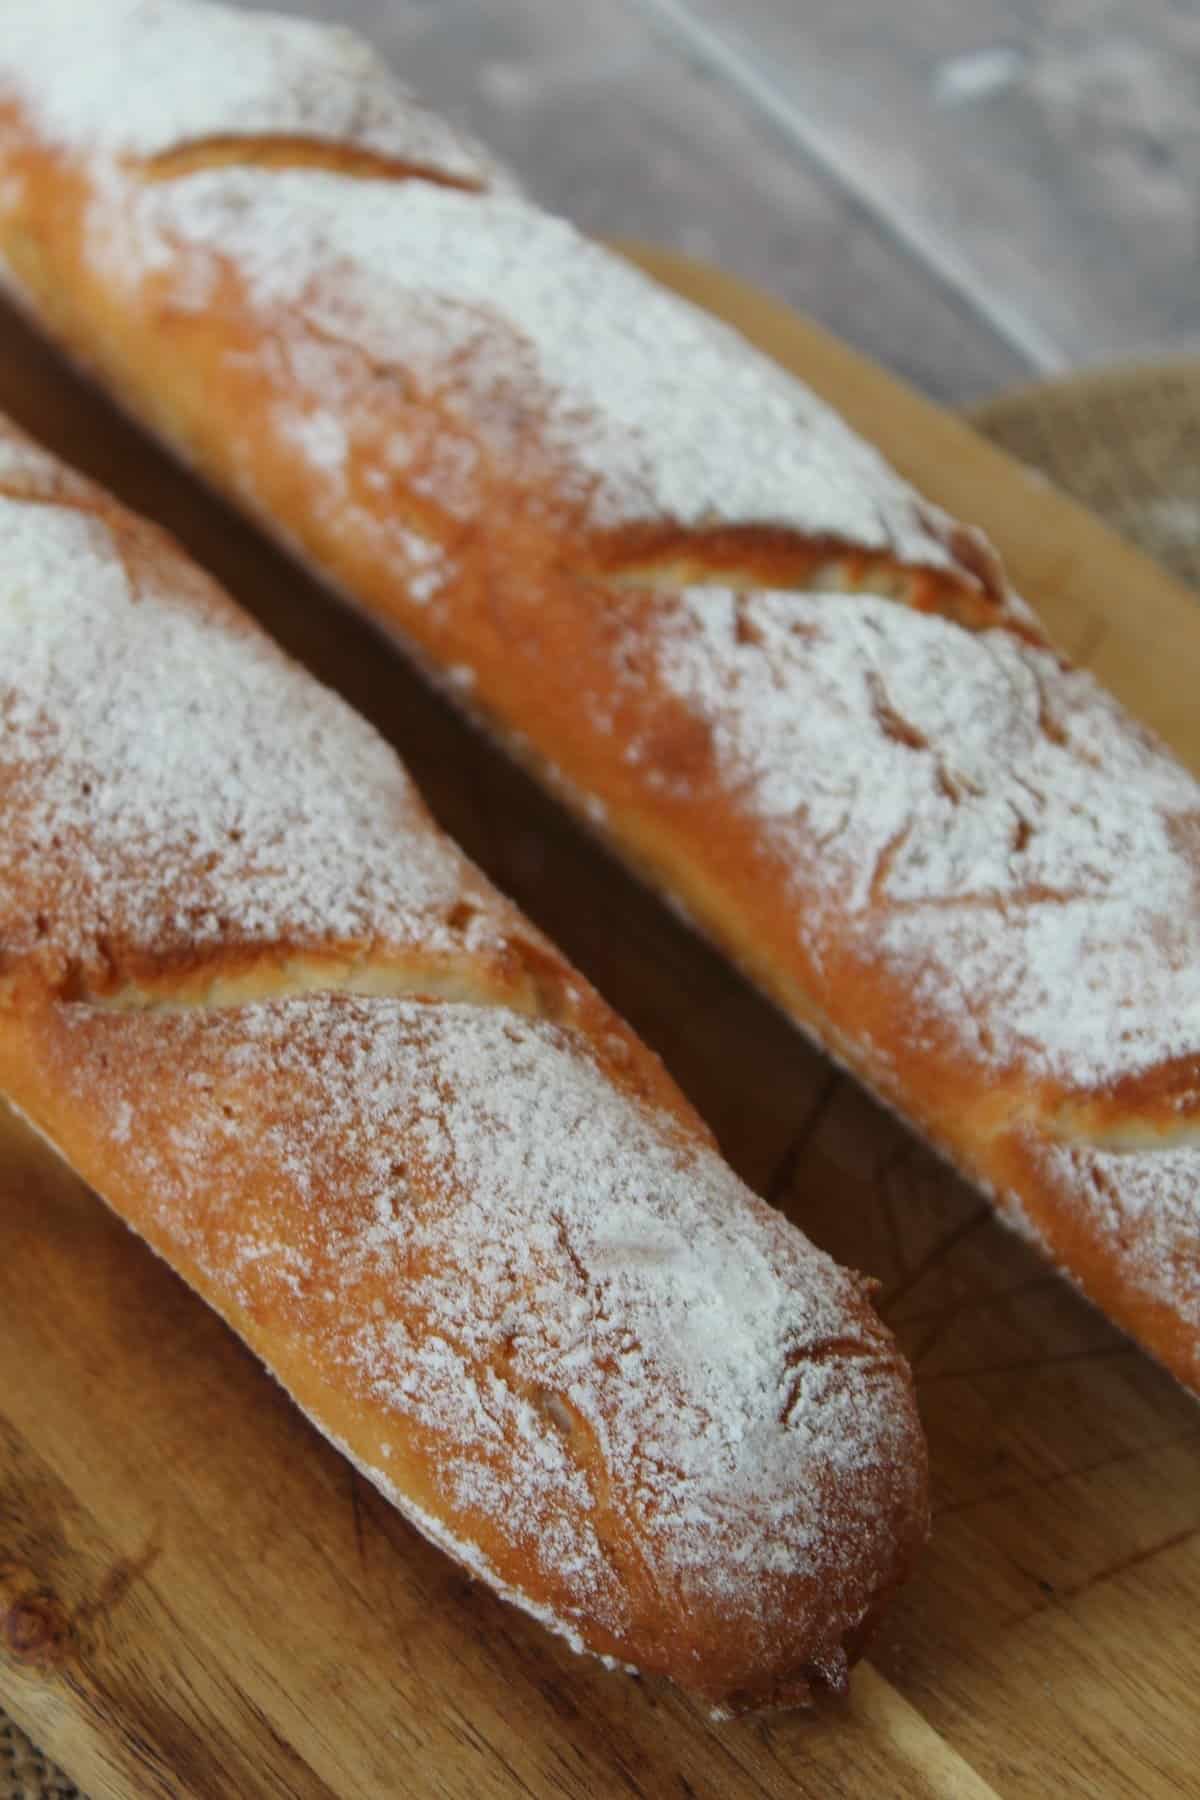
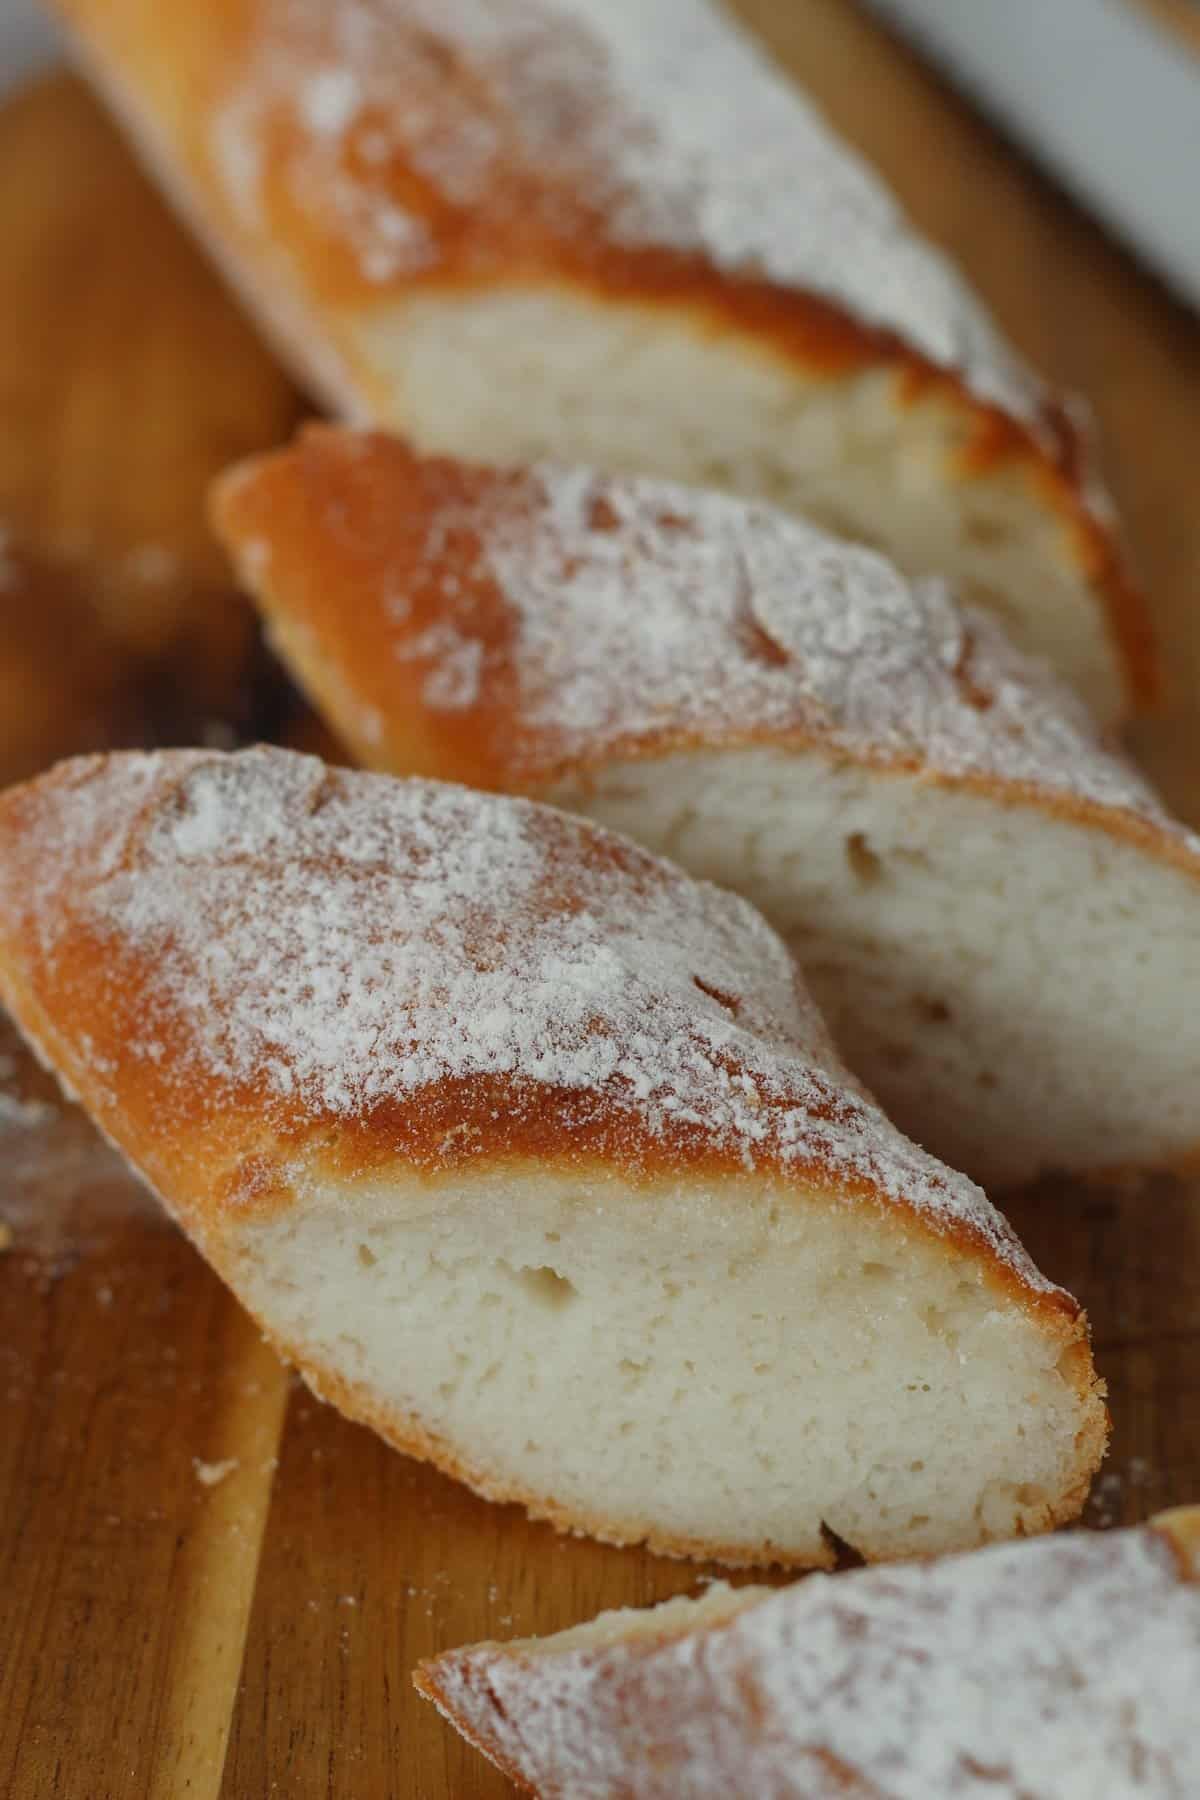
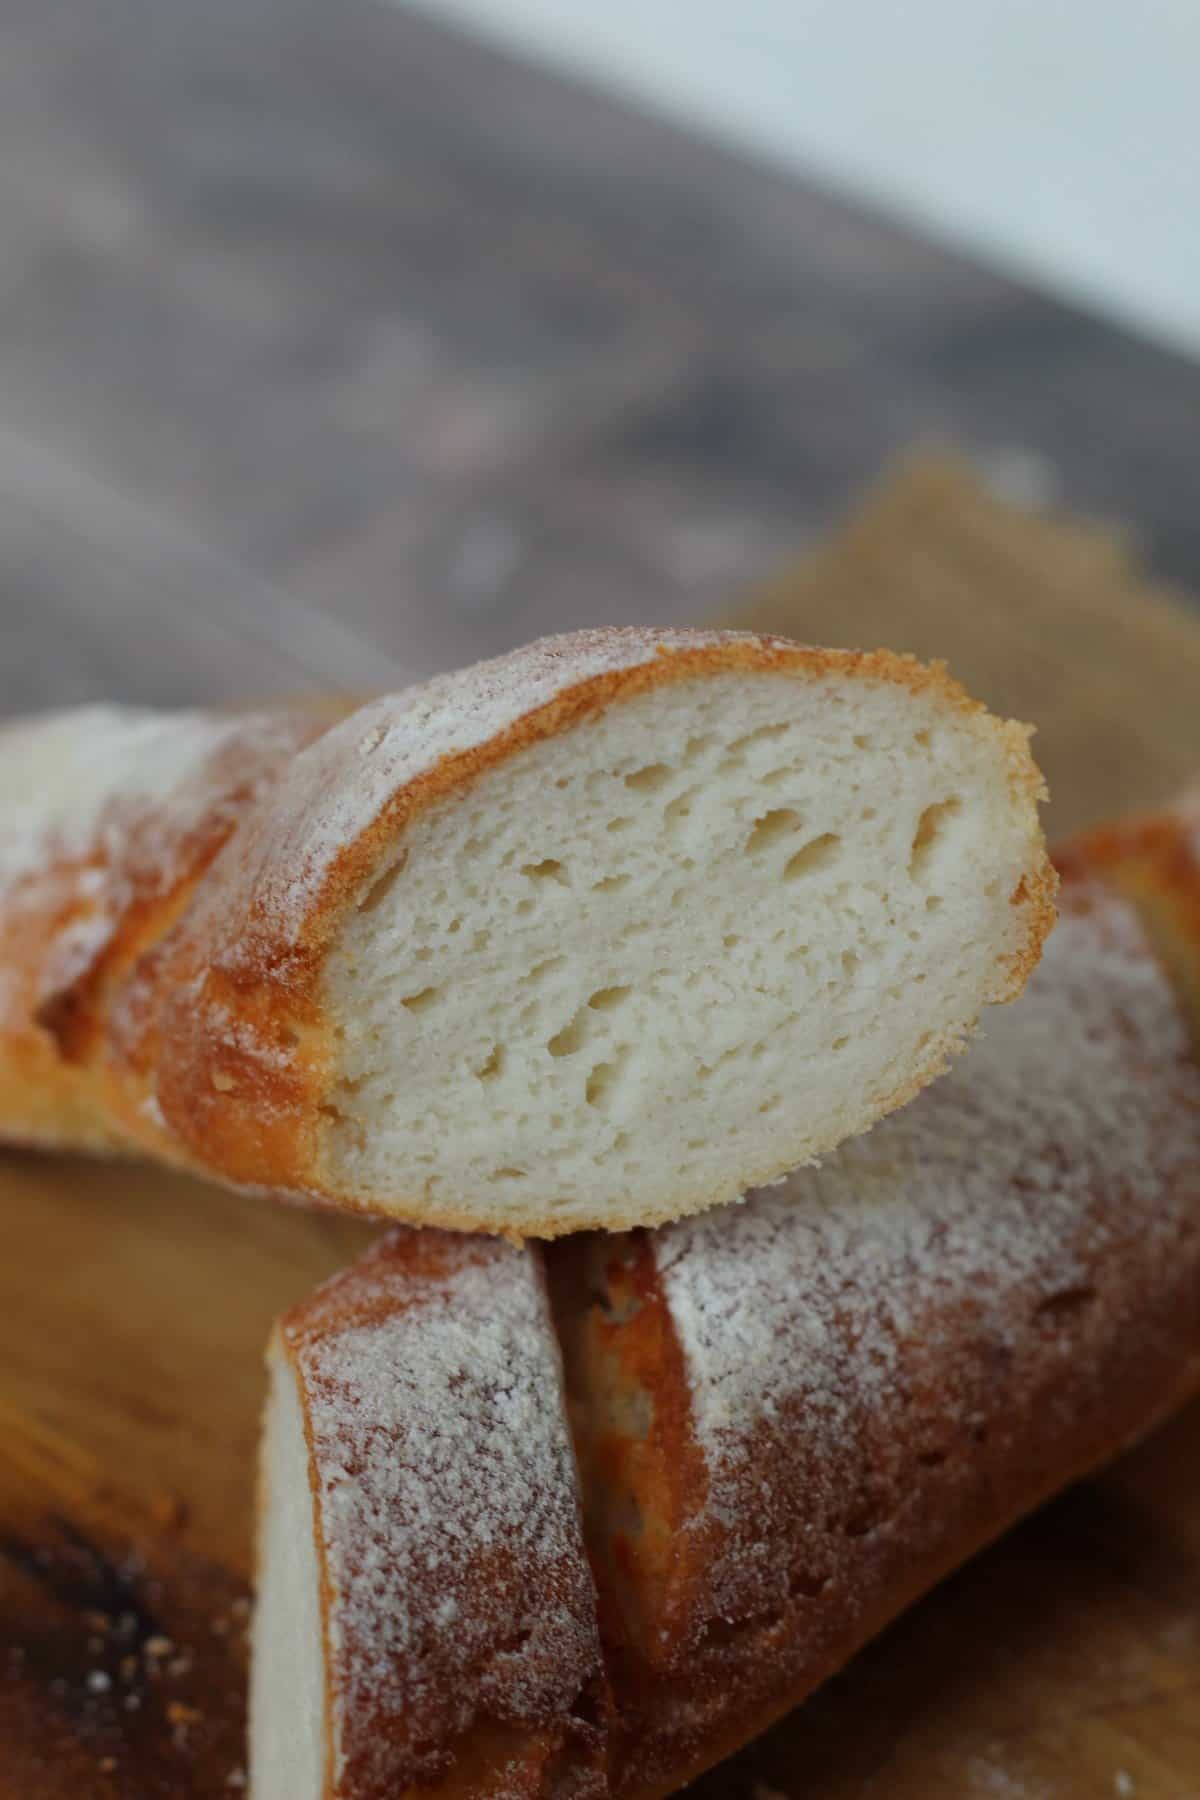
Instead of being soft and squishy like my rolls, these baguettes have a deliciously chewy crust with a soft centre, just like baguettes should be.
You’re going to absolutely LOVE these and once you’ve made them once, you’ll want to keep making them over and over again!
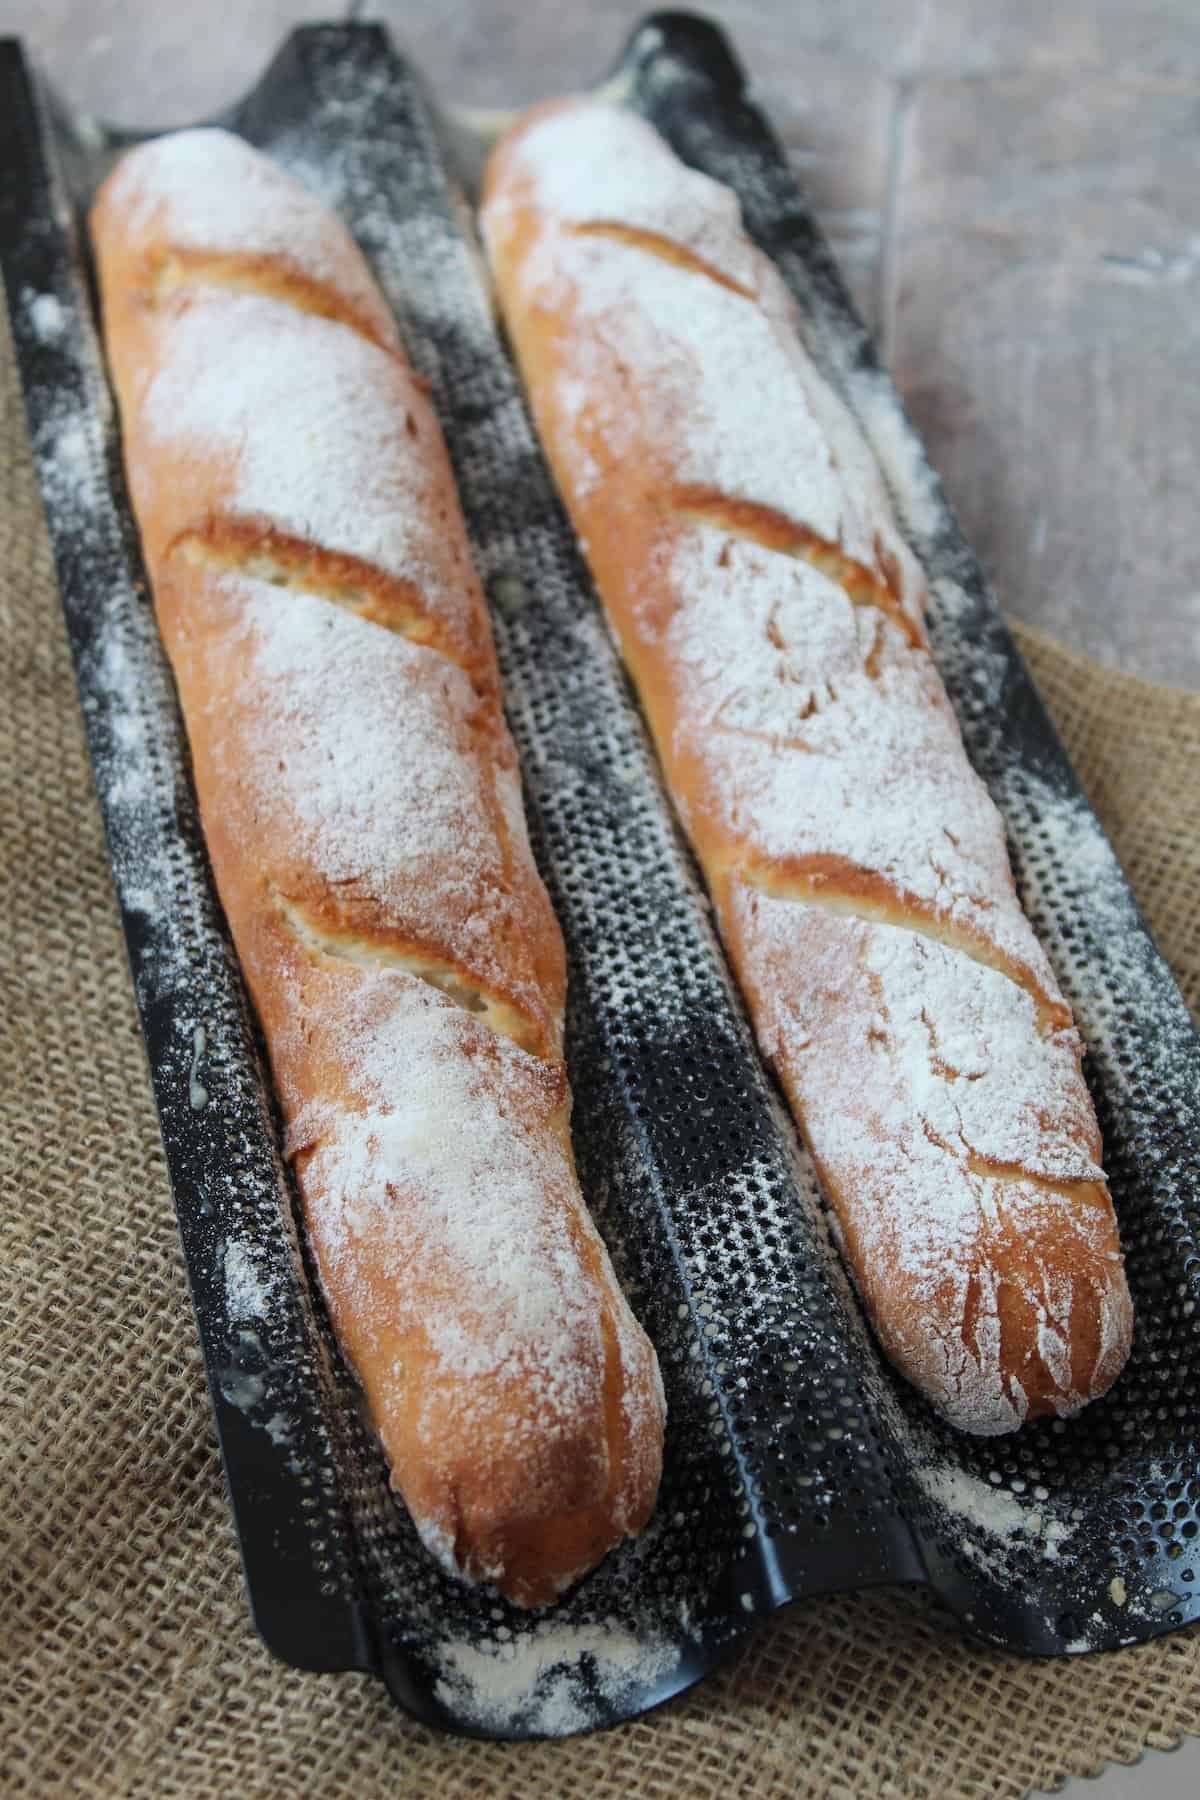
Table of Contents
- The best gluten free baguettes
- How to get a chewy baguette crust
- What baguette tray should I use?
- What ingredients do I need?
- Which yeast is gluten free?
- Testing if your yeast is active
- How to make gluten free baguettes
- My gluten free baguette recipe
- Need some more gluten free baking inspiration?
- Like this gluten free baguette recipe? Pin this recipe card for later!
- Gluten Free Baguettes Recipe
The best gluten free baguettes
So what is the secret to creating the best ever gluten free baguettes?
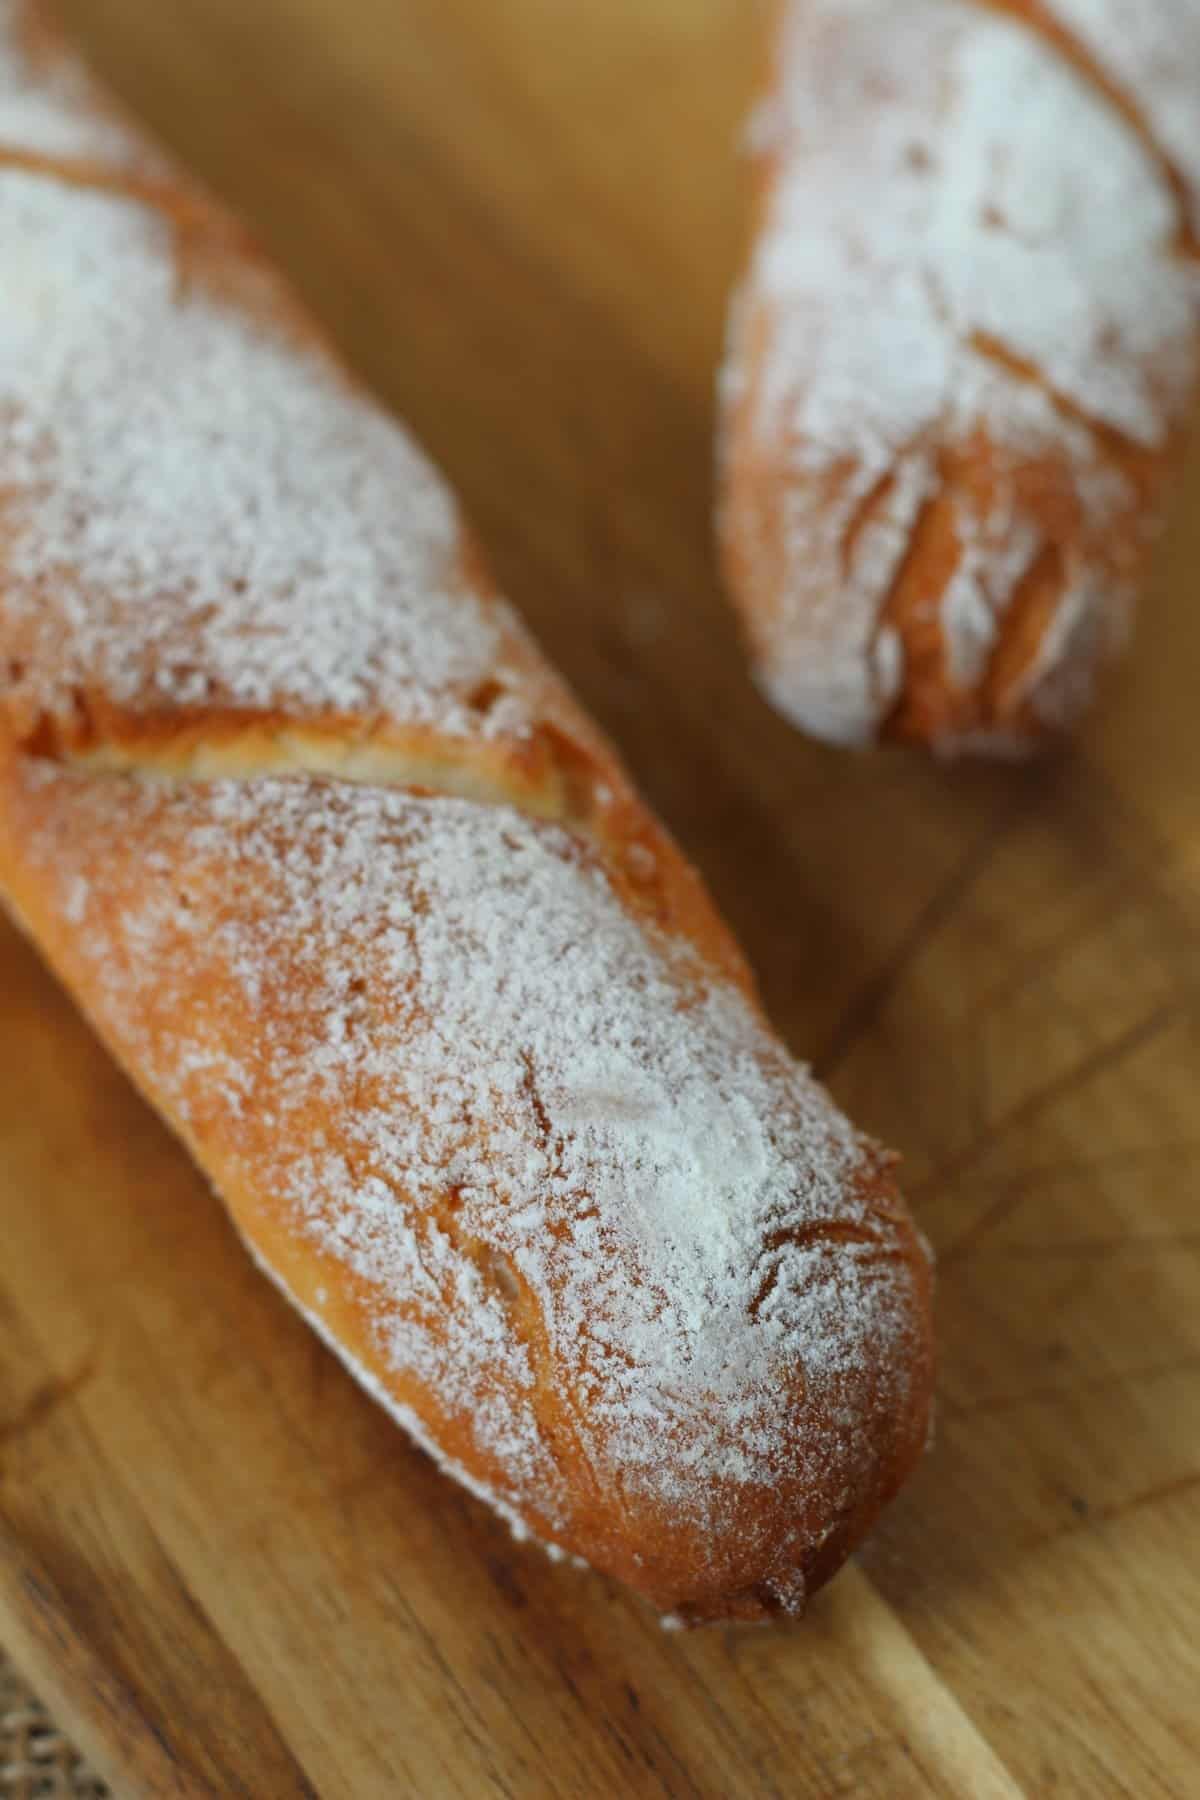
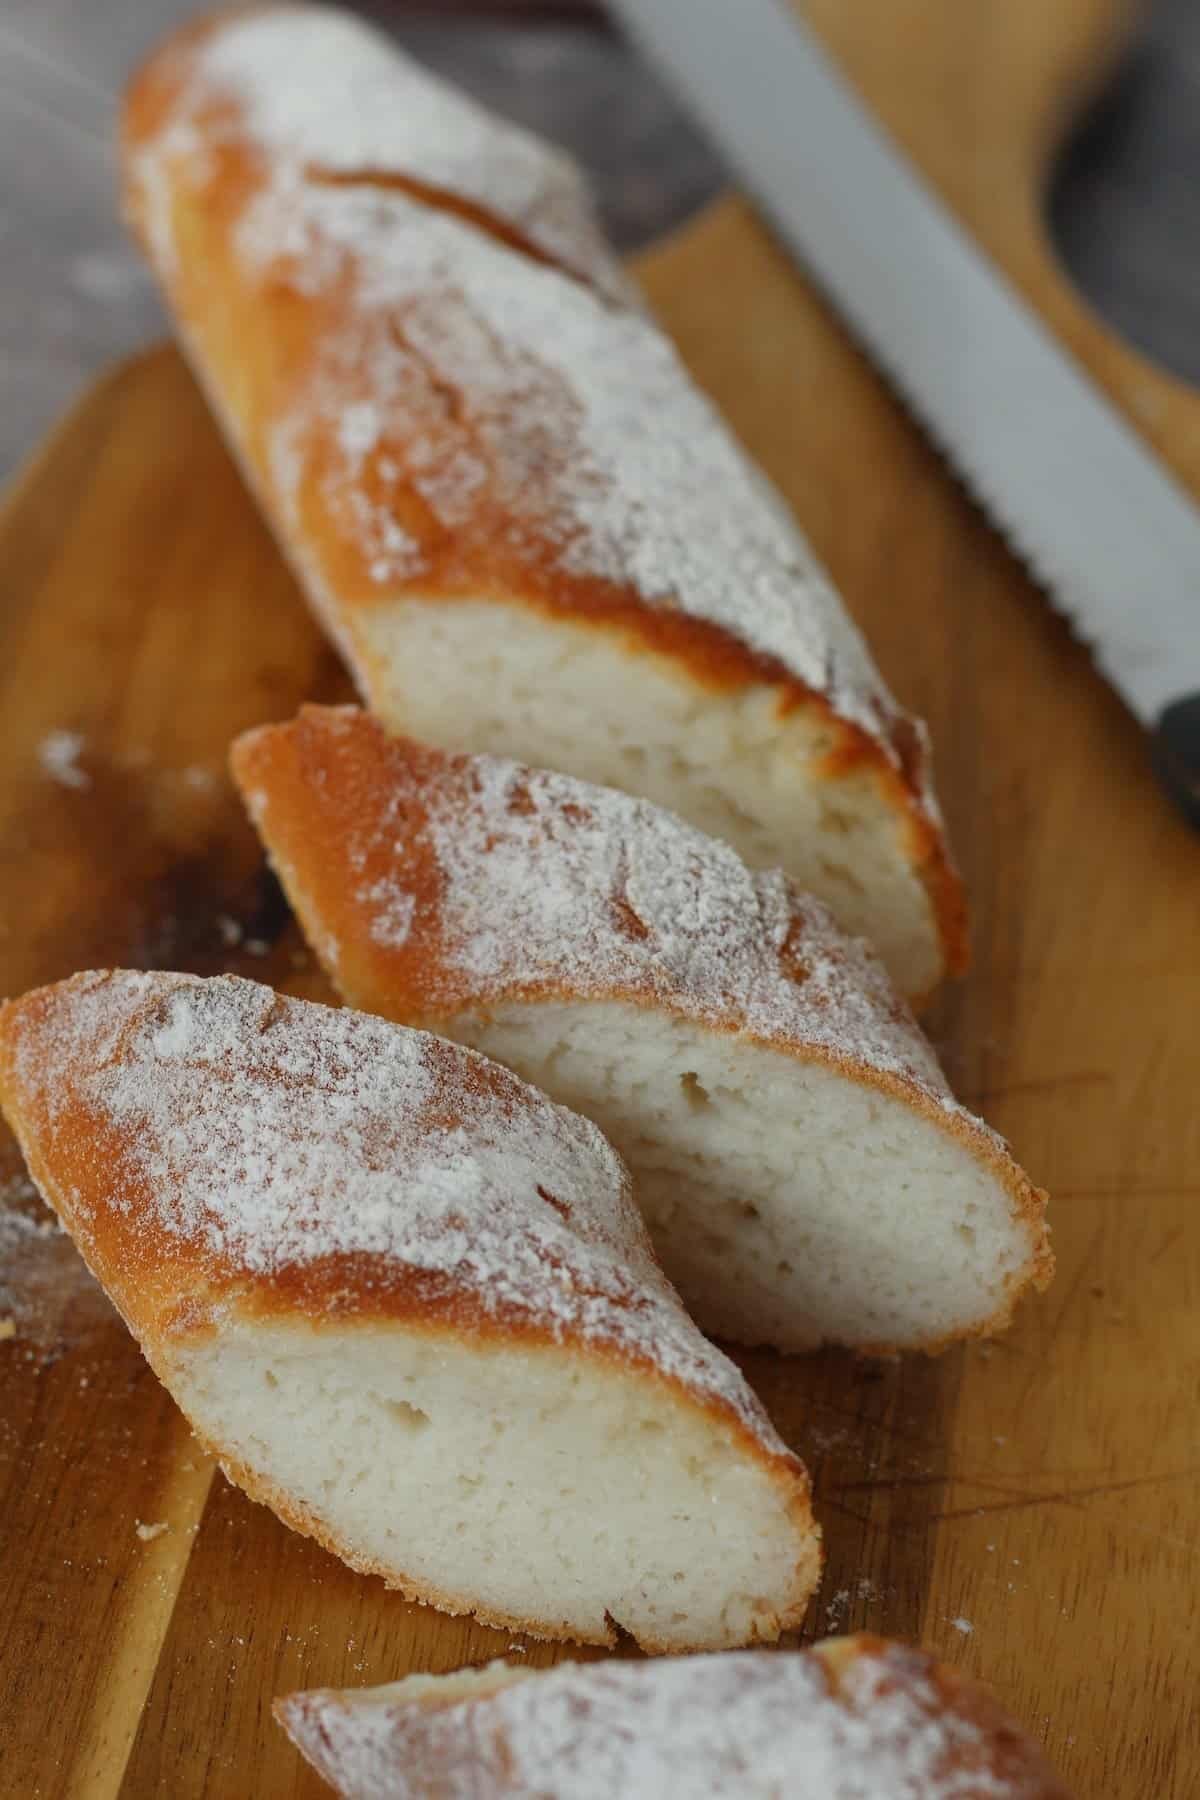
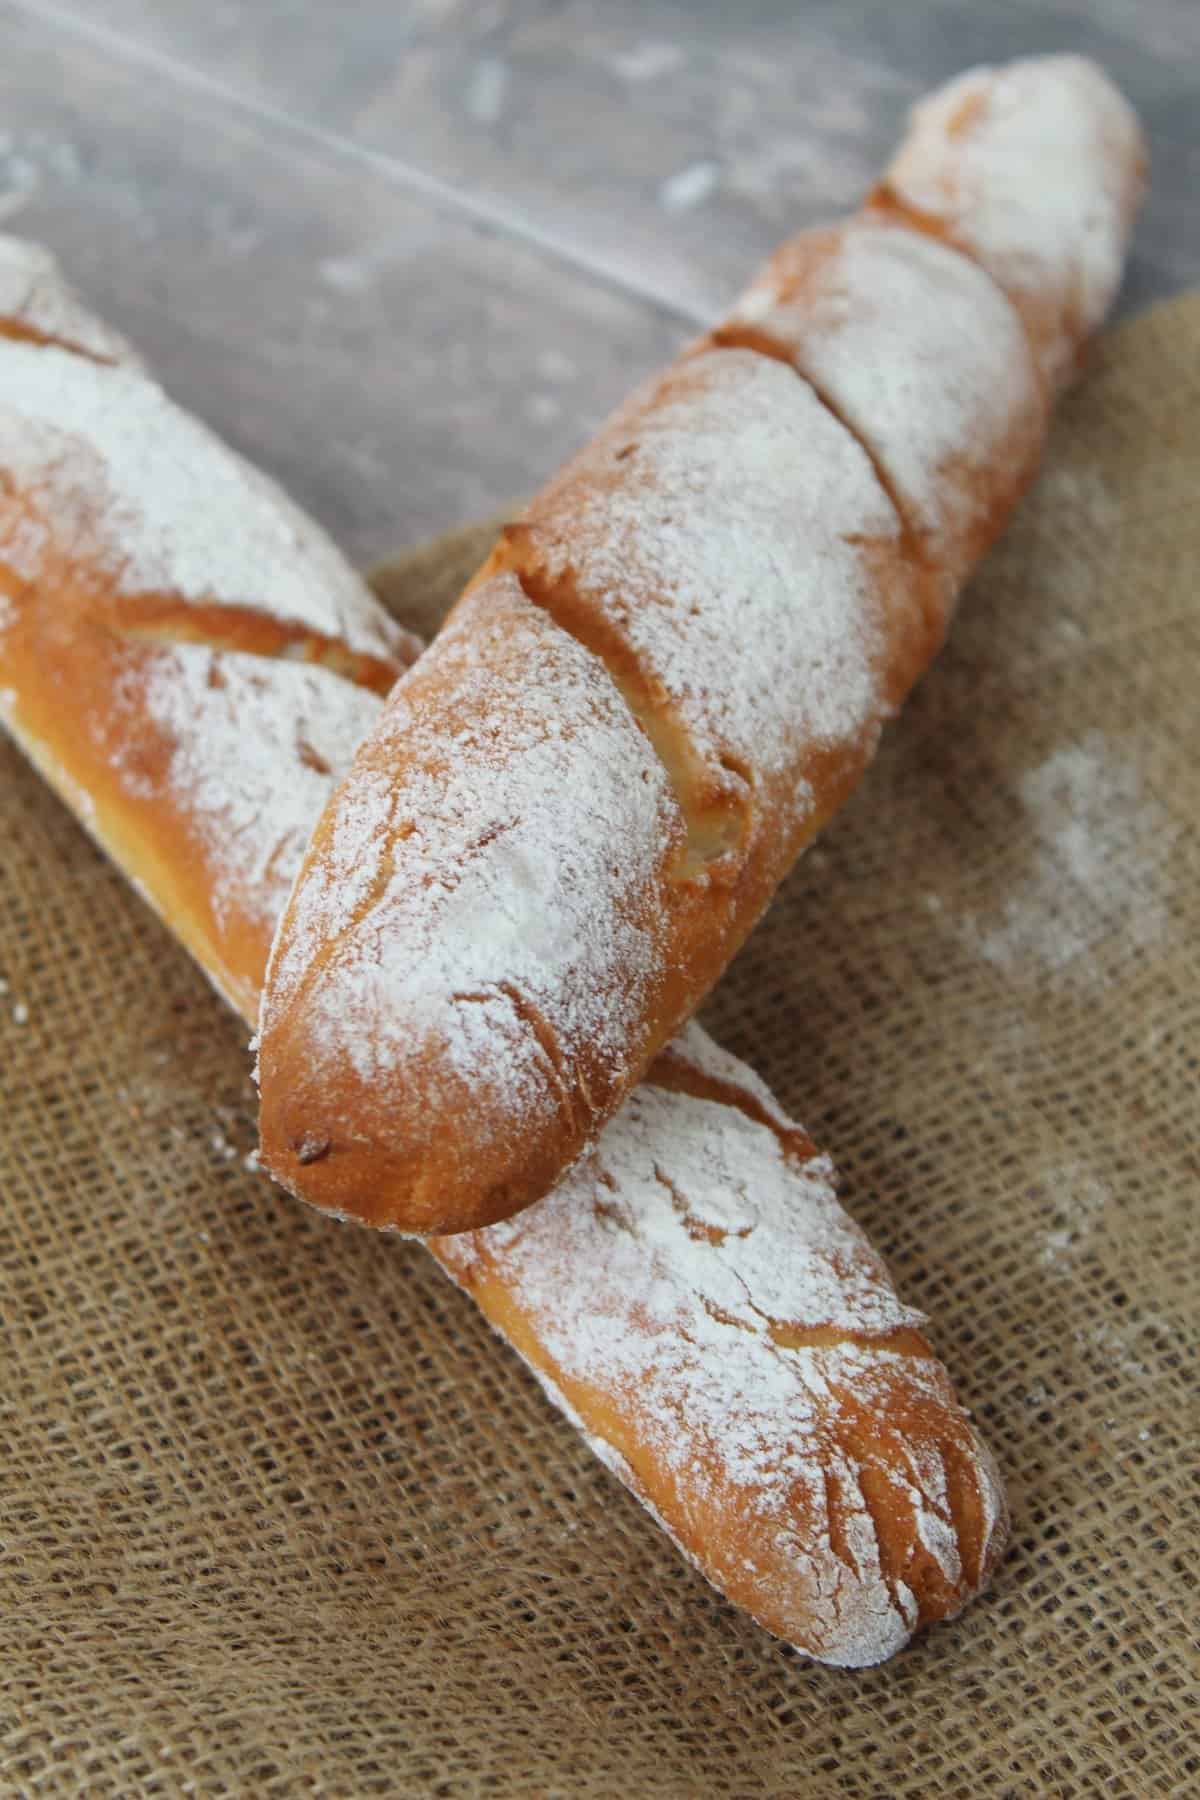
For starters, you want them to be gorgeously golden on the outside, with a chewy crust.
The chewy crust was my non-negotiable when it came to this recipe and I’ve finally found the secret to getting it just right.
They also need to be dusted in flour for that authentic bakery look, and soft and chewy on the inside.
These gluten free baguettes are perfect for lunches when stuffed with the filling of your choice, sliced up and eaten with soup, or even as part of a charcuterie or cheese spread.
I also love using them to make my gluten free garlic bread recipe – either as garlic bread slices or by cutting into them and stuffing the garlic butter into the slits.
How to get a chewy baguette crust
So what is the secret to getting the best crust on these gluten free baguettes?
The answer is simple…. steam!
For the perfect bake you want to create a super steamy oven, which will make the most delicious, chewy crusts.
To do this, I fill a deep baking tray with just-boiled water, then pop it in the bottom of the oven as soon as I turn it on to pre-heat it.
That means once the oven has come to temperature, it will be nice and steamy inside.
Get the baguettes into the oven as quickly as possible and keep the door shut (unless you need to open it to cover any brown bits with foil) for a proper steam.
Just be careful you don’t get a face full of steam when opening the oven!
What baguette tray should I use?
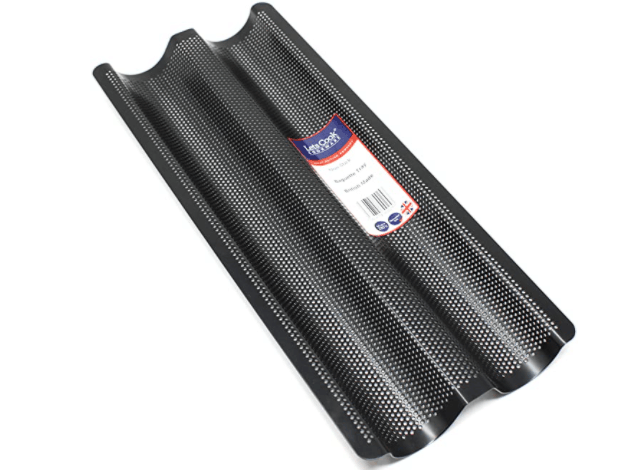
For the best results, you’ll want to make these gluten free baguettes using a proper baguette tray.
I use this one from Amazon which is 39cm (15 inches) long and can make two decent-sized baguettes.
Baguette trays are perforated so you get a lovely, even crust on the whole bake and those gorgeous little circles on the bottom.
Just like you used to buy in the bakery!
You could try making these baguettes on a lined baking tray but for the best shape and all-round bake, I’d highly recommend using a proper baguette tray.
All you need to do is grease the tin with a little oil then dust with flour – I used to be worried the dough would fall through the holes but I promise it won’t.
What ingredients do I need?
There’s a full printable recipe card down below but for the shopping list you’ll need the following ingredients:
- 150ml warm water
- 2 tbsp caster sugar
- 7g yeast
- 300g gluten free white bread flour
- 1 tsp xanthan gum
- 1 tsp salt
- 2 egg whites
- 2 tbsp olive oil
- 1 tsp apple cider vinegar
- Extra gluten free flour (for dusting)
I use the FREEE White Bread Flour which is a mixture of rice, potato and tapioca flour.
I’d recommend using this blend if you can source it, or one with similar ingredients.
The xanthan gum is super important as it helps with the texture of the bread – please don’t omit this or your baguettes will not be the same!
I used olive oil because I think it gives a nicer flavour, but vegetable or rapeseed oil would also work if you only have these.
Which yeast is gluten free?
I am based in the UK and there are several yeast products here which are gluten free and readily available.
I always use either the Allinson’s Easy Bake Yeast or the Dove’s Farm Quick Yeast.
You can also use the Allinson’s Time Saver Yeast, though be aware that you may not need to prove the dough for as long if you use this.
All of these yeasts are gluten free in the UK.
The Dove’s Farm one is certified gluten free and found in the free from aisle.
The Allinson’s yeasts are free from gluten and can be found with the ‘regular’ baking goods.
Testing if your yeast is active
It’s very important with any bread recipe that you activate the yeast before using it.
To do this, all of my gluten free bread recipes start by mixing the yeast with warm water (or some of them with milk) and sugar.
I’d strongly recommend using a food thermometer like this one to ensure the water or milk is around 40’C – skin temperature.
Too hot and it will kill the yeast, which means your bake will not rise.
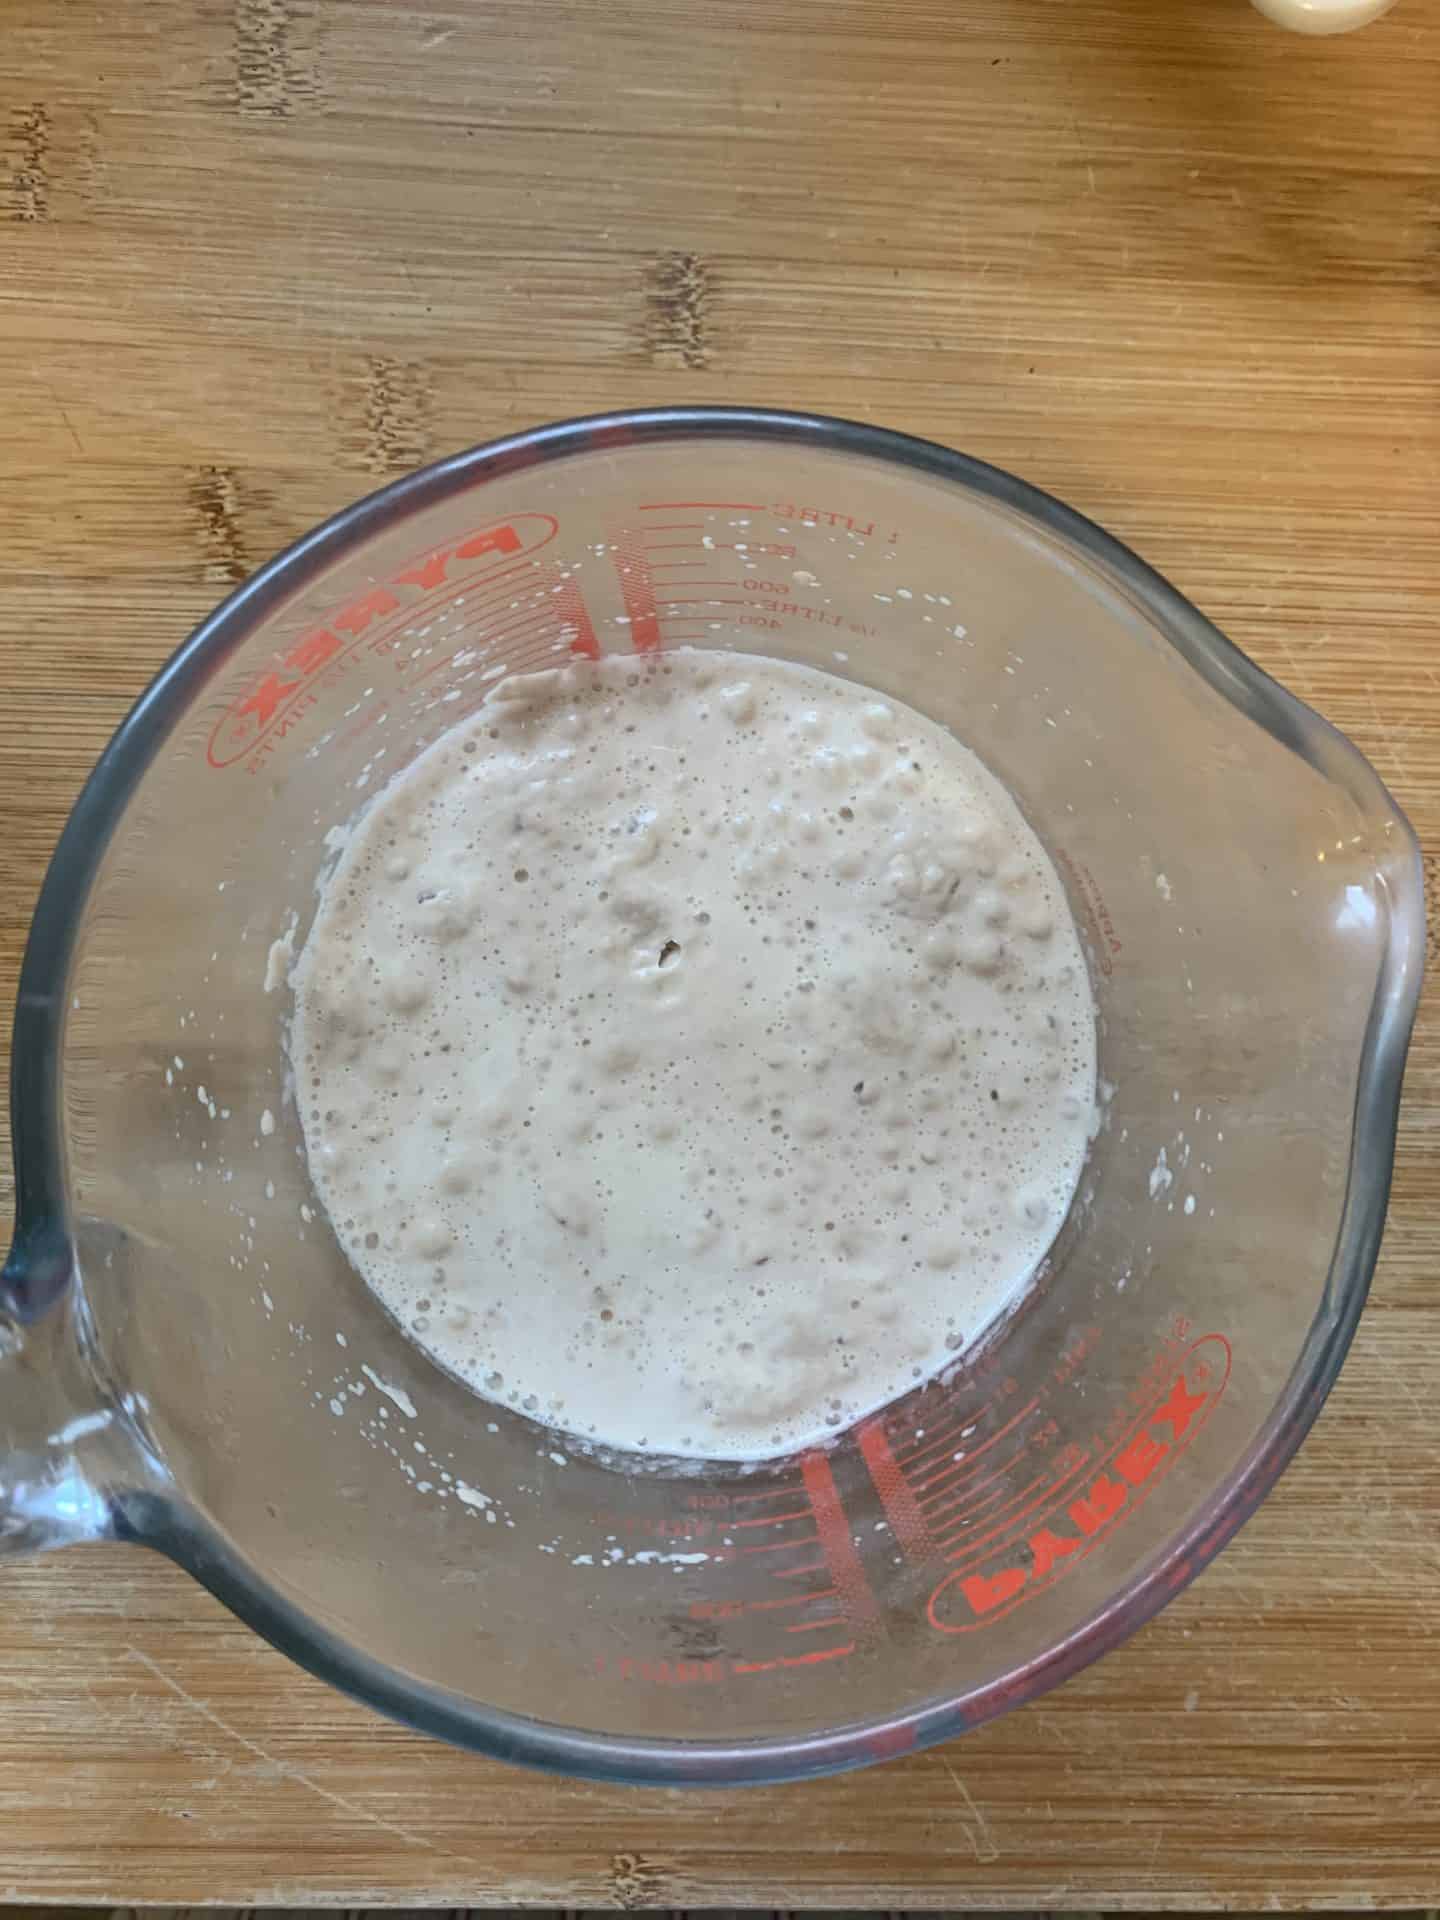
When left in a warm spot for 5-10 minutes, the yeast should form a frothy top a bit like the head on beer.
This means your yeast is active and you’re good to go!
If your yeast doesn’t froth up after 10 minutes, it’s likely it is dead and you’ll need to discard it and start again.
Sometimes yeast can go out of date so this could be a reason for it not frothing.
You also need to make sure the water is warm – not hot.
When you pop your finger in it, it should be a warm, comfortable temperature, around the same as your skin.
How to make gluten free baguettes
The full method for my gluten free baguettes is down below, but here are a few step-by-step instructions to help you out.
The first thing you need to do is activate your yeast, as outlined in the steps above.
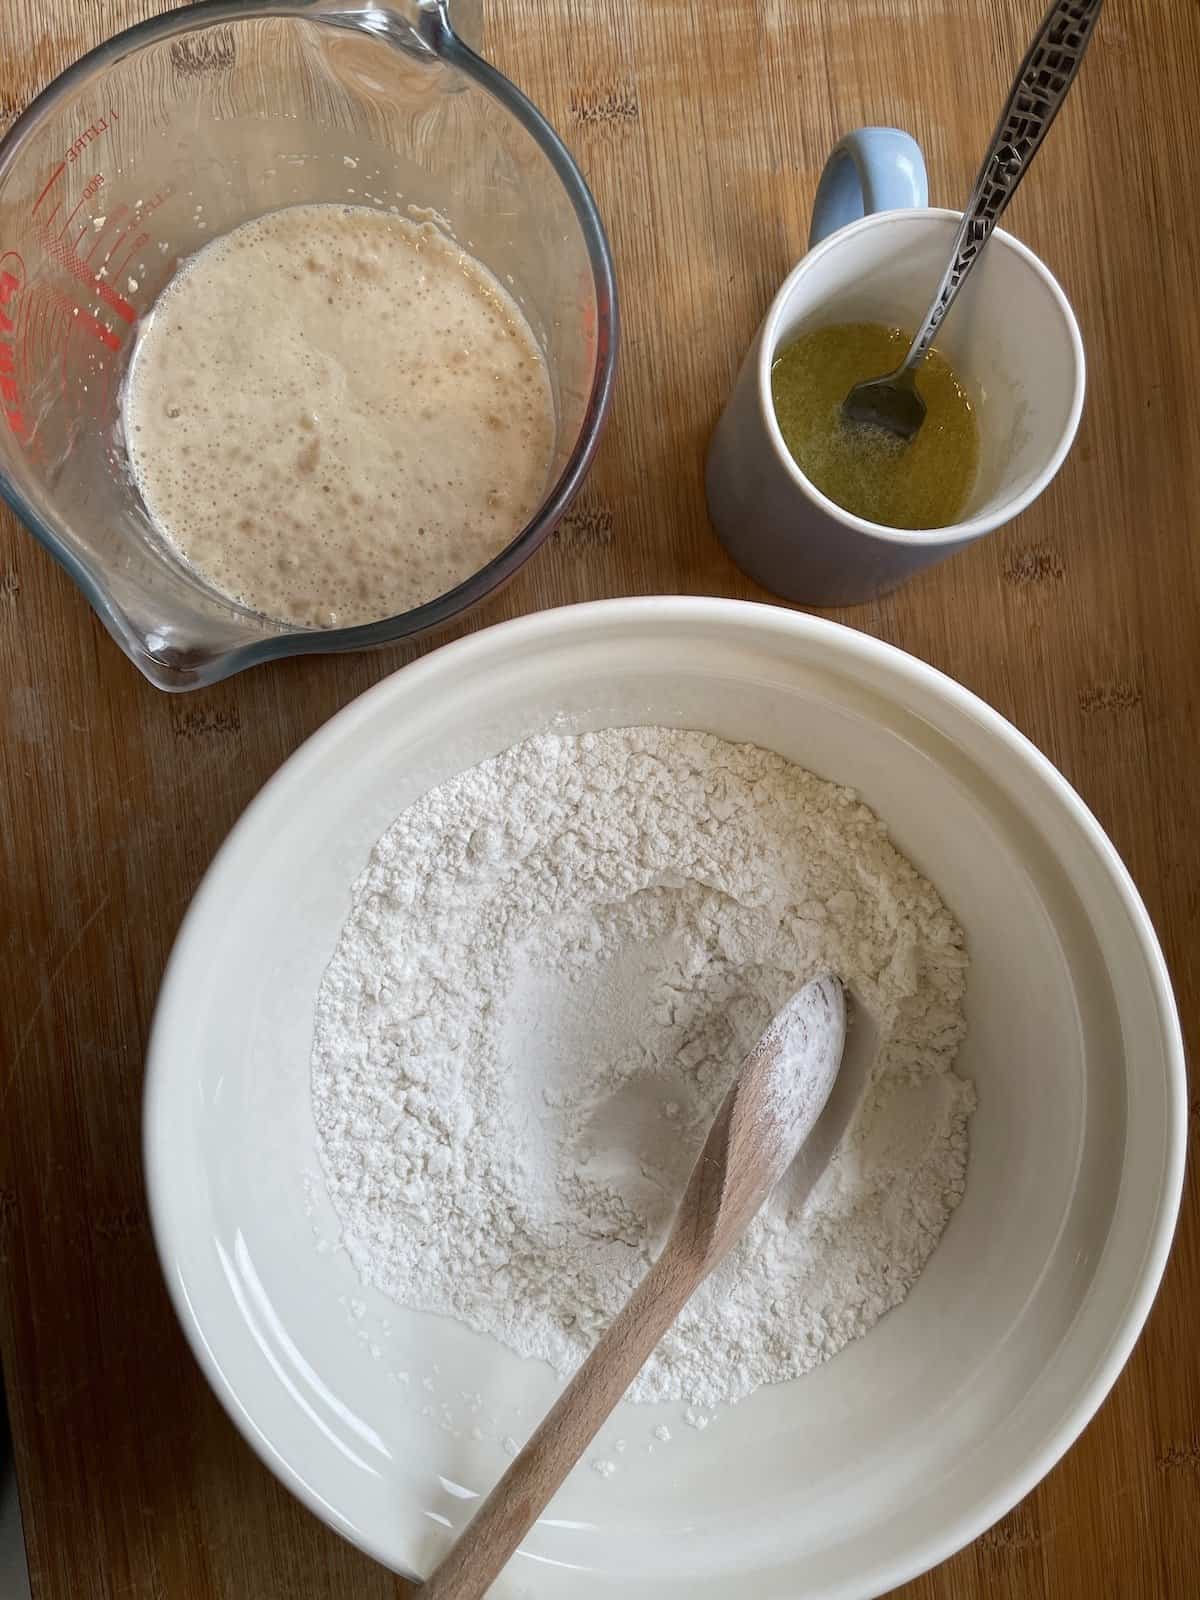
While the yeast is activating, prepare your dry and wet ingredients separately.
That way once the yeast is nice and frothy, you can beat it all together into a nice, thick, sticky dough.
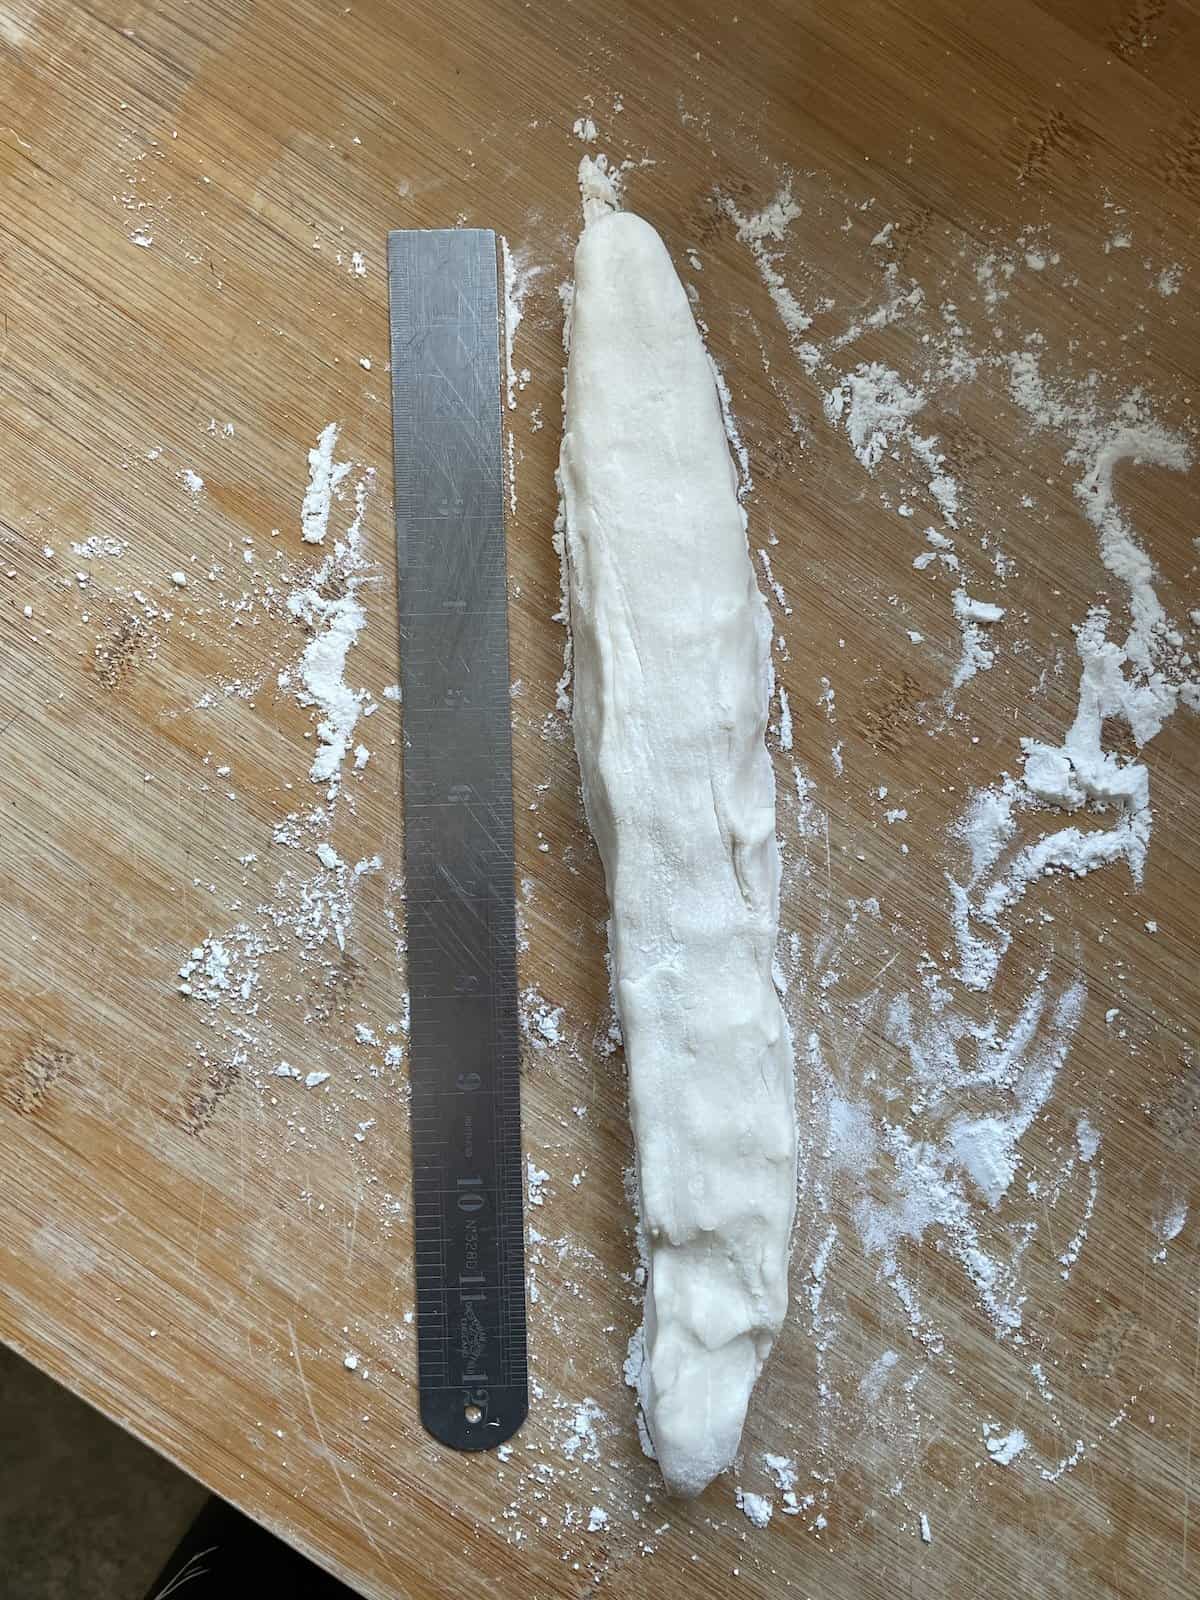
Once mixed together, you’ll want to split the dough you have in half and turn half of it out onto a floured work surface.
Flour your hands and use them to shape the dough into a baguette shape, around 12-inches long.
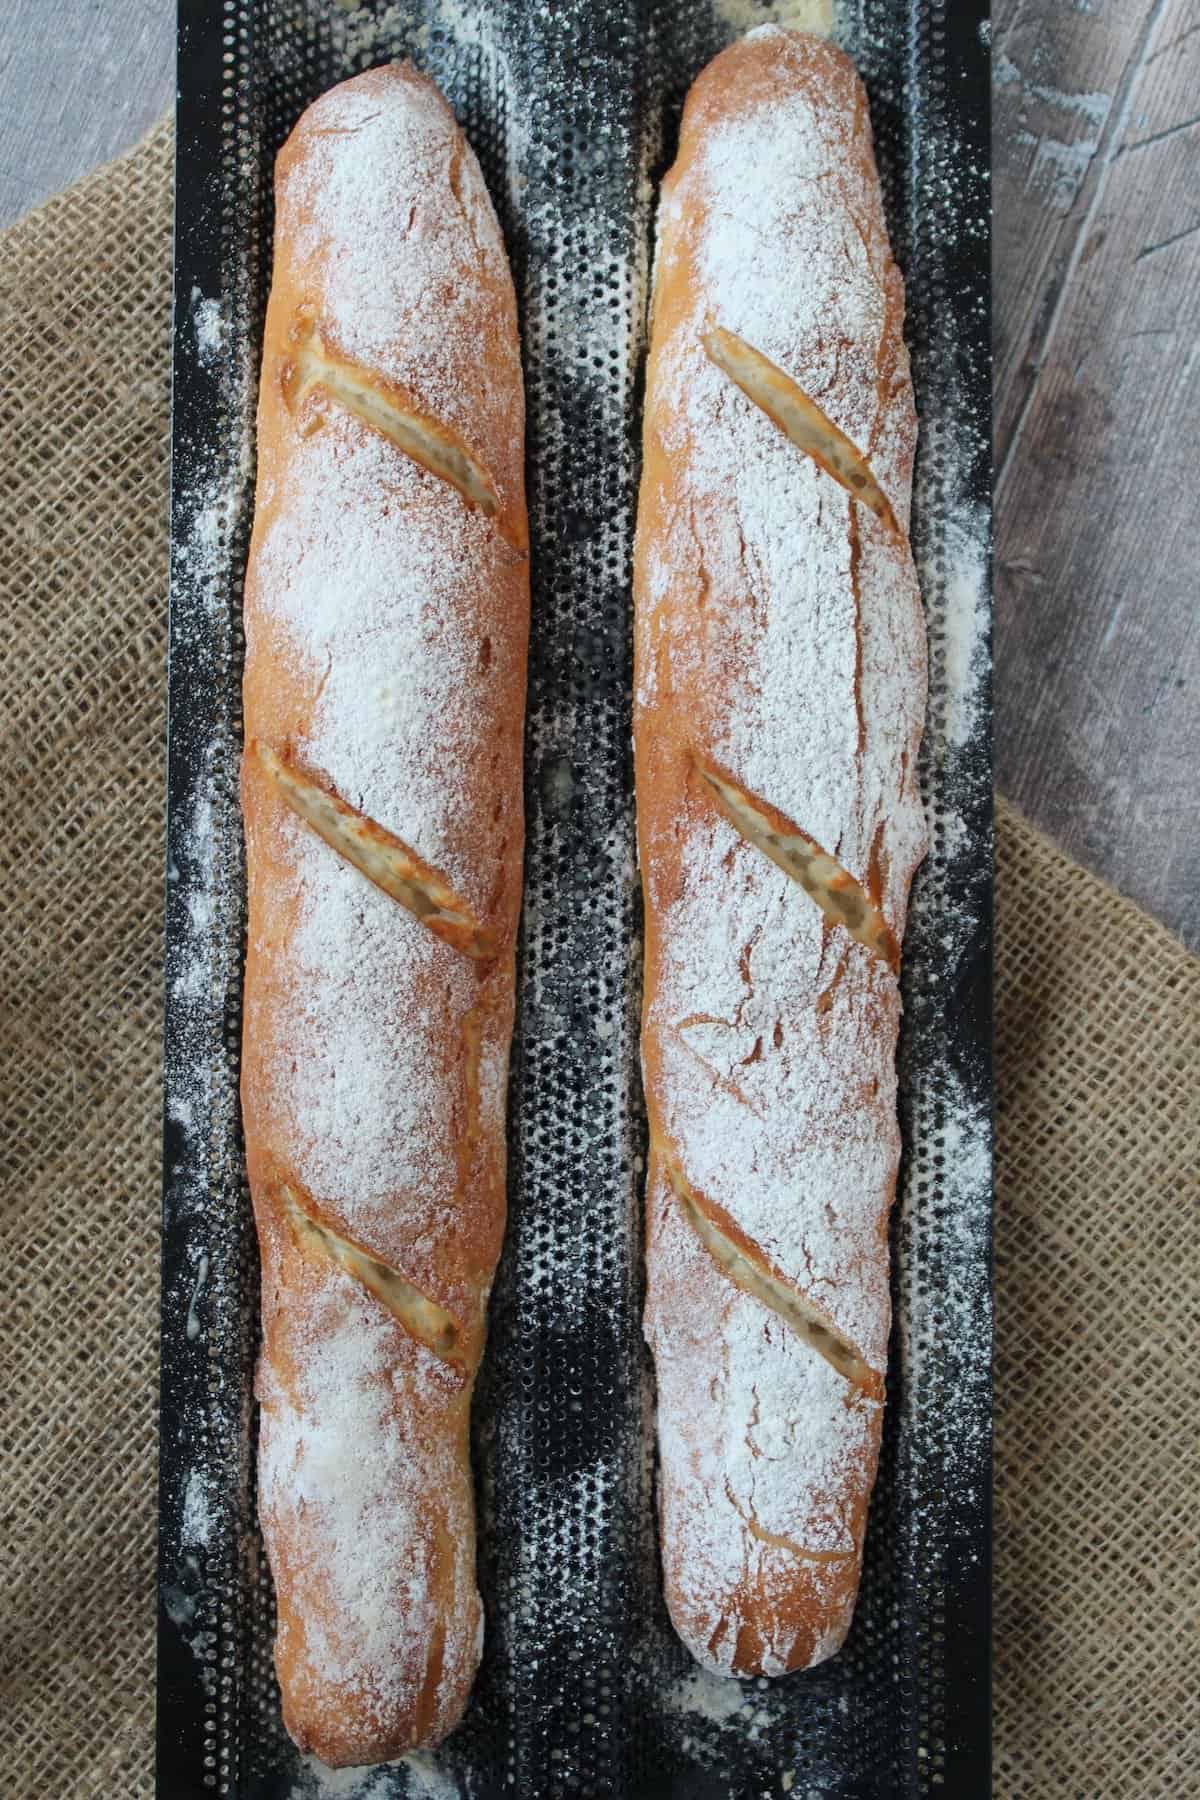
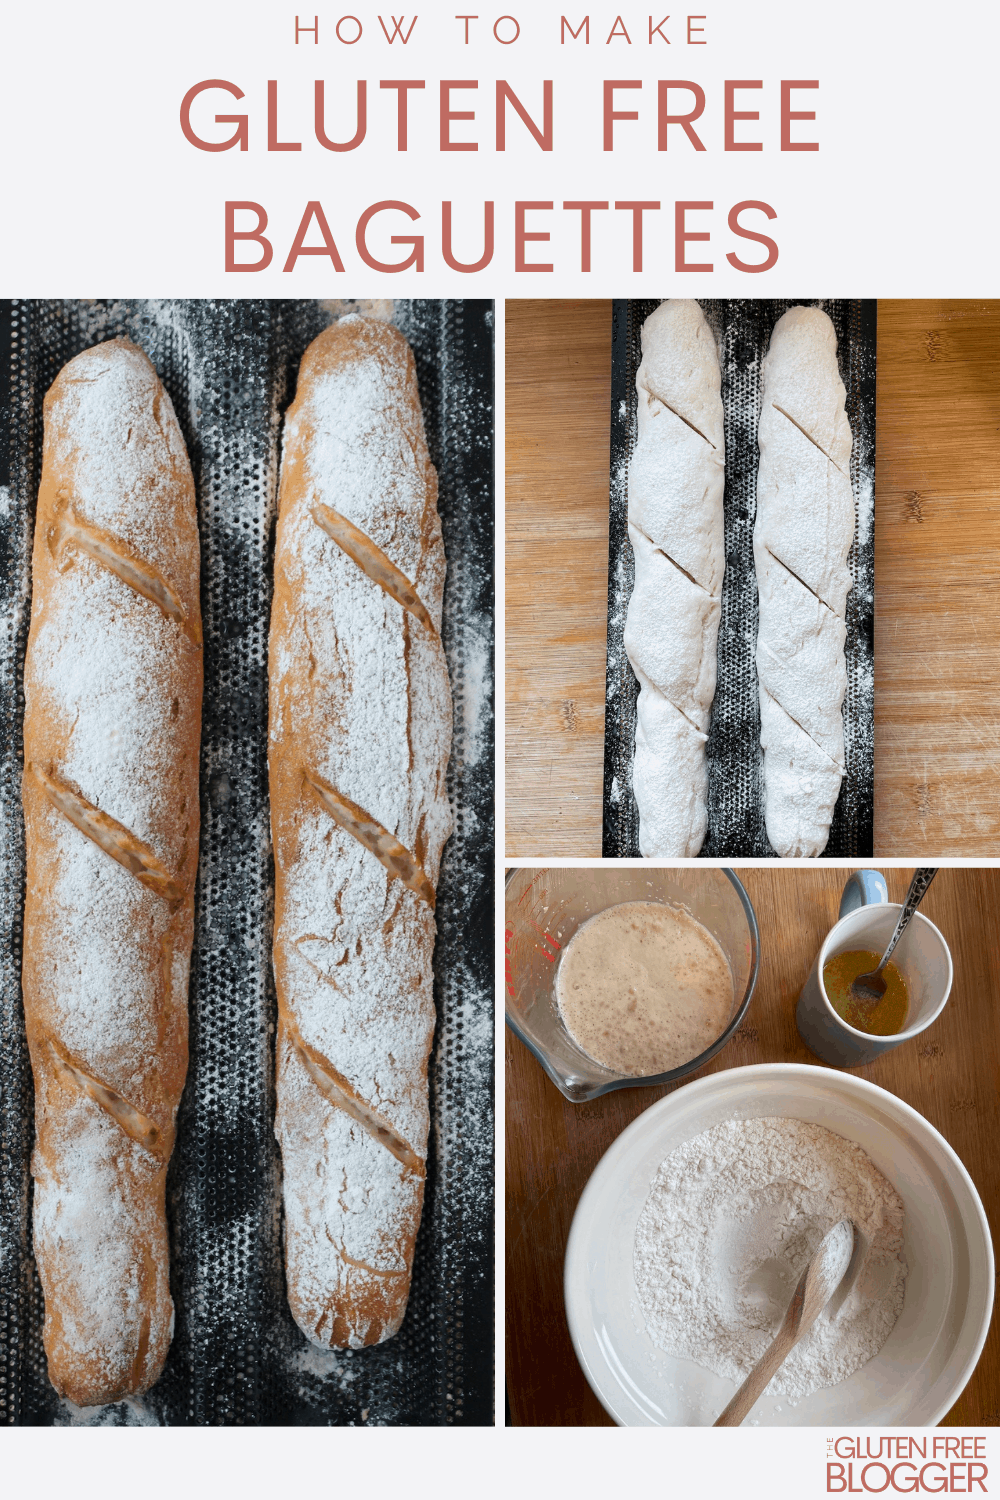
It should be fatter in the middle and taper out towards the ends, similar to this:
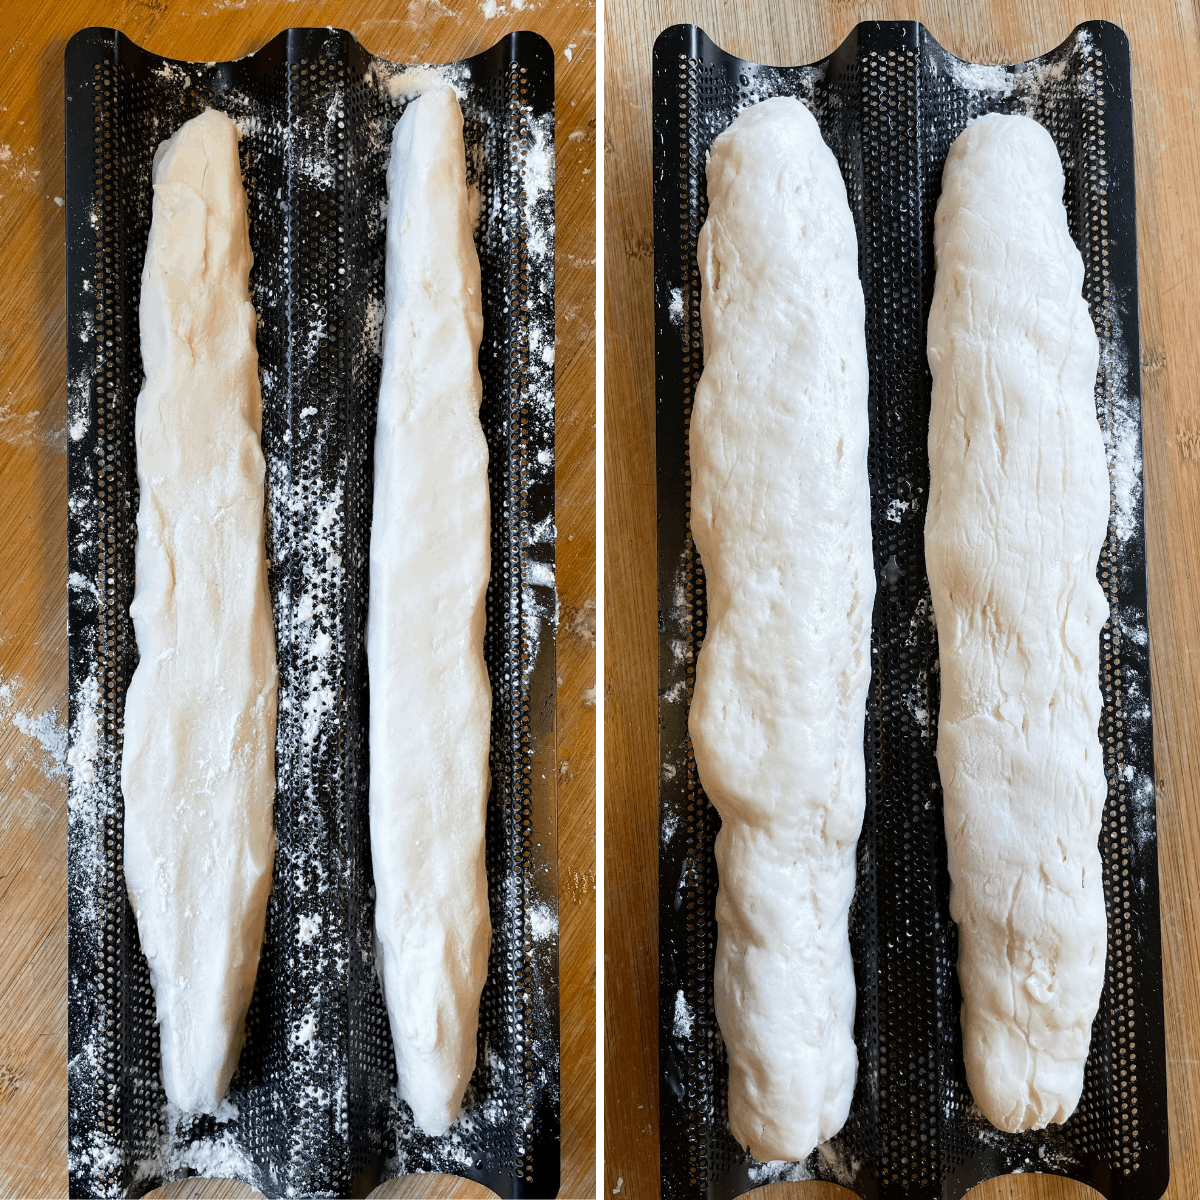
Carefully place the dough into the baguette tray and repeat again until you have two, even-sized baguettes in your tray.
Now you need to prove the baguettes – where you’ll need a little patience!
Typically in a warm spot these take around 90-minutes-to-two-hours to grow to around 150% of their original size.
You want the before and after to be a little bit like this:
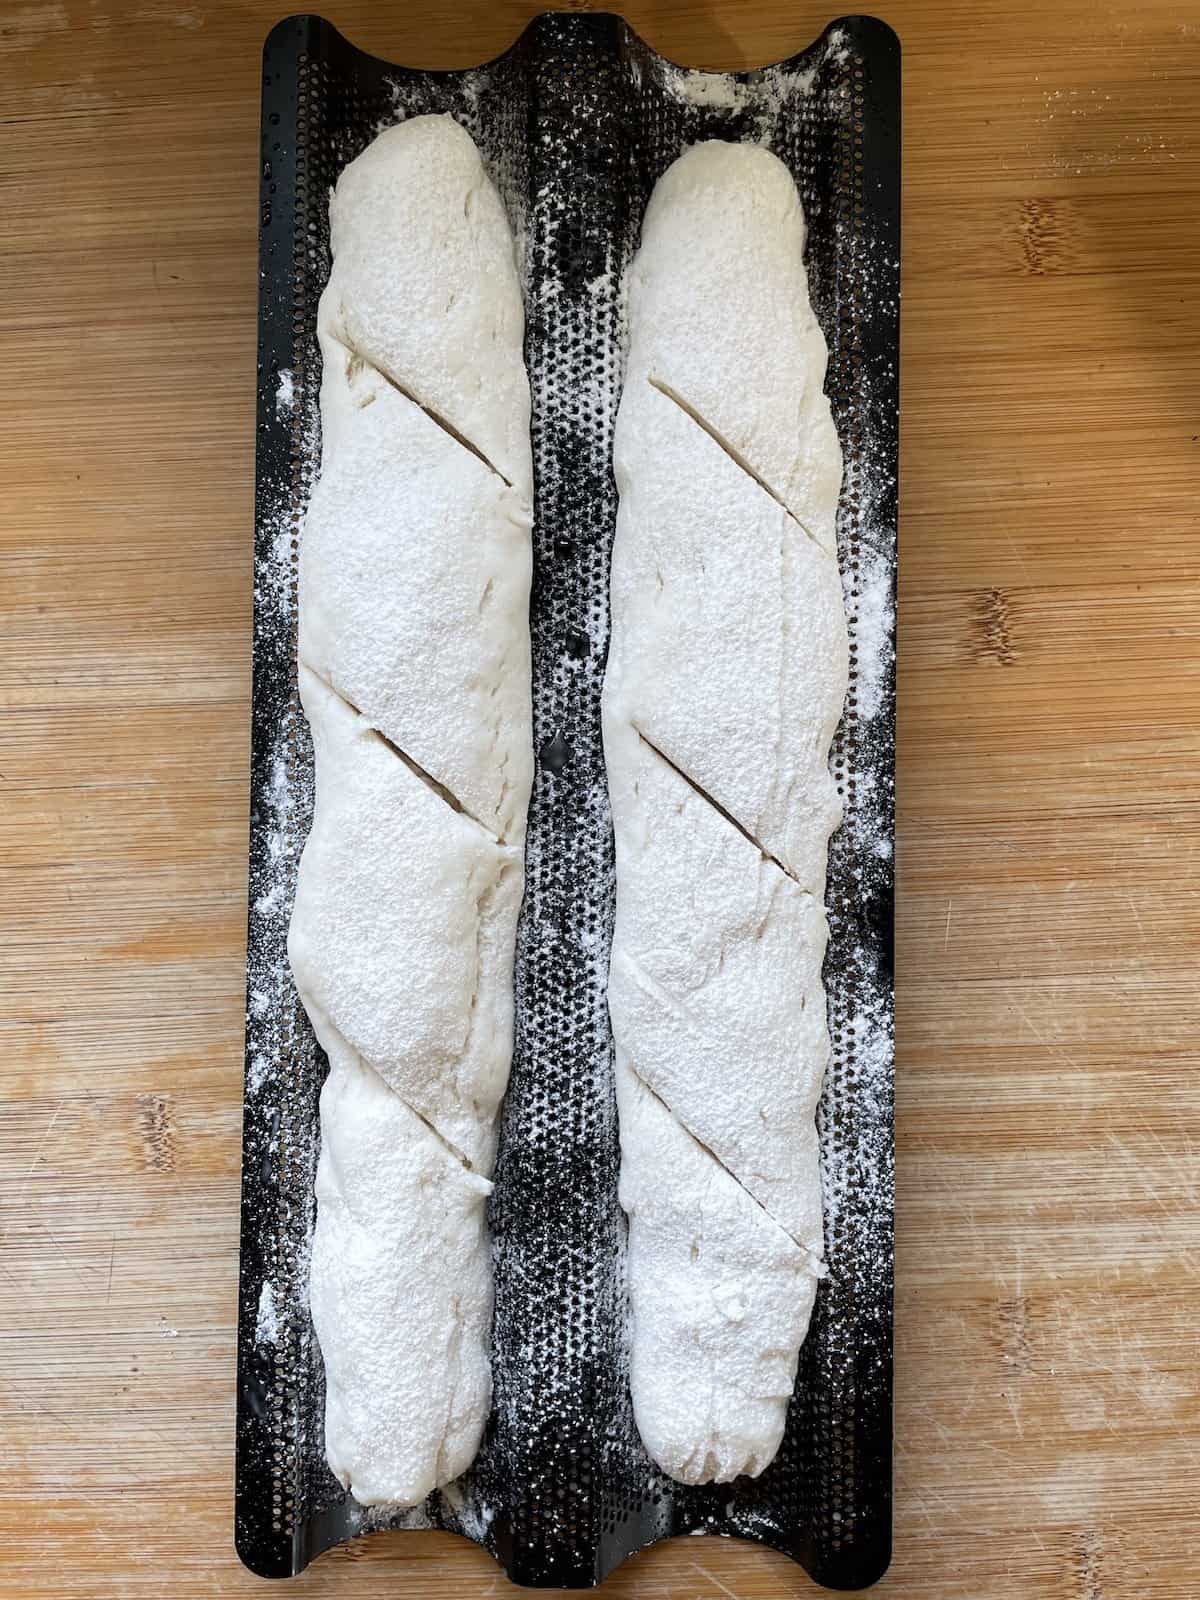
Finally, slash the baguettes 2-3 times and dust with gluten free flour for that authentic bakery look.
This is how the gluten free baguettes should look before they go into the oven:
Make sure you get your oven nice and steamy (as outlined above) and then bake your gluten free baguettes until golden.
It’s important once they’re baked to then let them cool for 30-minutes to one-hour.
The gums in the bread need time to settle and you want warm bread, not hot bread.
Once they’ve cooled they are perfect for enjoying however you like!
My gluten free baguette recipe
Now you’ve read all my top tips, it’s time to arm yourself with a wooden spoon and get baking my gluten free baguettes!
This recipe makes two, large baguettes perfect for lunches, picnics or sharing platters.
I’ve also made a handy video tutorial to guide you through the process:
If you make this recipe and love it, please do let me know by tagging me on my Instagram or using #theglutenfreeblogger. I love seeing your bakes!
And please do leave a review to let others know you loved it too! It would mean the world to me.
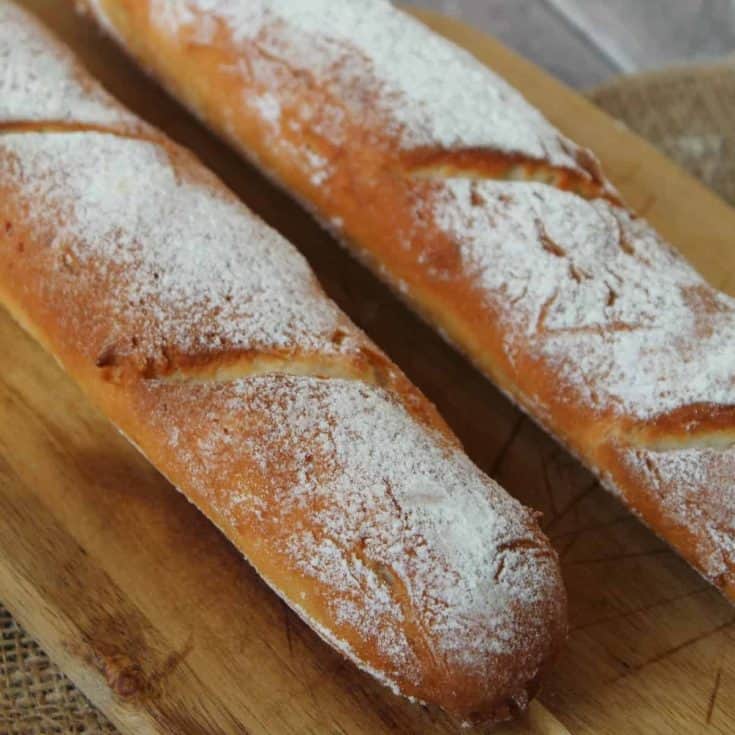
Gluten Free Baguettes
Baking the baguettes of your dreams at home is easy with this gluten free baguette recipe! Simple steps to fresh, homemade gluten free bread. This recipe makes two large baguettes.
Ingredients
- 150ml warm water
- 2 tbsp caster sugar
- 7g yeast
- 300g gluten free white bread flour
- 1 tsp xanthan gum
- 1 tsp salt
- 2 egg whites
- 2 tbsp olive oil
- 1 tsp apple cider vinegar
- Extra gluten free plain flour or rice flour (for dusting)
Instructions
- Measure out the warm water into a jug - it should be at skin temperature - i.e. you can't really feel the heat when you dip your finger in. Stir the sugar into the warm water until dissolved, then add the yeast and stir again. Cover with a tea towel and leave in a warm spot for 5-10 minutes for the yeast to activate. It should form a lovely froth on top when it's ready, a bit like the head on beer.
- While the yeast is activating, prepare your baguette tins by lightly rubbing them with oil and then dusting with rice/plain GF flour. Set to one side.
- Add the gluten free bread flour, xanthan gum and salt to a large mixing bowl and stir to mix together.
- In a separate mug or bowl, add the eggs whites, oil and vinegar and lightly whisk lightly with a fork until bubbles start to form.
- Once the yeast/water mixture is active (frothy), add it to the flour along with the egg/oil mixture. Using a wooden spoon, beat the mixture together vigorously to combine it into a thick, sticky dough. It will be quite tough to stir as it comes together. When it starts to come away from the sides, it is ready.
- Generously flour a worktop with plain GF flour/rice flour. Turn half the dough out onto the worktop, flour your hands to stop the dough sticking and roll into a ball. Use your hands to shape the dough into a long sausage shape, approximately 12 inches long, which should be fatter in the middle than the ends. Try not to add too much extra flour to the dough as you shape it - handle it as little as possible to get it into the correct shape.
- Gently lift the shaped dough into the baguette tray. Repeat with the second half of the dough. Once you have both baguettes in the tray, cover loosely with oiled clingfilm and place in a warm, draft-free spot to prove for between 1.5-2 hours. The dough should puff up to around 150% of its original size.
- When the dough is nearly ready, preheat the oven to 220'C / Fan 200'C / Gas Mark 8. Fill a deep baking tray with hot water and place in the bottom of the oven as it preheats - the steam is needed to create the perfect crust!
- When the oven is up to temperature, uncover the baguettes, sprinkle the tops with some extra gluten free flour and then slash them quickly three times on the top with a sharp knife.
- Carefully open the oven door (it may be steamy!) and place the baguettes in the centre of the oven. Close the door as quickly as possible to allow the steam to build back up, and bake for 20-25 minutes until the baguettes are golden on top. They should sound hollow when tapped on the top and bottom with a finger. Remove from the oven and cool for at least 30-60 minutes before eating.
Notes
- If the yeast does not froth up after 10 minutes, it is likely it is dead and you will need to discard it and start again with a fresh batch.
- Proving times may vary - you're aiming for the dough to be around 150% of its original size. If it's a hot day the dough may prove a lot quicker, or it will be slower if it's a cold day.
- If the baguettes start to brown too much in the oven, cover with foil for the duration of the bake.
- These gluten free baguettes are best eaten fresh on the day of baking. They can also be frozen and I recommend refreshing them before eating by splashing them with a little water and placing in a hot oven for 4-5 minutes.
Recommended Products
As an Amazon Associate and member of other affiliate programs, I earn from qualifying purchases.
Nutrition Information:
Yield:
2Serving Size:
1Amount Per Serving: Calories: 1033Total Fat: 17gSaturated Fat: 3gTrans Fat: 0gUnsaturated Fat: 13gCholesterol: 0mgSodium: 1226mgCarbohydrates: 188gFiber: 6gSugar: 13gProtein: 28g
More Gluten Free Bread Recipes...
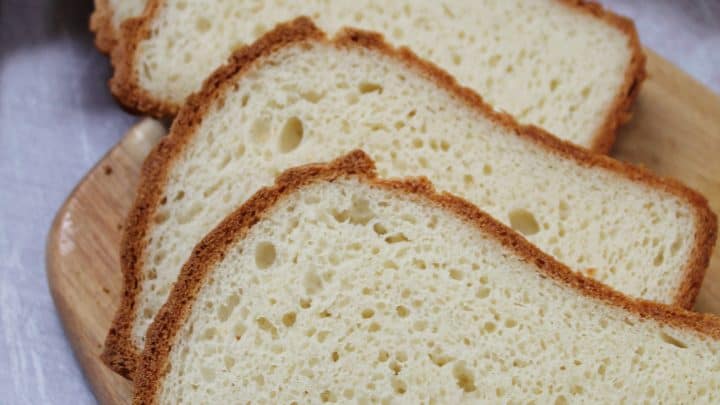
Gluten Free Bread
This basic gluten free bread recipe creates an easy gluten free loaf, which is best when eaten fresh from the oven or toasted. You can also slice this up and freeze it for up to six months.
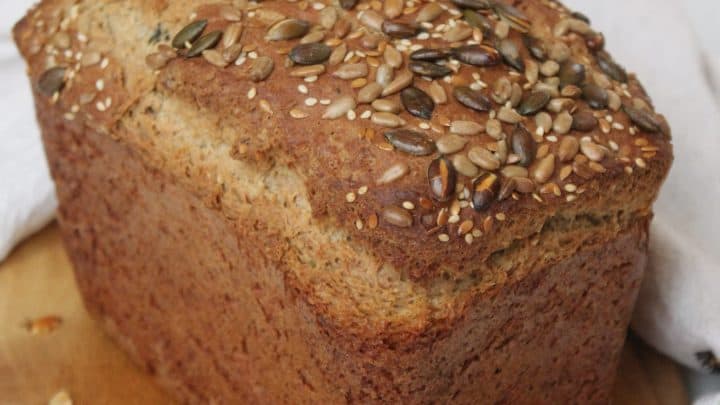
Gluten Free Brown Bread
This easy gluten free brown bread is an easy, no-knead bread recipe for the oven creating a soft gluten free seeded bread with a tasty crust. This recipe is best eaten on the day and can be frozen. Great for toasting too!
Gluten Free Soda Bread (Yeast Free)
This gluten free and yeast free soda bread recipe is an easy, quick bread to make. No yeast needed and using basic household ingredients, this gluten free soda bread bakes in 30 minutes. Perfect served warm with lashings of butter!
Gluten Free Bread Rolls
These gluten free bread rolls are easy to make and perfectly soft and squishy. Made in a tear-and-share way, these gluten free dinner rolls are best eaten fresh but also great for sandwiches or as burger buns.
Gluten Free Iced Buns
My gluten free iced buns are the perfect treat! Sticky, sweet buns with a thick icing on top - just like the iced buns from the bakery! This recipe makes four large buns but you could make eight smaller ones - see recipe notes.
Gluten Free Hot Cross Buns
Gluten free hot cross buns are the perfect Easter bake! A spiced, sweet bun packed with fruit with a cross on top. This recipes makes 10 hot cross buns which are delicious warm or toasted with butter.
Gluten Free Focaccia (Dairy Free, Vegan)
Gluten Free Focaccia is an easy gluten free bread recipe which can be flavoured with herbs of your choosing. Dairy free, egg free and vegan. This focaccia is best eaten fresh from the oven while still warm but it can be sliced and frozen.
Gluten Free Cheesy Doughballs (No Yeast)
These gluten free cheesy doughballs only need 3 INGREDIENTS to make and are super easy. Quick to bake and no yeast necessary - the perfect gluten free snack.
Need some more gluten free baking inspiration?
If you want to have a go at some of the other gluten free baking recipes on the blog, why not give some of these a try? They’re perfect for baking away all of your troubles.
If you do make this recipe please let me know! I’d love to see your photos using #theglutenfreeblogger, share them in my Facebook group or tag me on Instagram.
And if you have any recipe suggestions, please let me know in the comments what you’d like to see next!
Oh – and don’t forget to sign up for my e-newsletter where you’ll know about all my latest posts and competitions first!
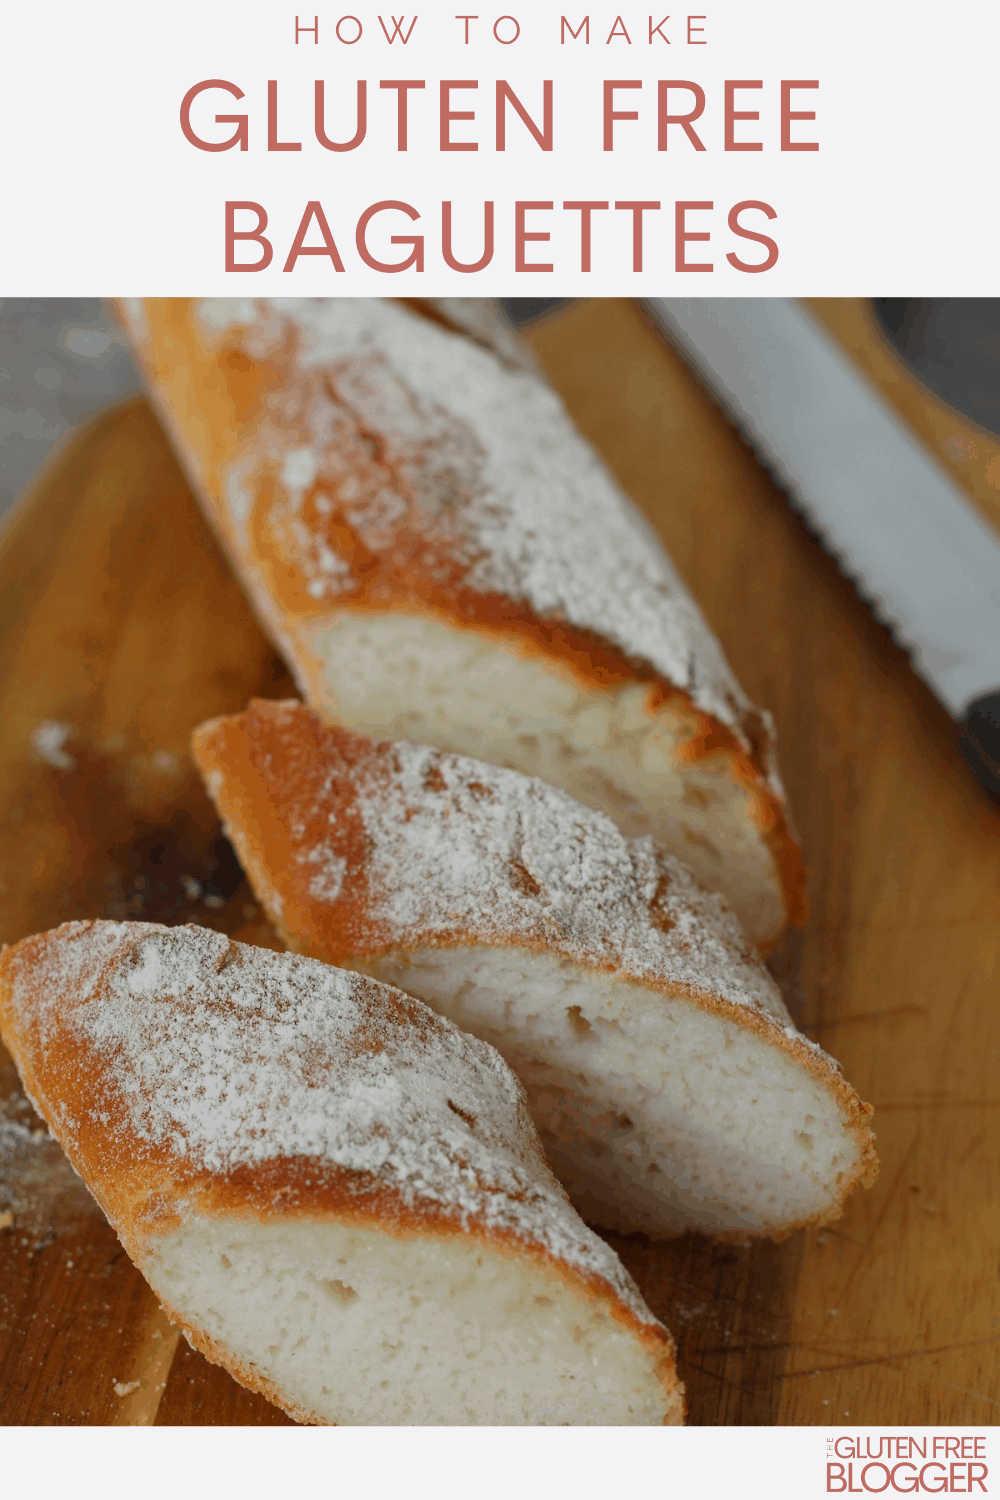
Like this gluten free baguette recipe? Pin this recipe card for later!







I made the baguette today and they didn’t come out properly. They didn’t raise the way I think they should, they were heavy. The YEAST frothed up just fine. The thing that didn’t seem right was when mixing it seemed a bit dry but I didn’t want to add more liquid then the recipe called for, was that the mistake. I do want it to work. I used Bob’s red mill 1to1 which seems similar to yours. I will try again. Hoping for some advice, thankyou.
Which flour did you use? If you mixed it your self which ratio of the 3 flowers mentioned do you use?
Thank you for your reply
If you use a bread flour that already has Xanthan gum in it, is it necessary to add more? Since i know some recipes require more Xanthan gum. I use the Schär Brot mix.
I love this easy recipe! However my baguette is not rising like your recipe. I live in the states. I have found similar flour but we don’t have the same brands of yeast. I appreciate any suggestions.
Do you have a recipe for gluten free bread flour? I’m in Canada and we don’t have Freee flour here.
It’s on my list of things to make!