This post may contain affiliate links for which I earn a small commission at no extra cost to you. For more info, check out my Disclosure Policy. Thank you for your support!
Dark, cooler evenings call for cosy nights in – and my Gluten Free Apple Pie recipe is the perfect comfort food.
Autumn is apple season and this is a wonderful bake to use up any leftover crops, as well as to take advantage of this seasonal fruit.
This gluten free apple pie is filled with sweet, cinnamon-spiced apples in a buttery, golden gluten free shortcrust pastry.
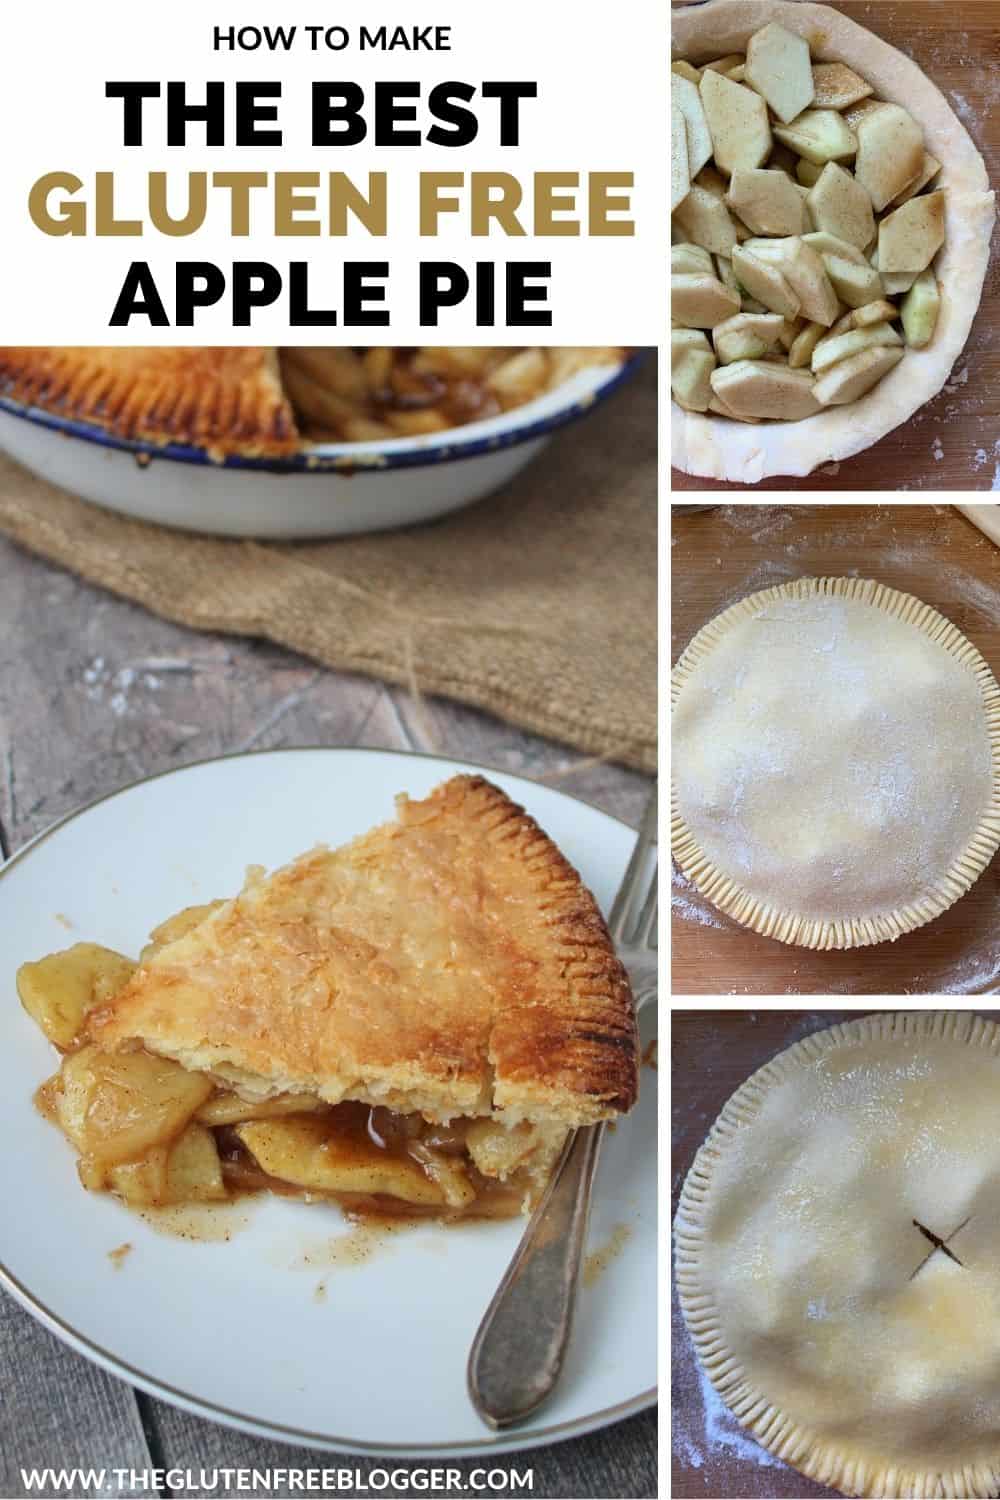
Making the perfect gluten free apple pie
There are two key parts to making the perfect gluten free apple pie: the gluten free pastry and a filling which is the perfect combination of sweet and tart.
And when you get them both right, it created the dreamiest autumn dessert which everyone will love.
You can eat this apple pie warm with ice-cream and custard, or even enjoy a slice cold, it’s completely up to you.
Personally my favourite is a big slice, warm from the oven, slathered in custard and eaten while snuggled under a blanket, watching a cheesy film.
So how do you make the perfect gluten free apple pie? Here are a few tips and tricks for you.
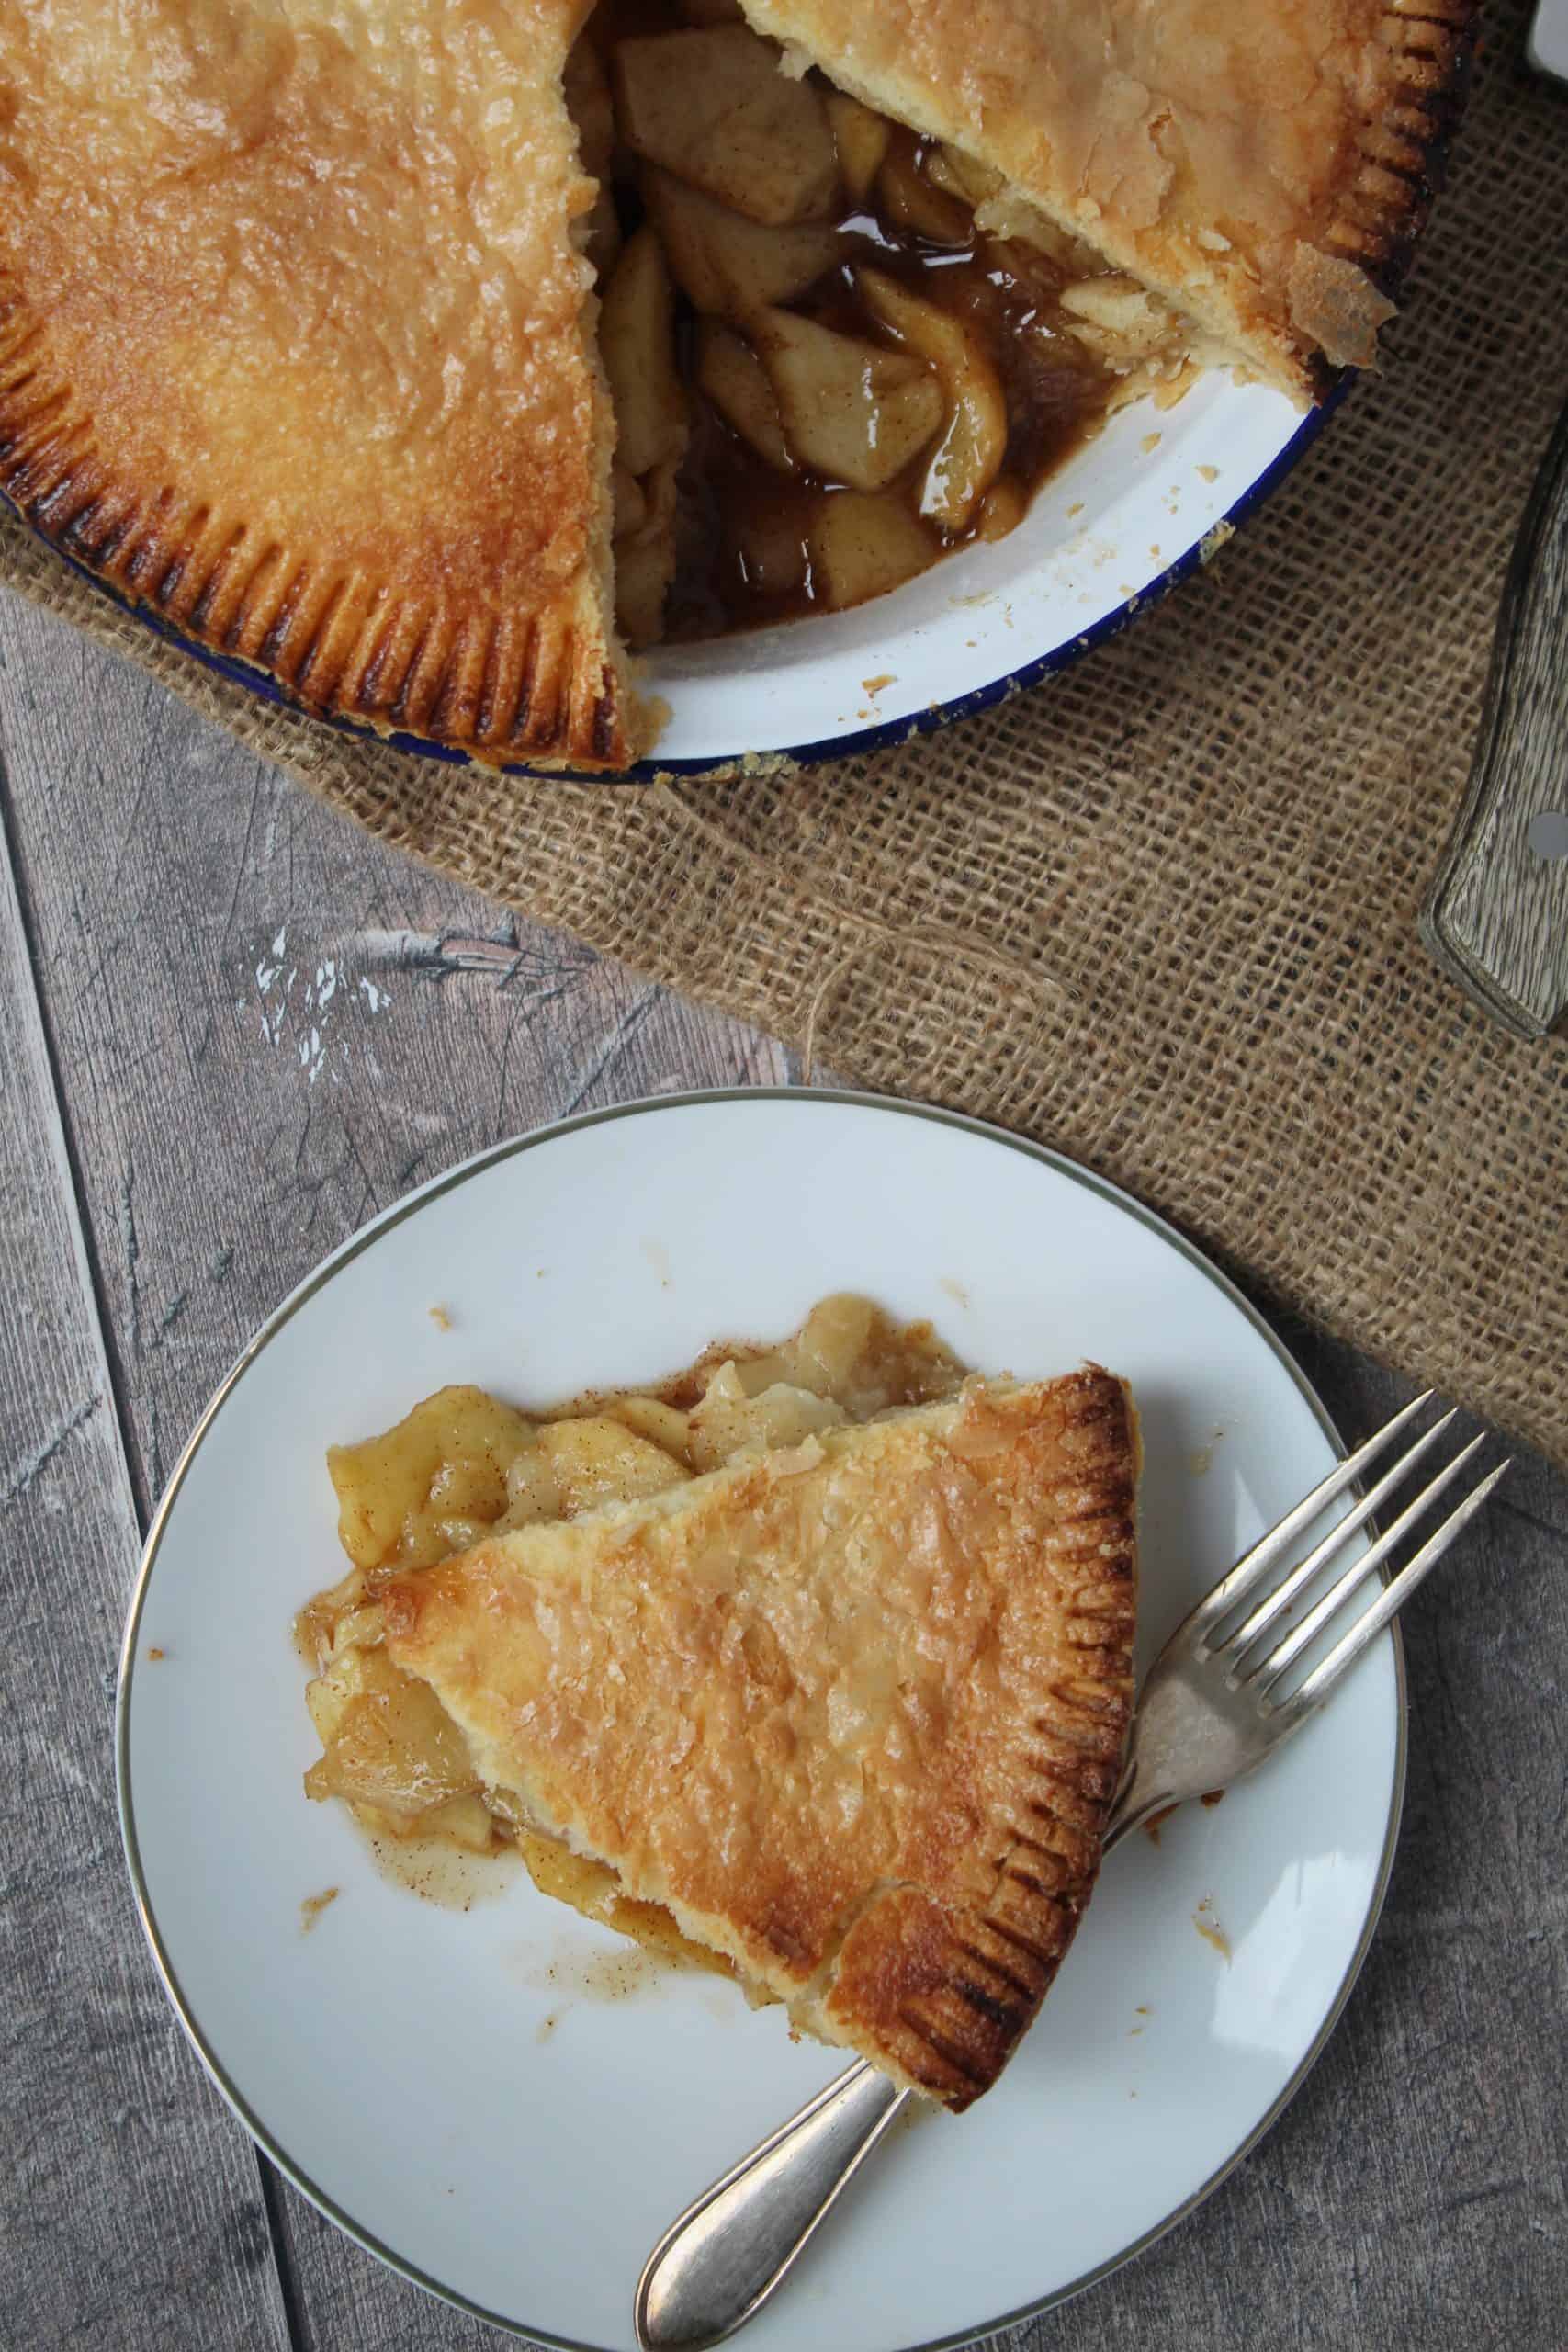
The best apple pie filling
The filling for my gluten free apple pie is really simple, and you’ll never go back once you’ve tried it.
Tangy apples mix with sugar and cinnamon to produce the best gluten free apple pie filling you’ve ever tasted.
I always use Bramley apples for this, because they hold their texture a lot better when baked.
You can use normal ‘eating’ apples for this, but you might find the inside goes a little mushy, even if it does still taste great.
Any sort of cooking apples are preferred.
Don’t forget you also add sugar and cinnamon to the filling, so this will stop the apple pie filling from being too sweet.
I add a little cornflour to the filling (cornstarch for my American readers) as this stops it from becoming too runny.
It will help the caramel-like sauce, which forms from the juices of the apples, to become thicker – and keeps the gluten free pastry crisper.
The filling really is as simple as mixing everything together and chucking it into a pie dish. The real magic is in the gluten free pastry!
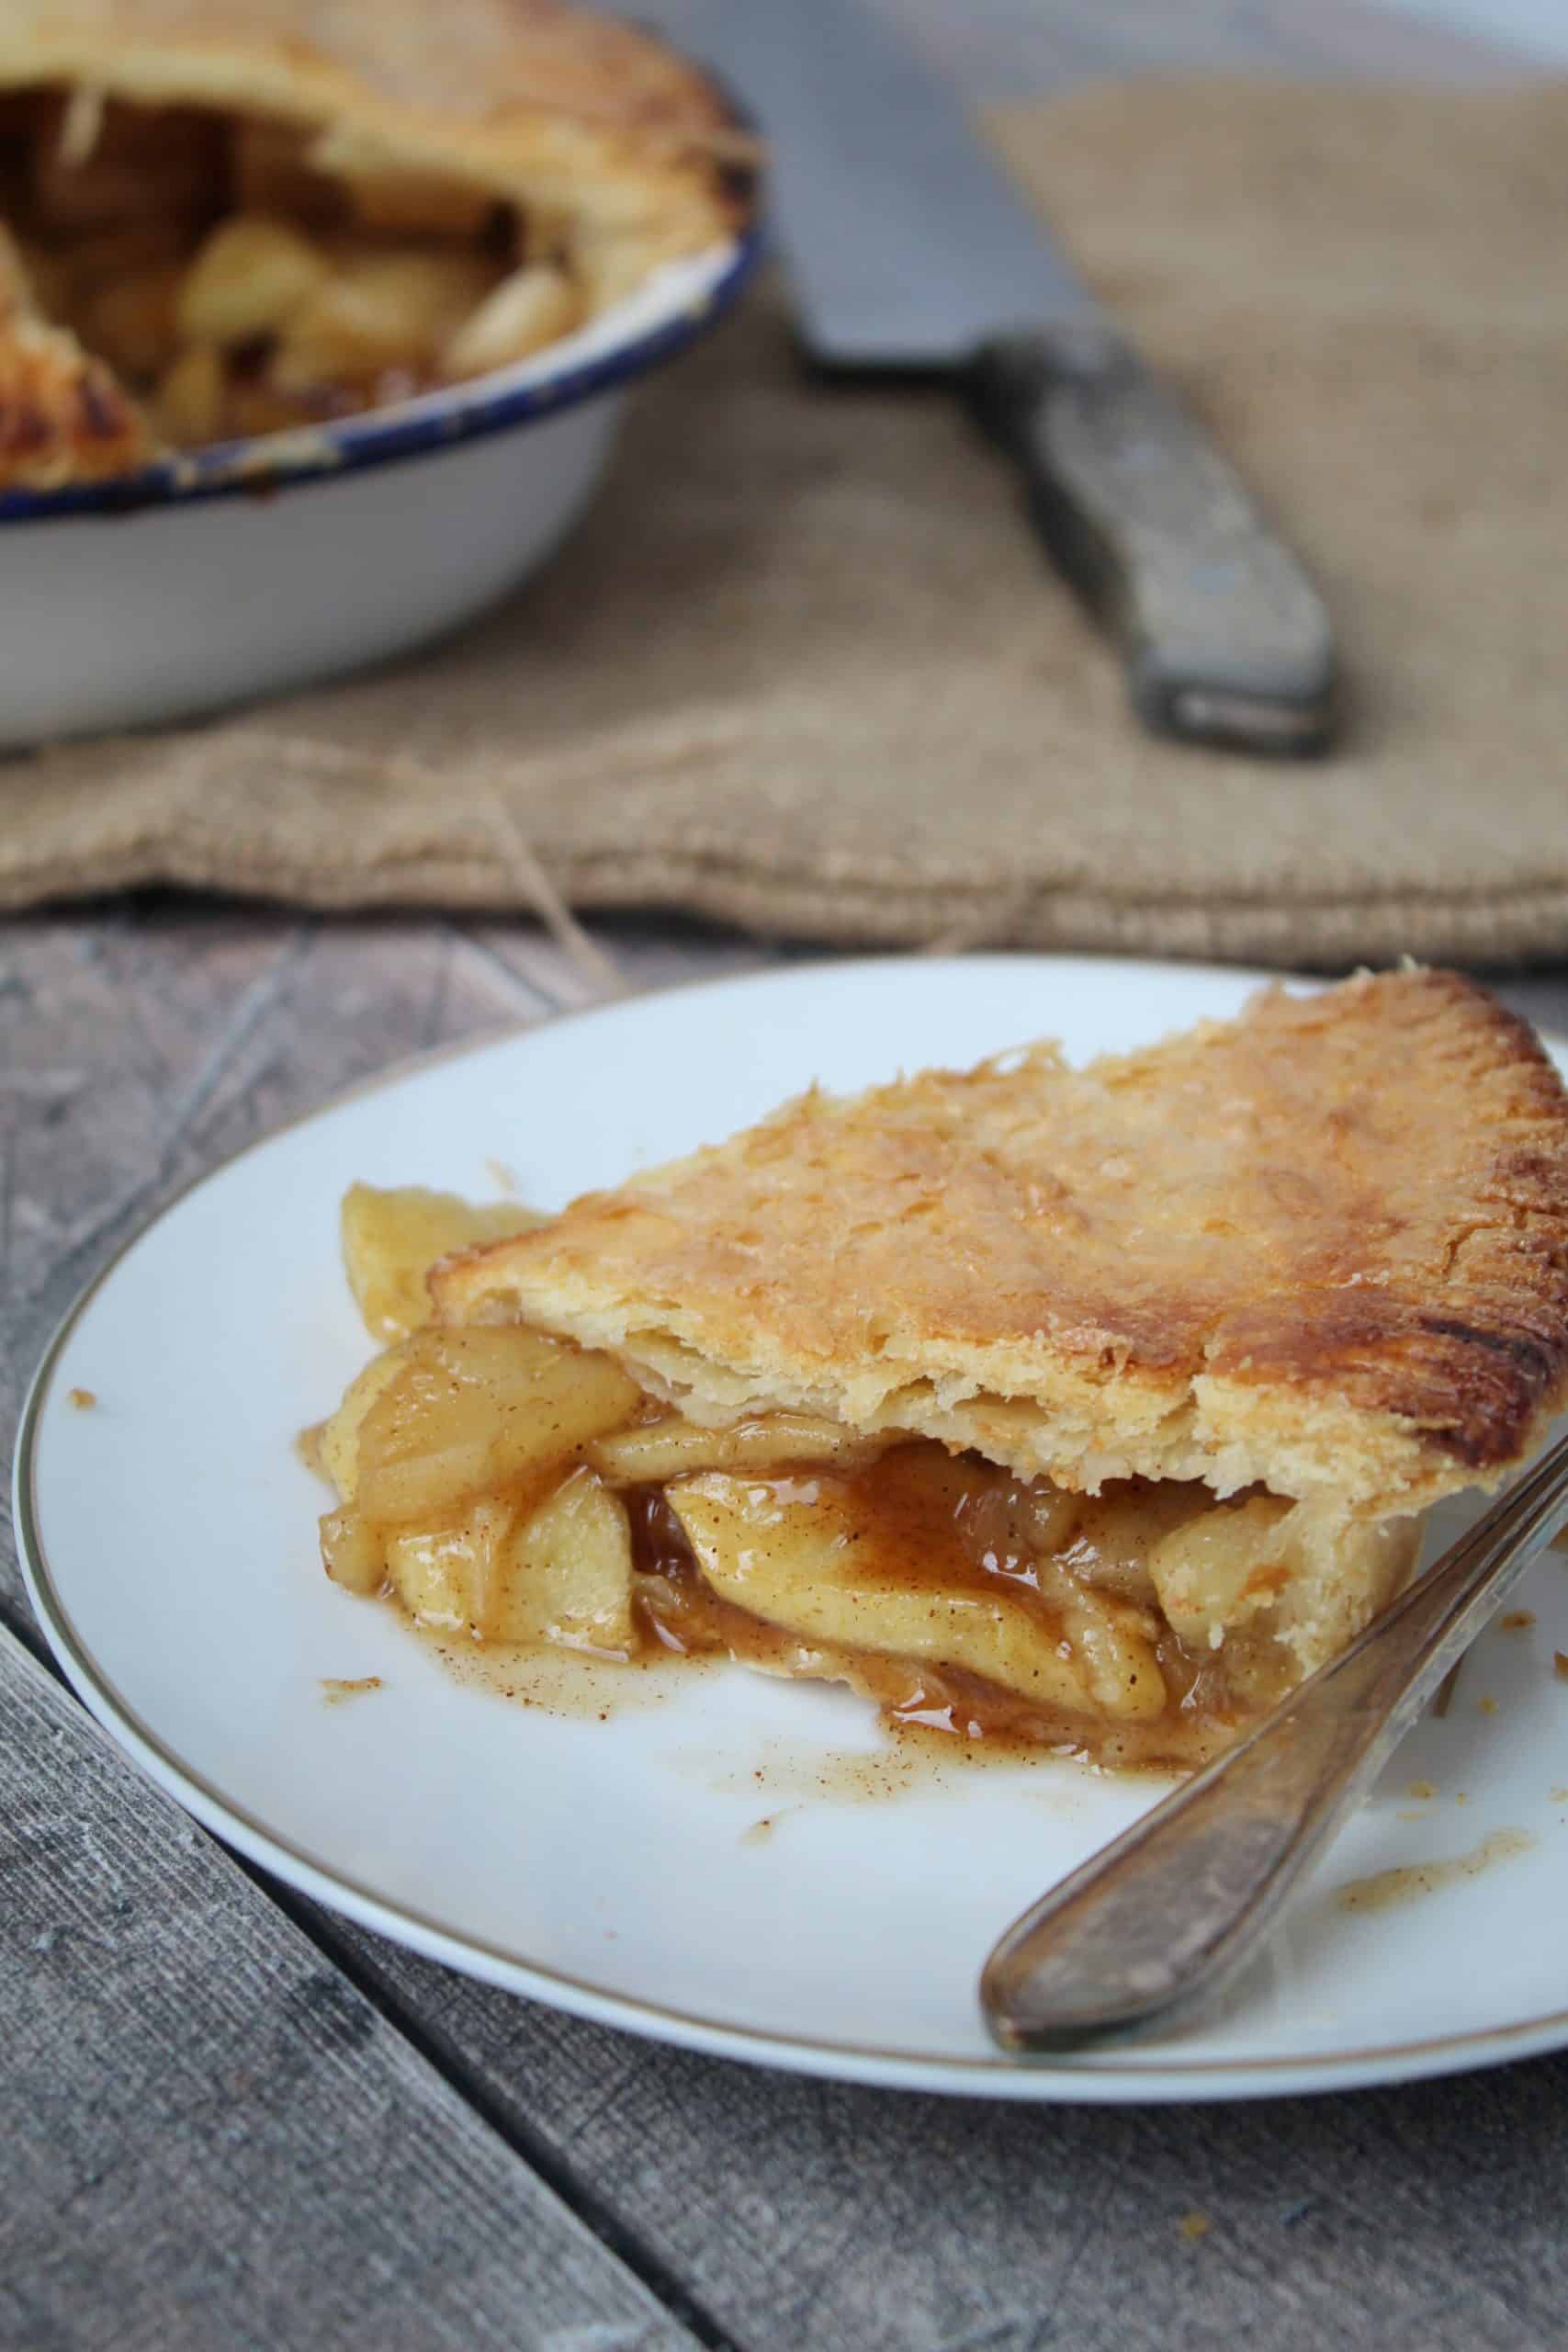
How to make gluten free pastry
Making gluten free pastry is not difficult, once you have the right recipe that is!
I am using my failsafe gluten free shortcrust pastry recipe in this gluten free apple pie and it works an absolute charm.
I’ve written a full, illustrated step-by-step guide to making gluten free pastry here, but I shall summarise it for you now.
Firstly, to make the gluten free pastry, you’ll need:
- 170g plain gluten free flour (I always use FREEE by Doves Farm plain gluten free flour)
- 1 tsp xanthan gum
- 110 g unsalted butter, (cubed)
- 1 medium egg
- 1 tsp water
- Pinch salt
- 1 tbsp caster sugar (for sweet pastry)
The process of making my gluten free pastry is simple – and there are no funky ingredients which you can’t pick up in the supermarket.
A few tips to get your perfect gluten free pastry:
Firstly, do not skip the xanthan gum. This replicates the stretchiness of gluten and without it, you’ll find the pastry will be hard to handle and very crumbly.
Yes, the FREEE flour I use already has xanthan gum in but trust me, you’ll want the extra in this recipe.
I’d recommend using either the FREEE gluten free flour, or a similar blend, such as the supermarket own ones.
These tend to be a mixture of rice, maize and potato flour. If you try use a single flour, like coconut or almond flour, it will be completely different.
I’d also say definitely don’t skip the chilling on this recipe.
You want to use cold butter in the mixture, and you’ll find even this starts to soften as you rub it together with your fingers.
That’s why it’s important to chill your gluten free pastry before you roll it out.
If you don’t chill it, you’ll end up with a super sticky mess that even clingfilm can’t save!
I do recommend rolling your chilled pastry between sheets of clingfilm if you find it sticks, but usually a well-floured work surface and rolling pin is enough.
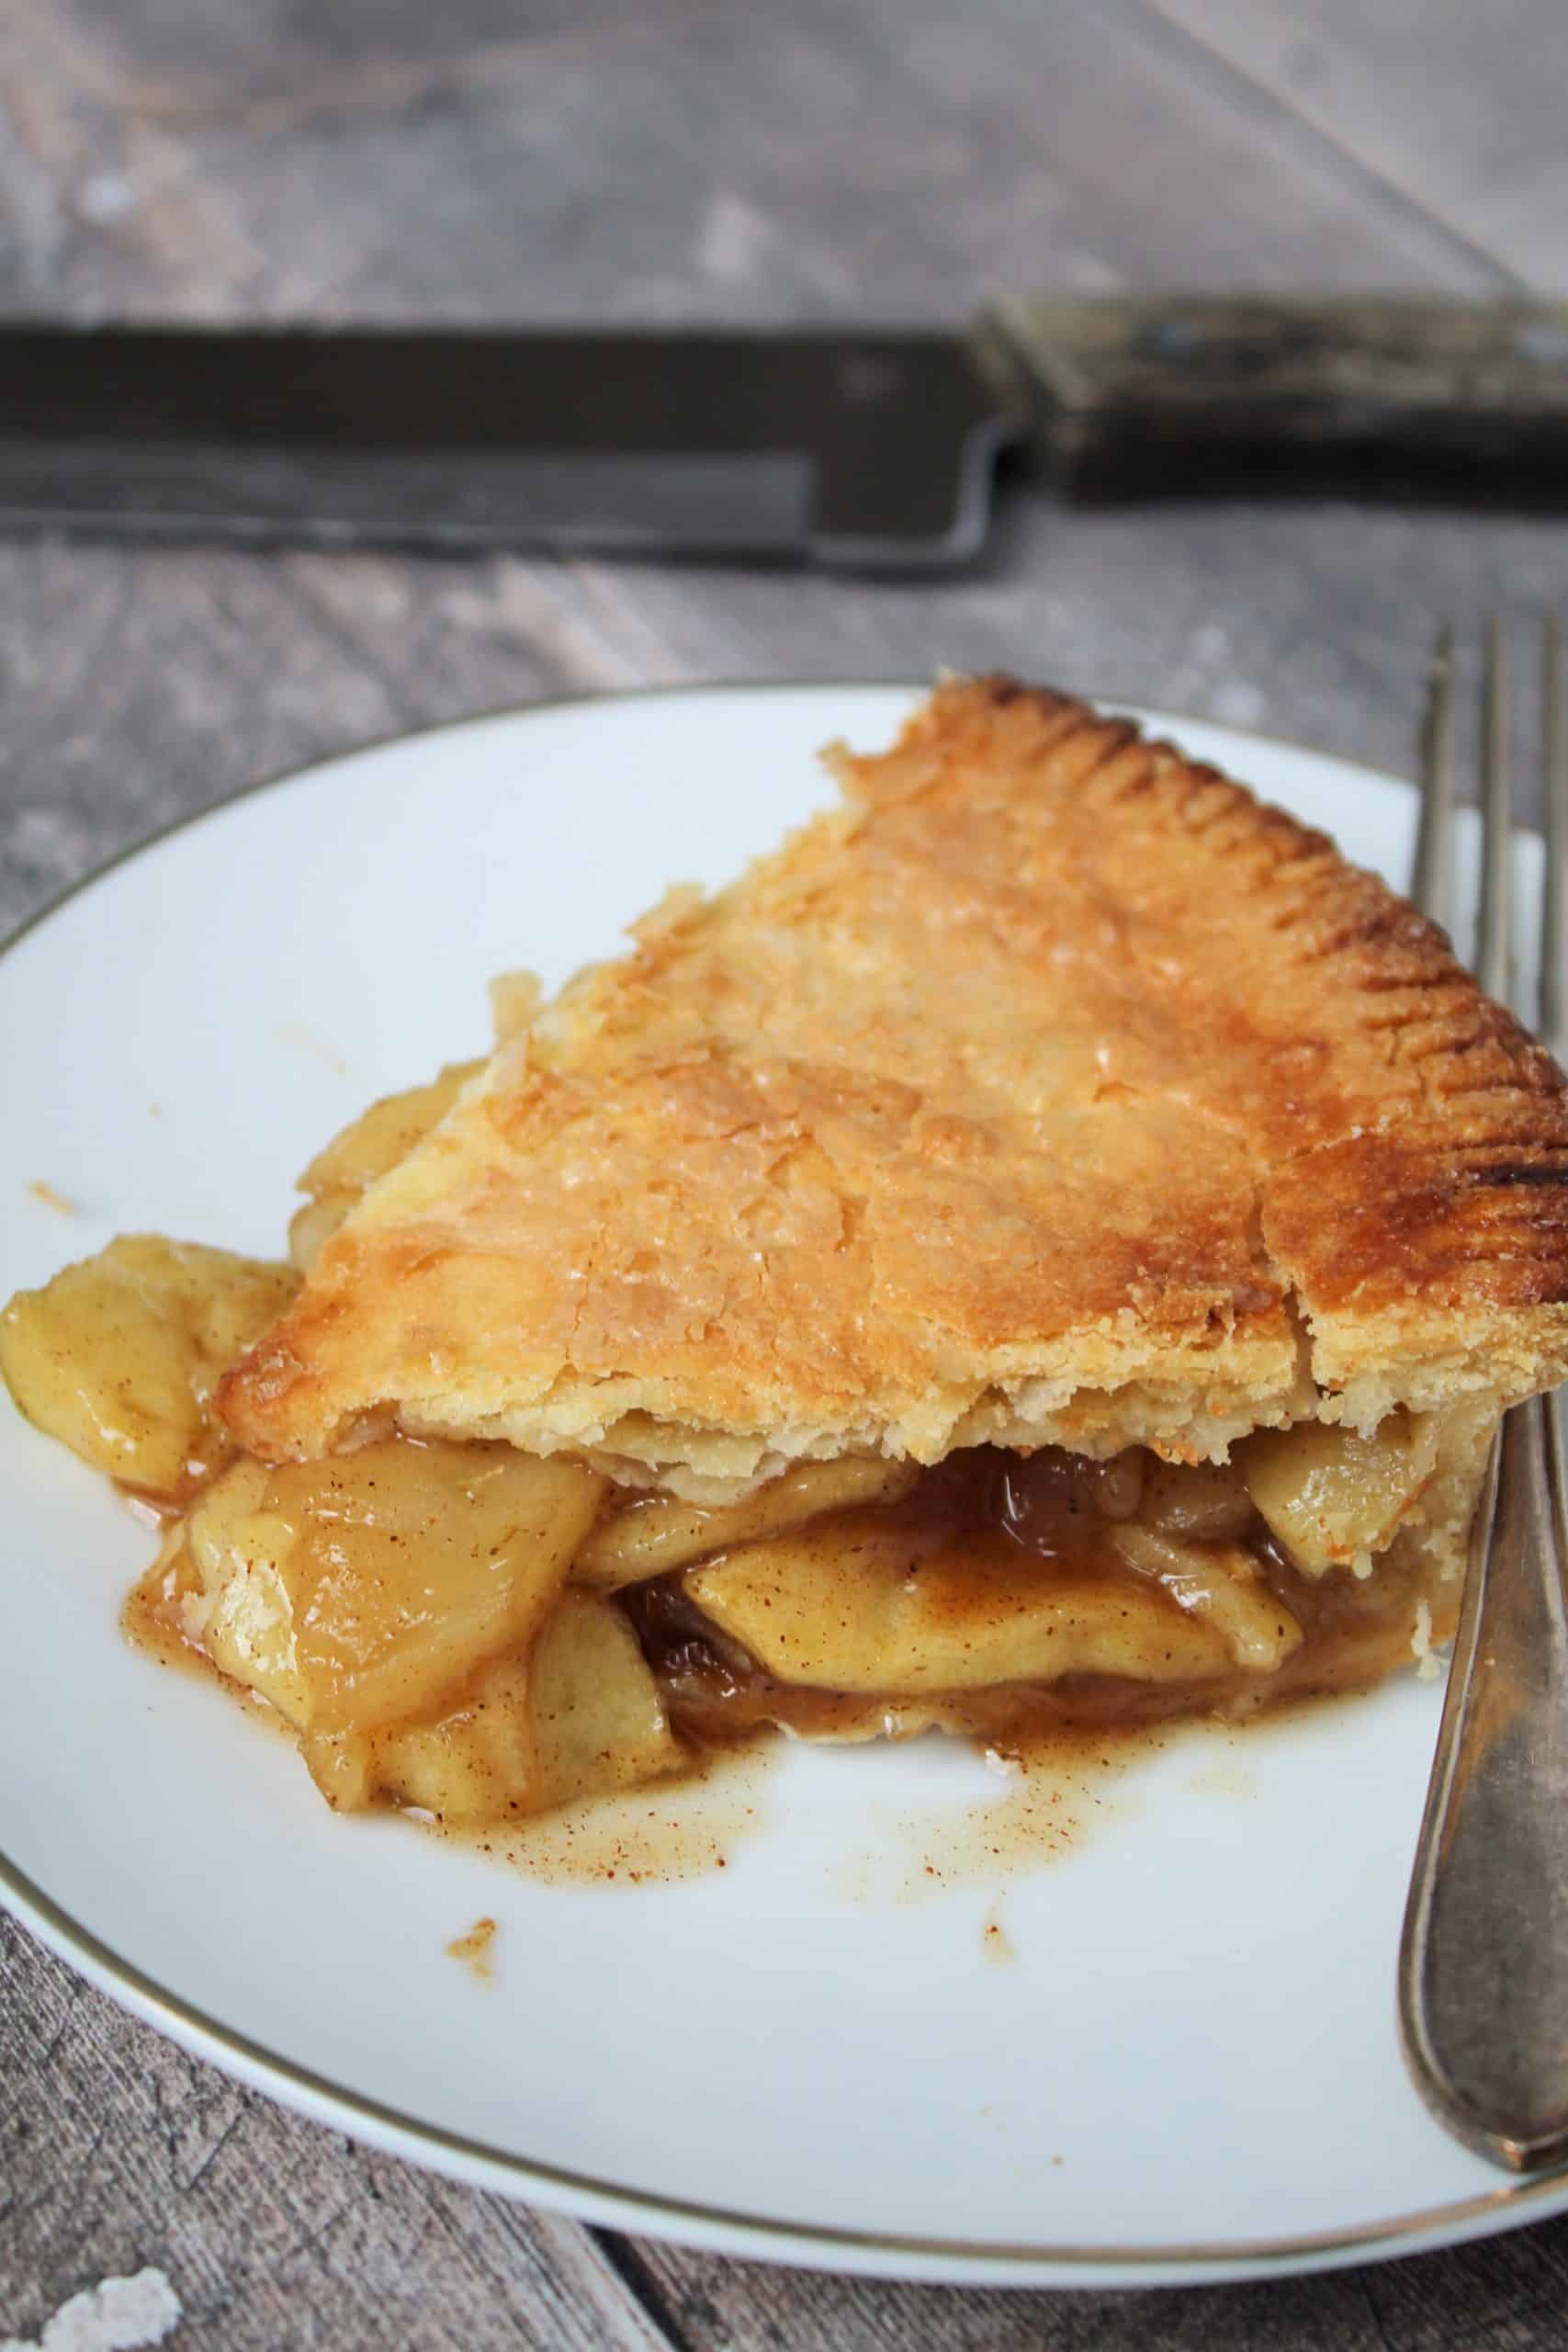
What do I need to make this gluten free apple pie?
There’s a full printable recipe card below with the method and full list of ingredients.
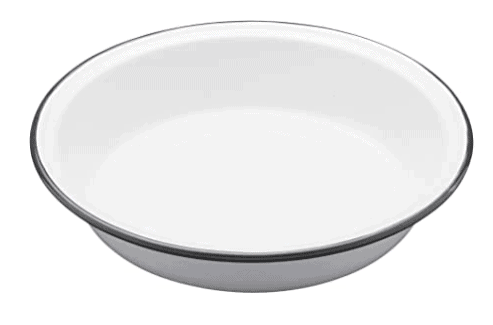
For my pie I used a 23cm (9-inch) pie dish like this one and this would happily serve 4-6 people depending on how hungry you were!
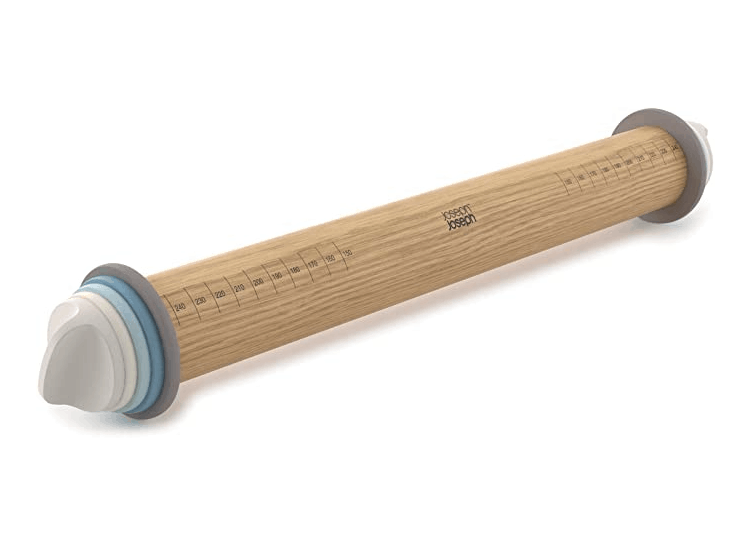
I also use this rolling pin which I got for Christmas last year and LOVE – you can adjust the discs to make sure you get the perfect thickness of pastry each time.
You’ll need a large mixing bowl to make up your pastry, and a second bowl for the filling.
It’s also handy to have some clingfilm to hand for rolling the pastry.
However, if you don’t have any, you could use a well-floured work surface instead and as long as the pastry is chilled, it shouldn’t be too sticky.
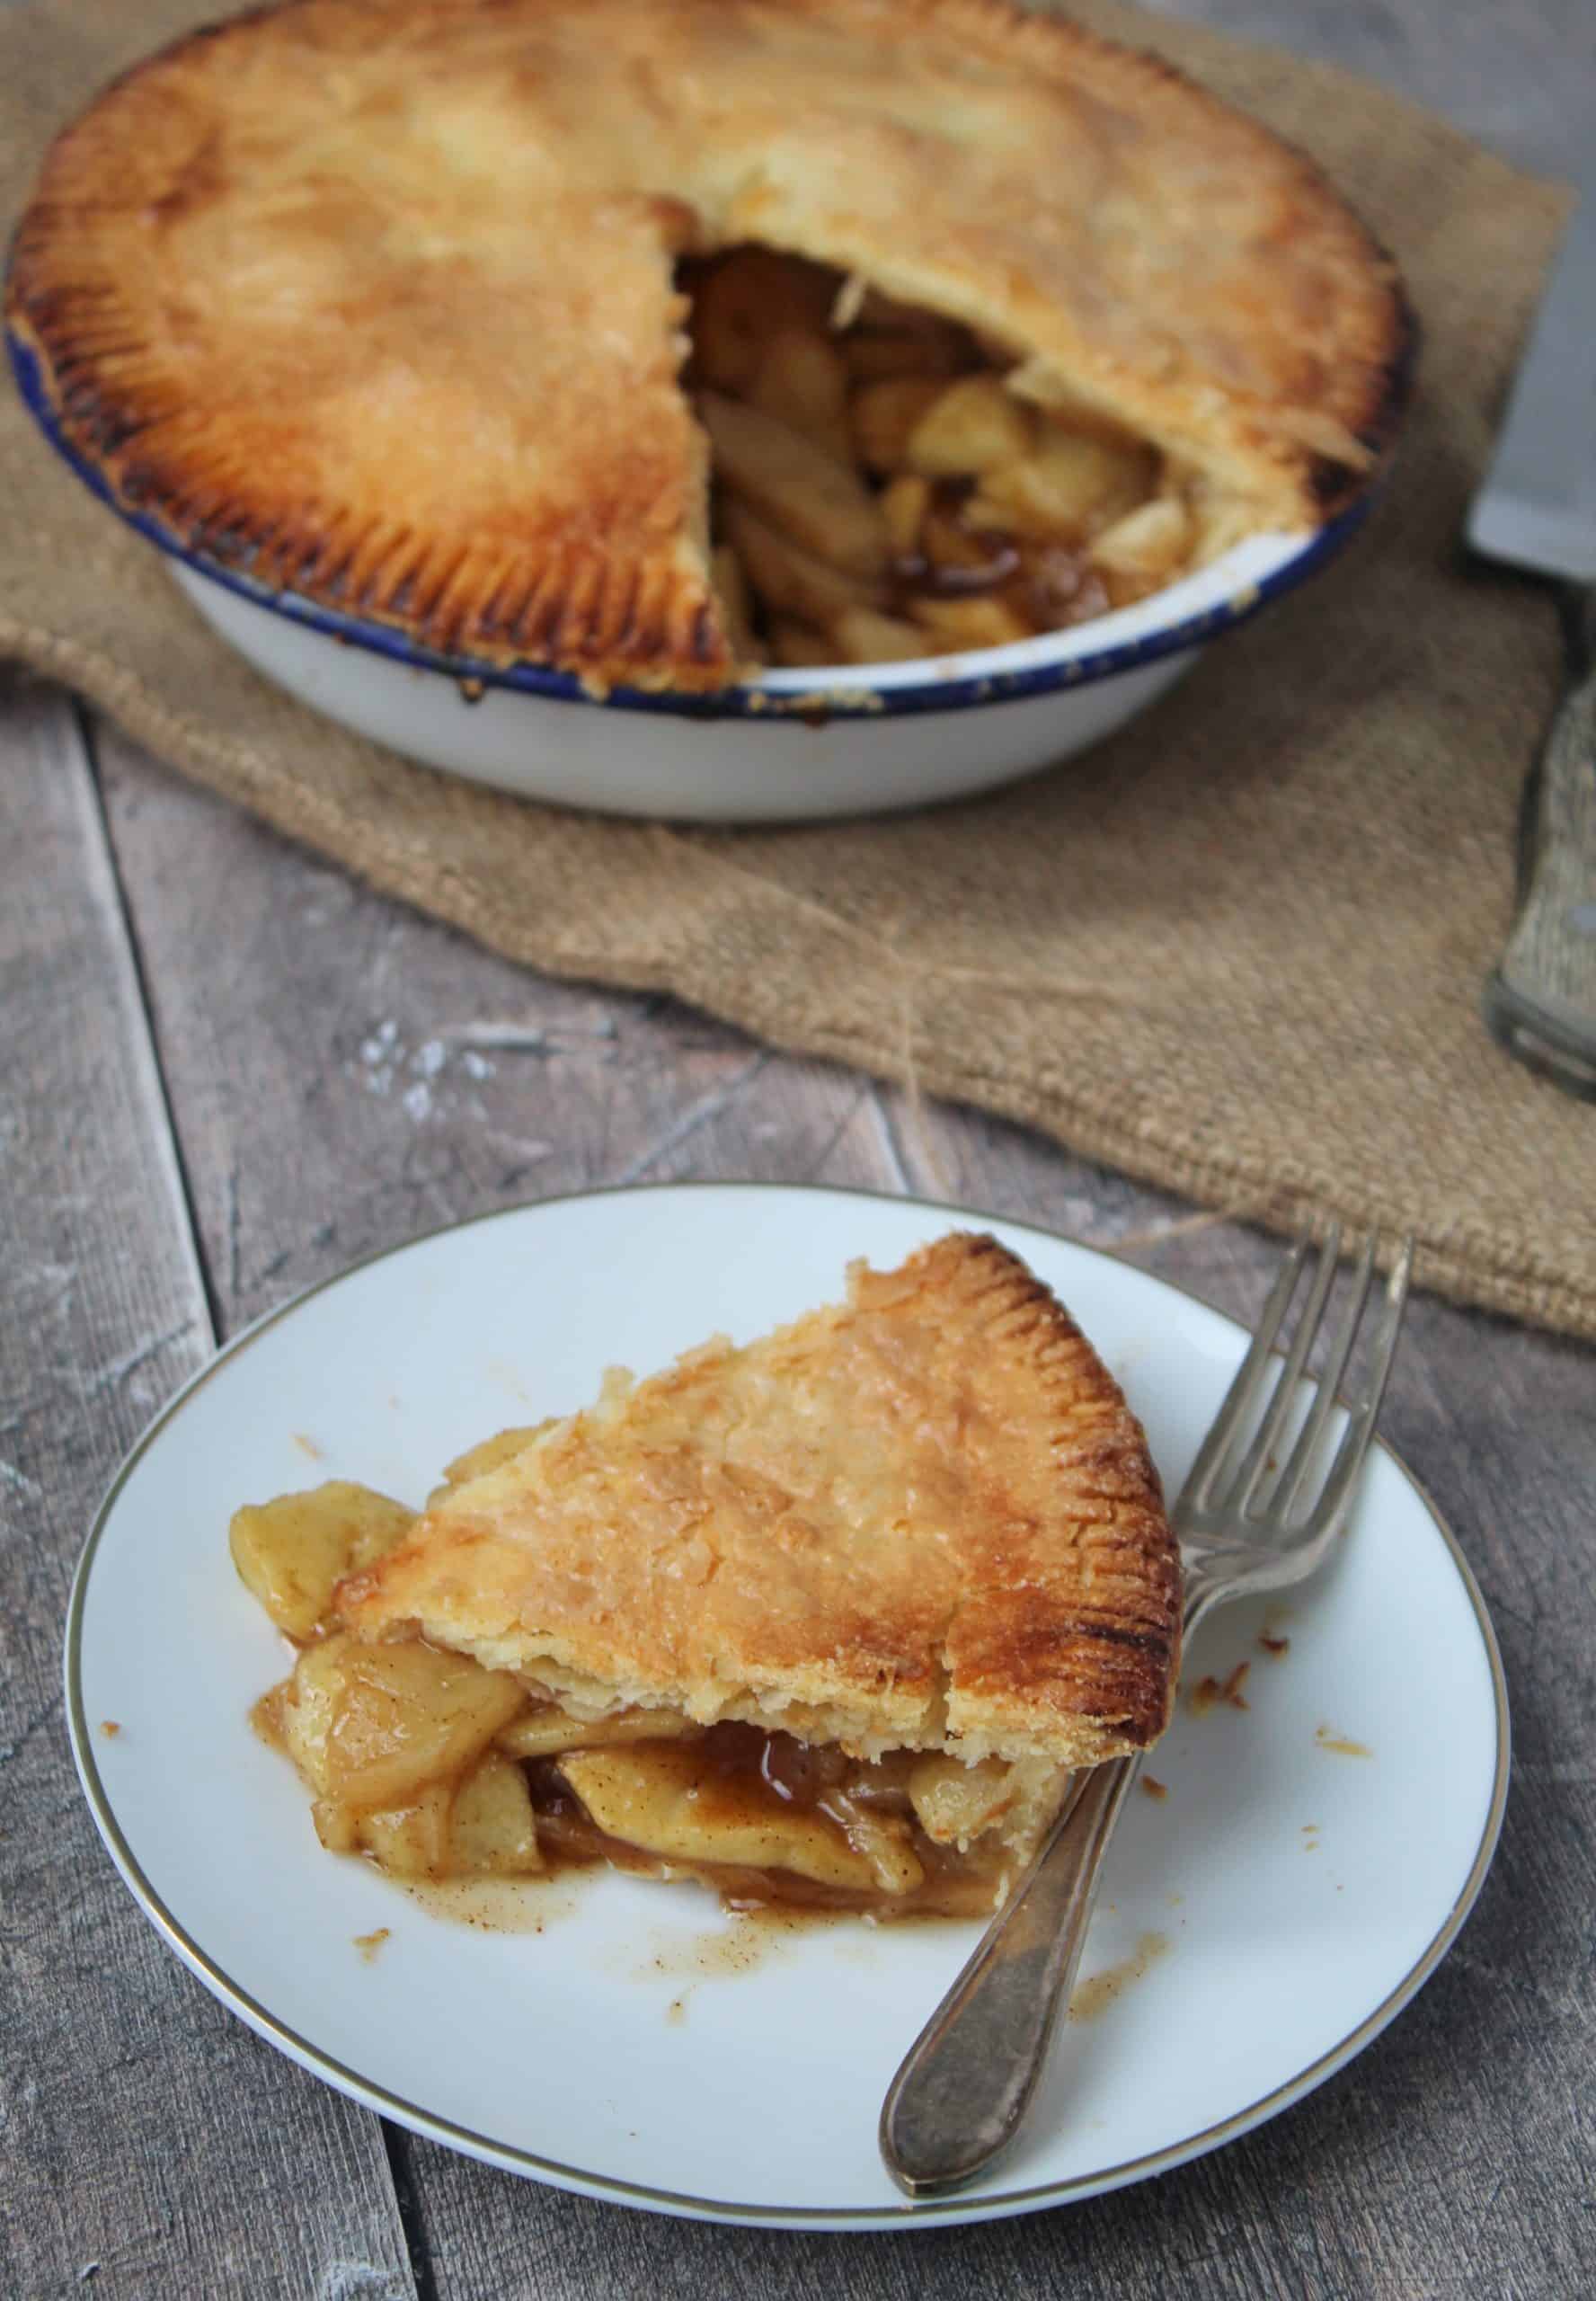
My gluten free apple pie recipe
This gluten free apple pie is such a dream to make and eat – I just know you guys are going to love it.
It’s a wonderful way to make use of seasonal apples and something everyone will enjoy.
If you make this recipe and love it, please do let me know by tagging me on my Instagram or using #theglutenfreeblogger. I love seeing your bakes!
And please do leave a review to let others know you loved it too! It would mean the world to me.
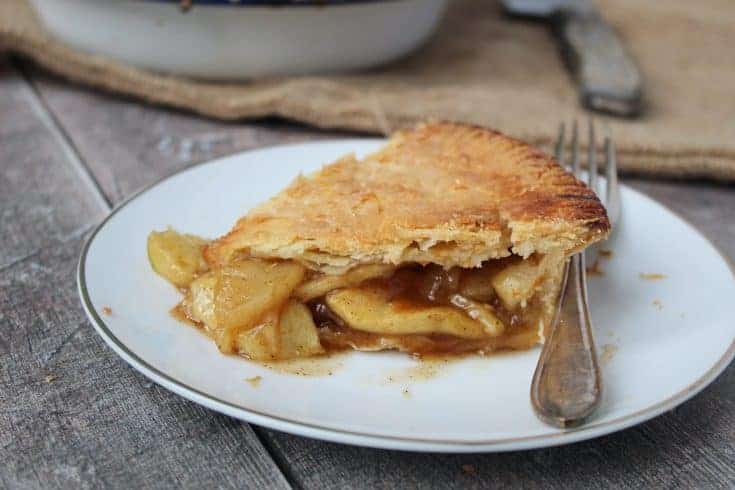
Gluten Free Apple Pie
A gluten free apple pie with a buttery shortcrust gluten free pastry and a sweet and tangy apple filling, spiced delicately with cinnamon. This recipe serves six - cooking time does not include chilling time.
Ingredients
For the pastry:
- 170g plain gluten free flour (I always use FREEE by Doves Farm plain gluten free flour)
- 1 tsp xanthan gum
- 1 medium egg
- 1 tsp water
- 110 g unsalted butter, (cubed)
- Pinch salt
- 1 tbsp caster sugar (for sweet pastry)
For the filling:
- 700g bramley apples
- 50g dark brown sugar
- 80g caster sugar
- 1 tsp ground cinnamon
- 2 tbsp cornflour
For finishing:
- 1 small egg (beaten)
- 1-2 tsp caster sugar
Instructions
- First make the pastry. Add the flour, xanthan gum, salt and sugar to a large mixing bowl and stir together.
- Cut the cold butter into cubes and then add to the bowl. Using your fingers, rub the mix together until it resembles breadcrumbs.
- Crack the eggs into a bowl or mug and add the cold water. Whisk together until just combined. Then add to the mix and use a fork to start to ‘mush’ the mixture together. You’ll see it start to form a sticky dough.
- Once it becomes harder to use the fork to mix, use your hands to bring the mixture together into a smooth dough. You should be able to pick this up easily without it being too sticky.
- Wrap the dough in clingfilm and chill in the fridge for at least 30 minutes. This is a really important stage – you need the dough to chill a bit so it is easier to roll! When you're almost ready to roll the dough, make the filling.
- Peel and core the apples. Slice them into 5mm-thick discs and place in a large bowl. Add the dark brown sugar, caster sugar, cinnamon and cornflour and stir well. Set to one side while you roll the pastry.
- Pre-heat the oven to 180'C / Fan 160'C / Gas Mark 4. Split the dough in half. Roll half of the chilled dough between floured clingfilm to 4mm thickness. Using the rolling pin, lay the rolled-out pastry over the pie dish and gently press it in. Trim the edges and prick the bottom a couple of times with a fork.
- Stir the apple mixture and then turn out into the pastry so it is filled evenly and comes up to the top of the dish, if not a little higher. Brush the edges of the pie with a little of the beaten egg.
- Take the second bit of pastry and roll it out to 4mm thick. Place it over the top of the pie and use your fingers to press the edges together. Trim any excess pastry then use a fork to press down the edges to look pretty.
- Cut a small cross in the centre of the pie and then brush the pie top with the beaten egg. Sprinkle with caster sugar and bake in the centre of the oven for 35-40 minutes, until golden on top and the apples inside are tender. Keep an eye on the pie during cooking - if you find the pastry starts to catch around the edges, cover them with some foil.
- Remove the pie from the oven and leave to cool for around 10-15 minutes before serving with custard or ice-cream.
Notes
- The trick with the pastry is not to let the butter get too warm - if you find it becoming sticky, run your hands under cold water before stage 2.
- This pie can be kept in the fridge and reheated in the oven but you might find the pastry goes a little softer - it is best eaten fresh from the oven. Can also be enjoyed cold.
Recommended Products
As an Amazon Associate and member of other affiliate programs, I earn from qualifying purchases.
Nutrition Information:
Yield:
6Serving Size:
1Amount Per Serving: Calories: 695Total Fat: 36gSaturated Fat: 17gTrans Fat: 0gUnsaturated Fat: 17gCholesterol: 135mgSodium: 59mgCarbohydrates: 86gFiber: 5gSugar: 37gProtein: 9g
Need some more gluten free baking inspiration?
Want to have a go at some of the other gluten free baking recipes on the blog?
Give some of these other gluten free sweet recipes a try!
There are plenty to choose from – here are a couple of autumnal baking ideas to get you going:
- Cherry and ginger oaty crumble bars
- Apple and blackberry crumble
- Gluten Free Dorset Apple Cake
- Plum and amaretto crumble
- Apple and salted caramel loaf cake
If you do make this recipe please let me know! I’d love to see your photos using #theglutenfreeblogger, share them in my Facebook group or tag me on Instagram.
And if you have any recipe suggestions, please let me know in the comments what you’d like to see next!
Like this Gluten Free Apple Pie recipe?
Make sure you pin these recipe cards below for later!





Just made this and it was delicious🥰
Waiting to see how it comes out (its in the oven!) but there are not enough pastry ingredients to make a 9” pie tin..
I agree! I didn’t have enough pastry and had to throw away some of my apple mixture. Such a waste!
I am glad I read the other comments! I used an 18.cm pie tin and it was fine. Pastry was good although very fragile so used the cling film as advised. Tasted great
I am glad I read the other comments! I used an 18.cm pie tin and it was fine. Pastry was good although very fragile so used the cling film as advised. Tasted great