This post may contain affiliate links for which I earn a small commission at no extra cost to you. For more info, check out my Disclosure Policy. Thank you for your support!
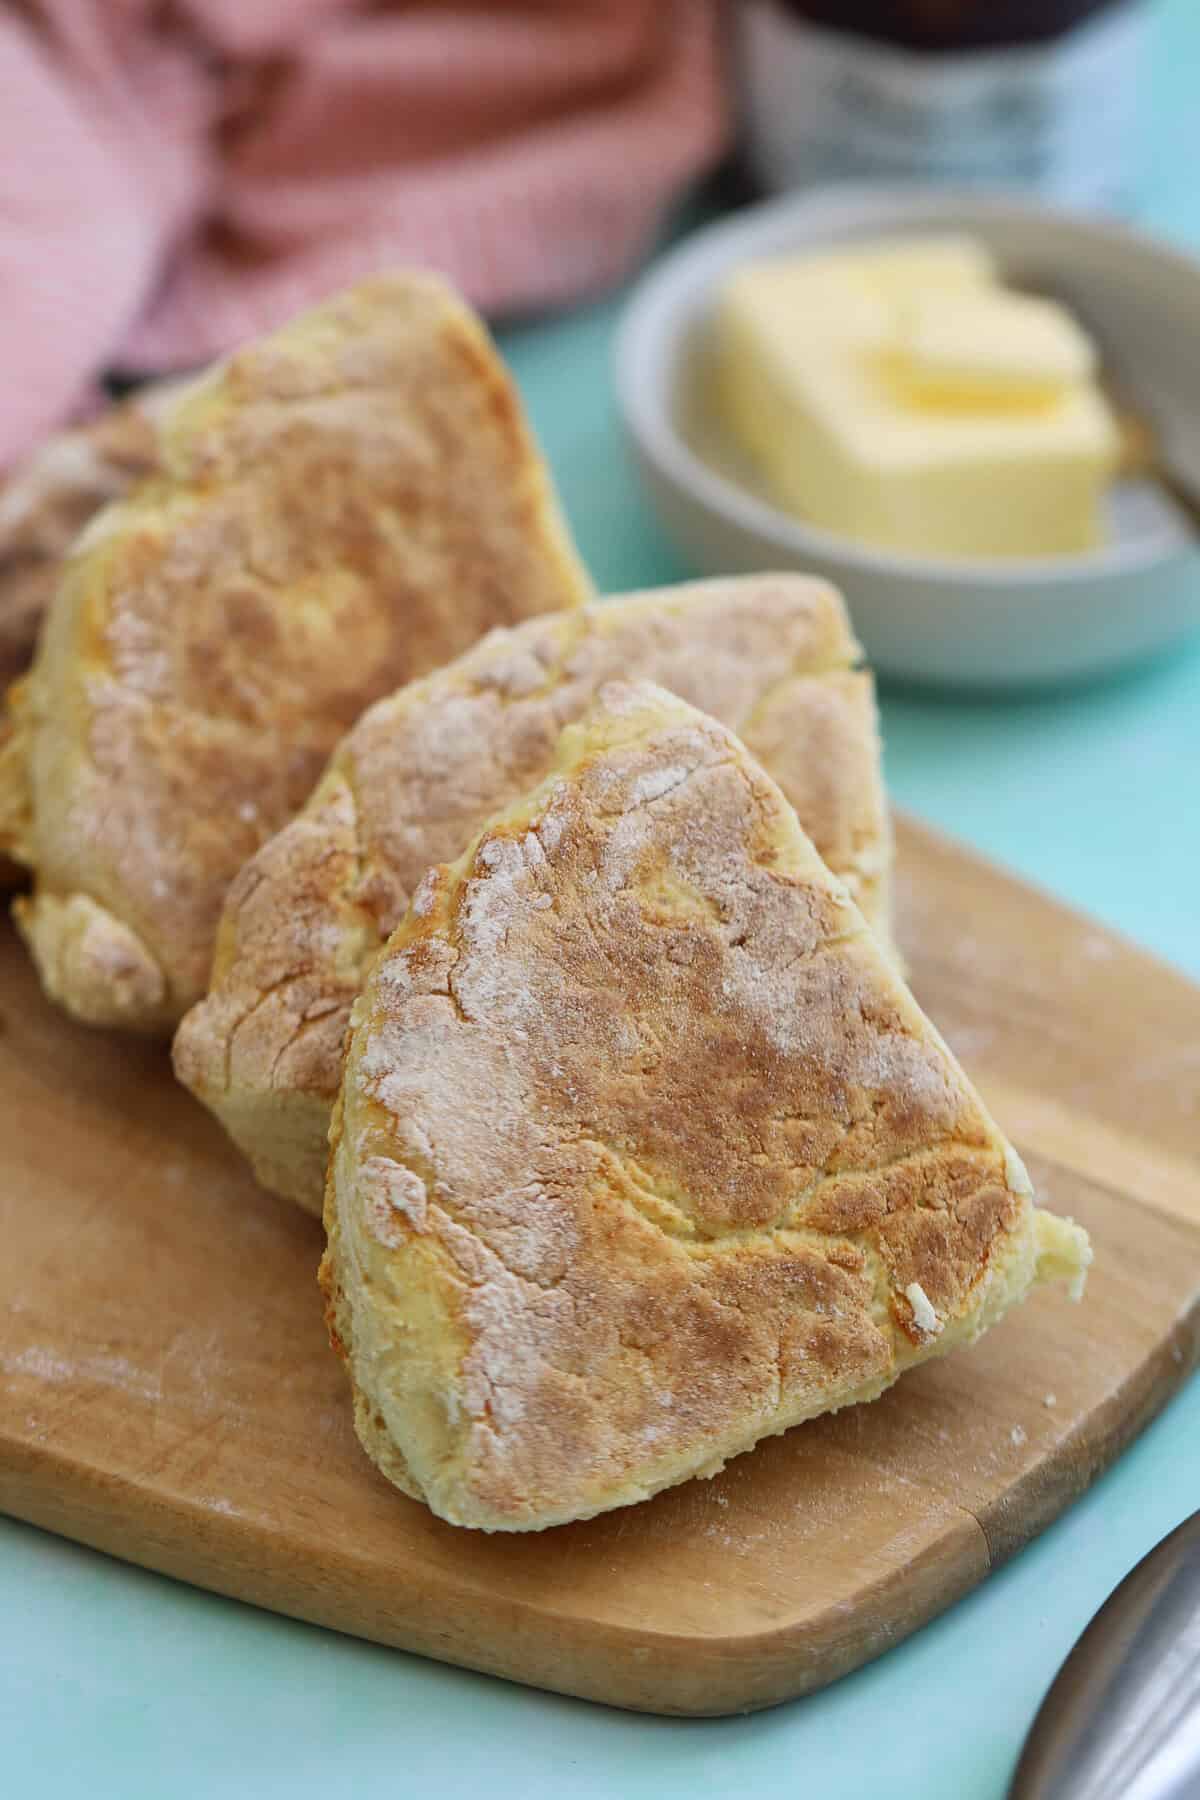
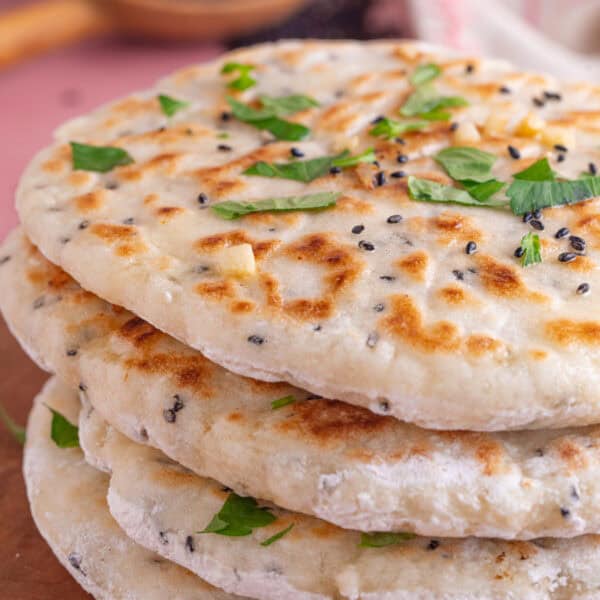
These Gluten Free Soda Farls are probably the quickest and easiest gluten free bread to make! Irish Soda Farls are made using a simple, yeast-free dough and fried in a skillet pan or griddle until golden. Ready in under 30 minutes and SO good with butter and jam!

What you need to know at-a-glance:
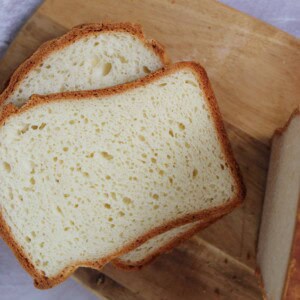
- What are Irish Soda Farls? Much like my Gluten Free Soda Bread, these farls (small, flat-ish bread rolls) are yeast free and super soft with a chewy crust.
- So Simple: You only need a few ingredients (which you probably have already) and 30 minutes to make these. And you don’t even need to turn on the oven!
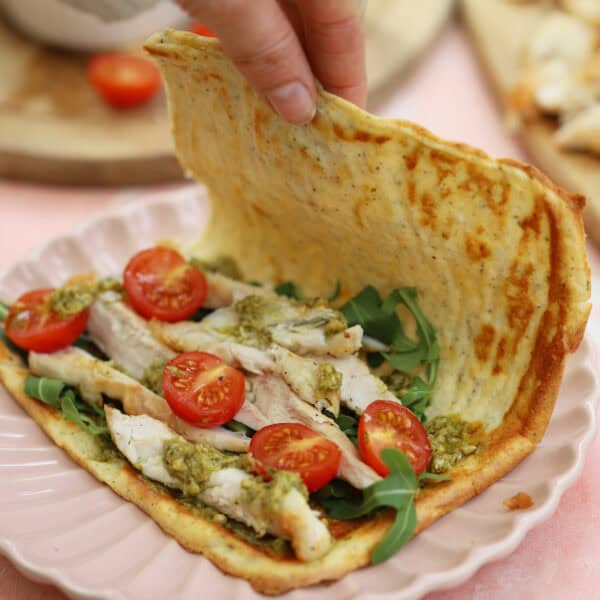
- How do I eat them? My personal preference is to cut the warm farls in half and eat them slathered in melting butter and jam. But they also go really well with a soup or beef stew for mopping up the sauce.
- Flour of choice: I always use the FREEE Plain Gluten Free Flour for this but any plain gluten free flour blend will work, such as Asda or M&S flour.
These Gluten Free Irish Soda Farls are perfect for making for St Patrick’s Day! This is my gluten free version of this popular Irish bread recipe.
Much like gluten free soda bread, the dough is leavened using bicarbonate of soda, meaning there’s no need for proving the dough.
As well as being absolutely delicious, it means this soda farls recipe is ready in under 30 minutes. And there’s no need to even turn on the oven as they’re cooked in a pan!
I also love dishing up Irish soda farls as a side dish to something like a Beef Stew or Beef and Ale Stew – perfect for any St Patrick’s Day celebrations.

Table of Contents
Ingredients and Substitutions
You only need a few basic ingredients to make these gluten free soda farls. I’ve listed the quantities in the recipe card below, but here are some notes on the main ones:
- Plain Gluten Free Flour: I usually use FREEE Plain Gluten Free Flour as it’s widely available in UK supermarkets. Any free from plain flour mixture should work, or look for a 1:1 flour in the US.
- Xanthan Gum: This is essential in gluten free baking to get a dough you can handle well, and a good bread-like texture in the final bake.
- Bicarbonate of Soda: Also called baking soda (and not to be confused with baking powder!). This is essential for getting the rise in this bread without yeast.
- Buttermilk: If you don’t have buttermilk you can make your own! Add 1 tbsp of lemon juice or apple cider vinegar to 230ml milk, stir well and leave to sit for 5-10 minutes. You can also use a dairy free milk to make dairy free buttermilk for this recipe.

How to Make Gluten Free Irish Soda Farls
There’s a printable recipe card below with the method. But here are some step-by-step photos to show you how easy this gluten free Irish soda farls recipe is to make.
First combine the dry ingredients, and then add the buttermilk and mix together into a dough. Use a wooden spoon, followed by your hands, to bring it together.

Sprinkle a little gluten free flour onto your work surface and then turn the dough ball onto the flour.
Use your hands to knead gently into a smooth ball, then flatten slightly. You want it about 20cm (8 inches) in diameter and around 5cm (2 inches) thick.

Cut the dough into four wedges, then heat a large, heavy-bottomed skillet pan. Add the farls to the frying pan and cook for 6-8 minutes per side, flipping halfway.
Once cooked, let the farls cool in the pan (off the heat) for 10 minutes before serving. I like to slice the farls open and slather them in butter and jam!

Storing and Freezing Instructions
TO STORE: Any leftover cooked farls can be kept in an airtight container at room temperature. I recommend refreshing them for 1-2 minutes per side in a hot pan before serving, as they are best warm.
TO FREEZE: You can also freeze any leftover soda farls. Defrost at room temperature then refresh as above (or in the microwave) to serve warm.
Frequently Asked Questions
Here are some FAQs about this easy soda farls recipe. If you can’t find the answer to your question here or in the post above, please comment and I’ll try answer!
My favourite way to eat Irish soda farls is fresh from the pan, slathered in lots of melting better and some jam. They’re also great dunked in soup (something like my tomato soup or broccoli and stilton soup) or served with a beef stew.
These gluten free soda farls are cooked in a dry pan, whereas gluten free soda bread is cooked in an oven. Soda farls are generally small, fat rolls that are sliced in half to serve. Soda bread is usually more of a round boule that is sliced up.
If you already have xanthan gum in your gluten free flour blend you can omit this from the recipe. But if not, I strongly recommend using it as it helps with the structure of the bread and makes it a lot easier to handle as a dough.

Gluten Free Soda Farls Recipe
Equipment
Ingredients
- 250 g plain gluten free flour, (I use FREEE by Dove's Farm or any supermarket blend)
- 0.25 tsp xanthan gum
- 1 tsp sugar
- 0.5 tsp salt
- 1 heaped tsp bicarbonate of soda, (baking soda in the US)
- 230 ml buttermilk
Instructions
- Add all the dry ingredients to a bowl and mix together to combine. Pour in the buttermilk and use a wooden spoon to start to bring the mixture together into a dough.
- As the dough becomes claggy, use your hands to finish bringing it together into a ball of dough. It may be a little sticky but thats fine at this stage!
- Sprinkle a little gluten free flour onto the work surface and then turn the dough ball onto the flour. Use your hands to knead gently into a smooth ball, then flatten slightly. You want it about 20cm (8 inches) in diameter and around 5cm (2 inches) thick.
- Cut the dough into four wedges. Place a large, heavy-bottomed skillet pan on a medium heat. Add the farls to the pan – you may need to do this in batches if they don't all fit.
- Cook on a low-medium heat for 6-8 minutes, flip over gently and cook for a further 6-8 minutes until golden brown on each side and cooked through. Turn off the heat and leave in the pan for 5-10 minutes before serving.
Video
Notes
- Serving Suggestion: Serve these Irish Soda Farls while fresh. They’re best warm with butter and jam, or as a side to soup or stew.
Nutrition
Have you tried this recipe?
I have a huge favour to ask! It’s getting more and more difficult to get my recipes out there to the world – so if you try this and love it, it would mean a HUGE amount if you’d come back and leave a ⭐️⭐️⭐️⭐️⭐️ review and a little comment telling me what you thought! Just 30 seconds of your time would be such a huge support! 💛
Want to connect further?
- Tag me on Instagram with your amazing creations so I can share them!
- Join my Facebook group to meet other awesome gluten free people
More Gluten Free Bread Recipes


Get my cookbook!
Want more gluten free meals inspiration? My debut cookbook, Delicious Gluten Free Meals, has 100+ gluten free recipes, from breakfast and lunch ideas to dinners, desserts and sides.


As someone who was brought up on traditional soda farls this gluten free version was a real treat, and very similar to the original- thank you!
Easy peasy quick recipe and very tasty. A great recipe to have at breakfast or if you have a gf guest over for brunch /lunch.
Super easy recipe for a gluten free companion to breakfast eggs. Thanks. I love them and will make them often!