This post may contain affiliate links for which I earn a small commission at no extra cost to you. For more info, check out my Disclosure Policy. Thank you for your support!
If you’re looking for the BEST gluten free pastry recipe then look no further! This gluten free shortcrust pastry is super pliable, deliciously buttery and perfect for gluten free pies, pasties, quiches and tarts. Nobody will even know it’s gluten free!
Plus it’s SO easy to make, only needs a few ingredients, and always gets compliments from gluten-eaters who can’t believe it’s gluten free!
Why make my gluten free pastry?
- Super Easy: There’s no need to struggle with gluten free pastry that breaks or sticks to the worktop. This is super pliable and easy to make and use.
- You Can’t Overwork It! We’re always told not to overwork pastry – but this is because of the gluten. You can re-roll my gluten free pastry as many times as needed because there is no gluten to worry about!
- Minimal Ingredients: You only need a few storecupboard essentials – gluten free flour, xanthan gum, butter, egg and water – to make this gluten free shortcrust pastry.
- Tried and Tested: This recipe has been tested hundreds of times and all my friends and family say they prefer it to gluten-containing pastry.
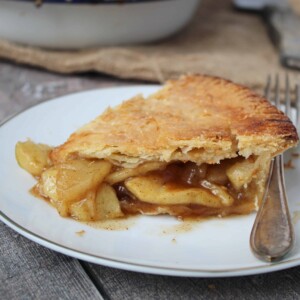
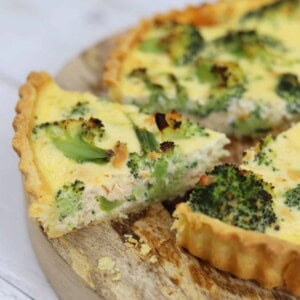
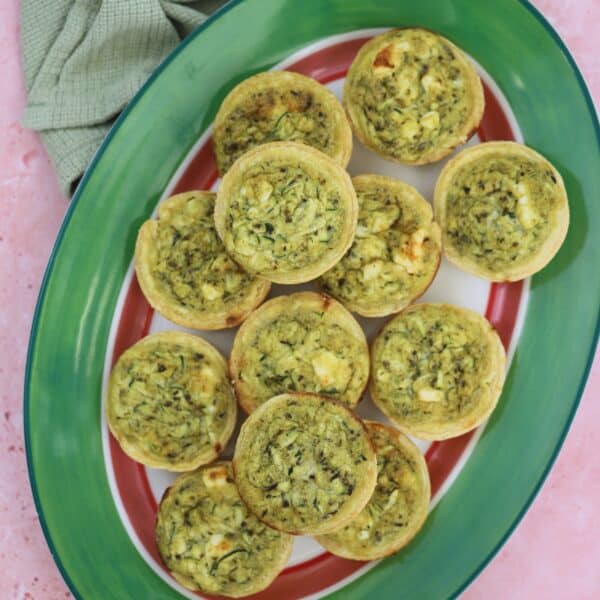
- Super Adaptable: Whether you want sweet pastry for mince pies, savoury pastry for a gluten free quiche or pie, or a fun project such as pop tarts, this recipe is perfect.
Ingredients
How to make gluten free pastry
There’s a printable recipe card below, but here are some step-by-step photos to guide you through how to make my gluten free pastry recipe.

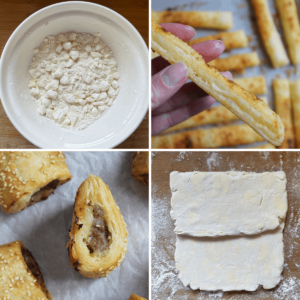
Add the flour, xanthan gum, salt – and sugar if using – to a large mixing bowl and stir together.
Cut the COLD butter into cubes and then add to the bowl. Using your fingers, rub the mix together until it resembles breadcrumbs (right hand photo above).
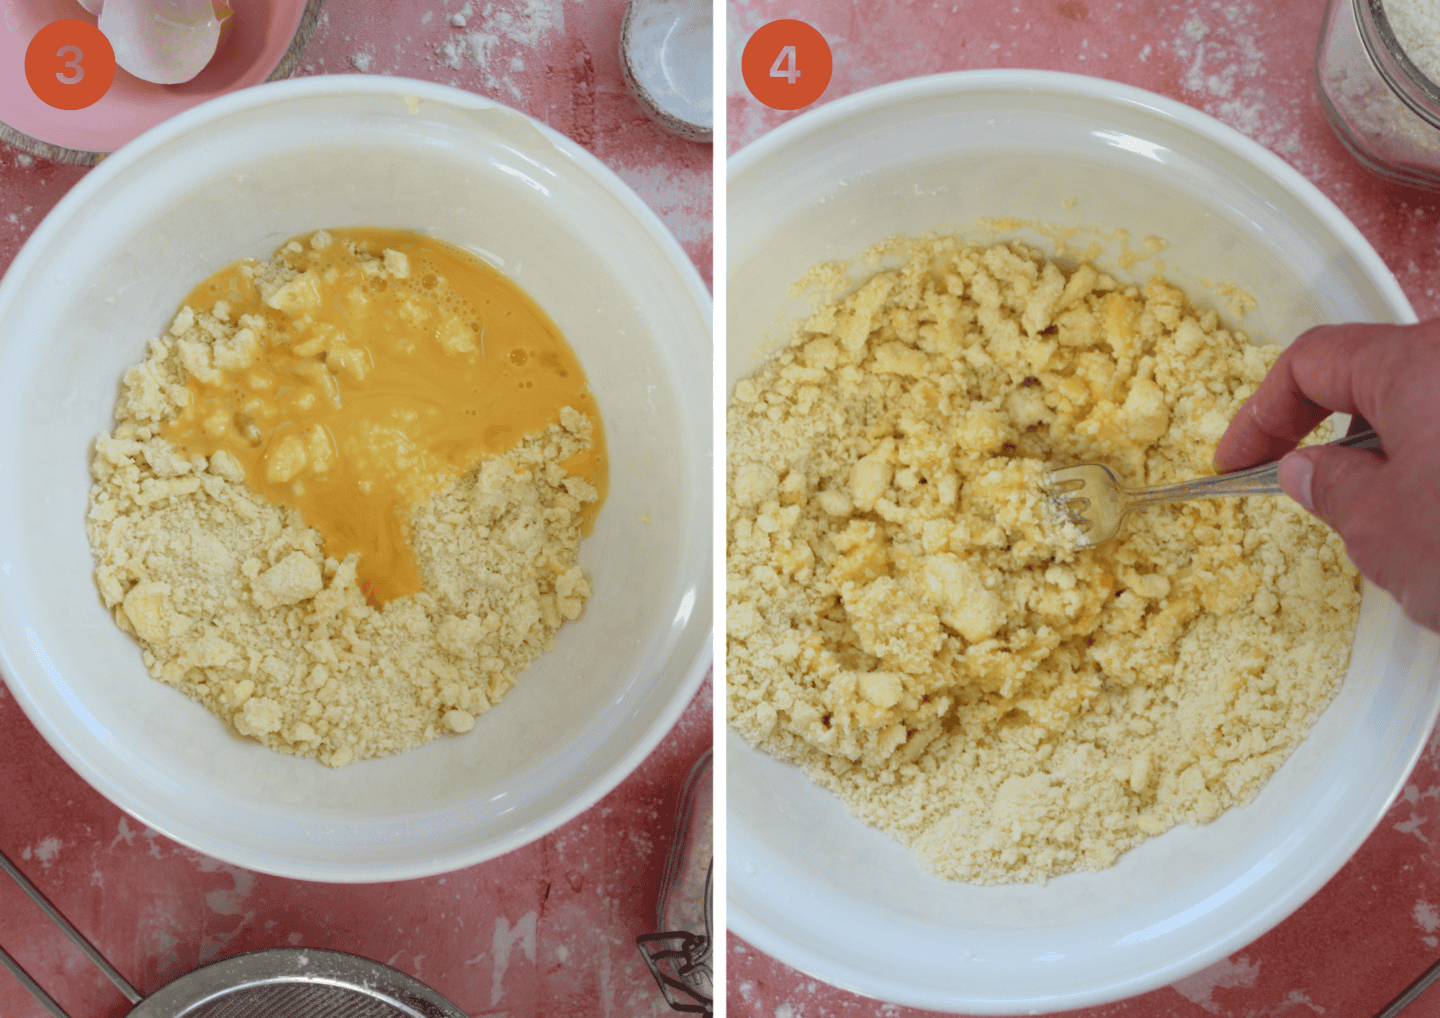
Crack the eggs into a bowl or mug and add the cold water. Whisk together until just combined. Add to the mix and bring together using a fork.
Once it becomes harder to use the fork to mix, use your hands to bring the mixture together into a smooth dough. You should be able to pick this up easily without it being too sticky.
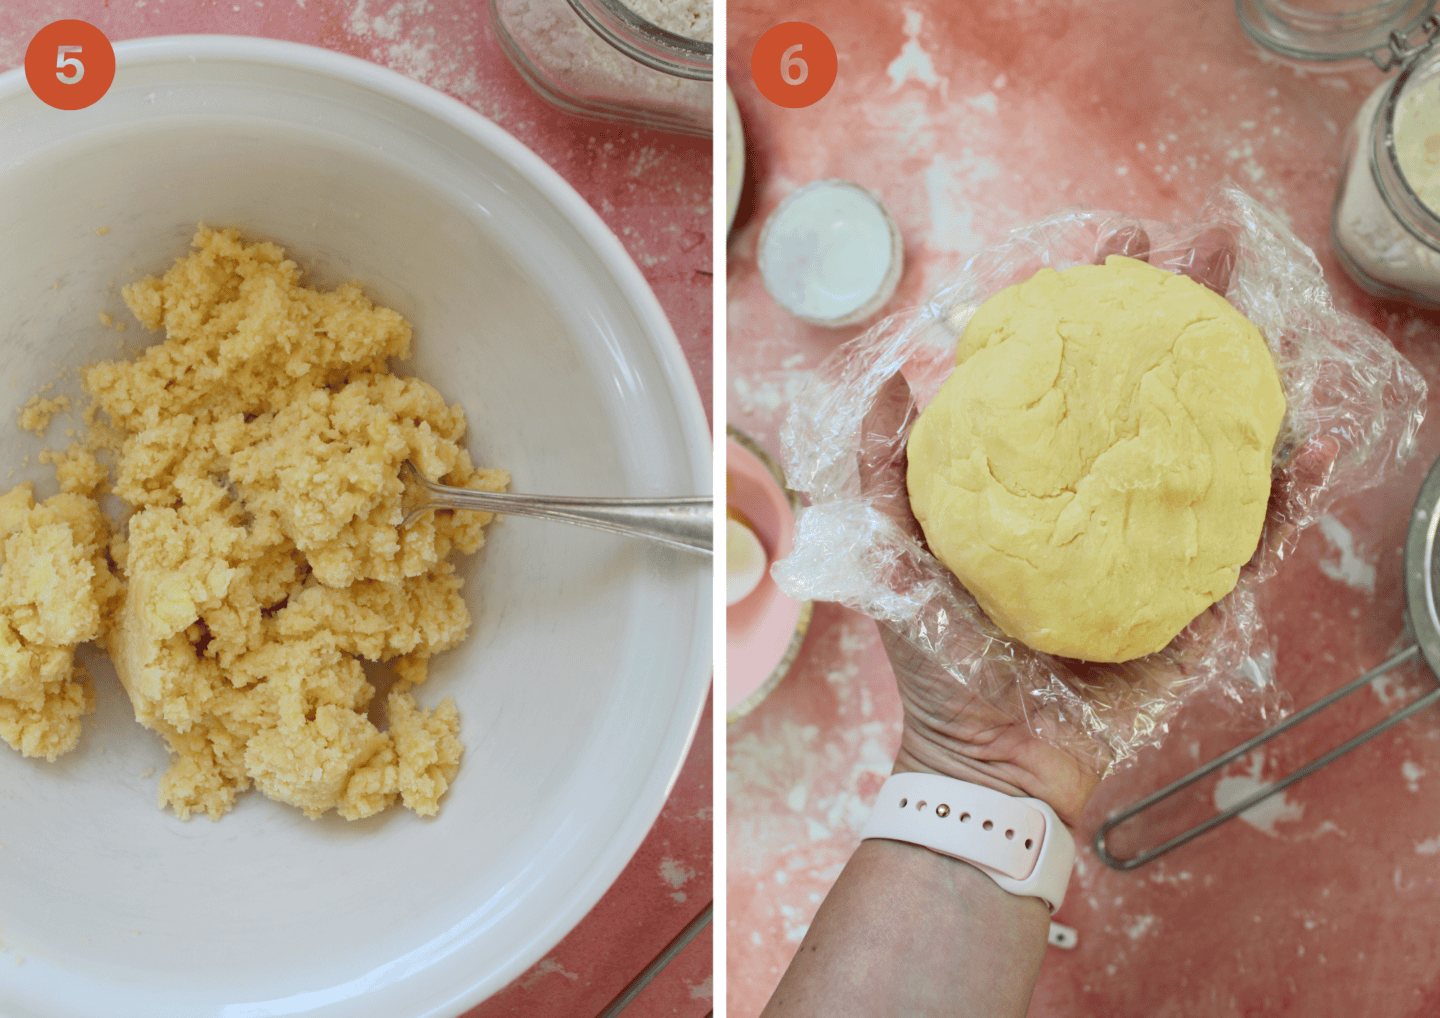
Wrap the dough in clingfilm and chill in the fridge for at least 30 minutes. This is a really important stage – you need the dough to chill a bit so it is easier to roll!
Once chilled, knead the dough on a lightly floured work surface until it is pliable. Keep the surface well-floured as you roll out the pastry dough to the desired thickness.
Either cut the mini shapes using a pastry cutter, or transfer to a pie dish if making a quiche/pie before blind baking and/or filling.
How to blind bake gluten free pastry
If you’re making something like a gluten free quiche recipe, you’ll need to blind bake the pastry first. This is simple – let me show you how!
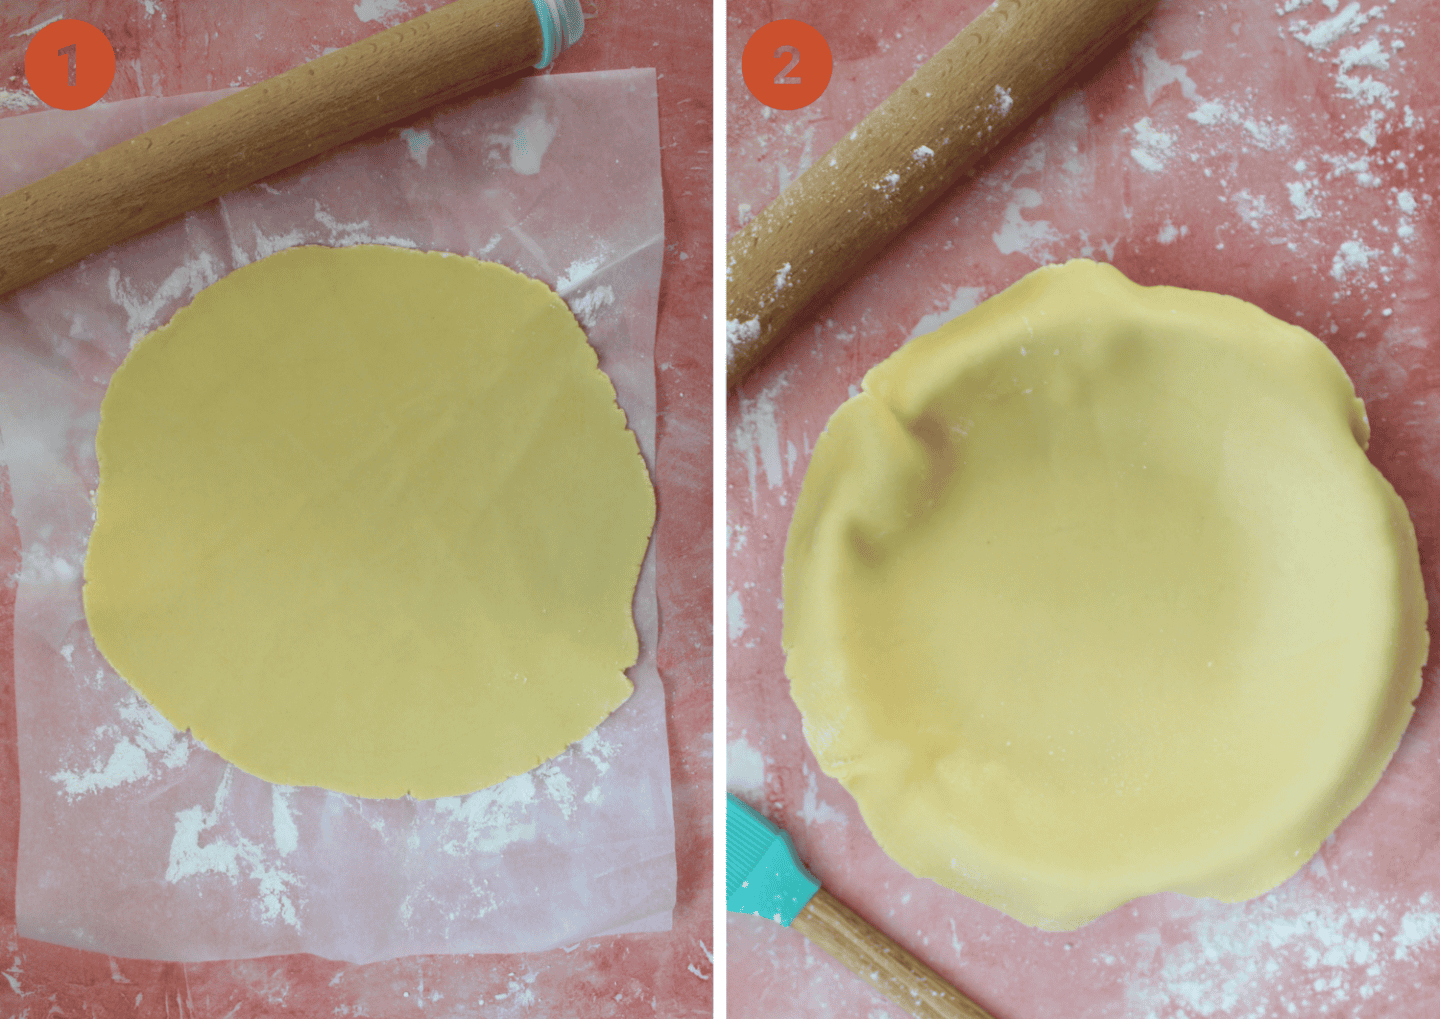
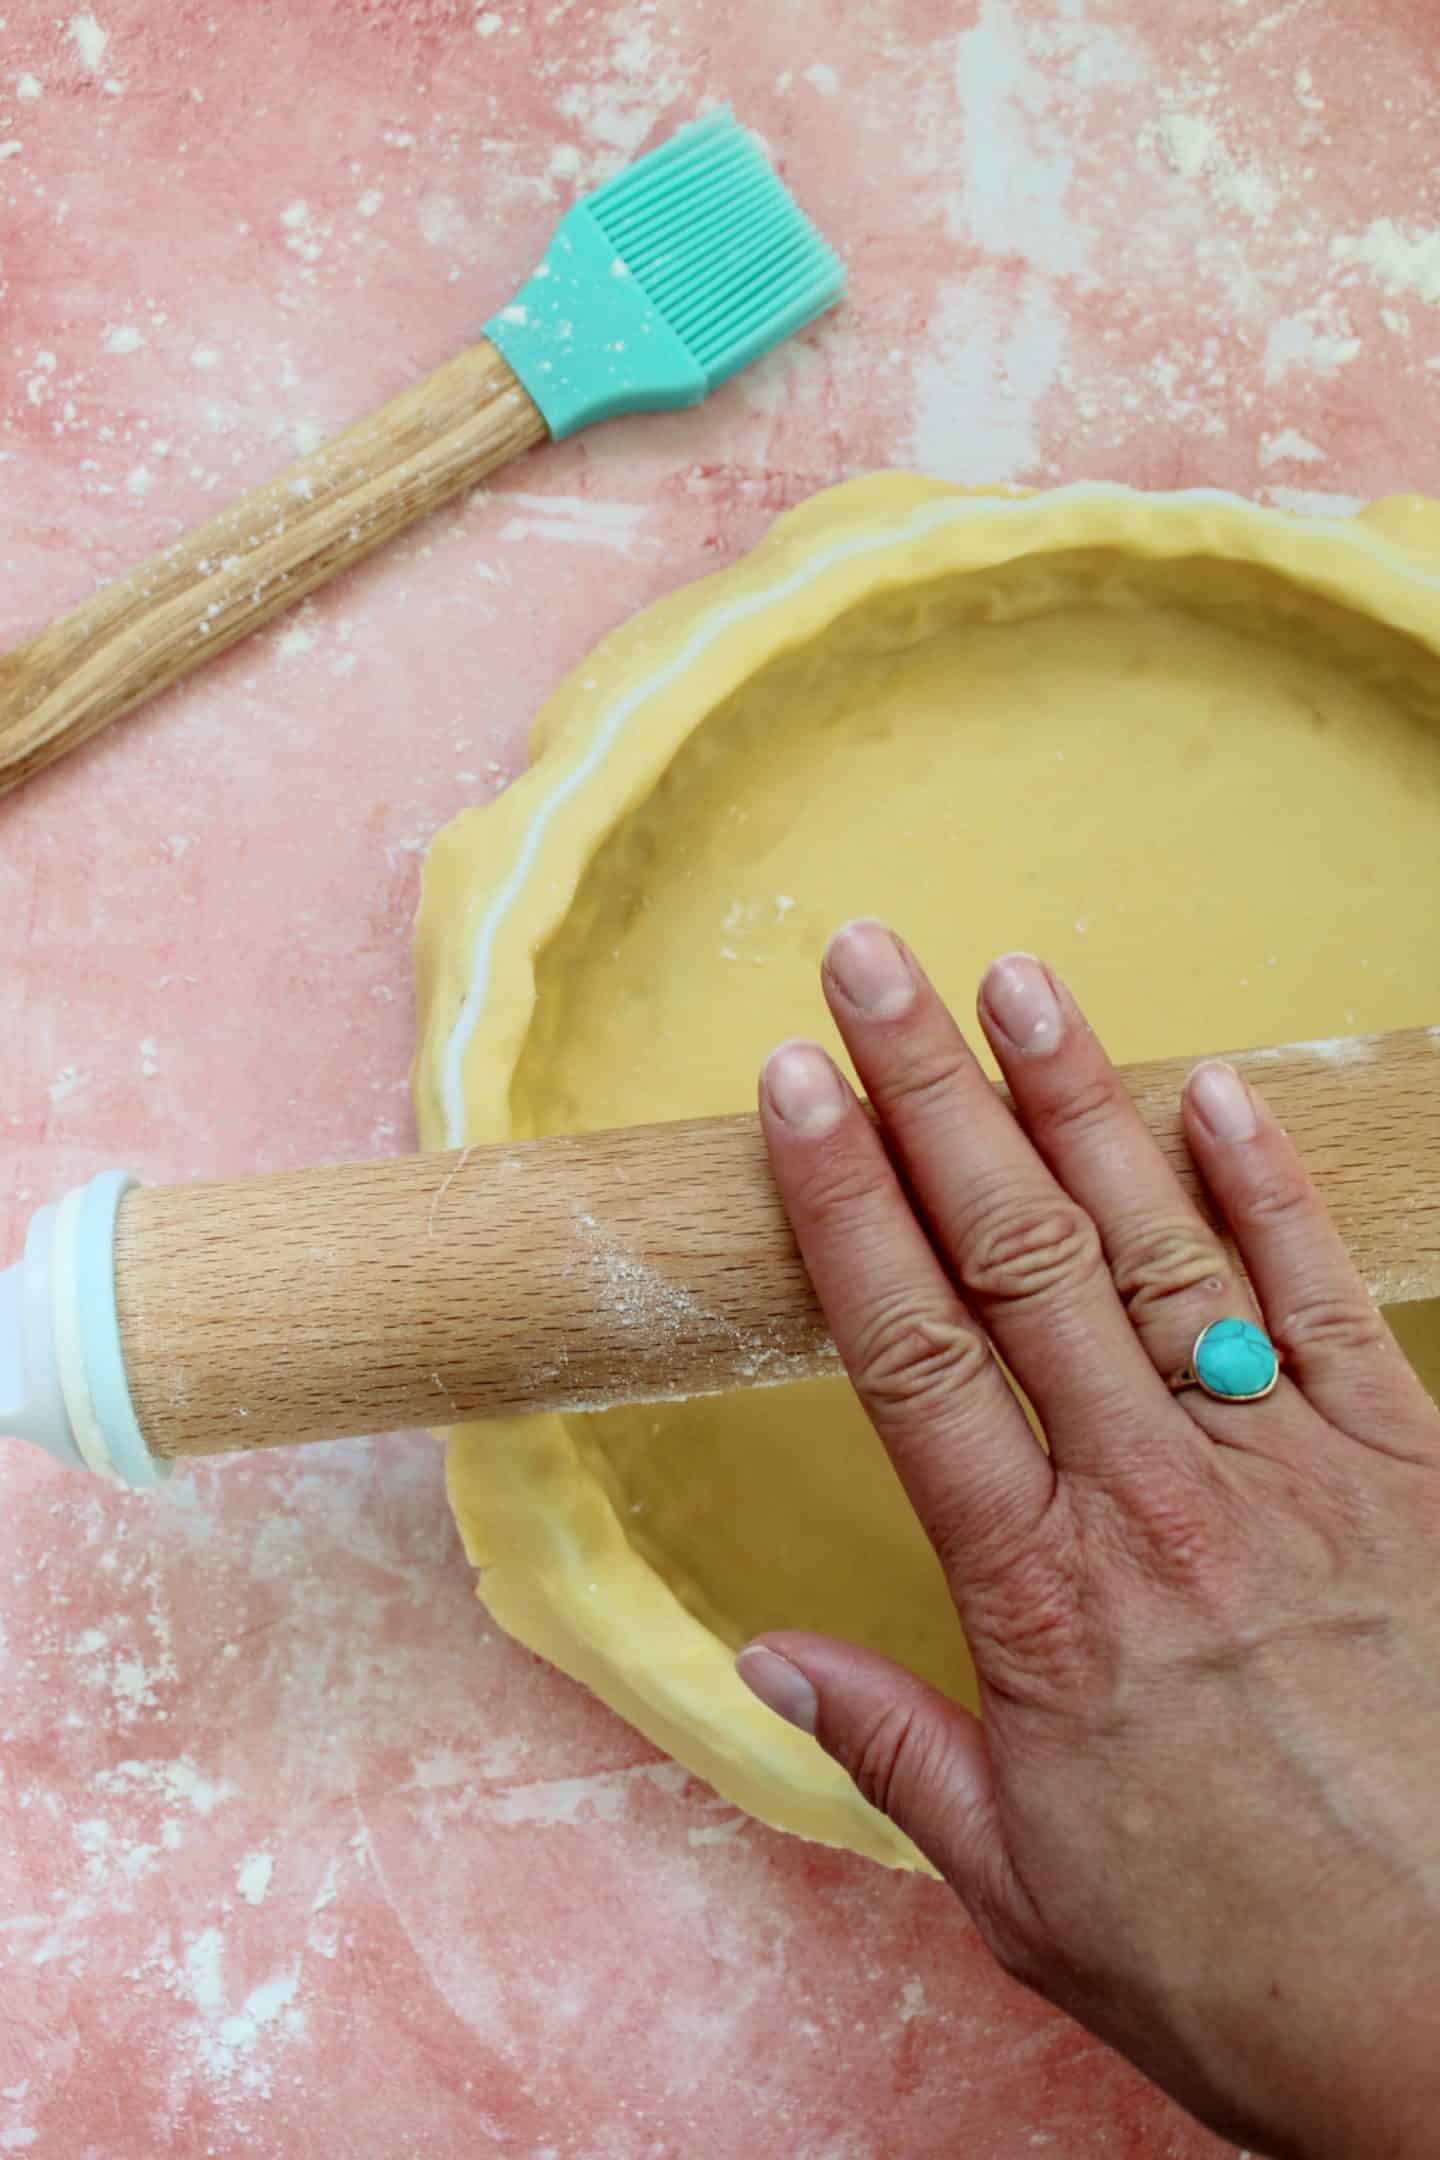
To blind bake your pastry, carefully use the rolling pin to lift the pastry into your pie dish. Don’t worry about trimming any overhang yet.
Use your fingers to press the sides of the pie into the ridges of the dish. Break off a small piece of the overhanging dough and roll into a ball – use this to press the pastry in further (it will stop your finger nails going through the pastry!).
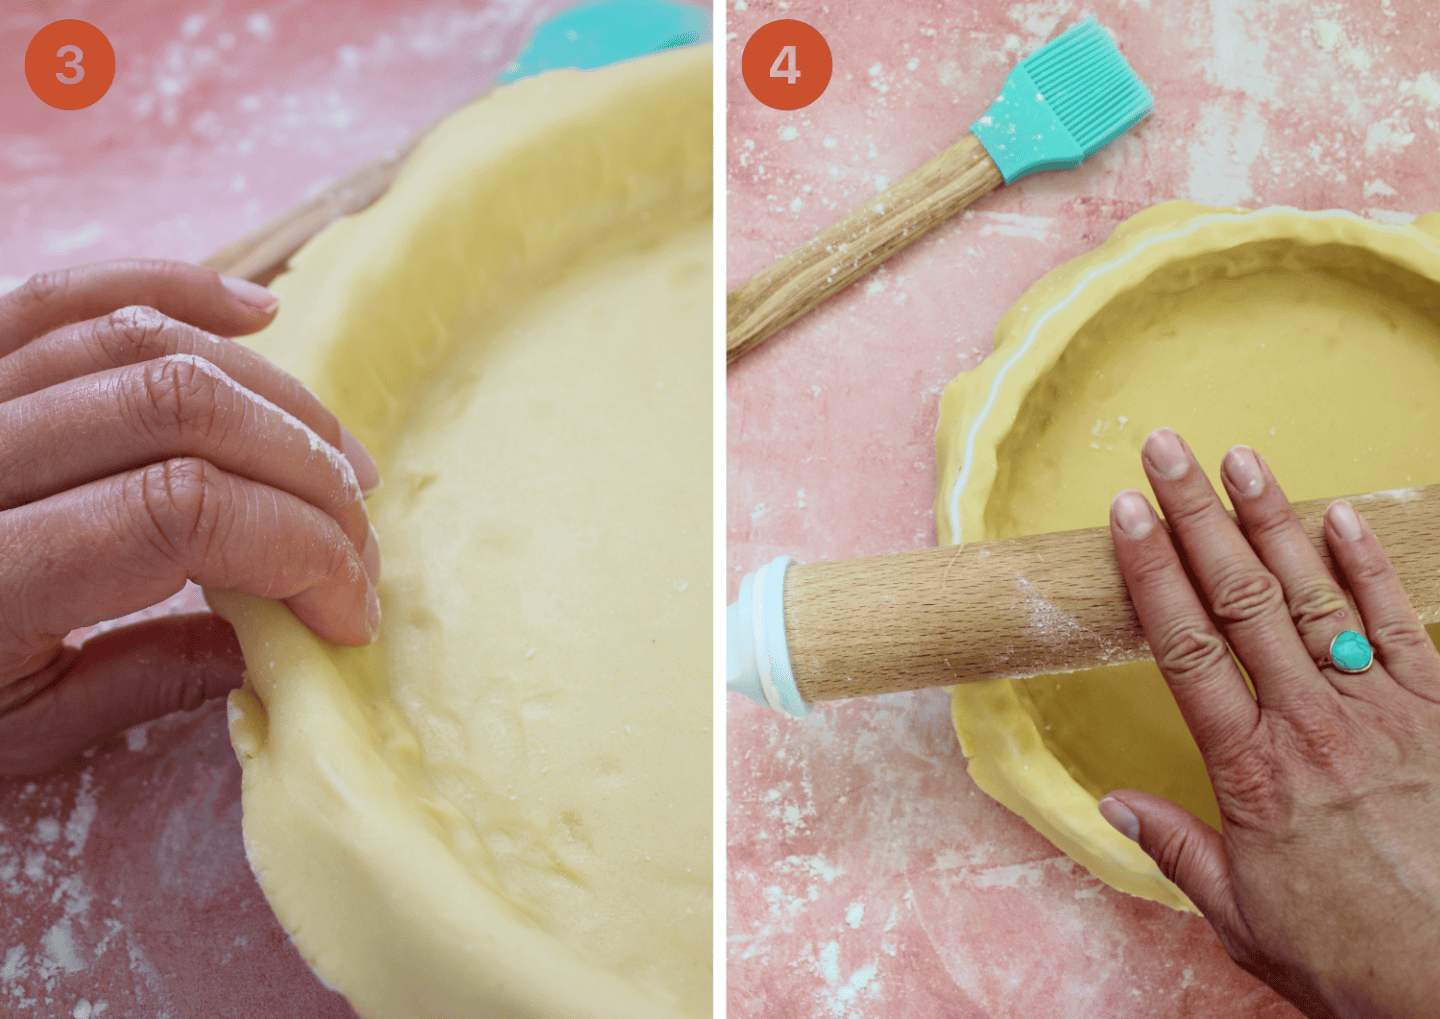
Gently push the overhanging pastry back over the pie dish so you have a couple of mm which are slightly thicker at the top of the pie crust. This will help to minimise any shrinking.
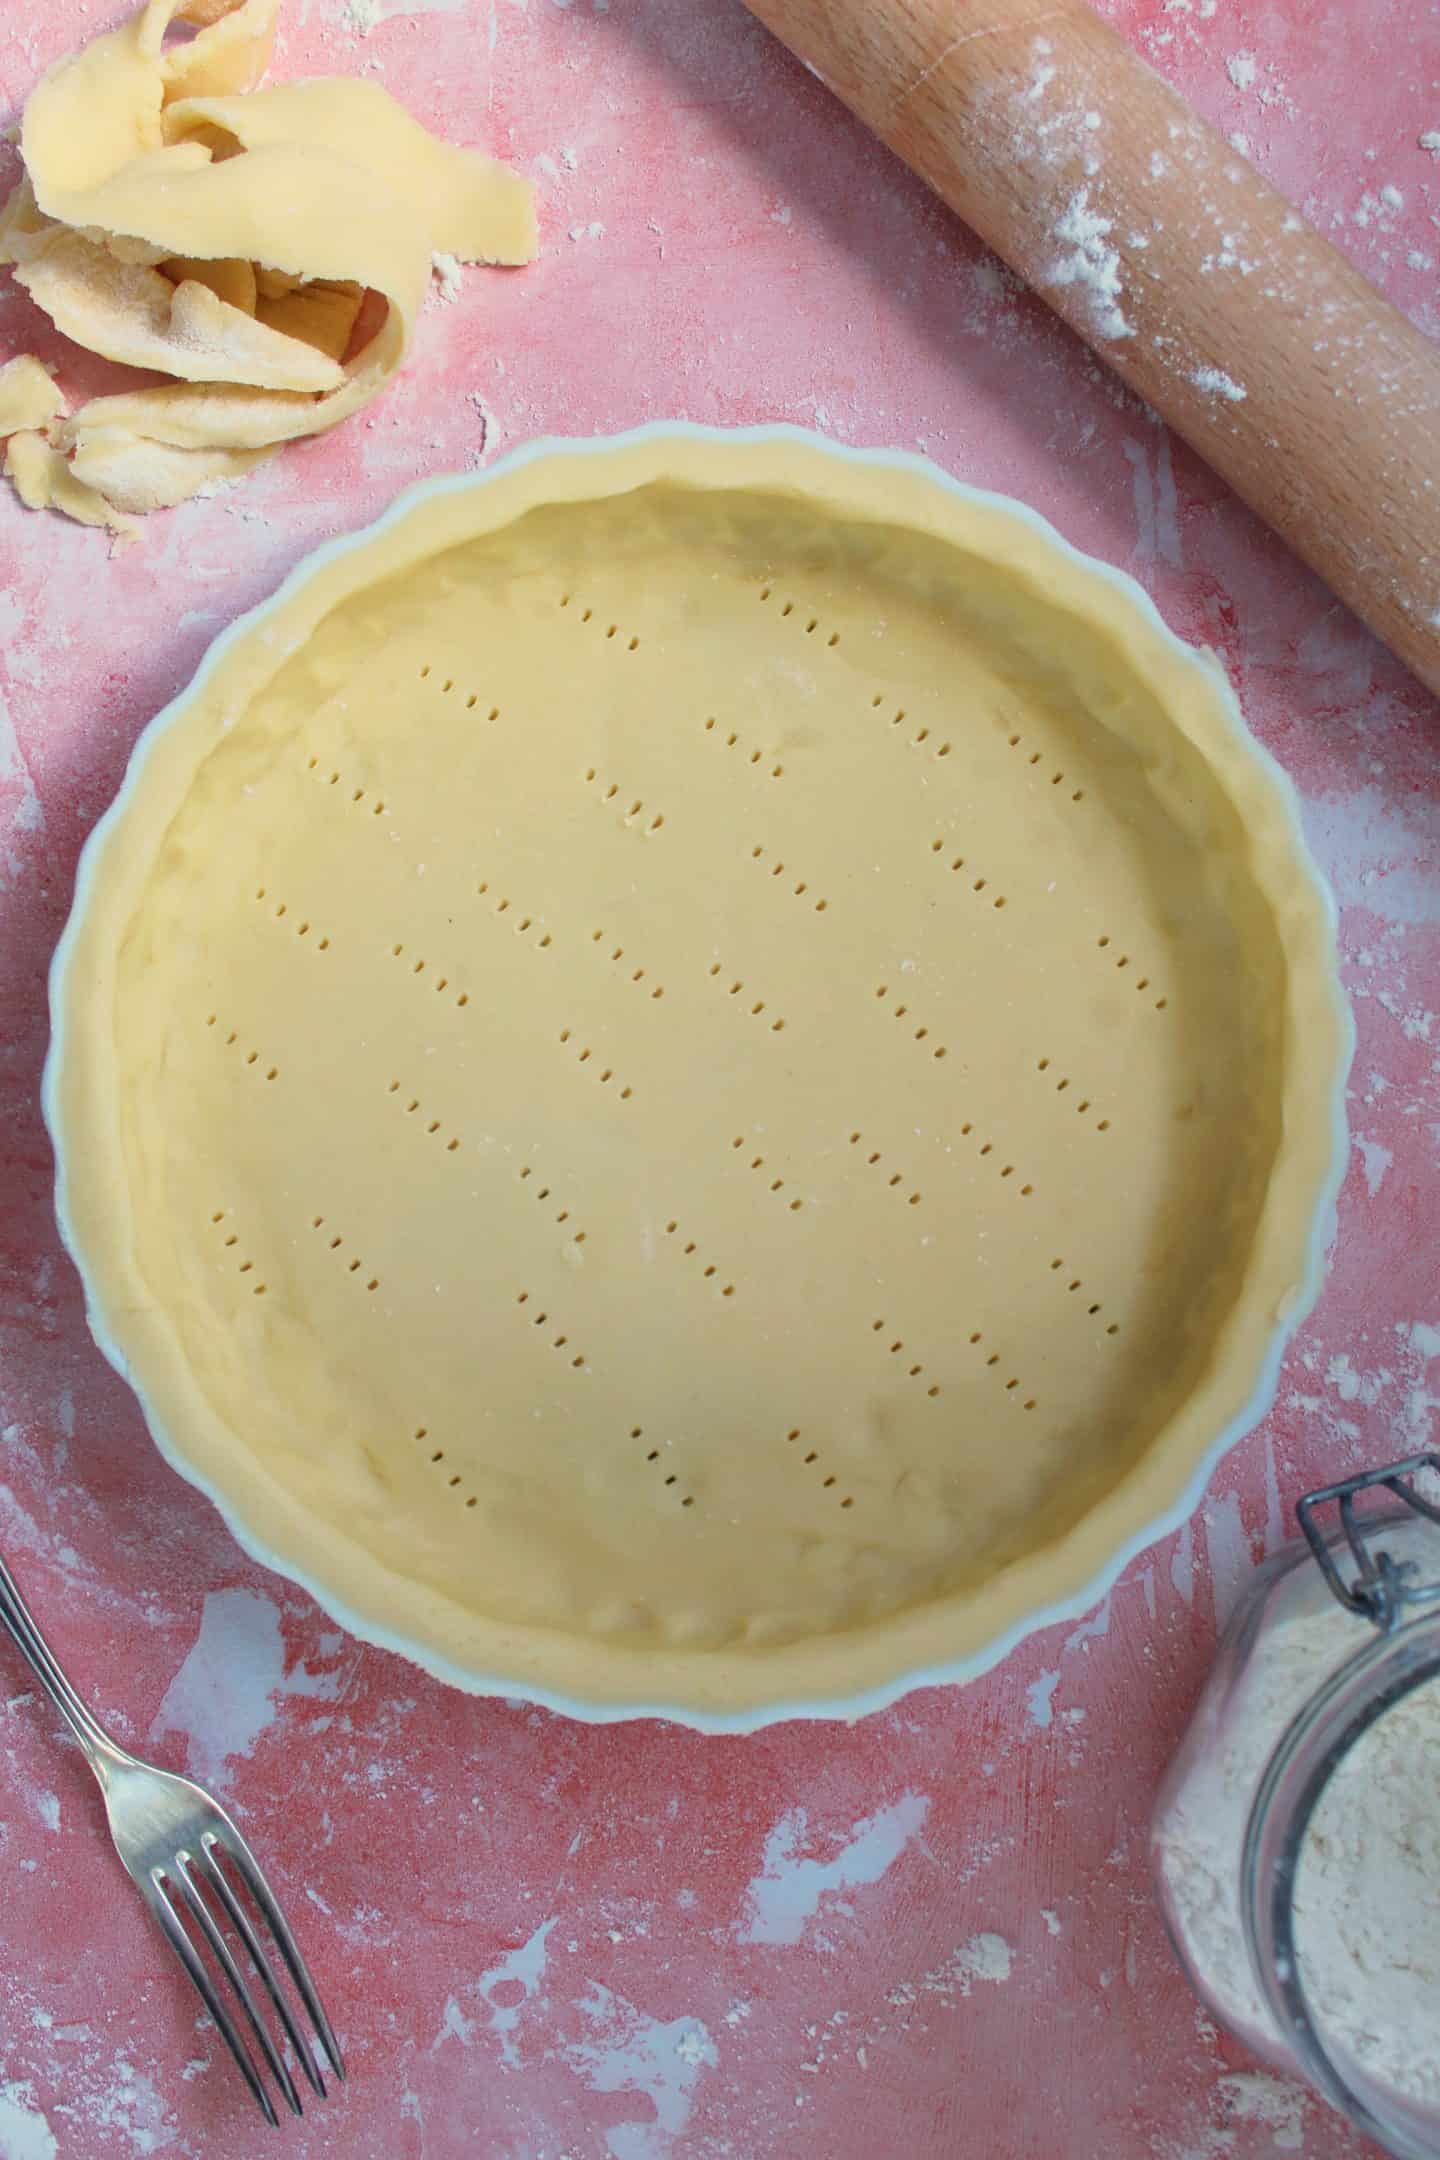
Roll the rolling pin over the top of the dish and then remove any excess pastry and prick the bottom all over with a fork.
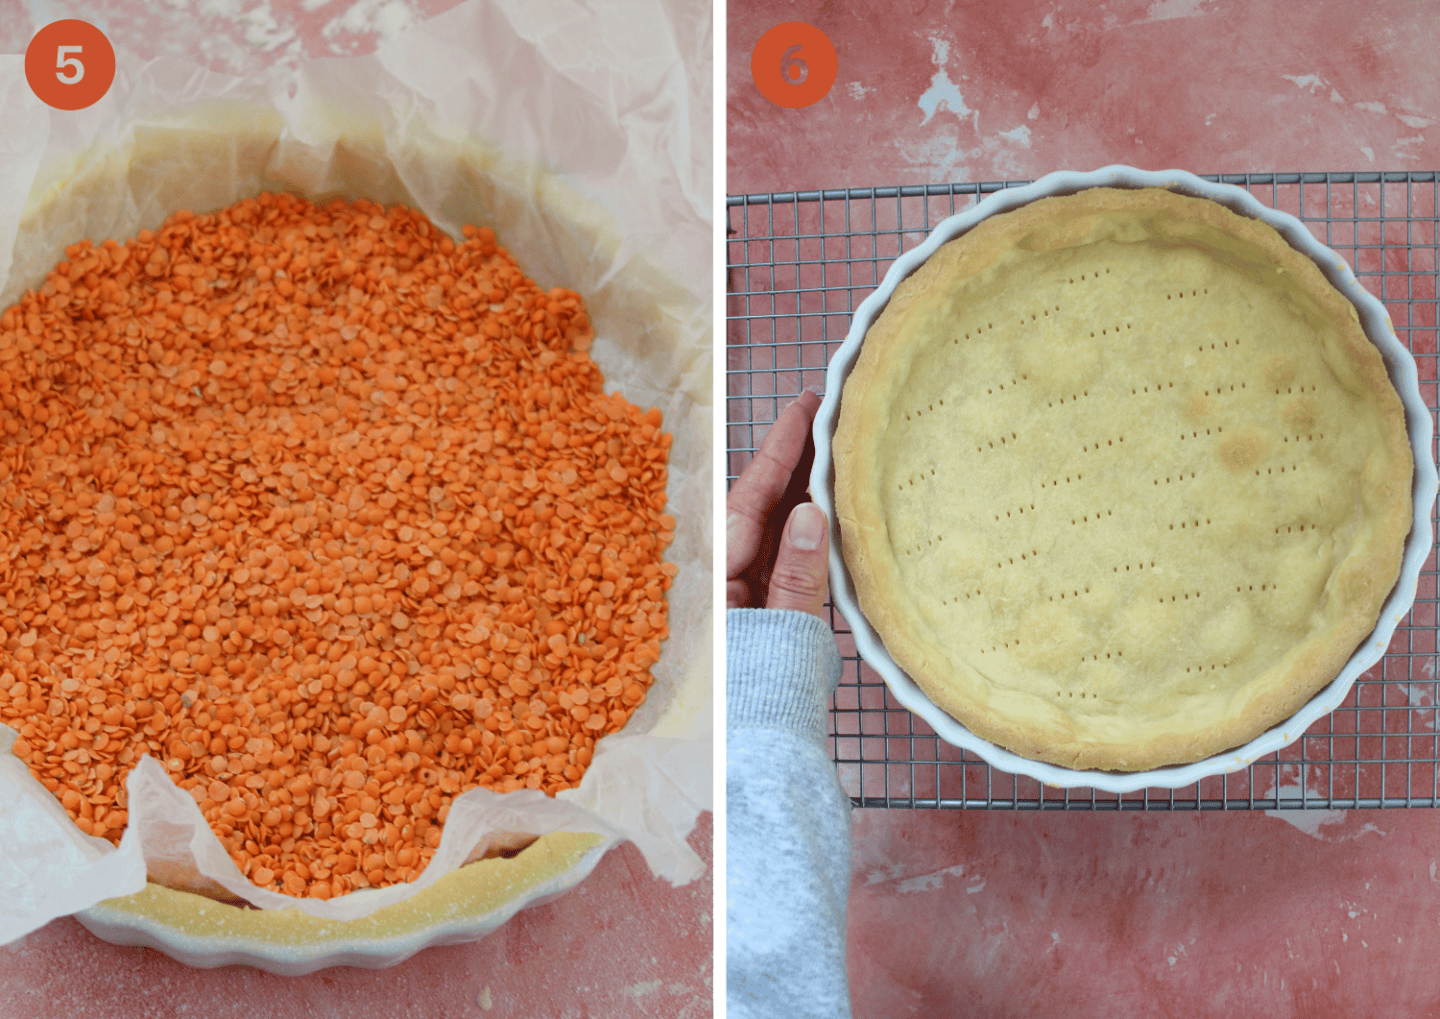
Place a piece of baking paper over the top of the pastry and fill with baking beans (or dried rice/lentils).
Bake in a preheated oven at 180’C / Fan 160’C / Gas Mark 4 for 10 minutes. Carefully remove the baking paper and beans, then bake for another 5-10 minutes until golden.
Fill and bake the pastry case as per the individual recipe you’re following.
Top tips for the BEST results
- Pastry too sticky? Make sure you keep it super chilled – pop it back in the fridge if it’s a hot day. You can also roll it between clingfilm if you find it is sticking to the work surface or you’re using too much flour.
- Pastry too crumbly? If you’ve re-rolled the pastry a few times it may dry out due to the floured work surface. Simply wet your hands and knead it a few times and it will become pliable once again!
- Pastry too wet? If you’ve added a little too much water to the dough it can become wet. Simply add a tiny sprinkle of gluten free flour and knead it in.
- Struggle to use your hands? Use a food processor to blitz the butter and flour mixture into a breadcrumb-like texture instead of your fingers. This also is a good way to do it if you have hot hands, to stop the butter melting!
Recipes using gluten free pastry
Savoury gluten free pastry recipes
Sweet gluten free pastry recipes
You might also like
If you make this recipe and love it, please do let me know by tagging me on my Instagram or using #theglutenfreeblogger. You can also share your creations in my Facebook group! And please do leave a 5* review ⭐️⭐️⭐️⭐️⭐️ to let others know you loved it too! It would mean the world to me and really helps support my website.
Gluten Free Pastry
Equipment
Ingredients
- 340 g plain gluten free flour
- 2 tsp xanthan gum
- 2 medium eggs
- 2 tsp water
- 220 g unsalted butter, cold
- Pinch salt
Optional:
- 1 tbsp caster sugar, (for sweet pies and tarts)
- 1 egg, beaten
Instructions
- Add the flour, xanthan gum, salt (and sugar if using) to a large mixing bowl and stir together.
- Cut the COLD butter (and Cookeen/lard if using) into cubes and then add to the bowl. Using your fingers, rub the mix together until it resembles breadcrumbs.
- Crack the eggs into a bowl or mug and add the cold water. Whisk together until just combined. Then add to the mix and use a fork to start to ‘mush’ the mixture together. You’ll see it start to form a sticky dough.
- Once it becomes harder to use the fork to mix, use your hands to bring the mixture together into a smooth dough. You should be able to pick this up easily without it being too sticky.
- Wrap the dough in clingfilm and chill in the fridge for at least 30 minutes. This is a really important stage – you need the dough to chill a bit so it is easier to roll!
- Once chilled, knead the dough on a lightly floured work surface until it is pliable. Keep the surface well-floured as you roll out the pastry dough to the desired thickness – or you can roll it between two sheets of clingfilm if you find it easier. I usually roll the pastry to between 4-6mm for pies, tarts and quiches.
- Either cut the mini shapes using a pastry cutter, or transfer to a pie dish if making a quiche/pie before blind baking and/or filling.
To blind bake:
- If you need a 'blind bake' in your pastry recipe, carefully use the rolling pin to lift the pastry into your pie dish. Don't worry about trimming any overhang yet.
- Use your fingers to press the sides of the pie into the ridges of the dish. Break off a small piece of the overhanging dough and roll into a ball – use this to press the pastry in further (it will stop your finger nails going through the pastry!).
- Gently push the overhanging pastry back over the pie dish so you have a couple of mm which are slightly thicker at the top of the pie crust. This will help to minimise any shrinking. Roll the rolling pin over the top of the dish and then remove any excess pastry and prick the bottom all over with a fork.
- Place a piece of baking paper over the top of the pastry and fill with baking beans (or dried rice/lentils).
- Bake in a preheated oven at 180'C / Fan 160'C / Gas Mark 4 for 10 minutes. Carefully remove the baking paper and beans, then bake for another 5-10 minutes until golden.
- Fill and bake the pastry case as per the individual recipe you're following – I have a few suggestions below this recipe card!
For pies and mini tarts:
- For mini pies, roll the pastry to the desired thickness and use a pastry cutter to cut out the shapes you need. Re-roll any excess and repeat until all the pastry is used up. If it gets a little dry and crumbly, wet your hands slightly and work the pastry so it moistens a little. If it gets too sticky, chill it for 10-15 minutes before rolling.
- For a golden pie top, brush the pie lid with a beaten egg before cooking. For sweet pies you can then also sprinkle with a little sugar too!
Video
Notes
- It’s important to use cold fat in this recipe – if the butter becomes too warm if will affect the pastry’s texture.
- I always use the FREEE by Doves Farm plain gluten free flour blend for this but any gluten free plain flour or all purpose flour blend should work.
- You can use a mixture of 110g unsalted butter and 110g Lard/Cookeen if you prefer. Add the lard/Cookeen as you would the butter – cold and cubed.
- Check out the FAQs below this recipe card and leave me a comment if I haven’t answered your question!
Nutrition
Frequently Asked Questions
In case you have any questions, I’ve listed a few FAQs about my gluten free pastry recipe below.
As always, if you can’t find the answer you’re looking for, please leave me a comment and I’ll do my best to get back to you with the answer!
This recipe can easily be made dairy free by using either a dairy free margarine (go for a harder one) or lard/Trex/Cookeen instead of butter. Make sure you use dairy free milk to brush any pie lids as well.
This recipe relies on egg so is currently not vegan. I haven’t found a vegan pastry recipe I’m happy with yet but when I do, I will share it!
Yes! This gluten free pastry dough can be made and frozen – then defrost it and roll it out when ready to bake. You can also make this gluten free pastry 1-2 days ahead of time and then pop it in the fridge until you want to bake.
Any cooked gluten free pastry items can usually be frozen dependant on the filling – check the individual recipes for advice on this.
The xanthan gum is really crucial to this recipe. I tested multiple variations of this gluten free pastry and without the xanthan gum it just crumbles. It helps to replicate the texture of gluten and is what makes this pastry so pliable!
Yes! If you struggle to use your hands to rub the pastry mixture together, or just don’t want the mess, you can simply use a food processor to blitz the flour and butter mixture to a breadcrumb consistency instead!
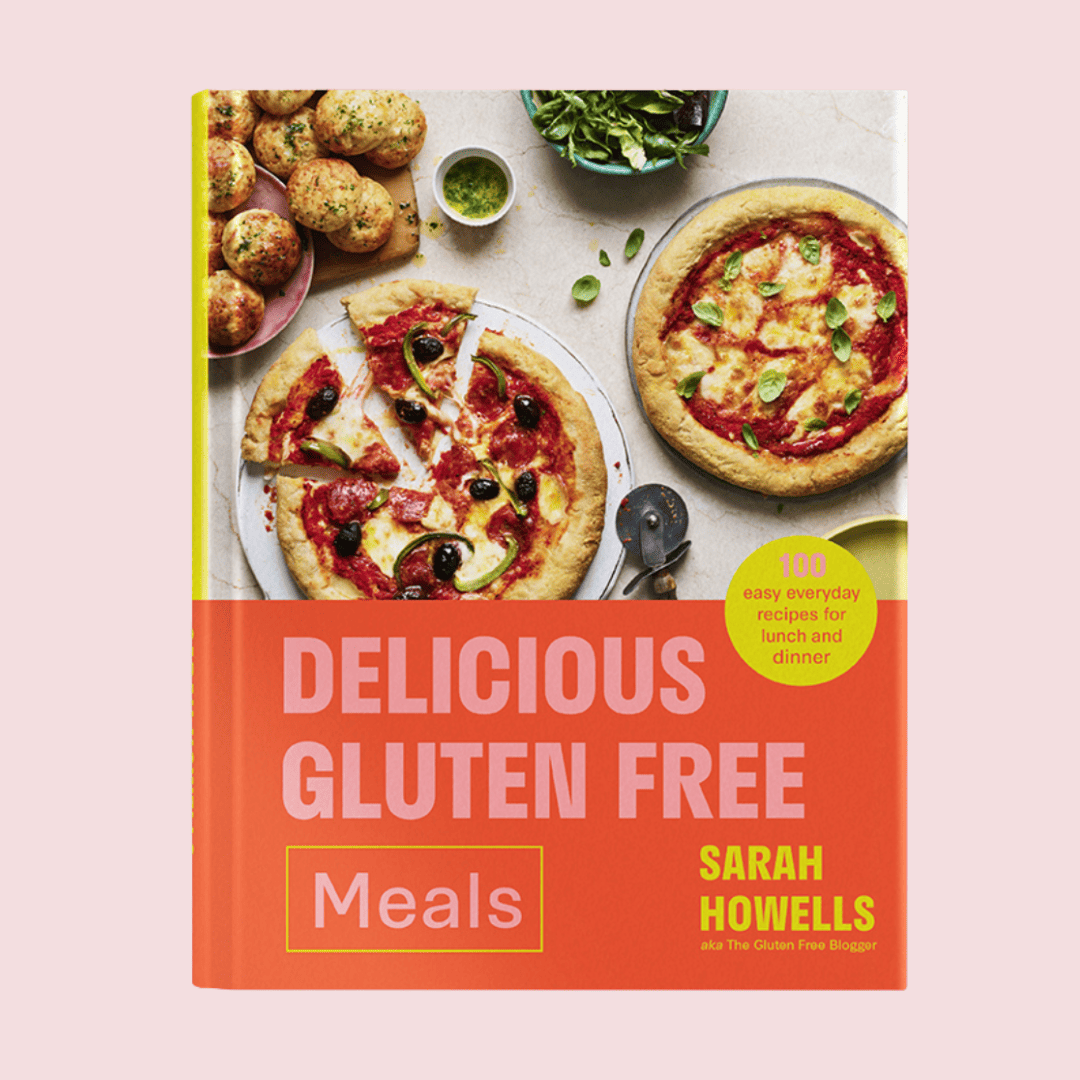
Get my cookbook!
Want more gluten free meals inspiration? My debut cookbook, Delicious Gluten Free Meals, has 100+ gluten free recipes, from breakfast and lunch ideas to dinners, desserts and sides.







Keep on coming back to this shortcrust recipe when cooking for my Coeliac mother, very good, light texture. Thank you for sharing.
Thank you for this recipe. As I do not live in the UK nor the USA I would like to make my own flour. Would you kindly list the ingredients in the flour? And the quantities too, please.
I had to throw it away as it was so wet and I didn’t have any GF flour to fix it with. I don’t think its the fault of the recioe (and will try it again tomorrow with no water) but I think GF flour & dairy free butter together are just temperamental. Used Dove’s GF flour as it’s all I had on hand (even though I find it super gritty and much prefer Schar GF flour, but Schar’s often harder to find) and Flora plant ‘butter’ block direct from the freezer, and even before adding the egg and water it was a soft dough and I added the water and egg mix and it turned into almost the consistency of whipped icing (it literally audibly squished and felt wet when I added the water and egg mix)
I know extra GF flour probably could have saved it, but I had no more GF flour as I used it all for the dough.
Every pastry type recipe I try with DF butter block (mostly from the freezer) and GF flour just never work. Always goes so oily. Unless I roll it between parchment (which I struggle with as I have motor skills issues, and the parchment keeps coming back up, and also getting it even) and even sometimes if I mamage to to it gets so oily it’ll stick to the surface, and the rolling pin and itself. Even rolling it back up, throwing it in the freezer for 5-10 mins (any longer and jts frozen solid) or in thr fridge for an hour and as soon as I start rolling it, same issue. Even when I cut out the shapes, I can’t pick them up off the parchment as they melt amd collapse. Even things like shortbread dough, same issue. Seems its the GF flour & dairy free butter combo.
I want to try a recipe like yours with xantham gum as apparently (I posted in a Facebook group) it might stop it being so oily when rolled out. ( I cant eat gluten, and to a lesser exent, dairy)
So I am going to try this again tomorrow without water when I can get more GF flour. But do you have any idea why DF butter and GF flour do this and how to deal with it? I’ve even tried switching vegan butter block brand but jt didn’t help.
Just made this and so happy with the results! Has to be the best pastry I’ve ever made even pre coeliac days! Thanks so much for this one and all the others over the past year your Facebook page and group have rescued me from despair when diagnosed 😁
How many eggs do you actually use? Your video only shows you using 1, but your recipe calls for 2.
2 eggs as per the recipe
I tried this crust last year, and cannot have egg, so used a Chia Egg replacement. I don’t actually know how it feels with an egg because I haven’t done that at all, but the Chia egg turns out ok.
Glad to hear it worked well with the chia egg replacer!
I’ve not found any gluten free flours that do not already contain xanthan gum in my area. Can I use the 1 for 1 that contains Xanthan gum? If so, would I have to add extra Xanthan gum?
I agree with Chris Whipple it can’t find a reply, do I need to add xanthan gum if my one to one flour already has some.
Thank you
Gillian Copeland
I am looking forward to baking this for an event soon. I will definitely be using the lard with the butter. Back in the early 70’s I would use all lard for my pastry (pre coeliac) and would get great comments every time. My question is the 2 medium eggs. I only have large eggs. Do you know where I can find how much beaten egg I would need to remove from my 2 large eggs to equal 2 medium eggs, please?