This post may contain affiliate links for which I earn a small commission at no extra cost to you. For more info, check out my Disclosure Policy. Thank you for your support!

I love a good flapjack but nothing beats chewy, gooey, delicious Banana Flapjack. This was the first flapjack recipe I ever shared on my blog and for good reason. Packed with ripe bananas and peanut butter, these flapjacks are so moreish! And completely gluten free.

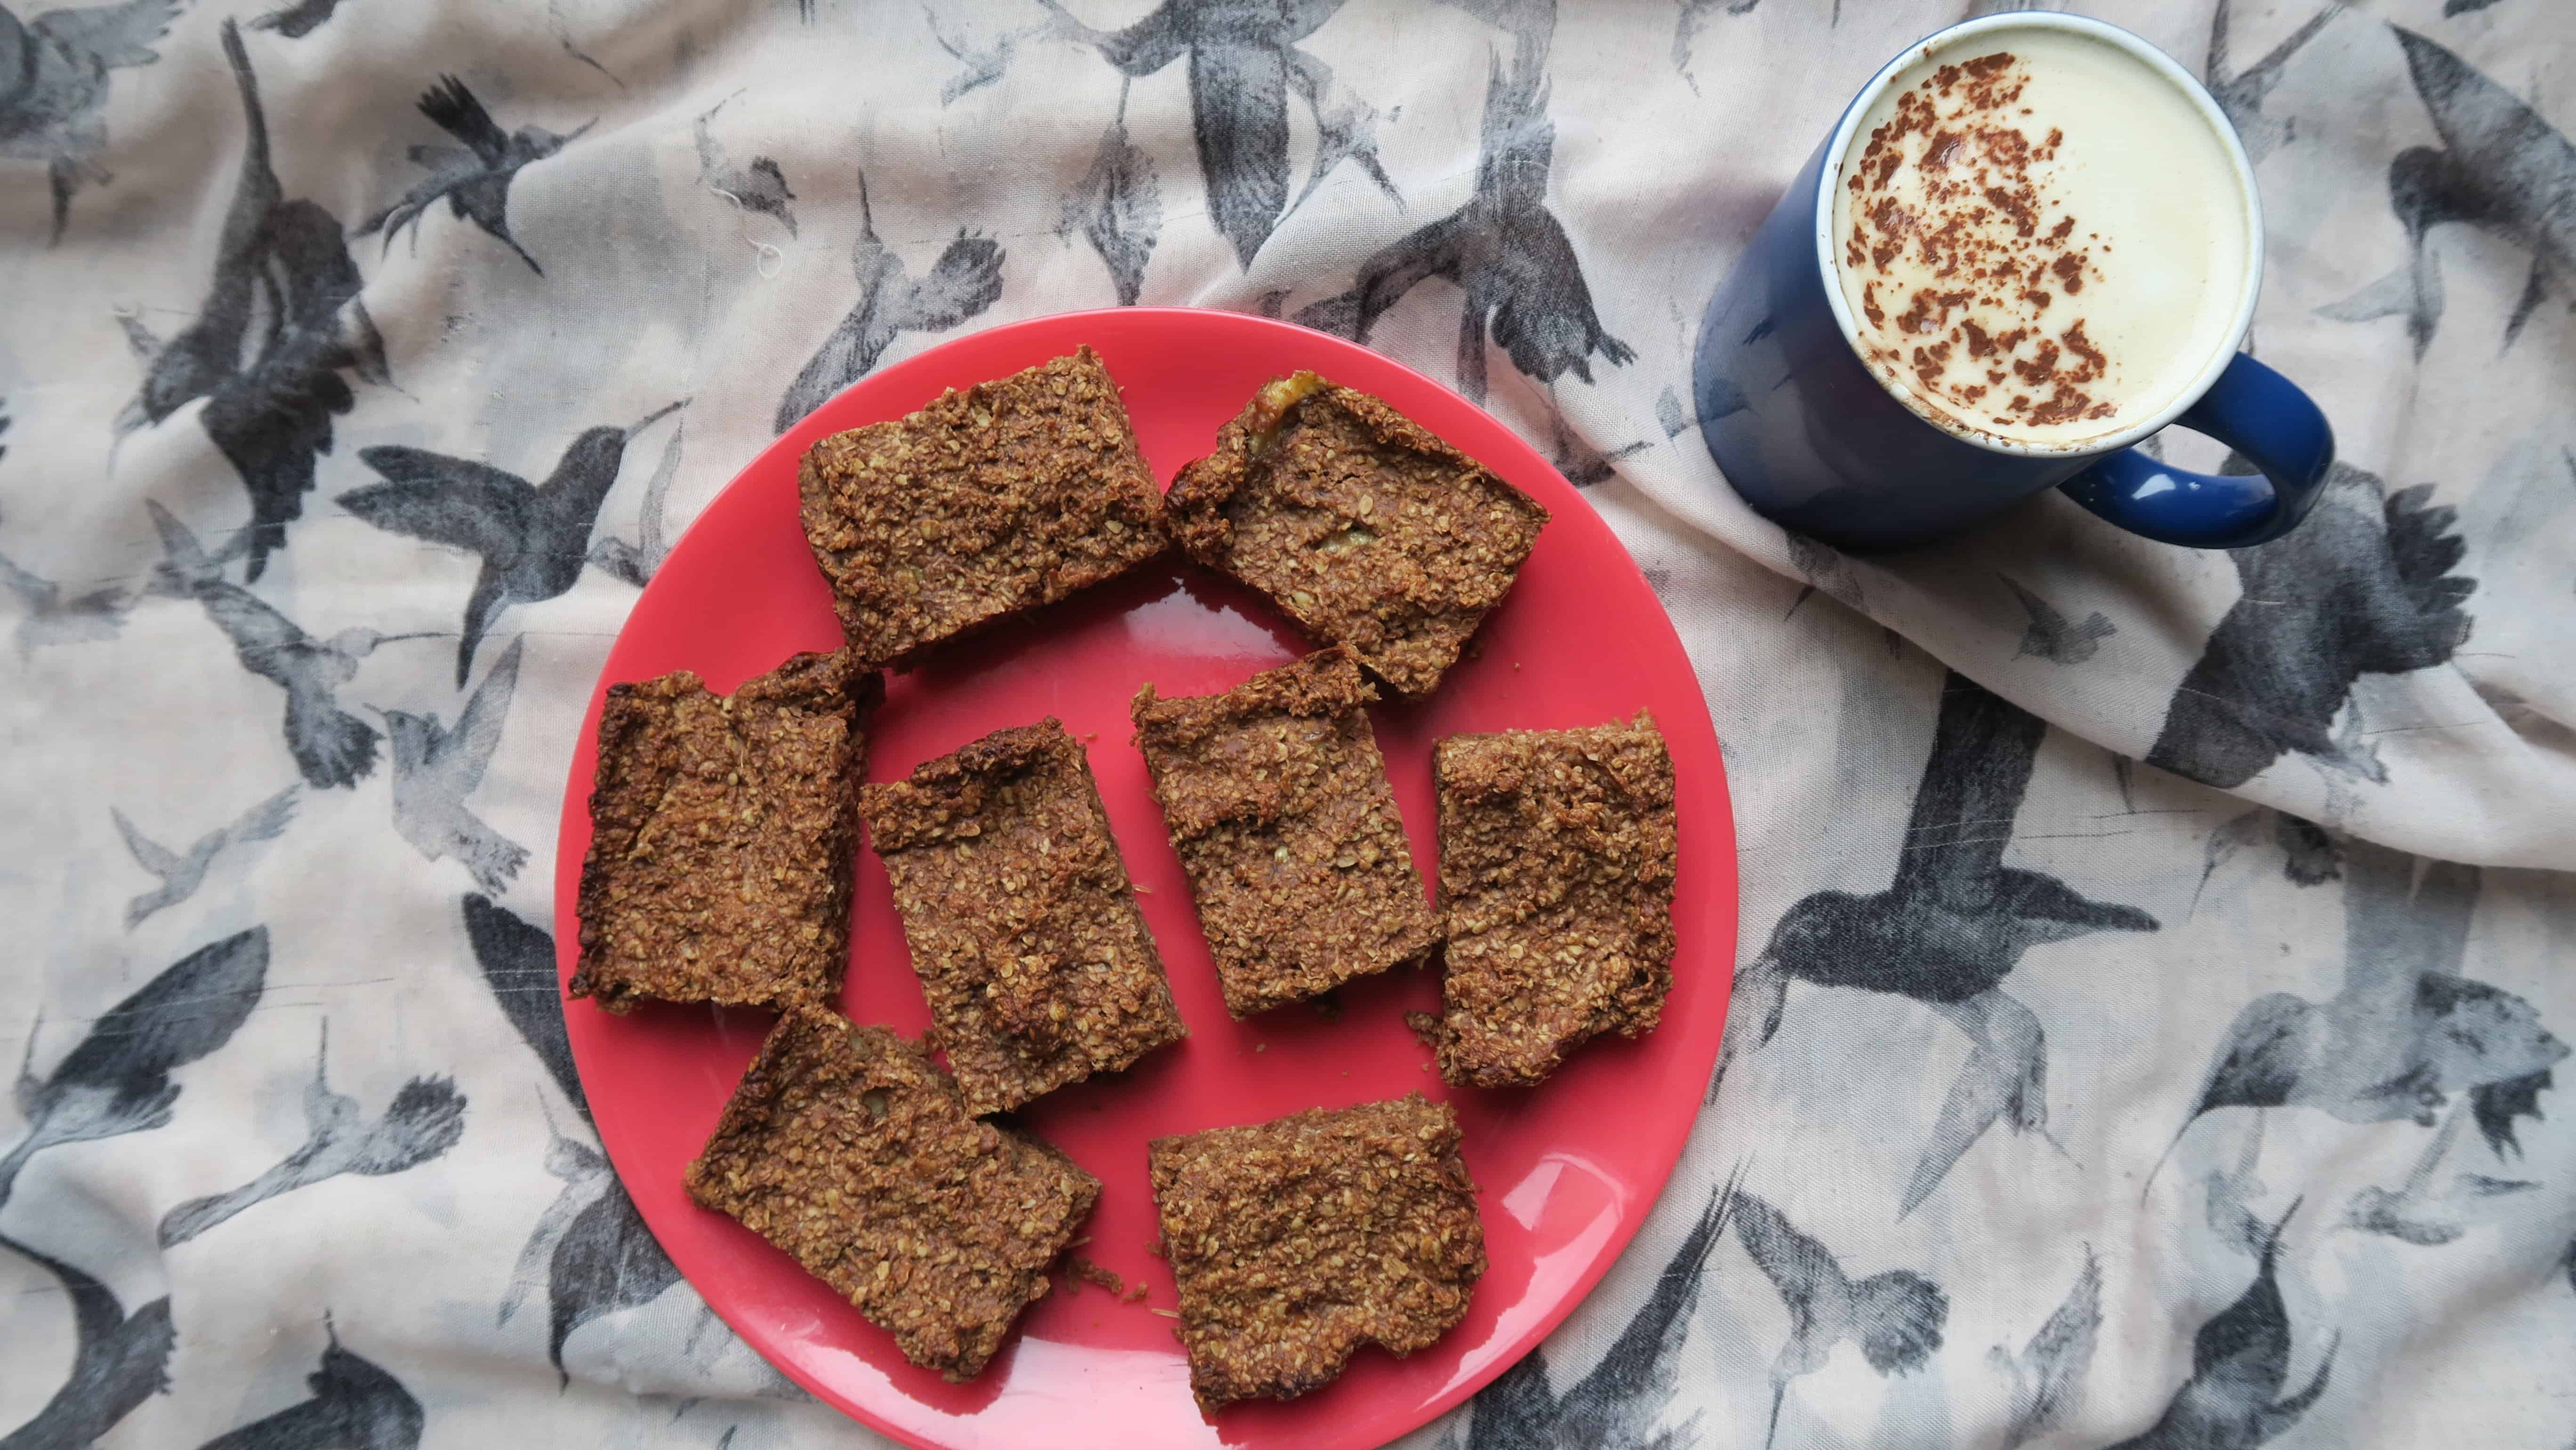
Bars of banana flapjack.
Want to save this recipe?
Just enter your email and get it sent to your inbox! Plus you’ll get new recipes from us every week!
Please enable JavaScript in your browser to complete this form.

I’ve made this gluten free banana flapjack recipe pretty much every month since I first published it waaaay back in 2016.

There’s something about how syrupy sweet and chewy the bananas make homemade flapjack, it’s just dangerously addictive.

Whether you want a pre-workout snack or an easy lunchbox filler, I just love these banana flapjack bars and I can’t get enough!

I made my simple banana flapjack with peanut butter, as well as gluten free oats, to make them completely coeliac-friendly and a great, filling bake.

I’ve tweaked and played with the recipe over the years so now I’ve given it a bit of a revamp so you can enjoy these delicious gluten free treats as much as I do!

If you love these, check out my failsafe basic gluten free flapjack recipe, my chocolate chip flapjack and my decadent chocolate and coconut flapjack next.

And if you’ve got leftover ripe bananas you can always have a baking session and use them in my gluten free banana bread or my banana Nutella muffins.

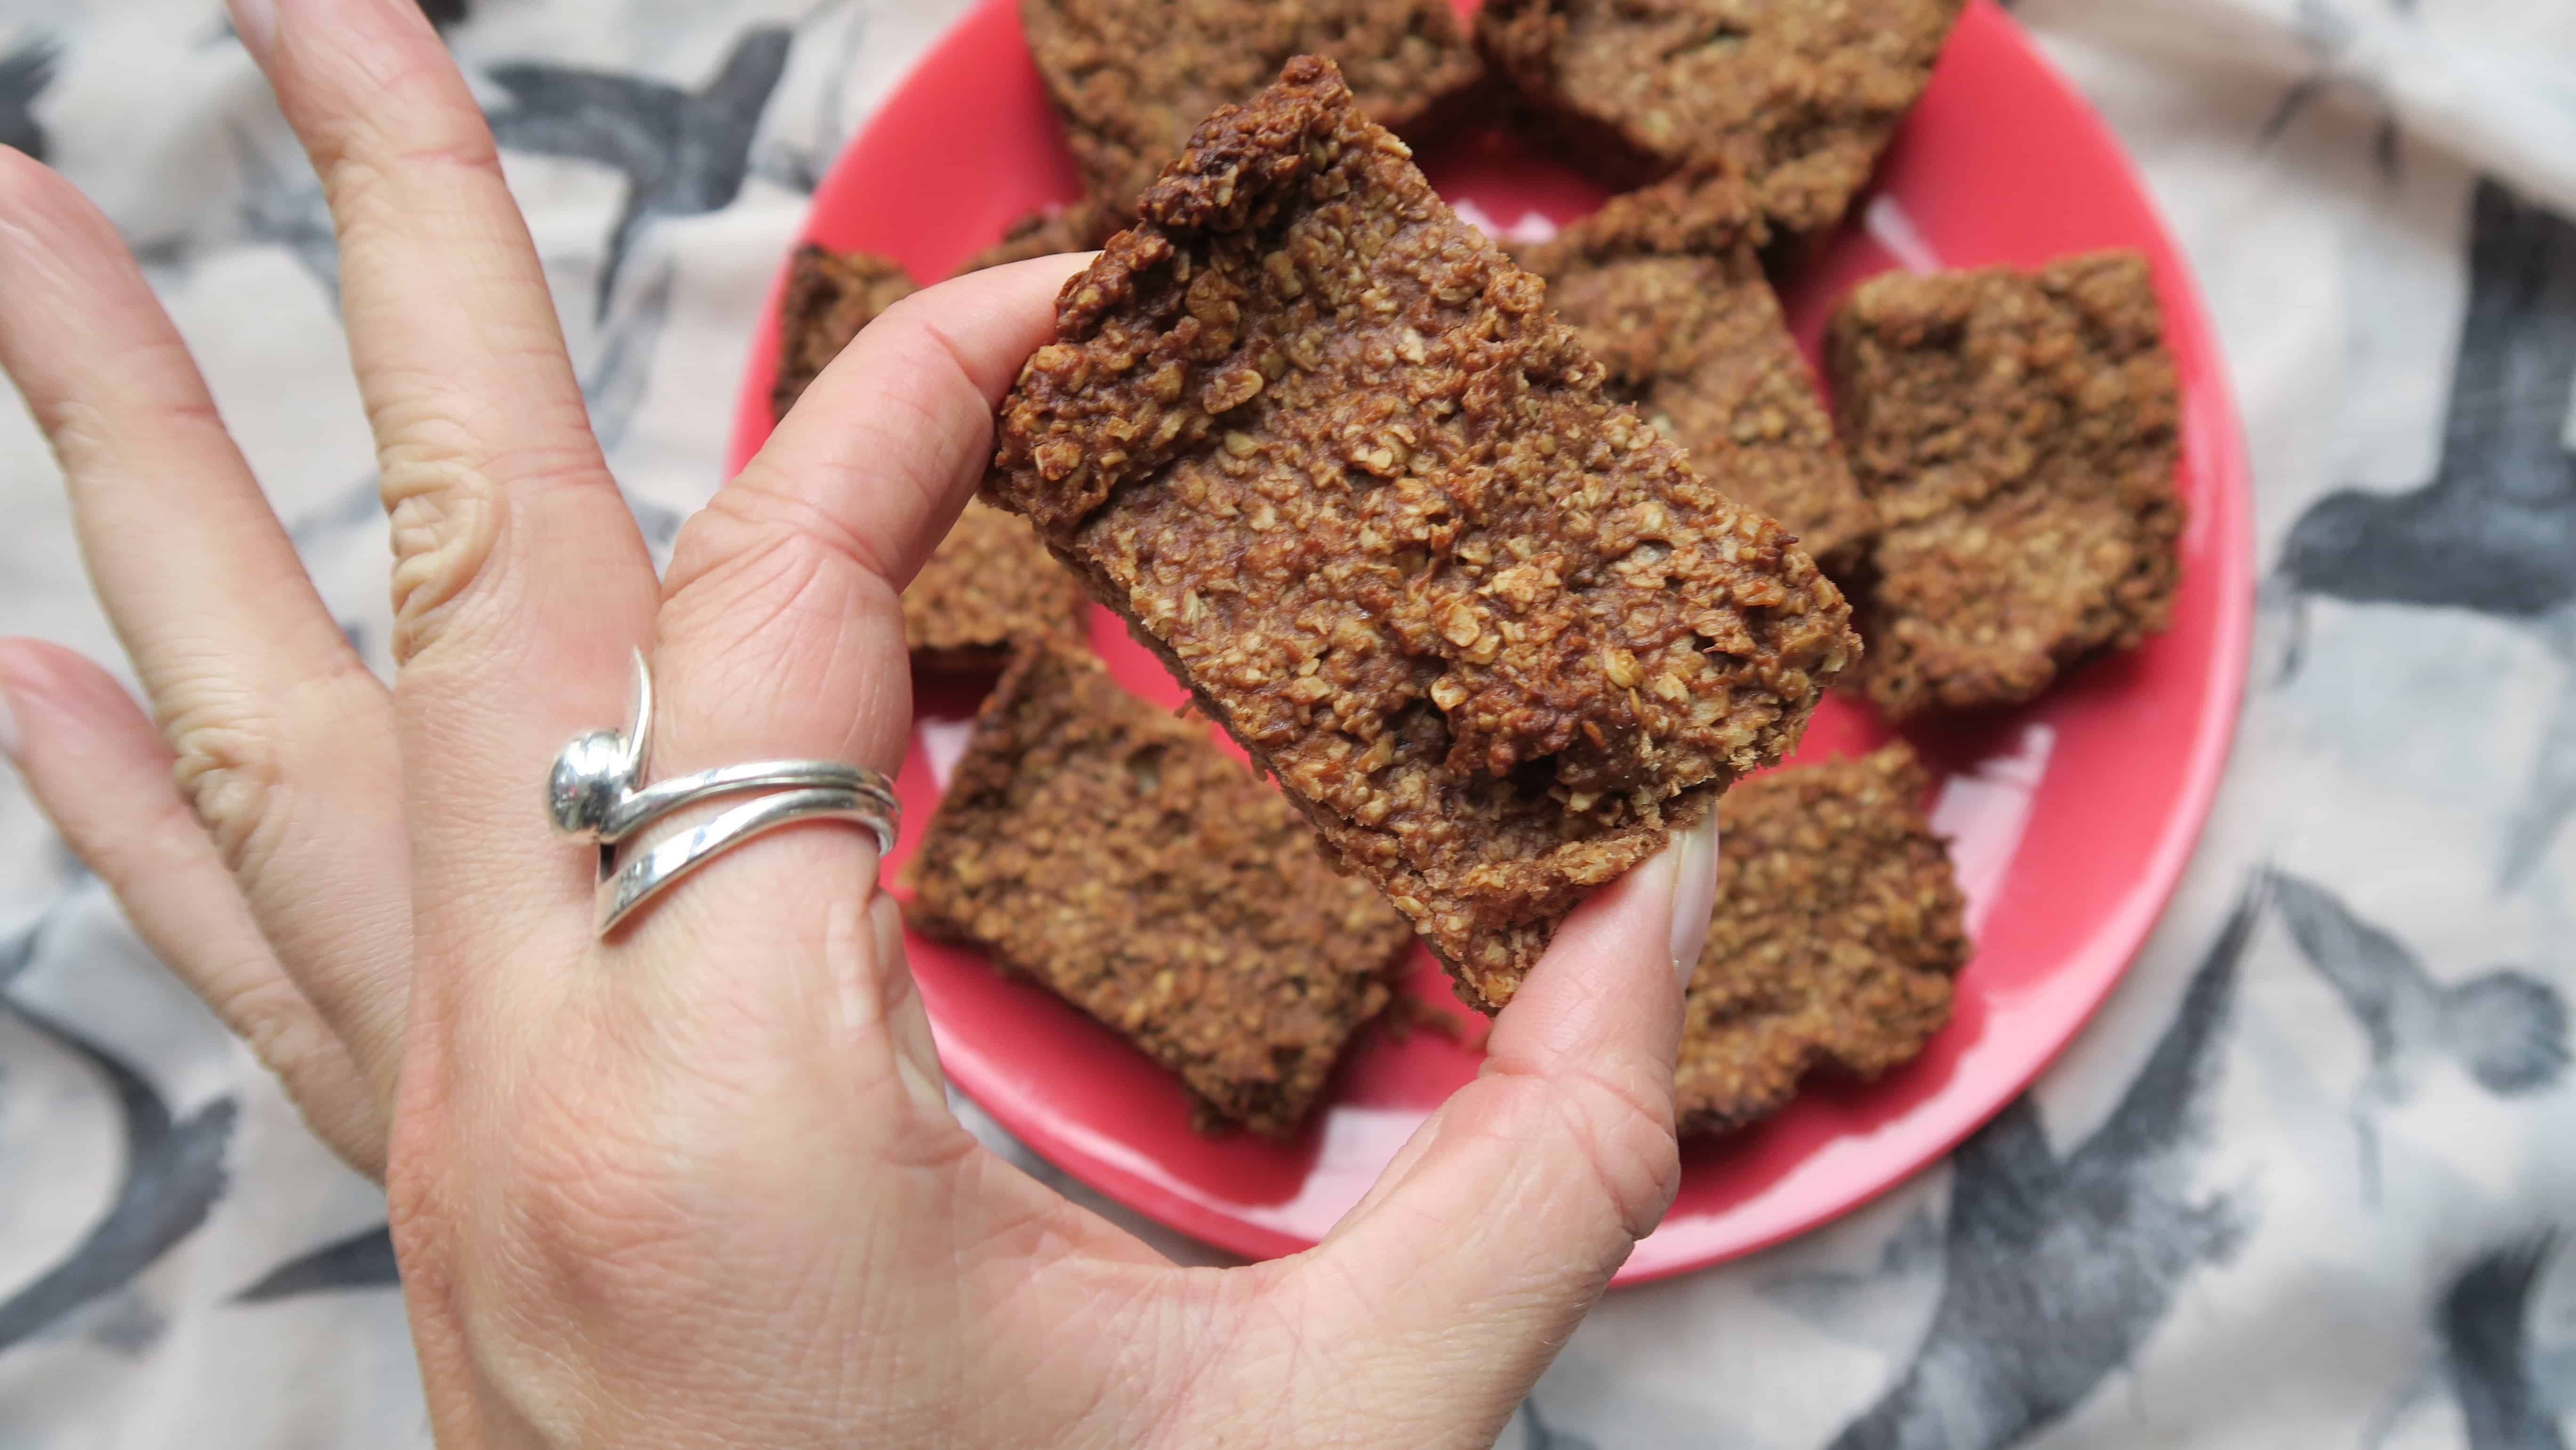
Bars of banana flapjack on a wooden board.

Ingredients

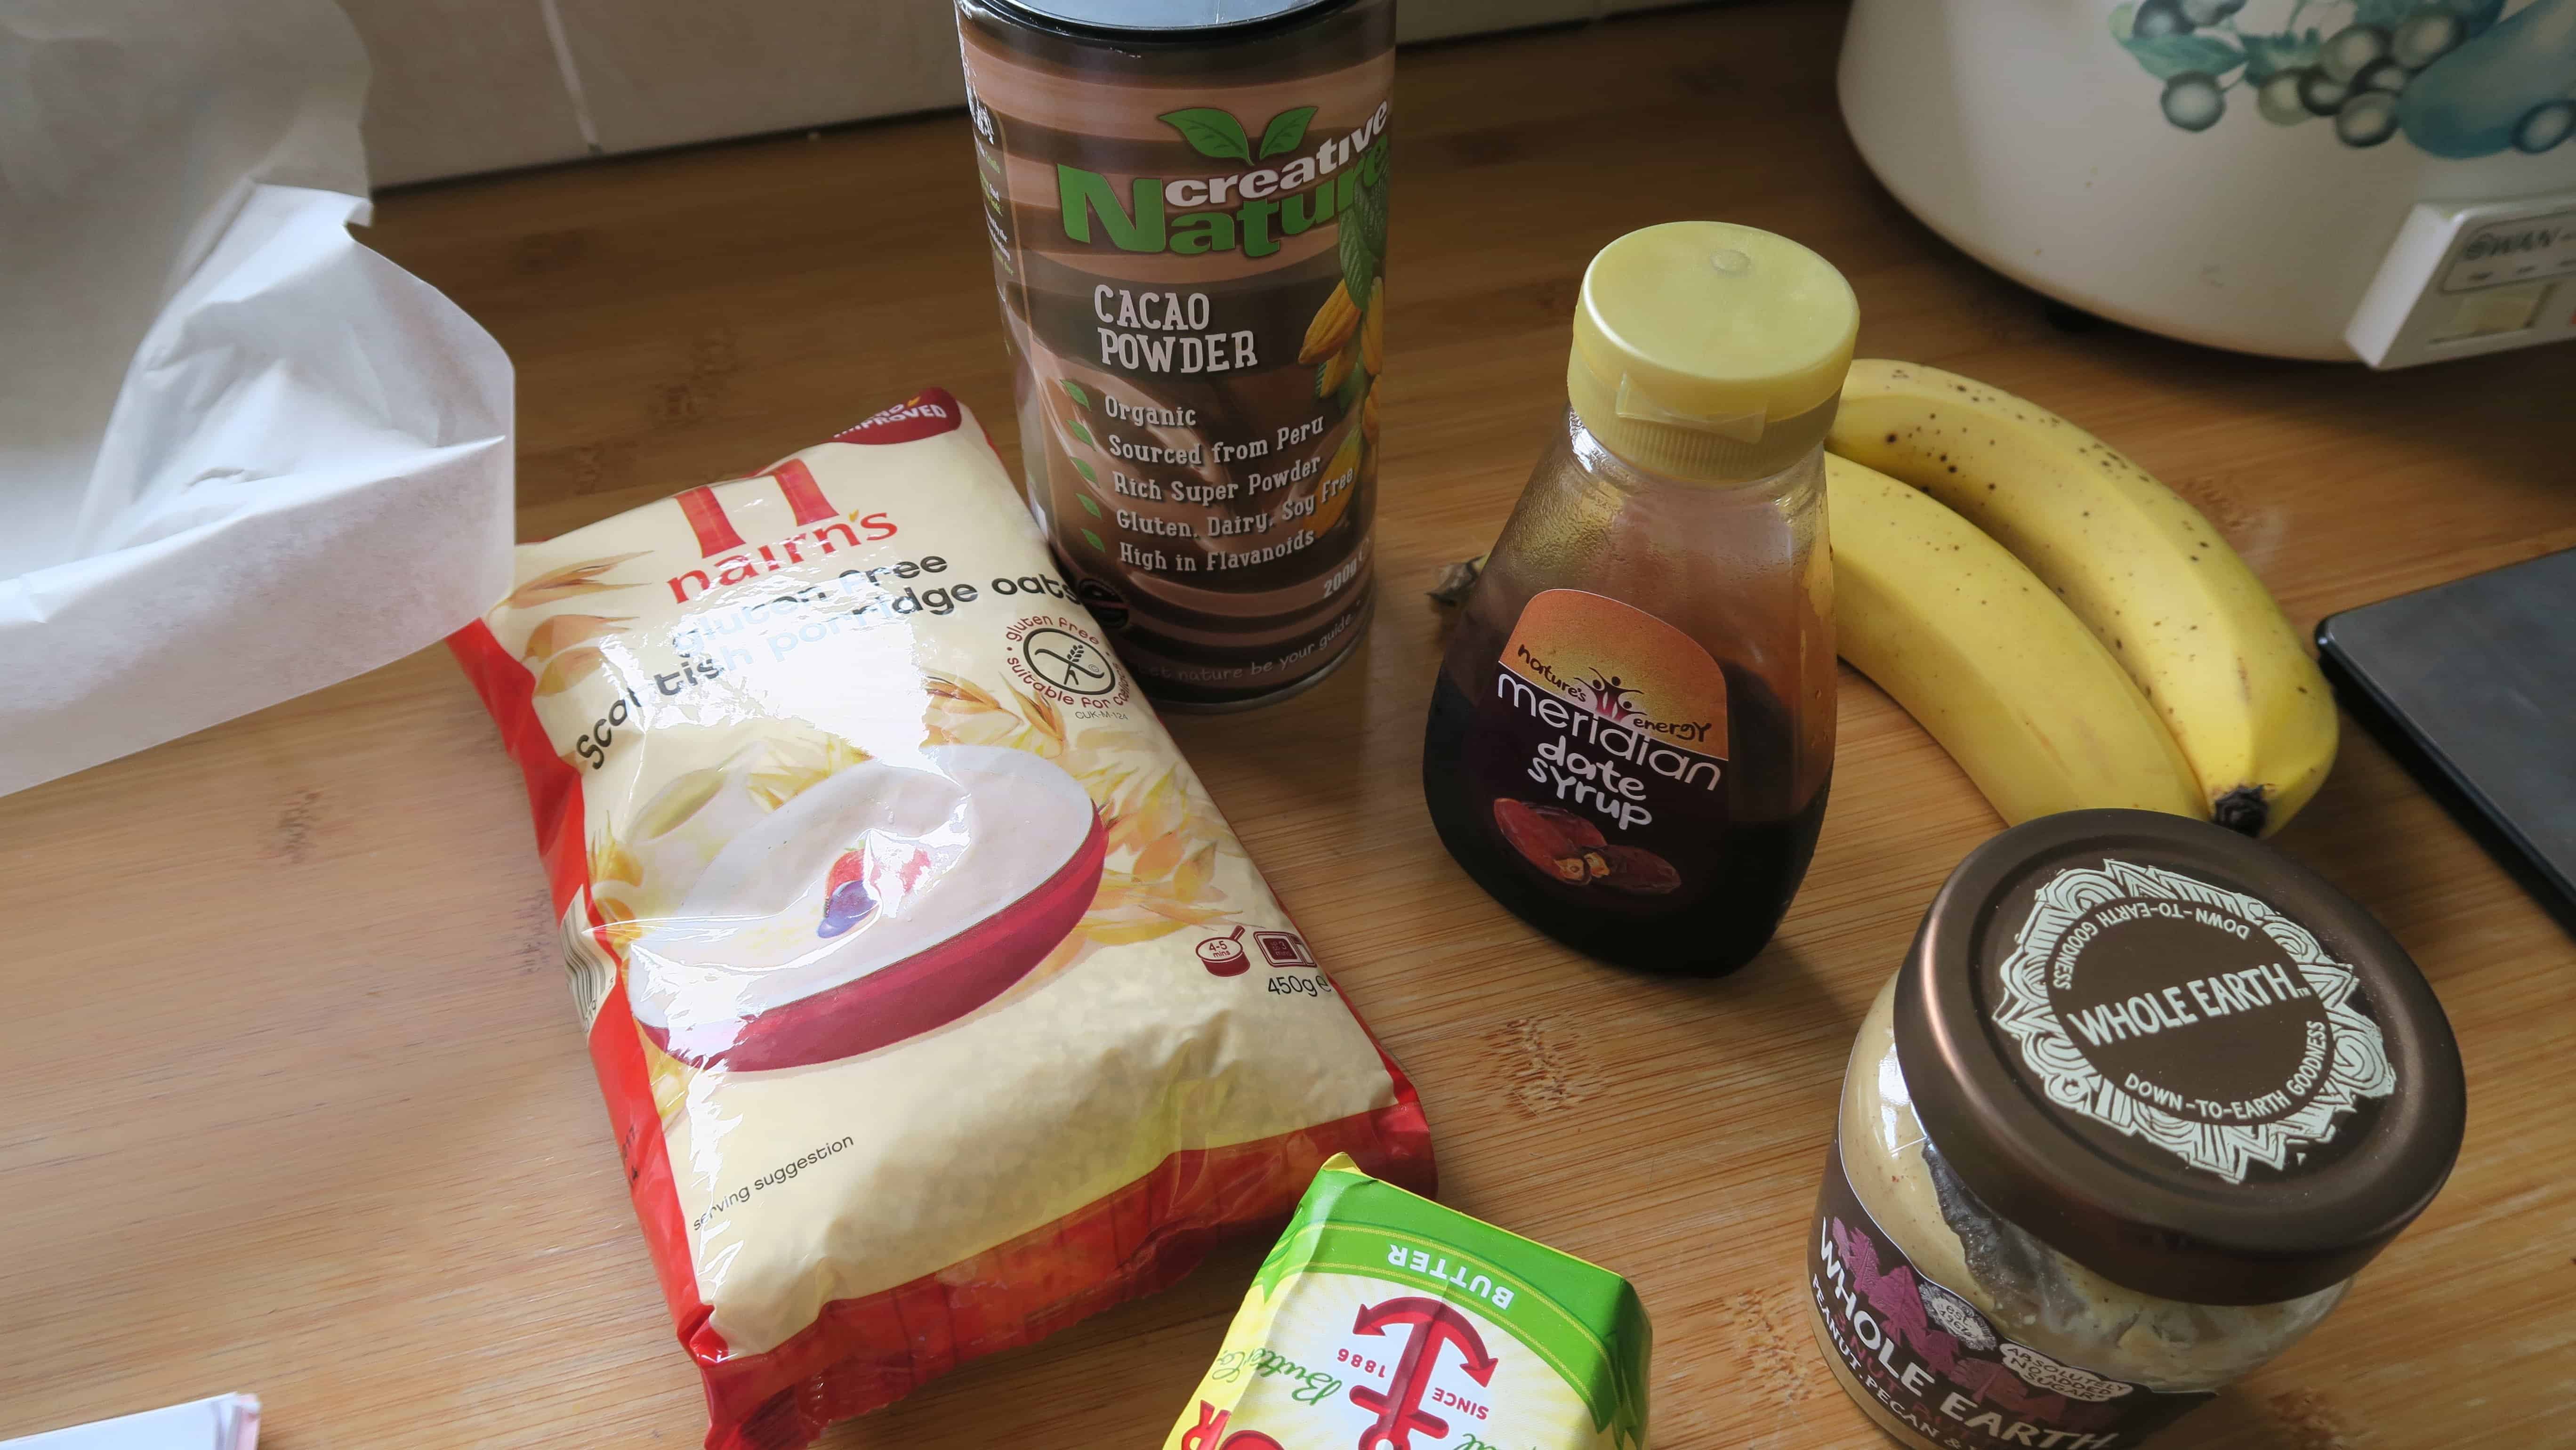
There’s a printable recipe card for these banana peanut butter flapjack recipe below. But for the shopping list you will need…

  • Butter: Use a vegan margarine if you want a dairy free / vegan banana flapjack recipe.
  • Golden Syrup: If you can’t find this and you’re outside of the UK, look for light treacle or failing that, corn syrup.
  • Dark Brown Sugar: This gives a lovely caramel-like flavour, but granulated sugar or light brown sugar will also work.
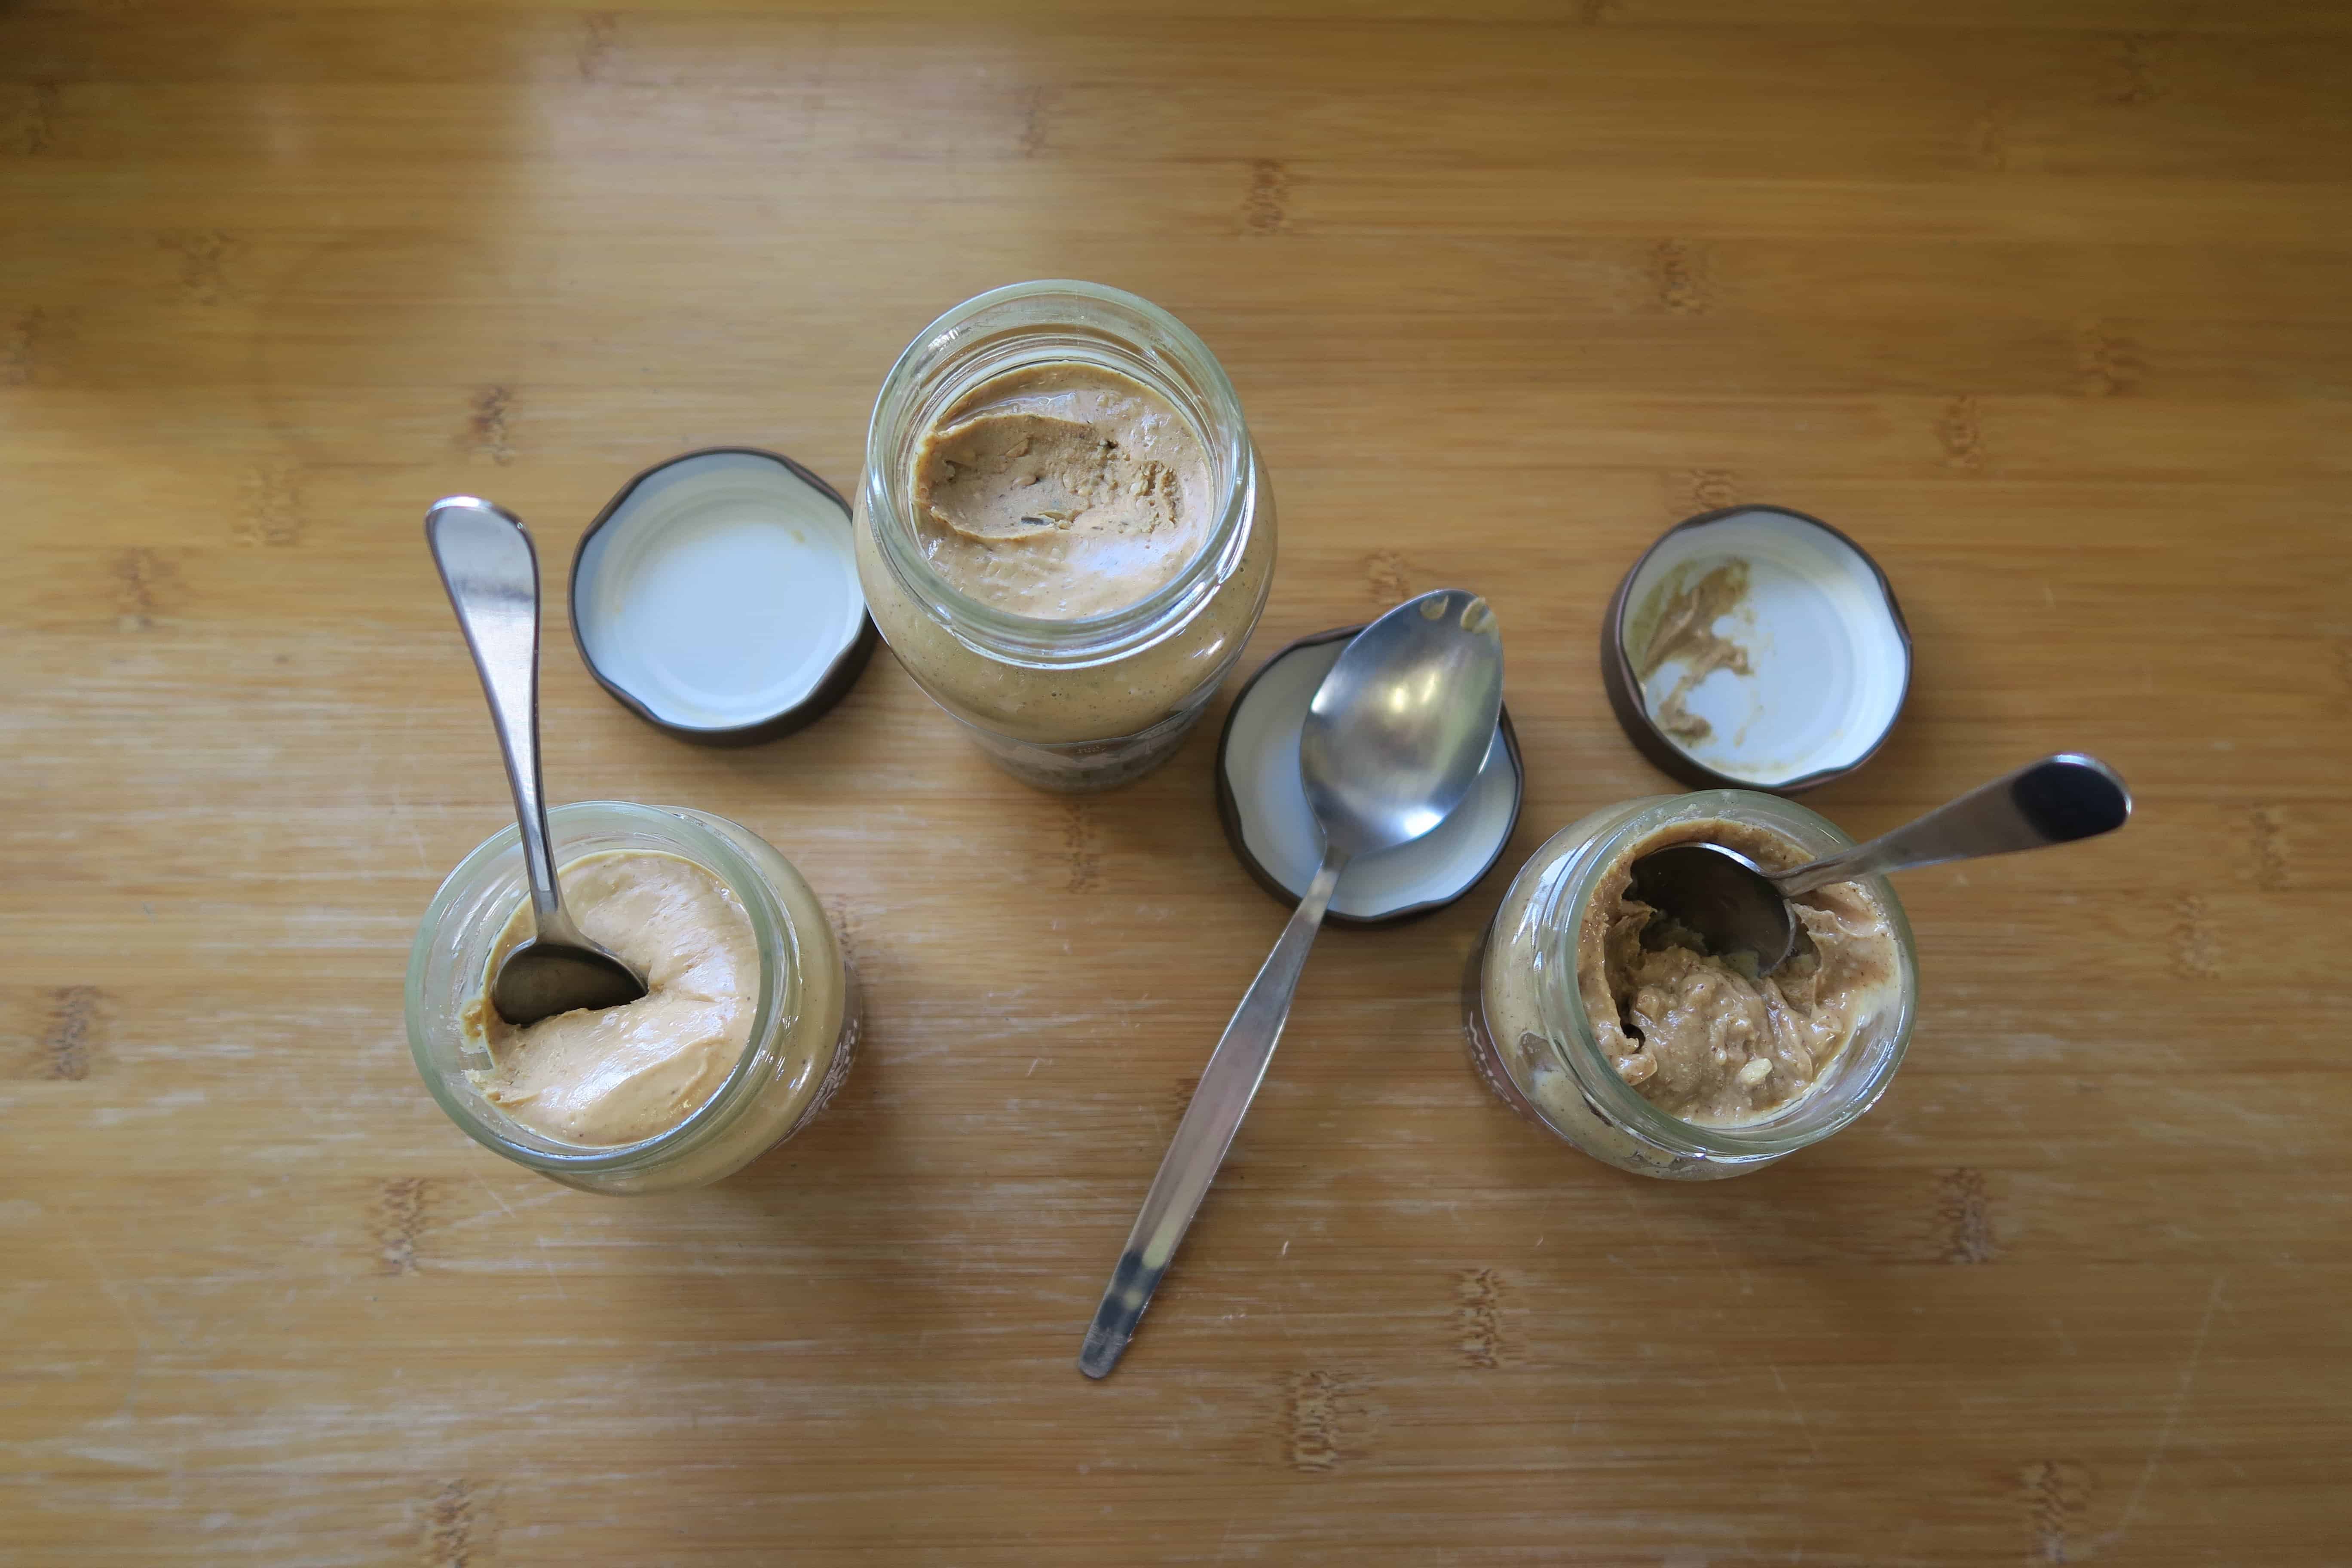
  • Peanut Butter: It doesn’t matter if you use smooth or crunchy peanut butter depending on your preference! Use almond or cashew butter for a peanut-free recipe, or omit entirely for nut free. They still work as well, I’ve done this many times before!
  • Bananas: You want your bananas to be ripe but not verrrry overripe. If they’re too black then the flapjack may go a bit soft.
  • Gluten Free Oats: Make sure you use certified gluten free oats for this banana flapjack to be gluten free and coeliac-safe.
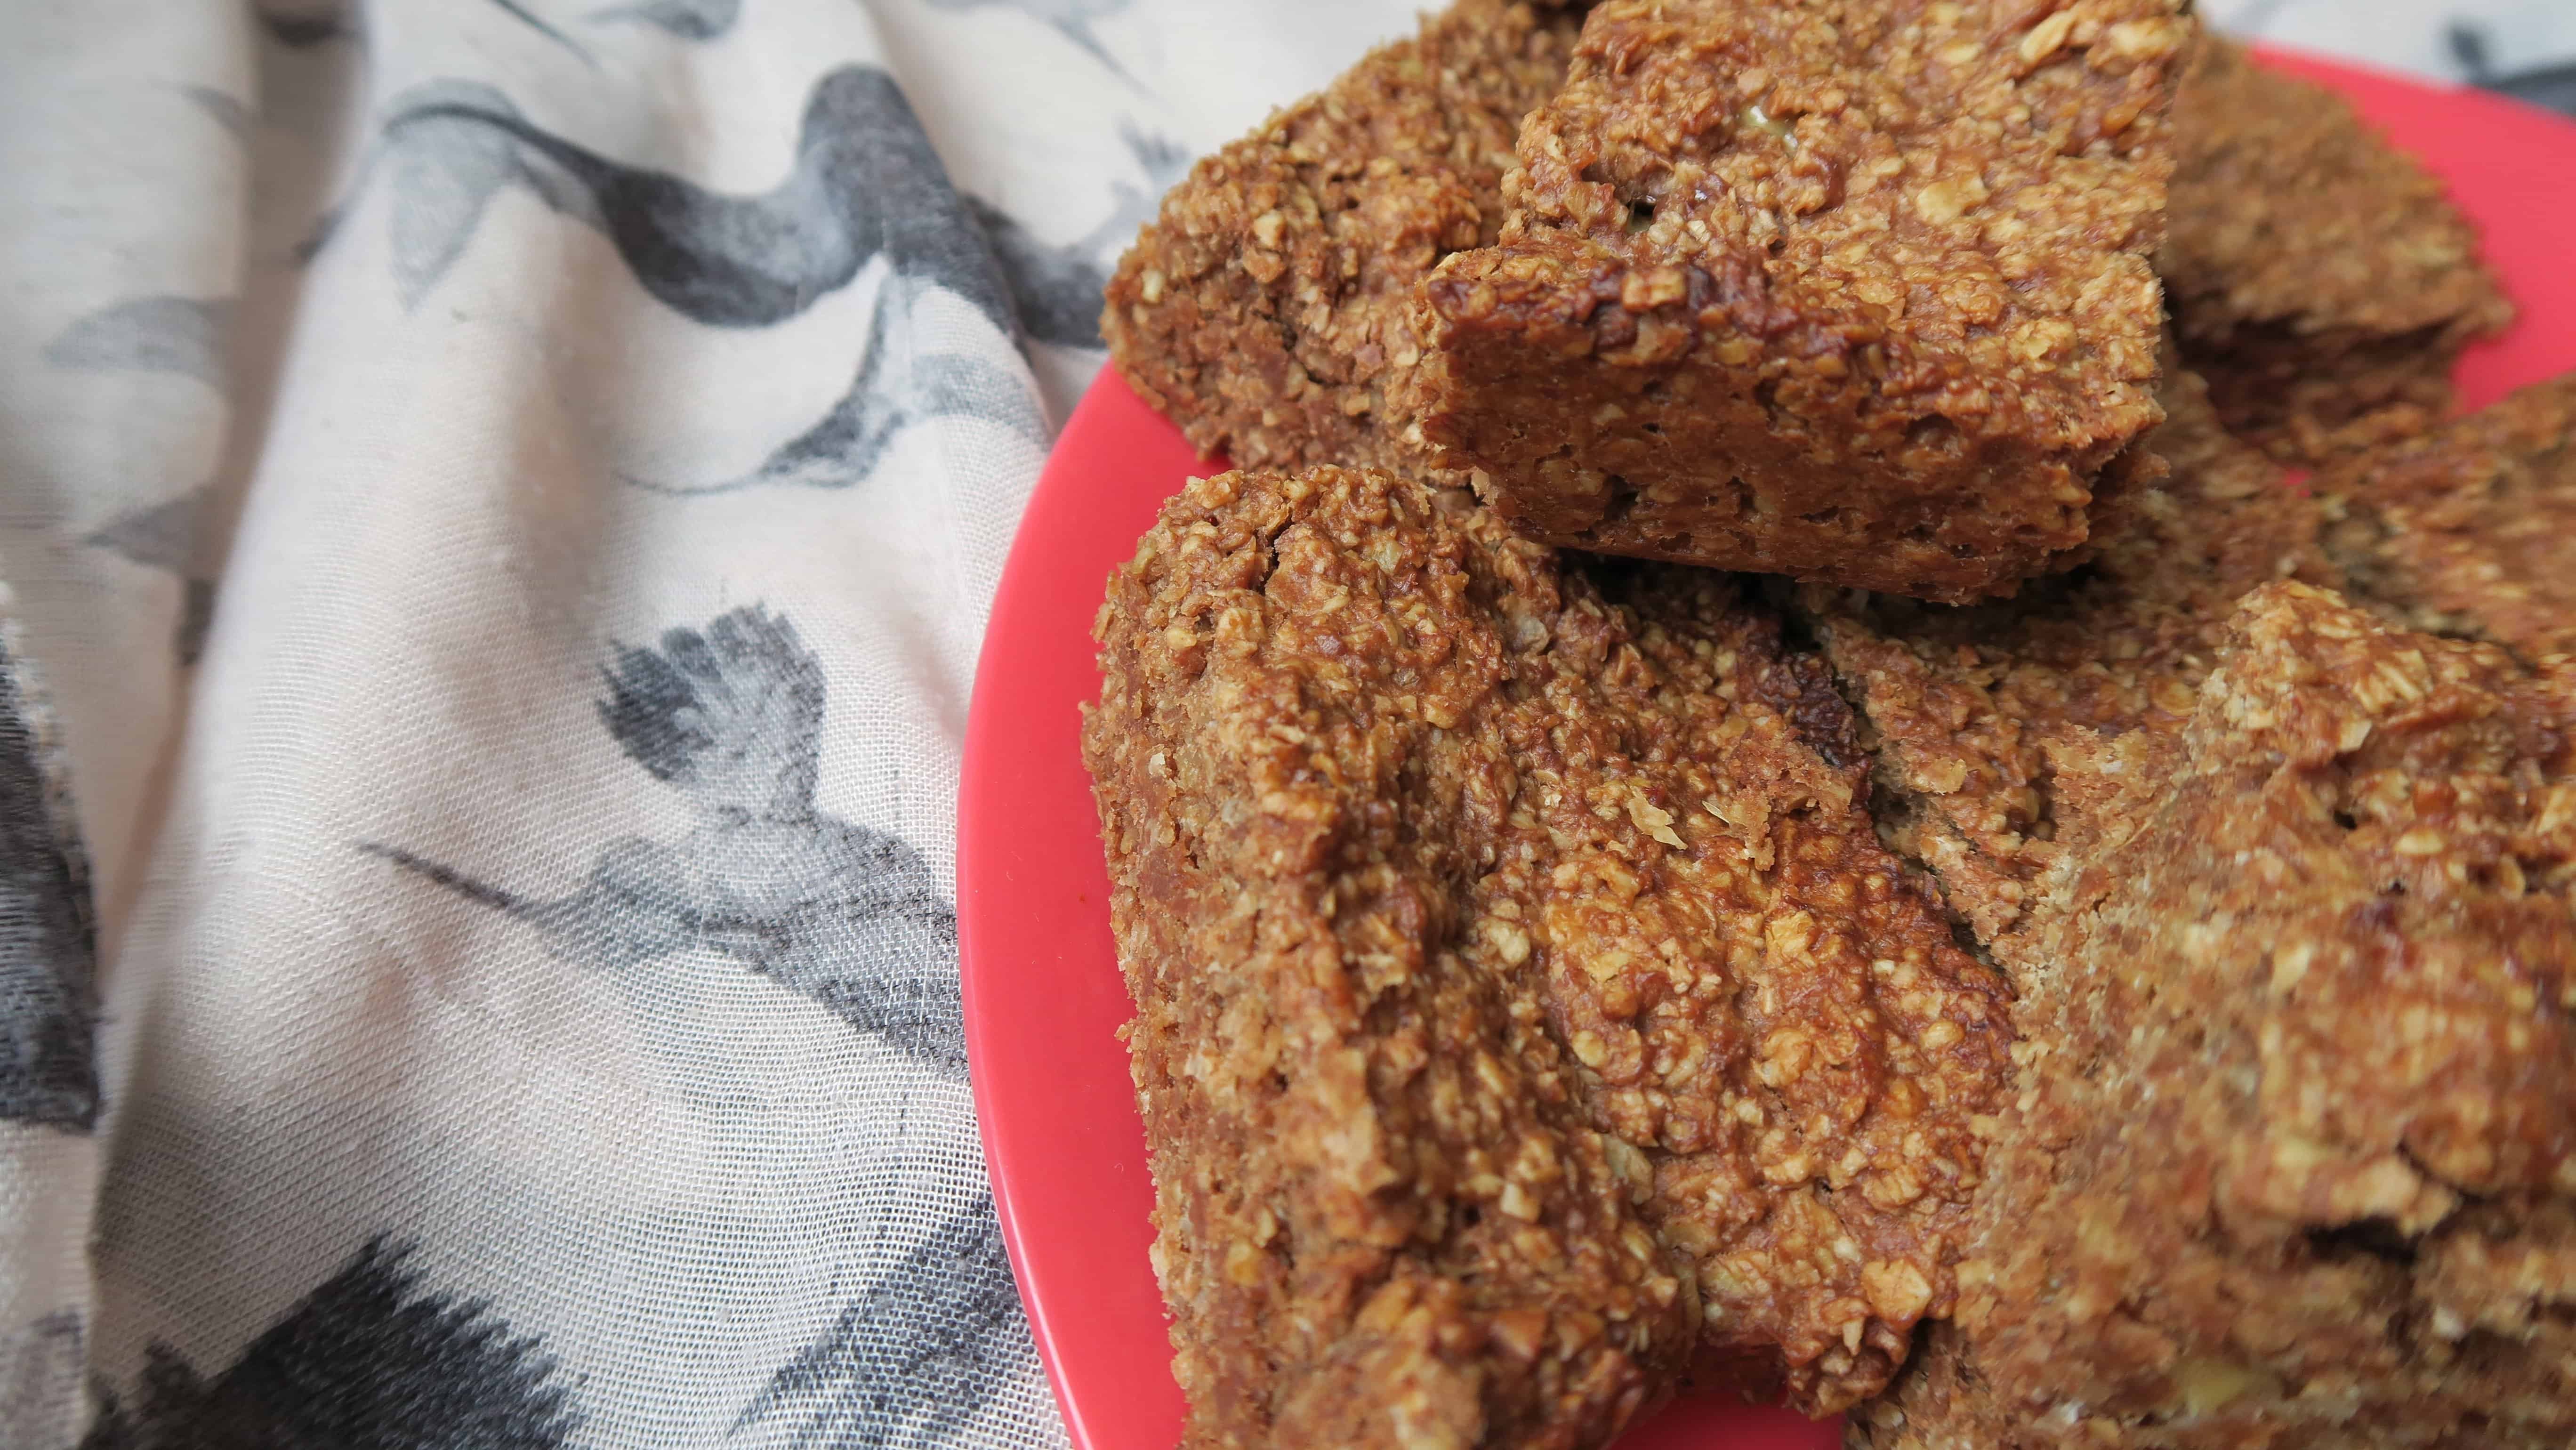
Close up of Bars of banana flapjack.

How to make banana flapjack

There’s a printable recipe card below with the method. But here are some step-by-step photos to show you how easy this banana flapjack with peanut butter is to make:

Preheat the oven to 180‘C / Gas 4/ 160’C Fan. Line an 8-inch/20cm square baking tin with baking paper and set aside.

Peel the bananas and mash them up in a bowl using a fork. Set to one side.

Making banana flapjack by mashing bananas and melting the butter and syrup.

To a large saucepan, add the butter, sugar, syrup and peanut butter. Heat over a low heat, stirring constantly, until the butter has melted. Remove from the heat.

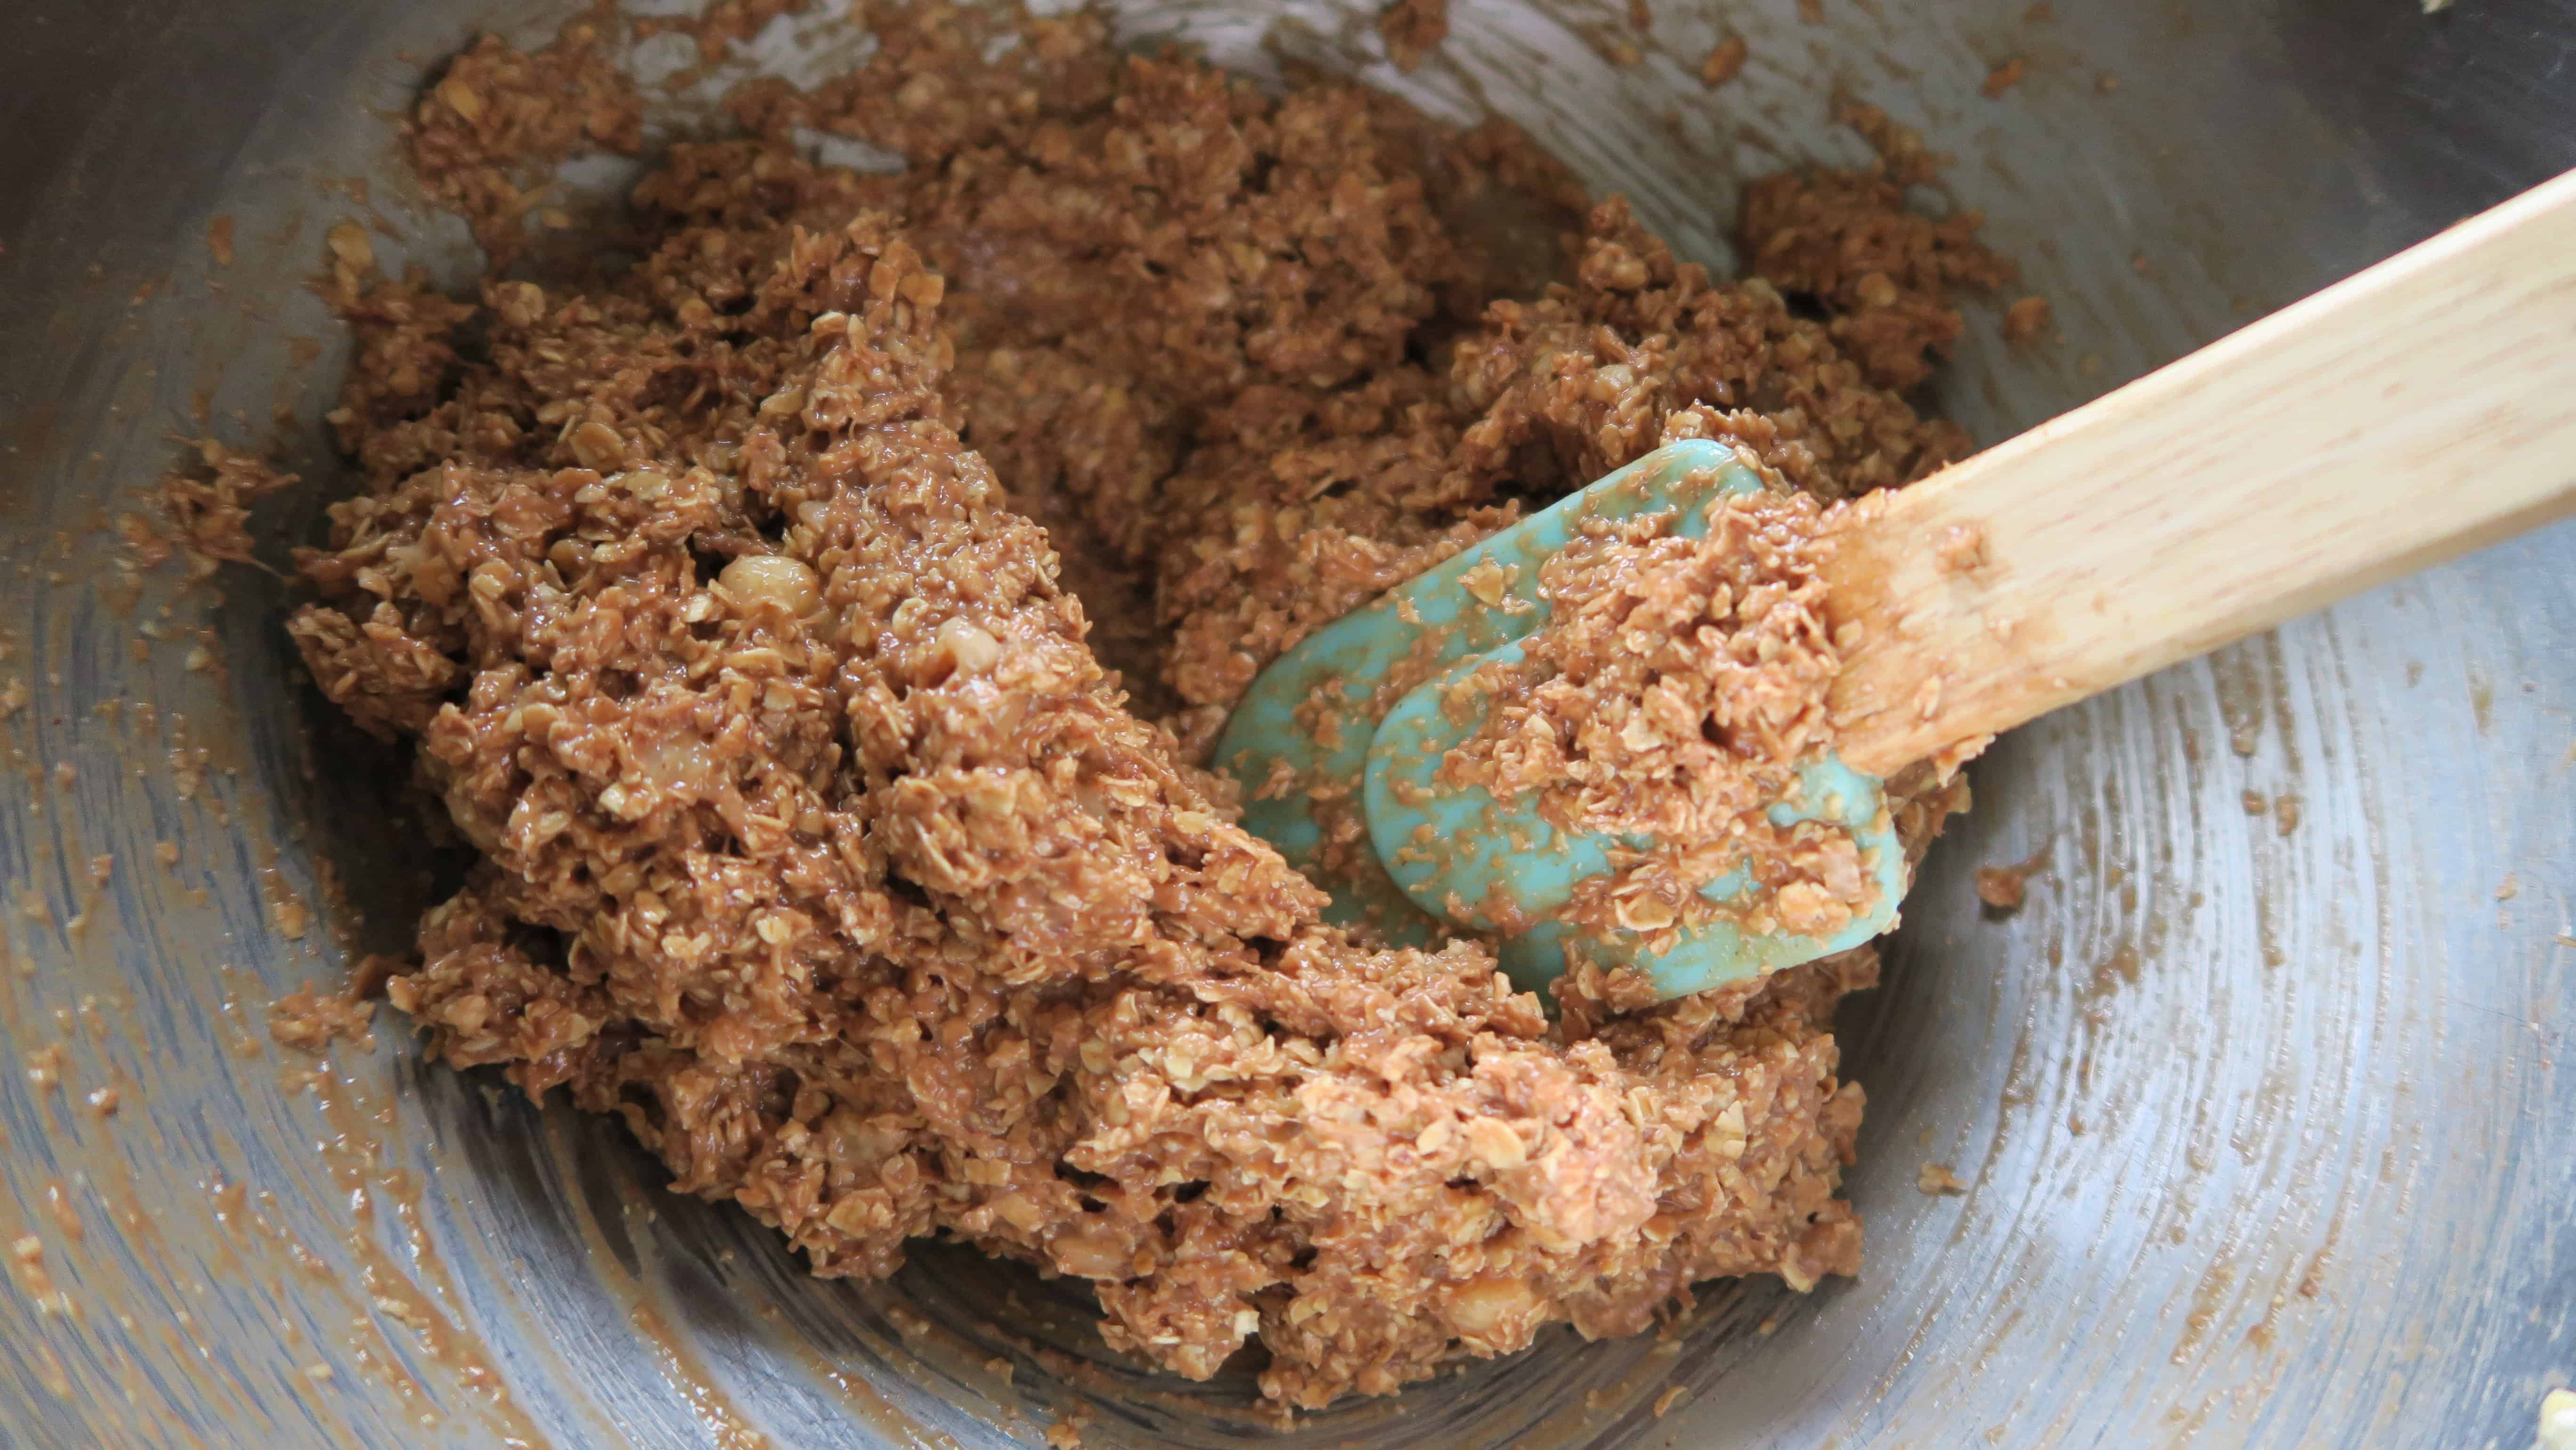
Add the mashed banana and mix until combined. Then add the oats and mix again until there are no dry patches.

Mixing the banana and oats into the melted butter and sugars.

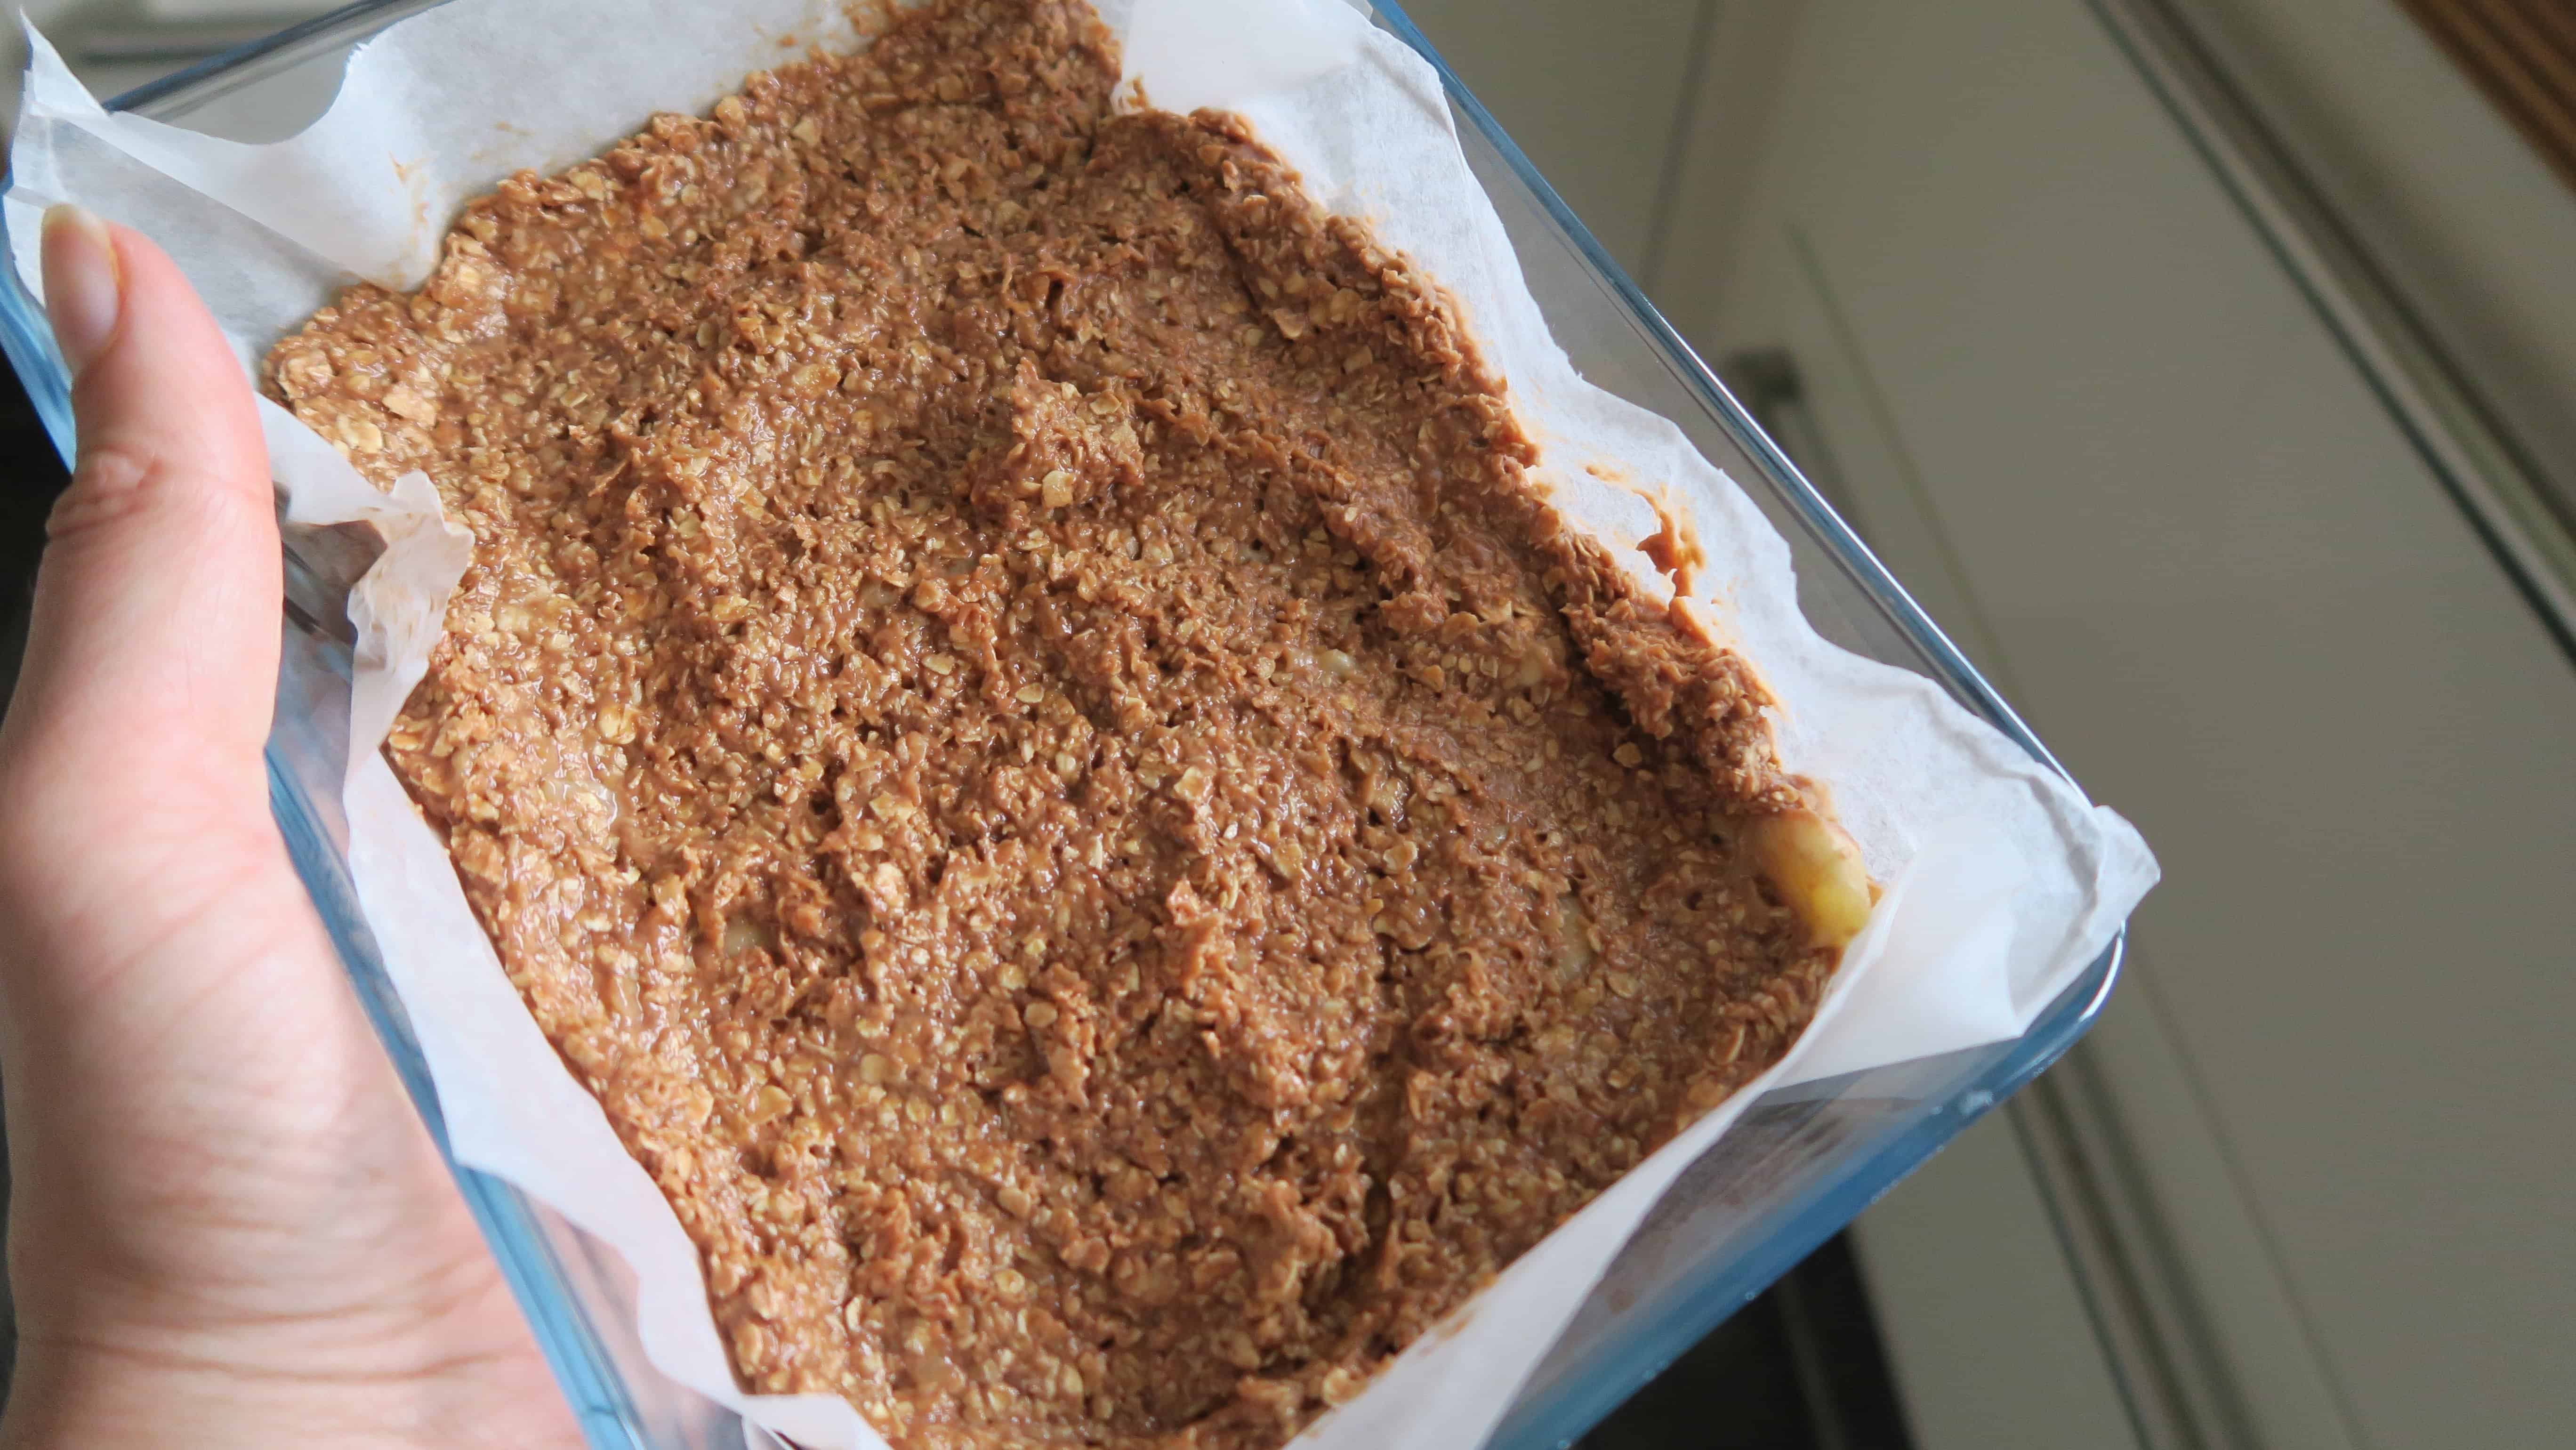
Pour the mixture into the lined baking tray and use a spoon to press the mixture down as compact as possible, and right into the corners and edges of the pan.

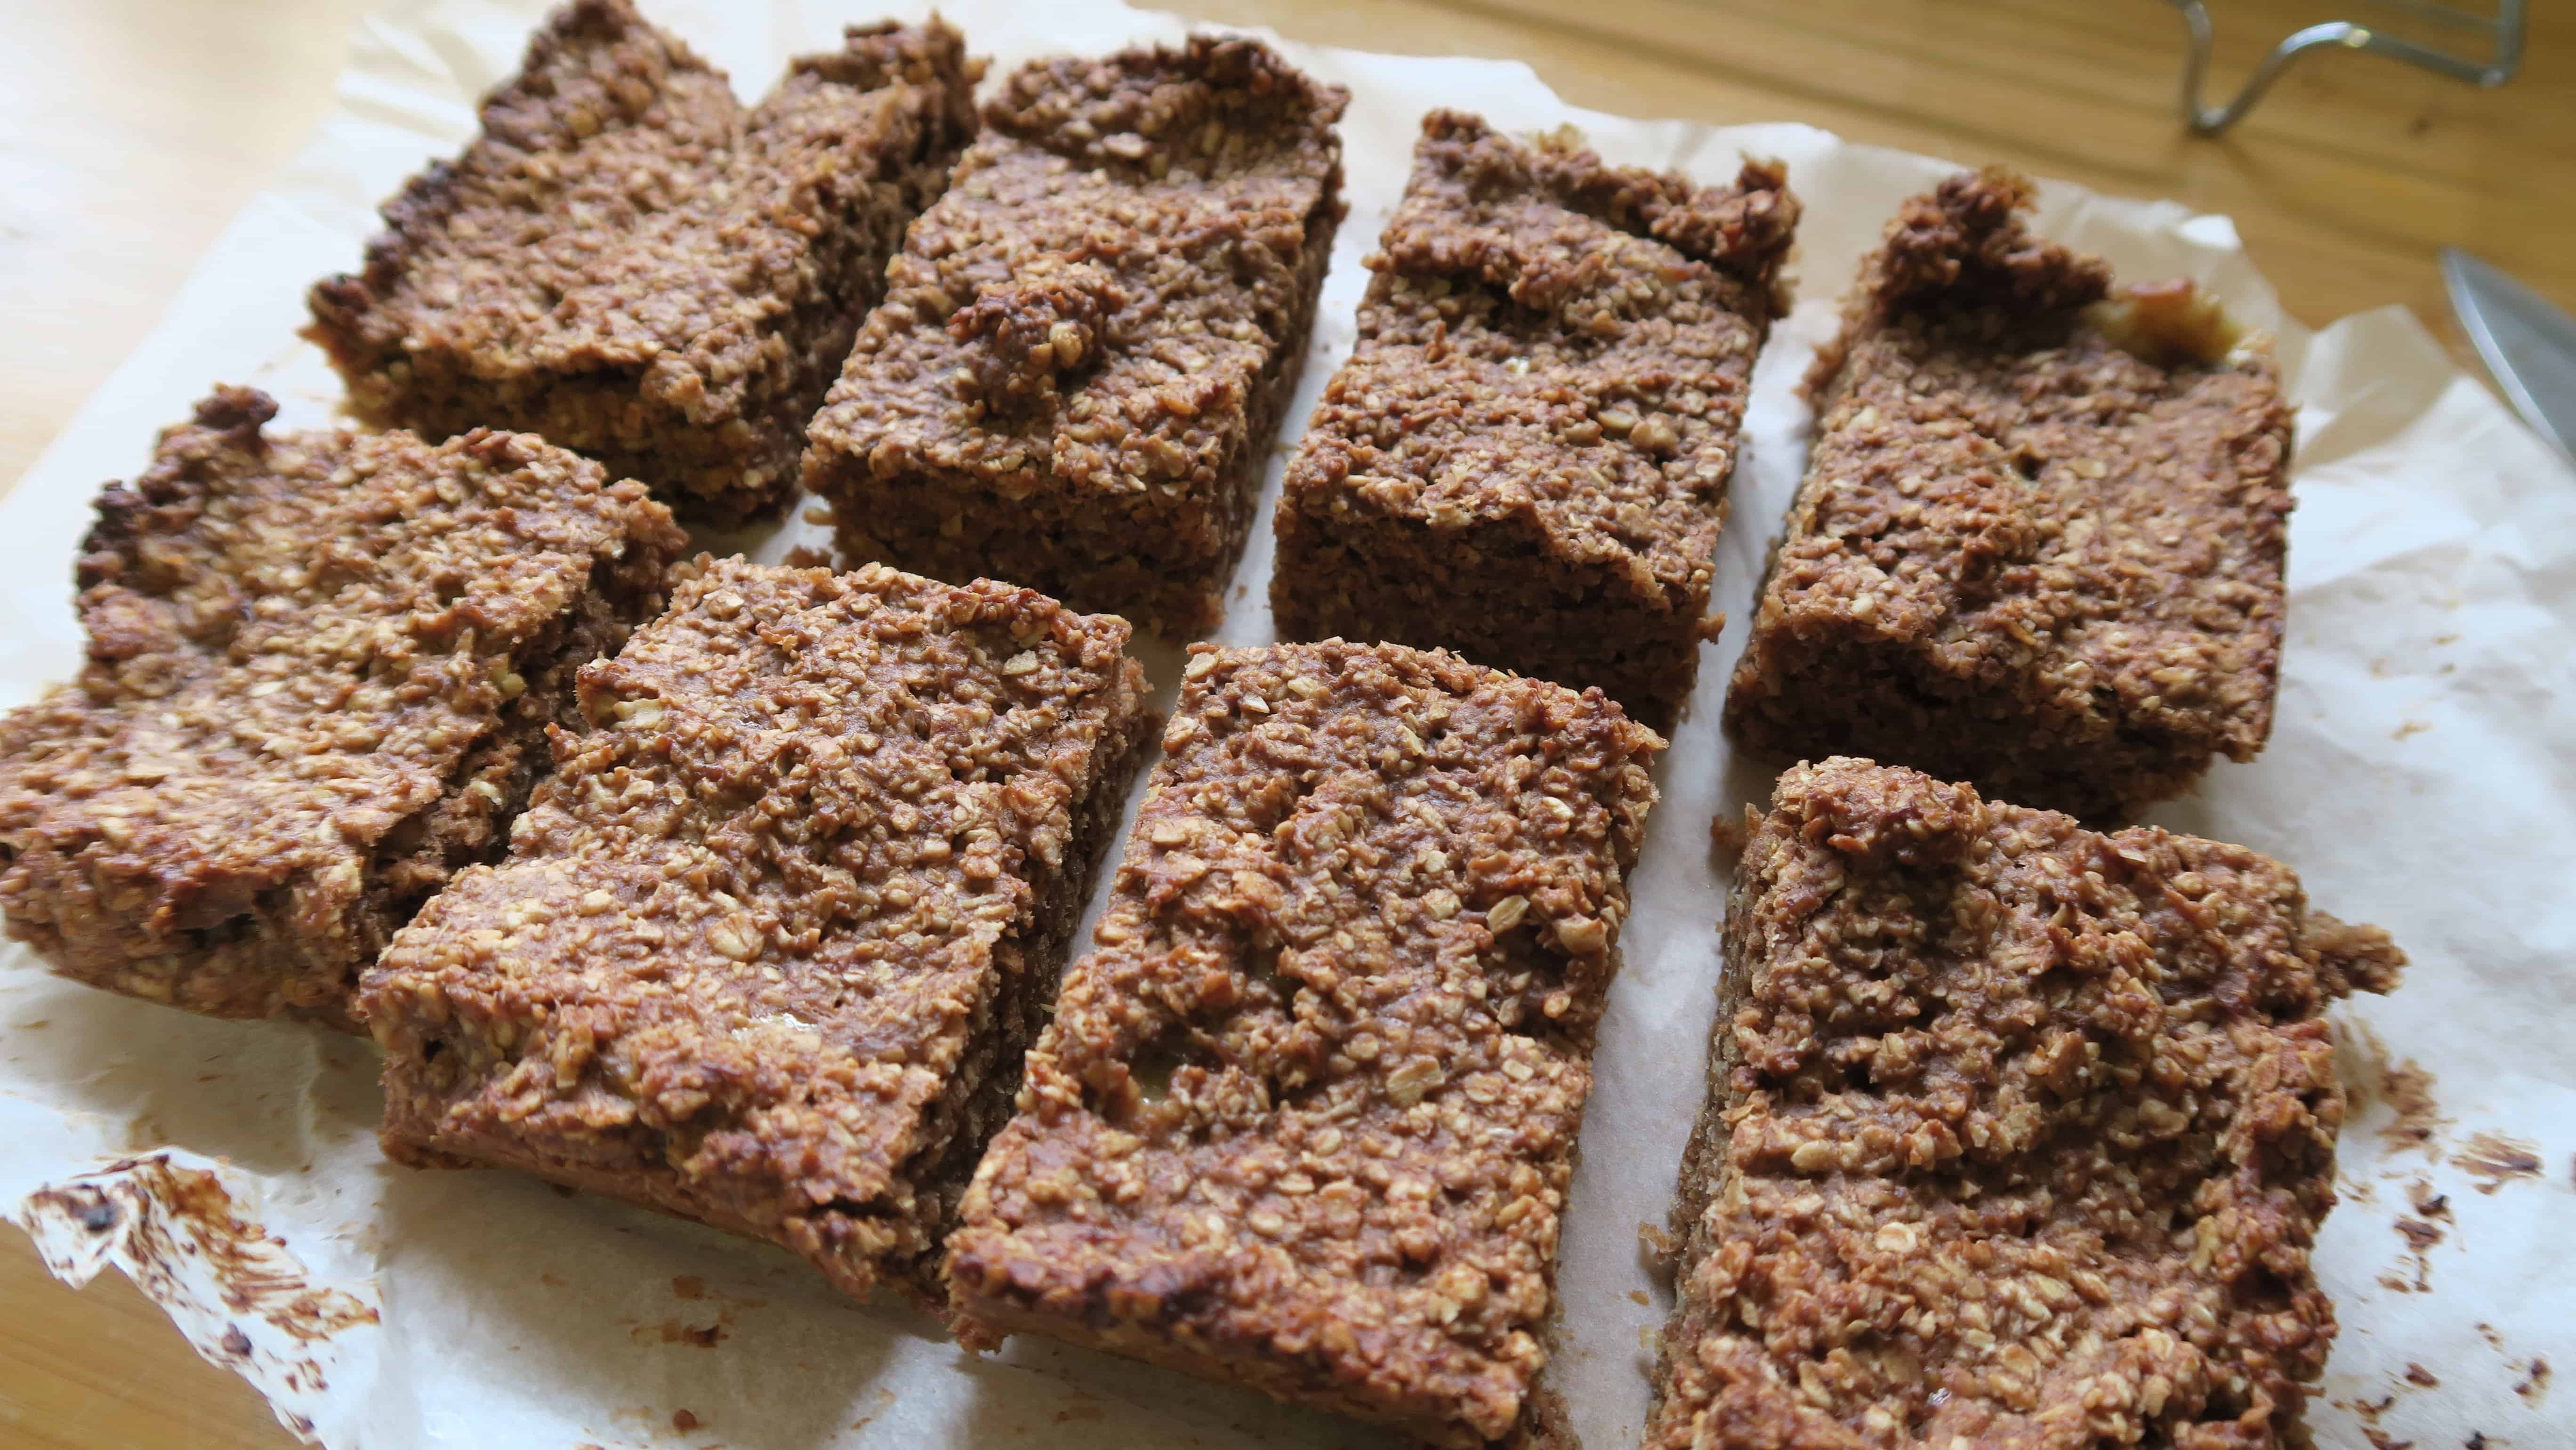
Bake for 20 minutes. Once baked, remove from the oven and onto a cooling rack. Cool to room temperature before cutting into 8 bars or 16 squares.

The banana flapjack in a tin before and after baking.

Storing and Freezing

Once baked and cut up, this banana flapjack can be kept in an airtight container at room temperature for up to a week. But they’re usually all gone by that point in our house!

You can also freeze the whole flapjack or the bars individually for later. Freeze the bars between baking paper sheets so they don’t stick together.

Then you can just defrost one at room temperature whenever you fancy a treat.

Bars of banana flapjack on a wooden board.

Frequently Asked Questions

Here are some FAQs about this easy banana flapjack recipe. If you can’t find the answer to your question here or in the post above, please comment and I’ll try answer!

Are these banana flapjacks healthy?

I’ll level with you here – this isn’t one of those fancy, healthy banana flapjacks recipes where I swap out the sugar and syrup for honey or maple syrup. I’ve tried it, and personally I always find the results disappointing. So it depends on your definition of healthy! Are these enjoyable treats, to be had in moderation, with nutritious ingredients like banana, oats and peanut butter? Yes. Do they still contain all the good stuff like sugar and syrup? Also yes!

Are these gluten free banana flapjacks vegan?

I use butter to make this easy banana flapjack recipe BUT if you swap this for a vegan margarine, you’ll have a dairy free, vegan banana flapjack recipe. Simple!

If you make this recipe and love it, please do let me know by tagging me on my Instagram or using #theglutenfreeblogger. You can also share your creations in my Facebook group! And please do leave a 5* review ⭐️⭐️⭐️⭐️⭐️ to let others know you loved it too! It would mean the world to me and really helps support my website.

Bars of banana flapjack.
No ratings yet

Banana Flapjack

This easy gluten free Banana Flapjack with peanut butter is the perfect snack! Deliciously chewy and great for lunchboxes and picnics.
Prep: 10 minutes
Cook: 20 minutes
Total: 30 minutes
Servings: 16 squares

Ingredients 

  • 90 g unsalted butter
  • 90 g golden syrup
  • 90 g dark brown sugar
  • 100 g peanut butter
  • 2 ripe bananas, (approx 300g)
  • 300 g gluten free oats

Instructions 

  • Preheat the oven to 180‘C / Gas 4/ 160’C Fan. Line an 8-inch/20cm square baking tin with baking paper and set aside.
  • Peel the bananas and mash them up in a bowl, using a fork.
  • To a large saucepan, add the butter, sugar, syrup and peanut butter. Heat over a low heat, stirring constantly, until the butter has melted. Remove from the heat.
  • Add the mashed banana and mix until combined. Then add the oats and mix again until there are no dry patches.
  • Pour the mixture into the lined baking tray and use a spoon to press the mixture down as compact as possible, and right into the corners and edges of the pan.
  • Bake for 20 minutes. Once baked, remove from the oven and onto a cooling rack. Cool to room temperature before cutting into 8 bars or 16 squares.

Notes

  • Weighing Scales vs Cups: You can toggle this recipe card to convert the ingredients into cups. However, I always recommend using weighing scales – these are cheap to buy and much more accurate. And in gluten free baking, a tiny variation can make a huge difference!
  • Step-by-Step Photos: Check out the blog post above for step-by-step photos to guide you through how this banana flapjack recipe should look.
  • Storing and Freezing: Check out the post above this recipe card for more information on how to store these banana flapjacks.
  • Like this Recipe? It would mean SO much to me if you could leave a 5* rating and tell all your gluten free friends about this Banana Flapjack!

Nutrition

Serving: 1square | Calories: 201kcal | Carbohydrates: 27g | Protein: 4g | Fat: 9g
Like this recipe? Rate and comment below!
delicious gluten free meals a cookbook by sarah howells

Get my cookbook!

Want more gluten free meals inspiration? My debut cookbook, Delicious Gluten Free Meals, has 100+ gluten free recipes, from breakfast and lunch ideas to dinners, desserts and sides.

You Might Also Like:

About Sarah Howells

Hi, I'm Sarah! Diagnosed with coeliac disease 20 years ago, I'm on a mission to create the best gluten free recipes since sliced bread. No fruit salads or dry brownies here.

Leave a comment

Your email address will not be published. Required fields are marked *

Recipe Rating


4 Comments