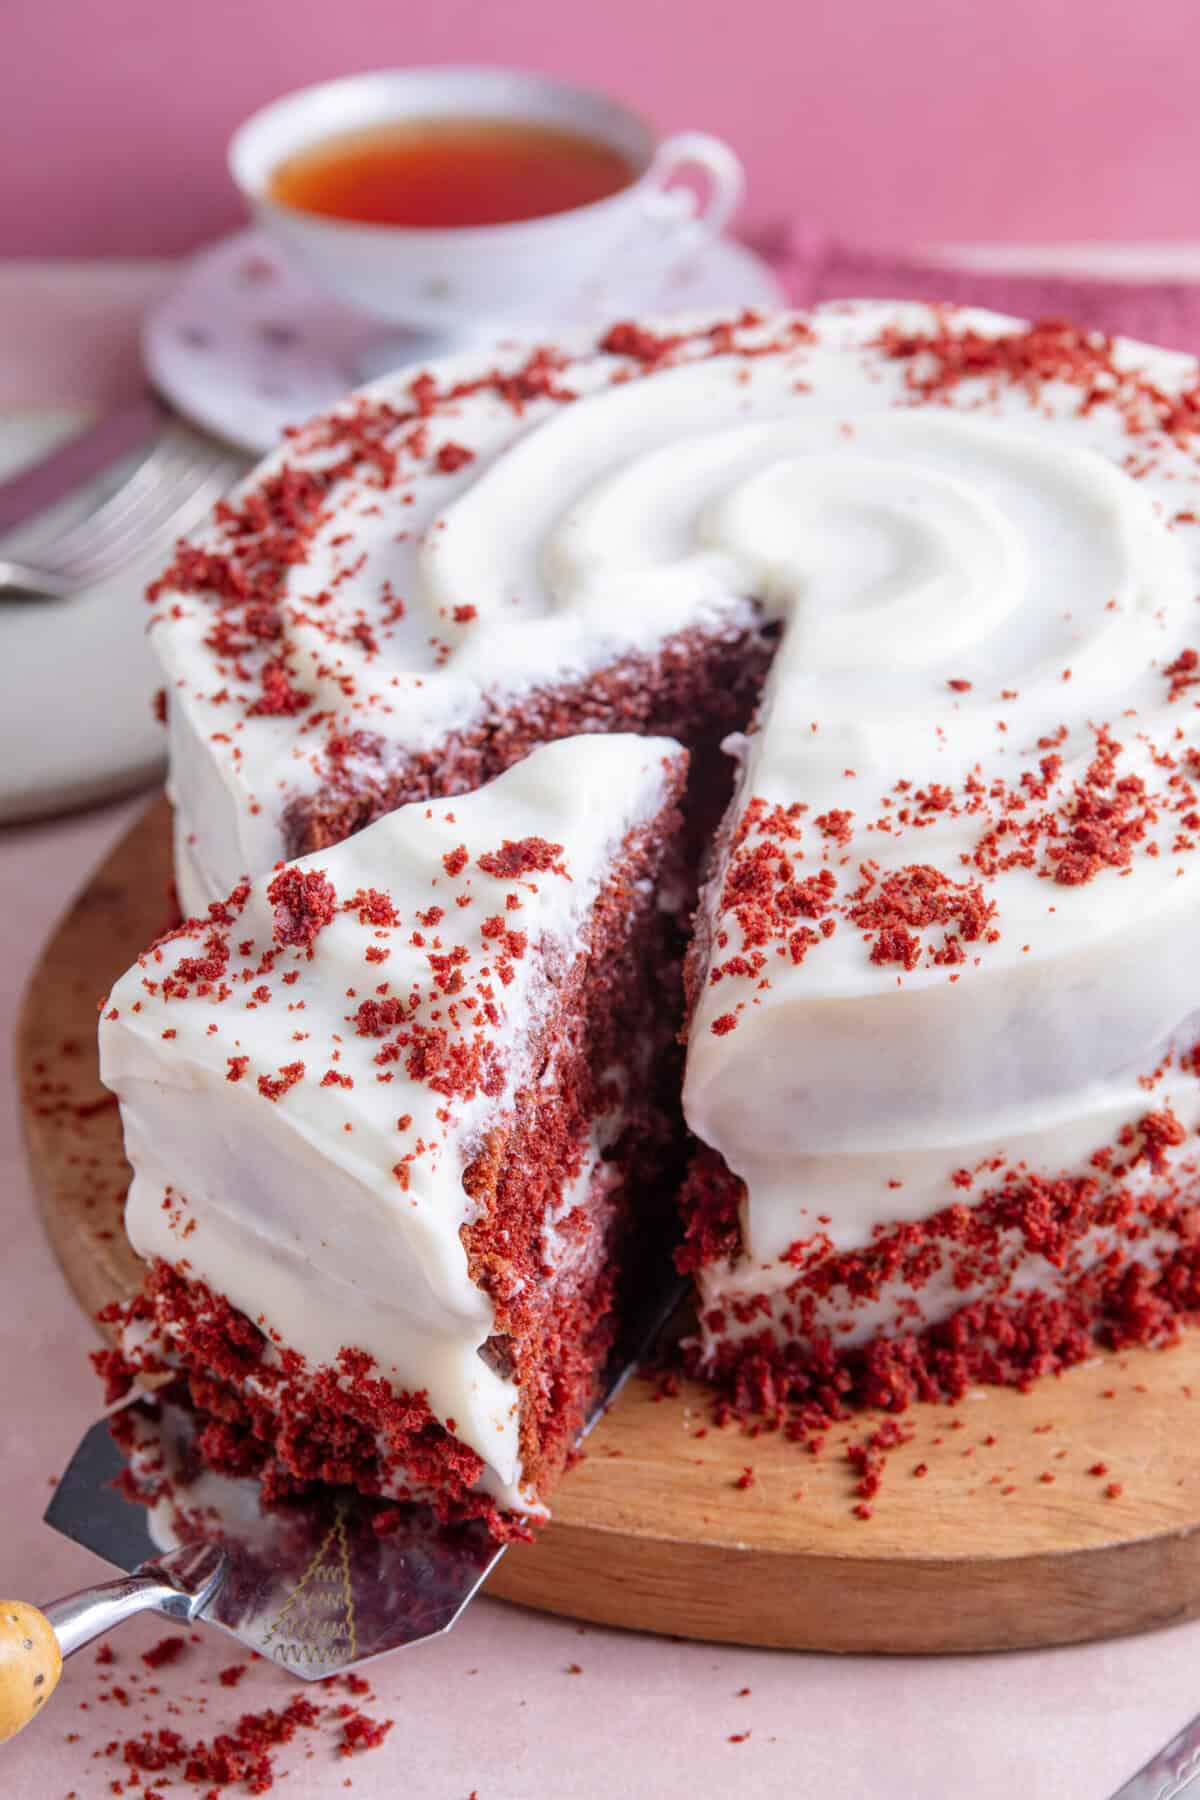
Gluten Free Red Velvet Cake Recipe
This easy Gluten Free Red Velvet Cake is a super light chocolate and vanilla flavoured cake with cream cheese frosting. A great gluten free birthday or celebration cake. If you make this and love it, please leave a ⭐️⭐️⭐️⭐️⭐️ review!
Servings: 16 slices
Ingredients
- 120 g butter (softened, or use Stork baking margarine)
- 300 g caster sugar
- 2 large eggs
- 2 tsp vanilla extract
- 1-2 tsp red food colouring
- 300 g plain gluten free flour
- 2 tsp baking powder
- 1/4 tsp xanthan gum omit if your flour contains this already
- 35 g cocoa powder
- 300 ml buttermilk
- 2 tsp white wine vinegar
- 1 tsp bicarbonate of soda
For the frosting:
- 125 g unsalted butter at room temperature
- 500 g icing sugar
- 1.5 tsp vanilla extract
- Pinch salt
- 250 g full fat cream cheese I recommend Philadelphia
Instructions
- Preheat the oven to 180'C / Fan 160'C / Gas Mark 4. Grease 2 x round, 20cm springform baking tins with butter/margarine and line the base with baking paper (see above blog post on how to do this).
- Add the Stork (or butter) and caster sugar to a large mixing bowl and beat until pale and fluffy. Add the eggs and mix again until combined.
- In a small bowl, mix the red food colouring and vanilla extract together - this will help it mix evenly into the cake batter a bit more. Pour the colouring/vanilla mix into the cake batter and beat again with the mixer until it is an even. vibrant crimson colour.
- Mix the gluten free flour, baking powder, xanthan gum and cocoa powder in a separate bowl and then sift into the mixture. It's important to use a sieve here to ensure you don't get any lumps!
- Pour in the buttermilk and then beat with the mixture again until you have a smooth batter with no lumps of flour.
- Add the vinegar to a small bowl, pour in the bicarbonate of soda, stir briefly to mix (it should fizz and bubble a little!) and then pour into the cake mixture. Beat with the electric mixer until combined.
- Working as quickly as you can, pour the cake batter evenly between the two baking tins then place in the centre of the oven and bake for 30-35 minutes. Do not open the oven door until at least 30 minutes! The cakes should have risen and when pricked with a skewer in the centre, it should come out clean. Remove from the oven to cool completely.
To make the frosting:
- Add the butter (it's very important this is at room temperature!) to a large mixing bowl and beat with the electric mixer for 1-2 minutes.
- Add the icing sugar, vanilla extract and salt to the mix and beat again until fully combined.
- Add the cream cheese and beat the mixture for several minutes until it is thick, light and fluffy with no lumps of cream cheese. Note - I strongly recommend using Philadelphia cheese, as cheaper brands may result in runny frosting!
To assemble:
- Once the cakes have cooled, remove them from the tin and peel off the lining from the base.
- Trim the top of the cakes using a cake leveller (or a knife and a keen eye!) so that they are both level. Keep any trimmings to one side for the crumb decoration.
- Top one sponge with around a third of the frosting, spread evenly then place the second sponge on top. Decorate the top and sides of the cake using the rest of the frosting.
- For the crumb decoration, use your hands to crumble the cake trimmings into crumbs. Decorate as you wish - I went for a topping and a trim around the sides!
Notes
- Top Tip: If using butter instead of Stork, soften the butter slightly in the microwave for 5-10 seconds before starting the cake. I find Stork gives a nicer texture to the sponge.
- Storage: This cake will keep for up to 5 days in an airtight container. You can also make the sponges ahead of time and freeze them - simple defrost when you're ready to assemble the cake.
- Weighing Scales vs Cups: You can toggle this recipe card to convert the ingredients into cups. However, I always recommend using weighing scales – these are cheap to buy and much more accurate. And in gluten free baking, a tiny variation can make a huge difference!
Nutrition
Serving: 1slice | Calories: 408kcal | Carbohydrates: 68g | Protein: 5g | Fat: 14g
