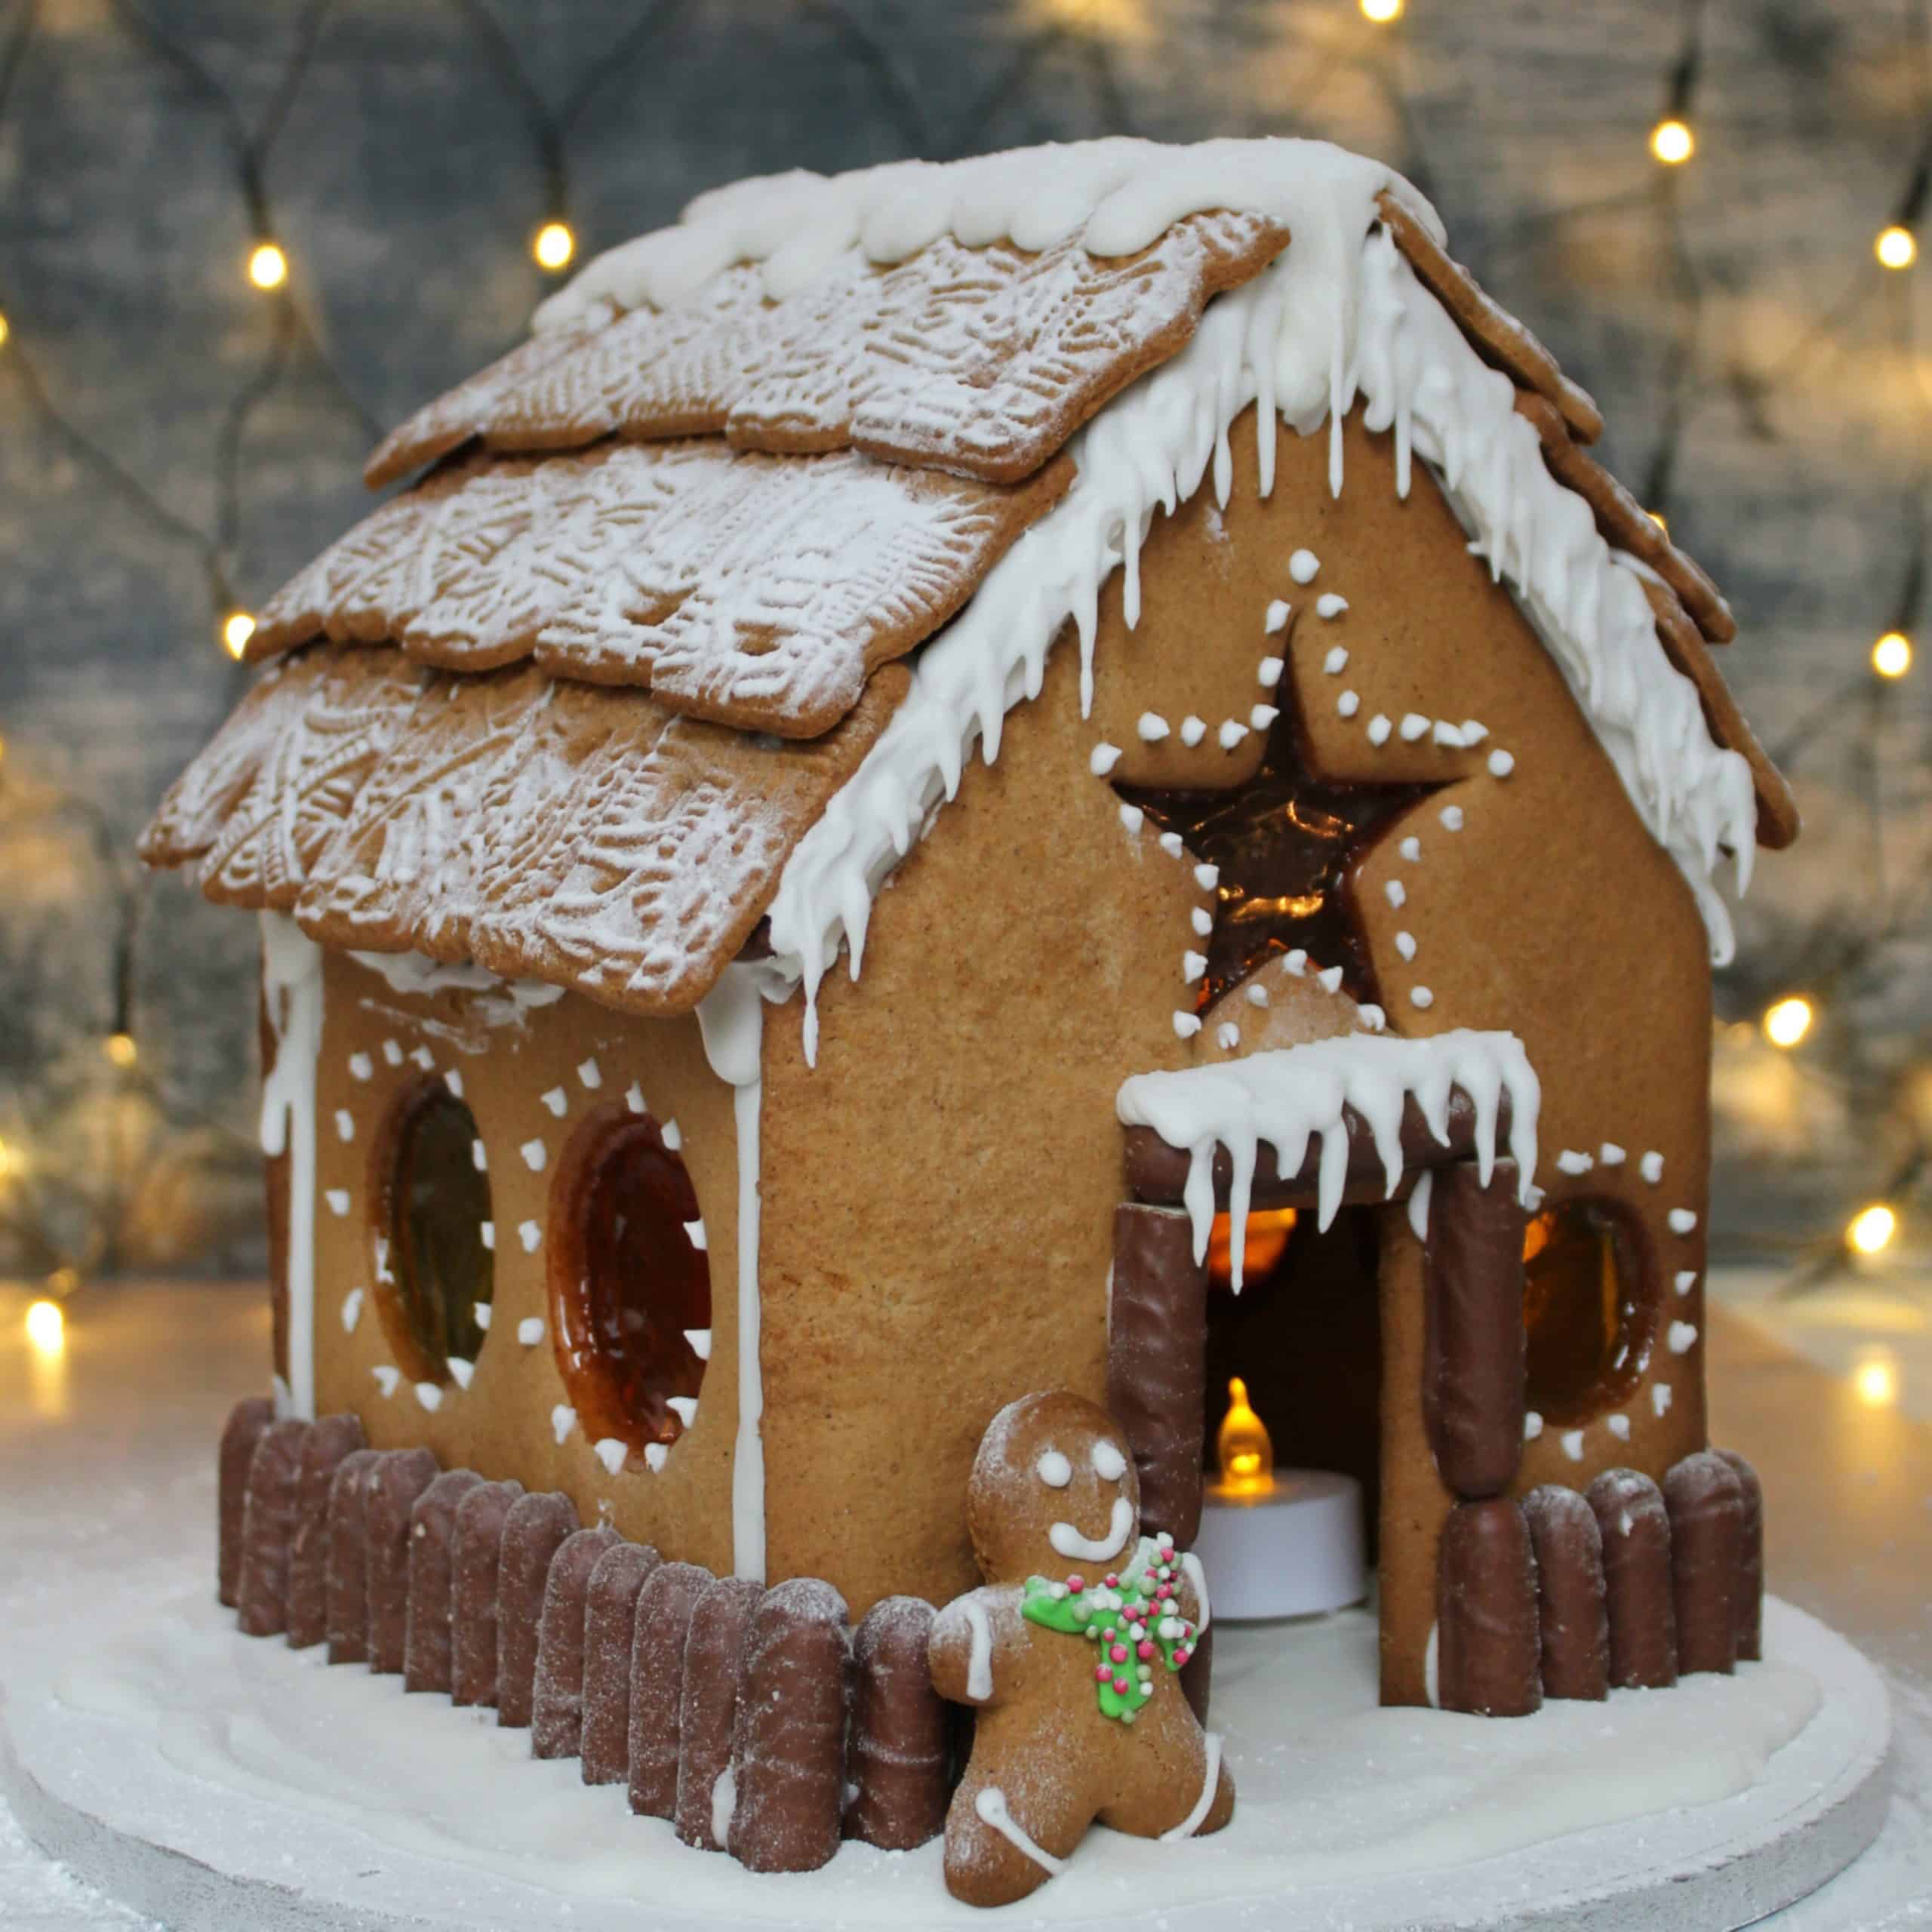
Gluten Free Gingerbread House
This gluten free gingerbread house is the most fun to make - use this template to cut the shapes out. I recommend making this up to the stage of constructing the walls of the house, and then leaving it to set overnight before adding the roof and decorating.
Servings: 1 house
Ingredients
For the gingerbread:
- 200 g light brown sugar
- 150 g butter
- 110 g golden syrup
- 600 g plain gluten free flour I used Schär All Purpose Baking Mix
- 6 tsp ground ginger
- 1 tsp mixed spice
- 1/2 tsp xanthan gum
- 1 tsp bicarbonate of soda
- 2 eggs
FOR THE ICING:
- 20 g egg white powder
- 660 g icing sugar
- 100 ml cold water
FOR DECORATION:
- Boiled sweets
- 3 packs Schär Spekulatius biscuits
- 1 pack Schär Chocolate Orange Fingers
- Gluten free sprinkles
- Icing sugar
Instructions
To make the gingerbread:
- Add the light brown sugar, butter and golden syrup to a large saucepan and place on the lowest heat. Stir until melted and combined and then remove from the heat - don't let it boil.
- In a large mixing bowl, add the gluten free flour, ground ginger, mixed spice, xanthan gum and bicarbonate of soda and stir to mix together.
- Pour in the melted butter/sugar/syrup mixture and stir with a wooden spoon until it starts to clump together. Add the egg and continue to mix until it forms a sticky dough. Wrap the dough in clingfilm and chill for at least one hour.
- Once the dough has chilled, preheat the oven to 180'C / 160'C Fan / Gas Mark 4. Line 2-3 large baking sheets with baking paper and set to one side (you can do this in batches if your oven isn't big enough to fit it all in at once as there will be quite a few pieces!)
- Break off some of the dough (around 1/4) and place on one of the sheets of baking paper cut for your trays. Roll it out to around 6mm thick and then cut out however many pieces from the gingerbread template that will fit on one baking tray. It's best to do this using a large, sharp knife or a pizza cutter to get precise lines. You'll want to leave a few cm between the shapes so they don't spread into each other!
- Remove the excess dough so that just the shapes are left on the baking sheet and then carefully lift it back onto the baking tray. Cut windows in the sides of the house using cutters and then place a boiled sweet in the centre. Keep repeating this process until all of the pieces are cut out.
- Bake for 12-15 minutes, until the gingerbread is starting to brown on top. Note - it will still feel soft to touch, so ensure once you remove from the oven you DO NOT try to remove it from the baking tray until it has completely cooled and hardened! If you like, as soon as the gingerbread is out of the oven, place the template back on top and trim the edges so they are nice and neat, while still soft. Cool completely on cooling racks.
- If you have an excess dough, you can cut gingerbread men from this to go in and around your house - small gingerbread men will take around 8 minutes to bake.
To make the royal icing:
- Add the icing sugar, egg white powder and cold water to a large bowl and beat with an electric whisk until it is nice and thick, around the consistency of toothpaste. You need to beat for at least 4-5 minutes to give the egg white powder time to hydrate and thicken.
- After 4-5 minutes, you can add a little extra water if it's too thick, or a little extra icing sugar if it's too thin. You want it to be fairly thick so it holds the house together like glue. When ready to use, spoon into a piping back with a hole around 0.5cm - or a small round piping tip.
To construct your gingerbread house:
- When you're ready to construct your gingerbread house, preheat the oven to around 40'C - or the lowest setting, so it is just warm.
- First you'll need to create the roof tiles - it's easier to do this before constructing the house so you don't accidentally press too hard and knock it over! Lay your two roof pieces flat on a baking tray. Pipe thick lines of icing all over the roof piece, then starting from the bottom, lay a line of Spekulatius biscuits across it. Lay the next line so it is slightly overlapping the first one, and keep going until the whole roof piece is covered in tiles.
- Once you've finished both roof pieces, place in the oven for around 40 minutes. This just helps to speed up the hardening of the icing - or you can alternatively leave them overnight to set fully. Once removed from the oven allow to cool to room temperature again.
- Next construct your house. To do this, take the front of the house and pipe a line of icing down each side edge. Gently press the end of your side piece against the icing, so it is at a right-angle. Hold in place for a minute, and then repeat on the other side. This will then need to set - I find it best to support it with glasses or tins to make sure it doesn't fall over. Pipe a line of icing down each edge of the back of the house then press it against the two side pieces, so you have all four walls. Support this and leave overnight.
- Once the walls have set, it's time to add the roof. To do this, pipe a thick line of icing down the slanted edges of the front and back of the house, and then along the tops of the sides.
- Carefully lower one side of the roof into place and hold in place for around a minute - this should stick it enough for you to quickly repeat the process on the other side of the roof - try to get them to meet neatly in the centre but don't worry too much about any small gaps, we can fill these with icing after!
- Hold the roof pieces in place for a couple of minutes and then carefully use glasses or tins to support the bottom edge so they don't move. Leave to set for at least four hours before finishing the decoration.
To decorate your gingerbread house:
- This is the time to let your creativity flow! Firstly, I took a box of Schär Chocolate Orange Fingers and cut them in half. Then using your icing, stick them to the wall of the gingerbread house, working your way around the whole thing, with the cut side against the base, to create a cute little fence.
- You can also stick two further halves on either side of the front door, and a whole chocolate orange finger along the top to create a doorframe.
- Using a thin piping tip, pipe icicles around the edge of the roof, and also around the door frame if you wish. You can do this by simply dragging the tip down and away from the roof, and let gravity do the rest! I also iced a thick slather of 'snow' along the centre of the roof - it looks lovely and hides any gaps!
- You can also use the tin piping tip to ice dots around the windows - or any sort of patterns you like on the walls of your house.
- If you've made gingerbread men for the house, use the small piping tip to decorate them, adding eyes and a mouth, and giving them little scarves. I decorated these with gluten free sprinkles.
- Take 5-6 tablespoons of icing and slather over a foil cake stand with a small palette knife to create snow. VERY carefully lower the gingerbread house onto it and then leave to set. You can also stand your gingerbread men up against the house and the icing will help set them in place.
- Once your house has set, gently dust the whole scene with 'snow' (aka icing sugar) and pop a couple of LED tea lights inside the house to give the boiled sweet windows a lovely glow!
Notes
- Full details on the Schär gluten free products can be found here.
- This gluten free gingerbread house should stand for several weeks
as a decoration. I wouldn't recommend using a real candle inside it - instead use battery-operated LED tea-lights. - Any leftover (uncooked) gingerbread dough can be kept in the fridge for up to two weeks or frozen for up to six months.
- Any leftover royal icing can be kept in a lidded container in the fridge for up to a week. Stir vigorously before using.
