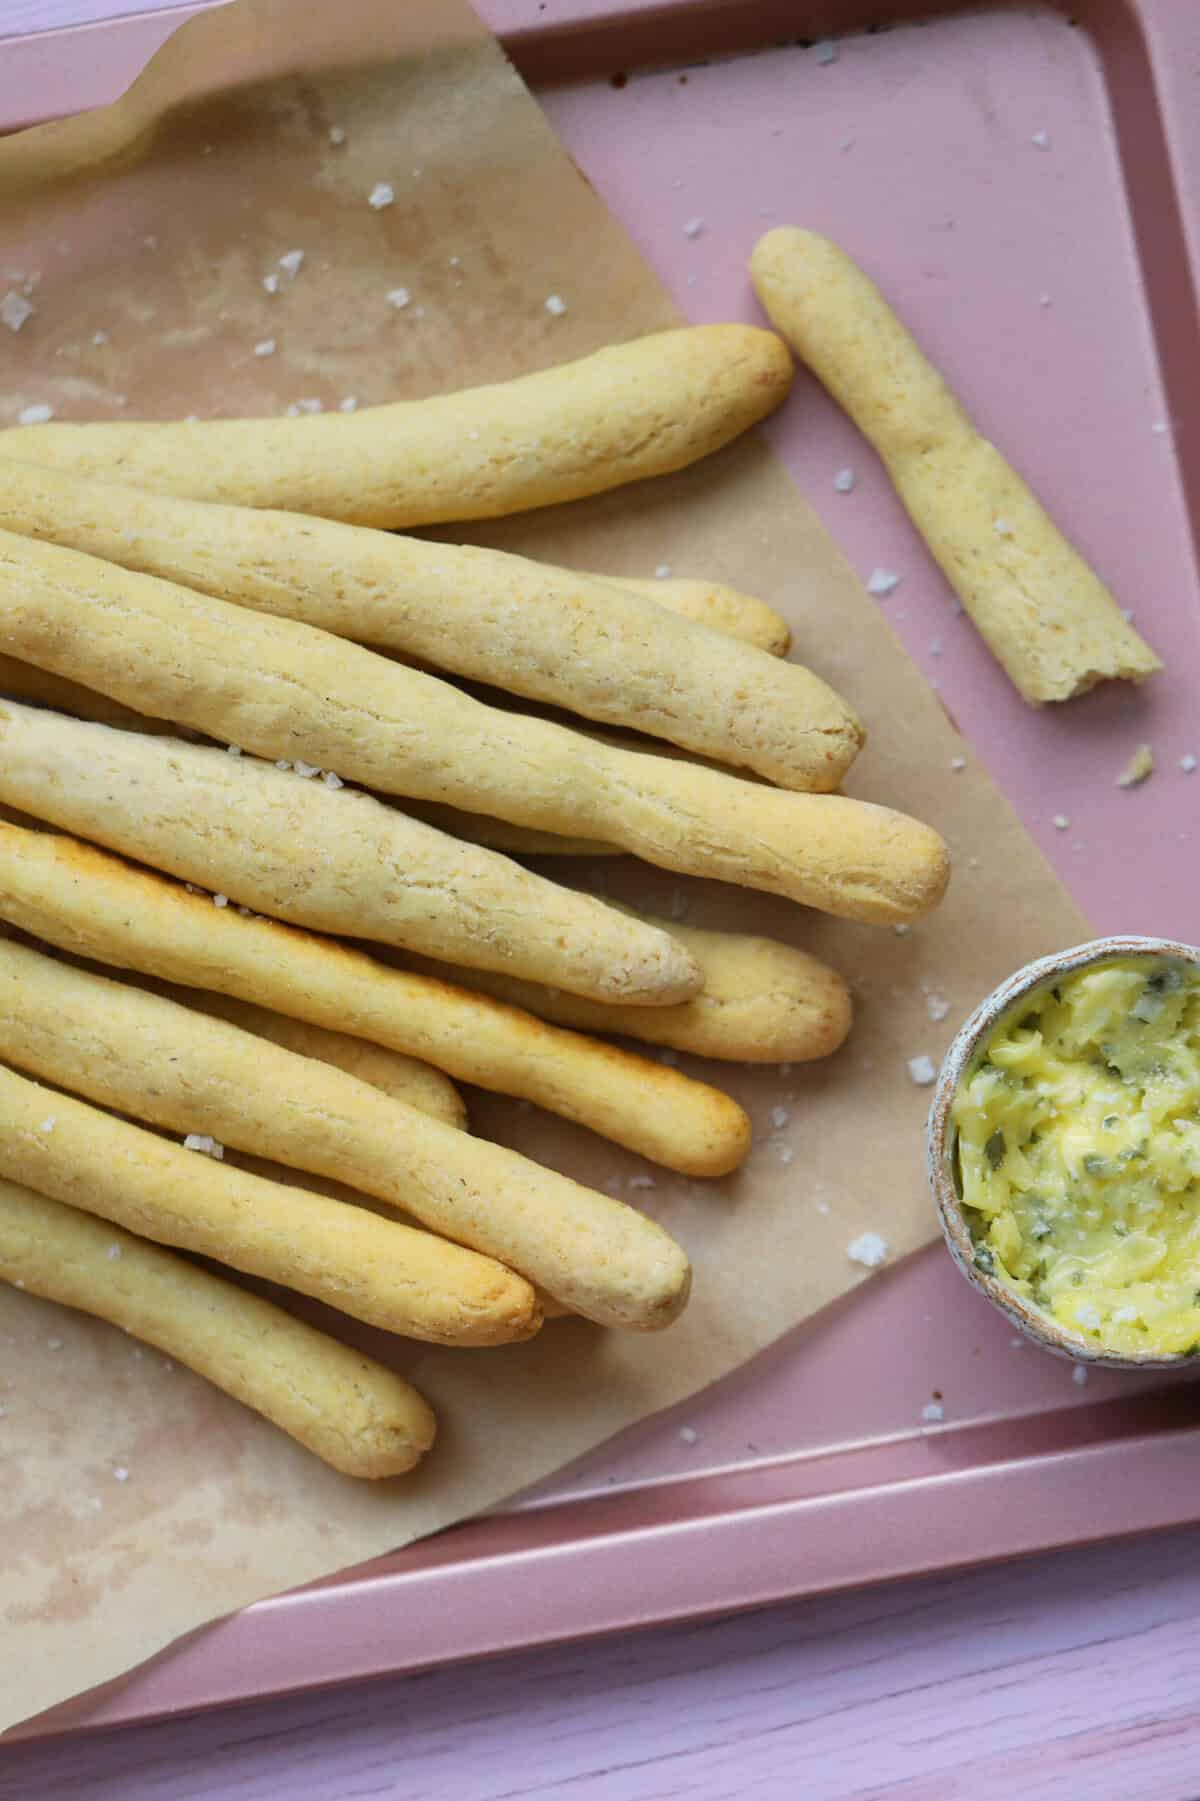
Gluten Free Breadsticks Recipe
Gluten Free Breadsticks are a super easy bake, perfect for parties, having with dips and nibbles or as a side dish or starter. A really easy gluten free bread recipe with a short proving time.
Servings: 16 breadsticks
Equipment
Ingredients
- 5 g dried active yeast
- 1 tsp sugar
- 150 ml warm water
- 1 tbsp psyllium husk + 3 tbsp warm water
- 250 g plain gluten free flour
- 0.5 tsp xanthan gum
- 1 tsp salt
- 1 tbsp olive oil plus extra for brushing
Instructions
- Preheat the oven to 200C / Fan 180C / Gas Mark 6 / 392F. Line two large baking trays with parchment paper.
- Add the warm water (you want it to be around 40C) to a jug then stir in the sugar, Add the yeast, stir and cover for 5-10 minutes until it forms a frothy head.
- While the yeast activates, mix the psyllium husk with 3 tbsp warm water in a separate bowl to form a thick gel. Set to one side until the yeast is ready.
- Add the gluten free flour, salt and xanthan gum to a large mixing bowl and stir together.
- When the yeast is ready, add the mix to the dry ingredients, along with the psyllium husk gel and the olive oil. Mix together using a wooden spoon until it starts to form a sticky dough.
- Use your hands to bring the dough together into a ball then leave for 5-10 minutes to hydrate.
- Divide the dough into 16 equal potions, and roll each one into a ball. Then use your hands to roll it on the worktop into a long sausage, around 6-7 inches in length and around 1.25cm (0.5 inches) thick. You can use a little extra GF flour if needed but the dough should not be too stick at this stage.
- Carefully lay the breadsticks onto the lined baking trays with some space in between. Leave to prove, uncovered for 10-15 minutes (they will not rise much at all).
- Brush the breadsticks with olive oil and bake for 15-20 minutes (depending on the thickness) until golden brown. The outside should be crispy to the touch.
- Remove from the oven and leave to cool for 15 minutes before enjoying fresh.
Notes
- Variations: Try sprinkling the breadsticks with sesame seeds after brushing with oil, or use a garlic or chilli oil for extra flavour. You can also use this in the mixture - and add any herbs you like such as Italian seasoning, rosemary or oregano.
- Storing: These bread sticks are definitely best eaten fresh. If making ahead of time I recommend storing in an airtight container and refreshing in the oven to serve - the same goes if freezing them.
- Weighing Scales vs Cups: You can toggle this recipe card to convert the ingredients into cups. However, I always recommend using weighing scales – these are cheap to buy and much more accurate. And in gluten free baking, a tiny variation can make a huge difference!
- Step-by-Step Photos: Check out the blog post above for step-by-step photos to show how this breadsticks recipe should look at each stage.
- Like this Recipe? It would mean SO much to me if you could leave a 5* review and a little comment about this Gluten Free Breadsticks recipe. I’d love to know how you enjoyed yours or what toppings you chose, and any reviews REALLY help support my website. So thank you! xx
Nutrition
Serving: 1g | Calories: 59kcal | Carbohydrates: 11g | Protein: 2g | Fat: 1g
