Gluten Free Vanilla Tray Bake
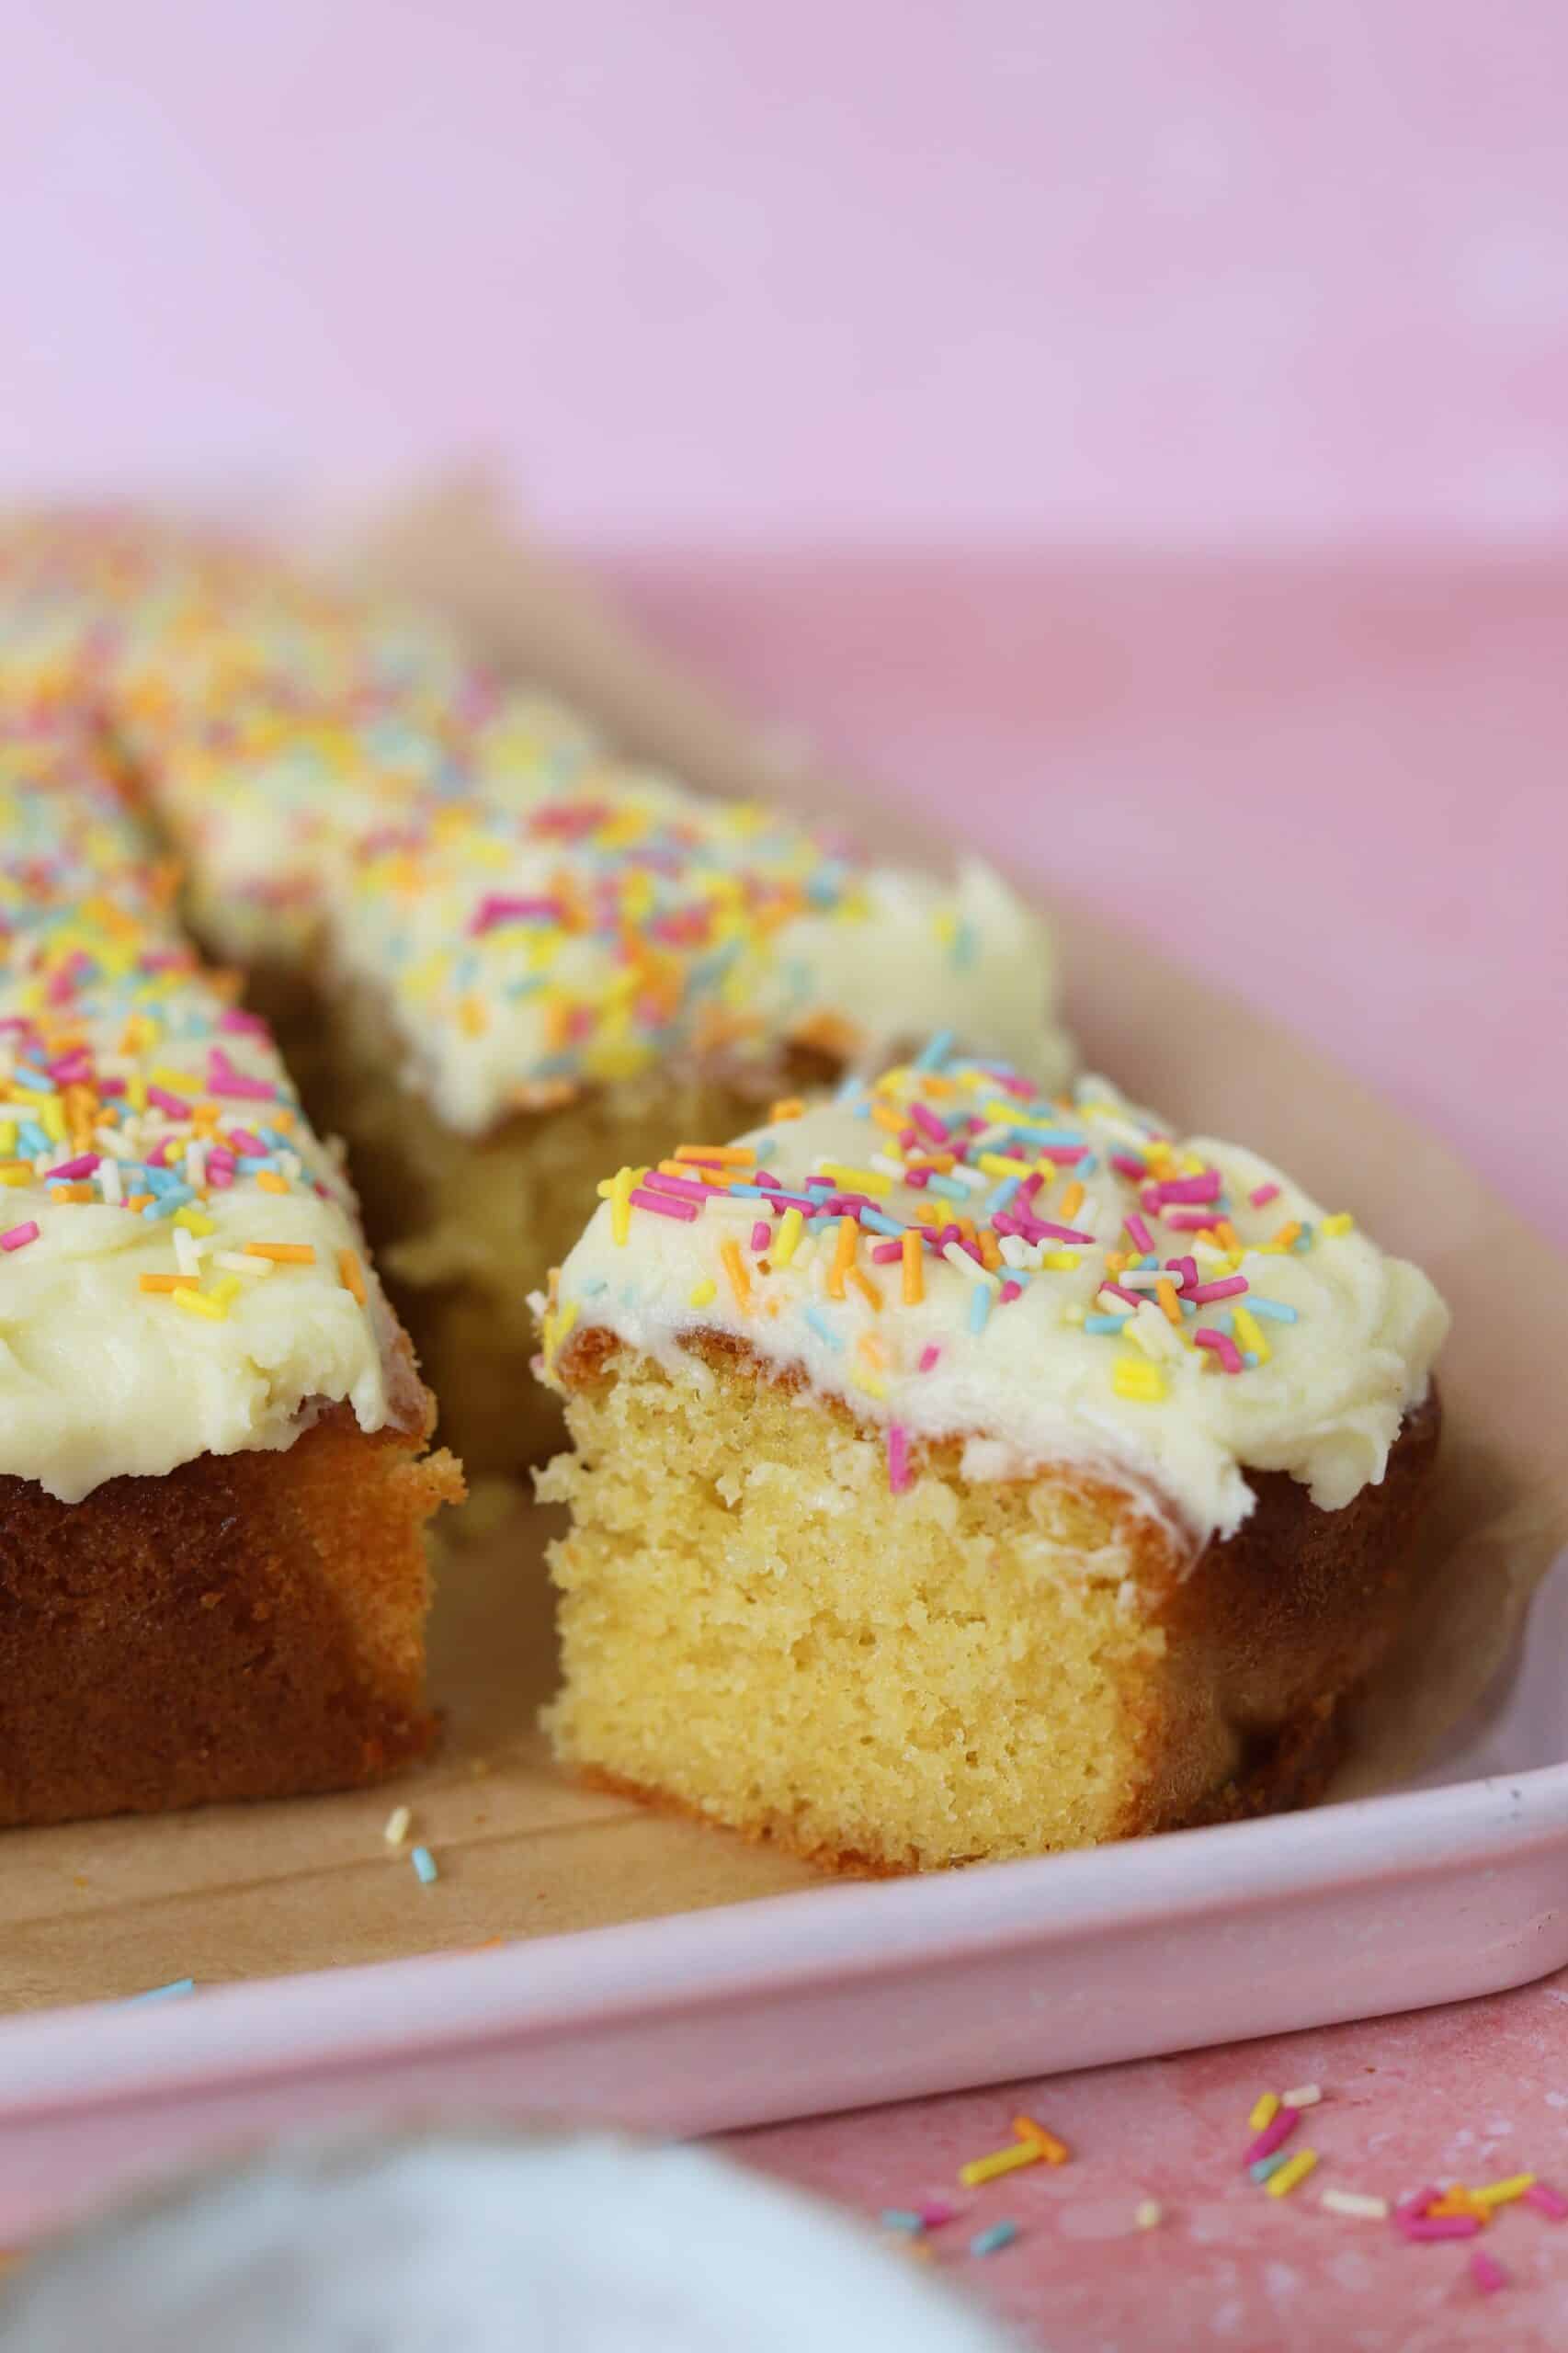
This easy gluten free vanilla tray bake (sheet cake) recipe serves 24 - perfect for birthdays and celebrations! A super soft, gluten free vanilla sponge with vanilla buttercream frosting on top. I bake mine in a 9-inch x 12-inch rectangular pan and cut into 24 squares.
Servings: 24 squares
Ingredients
- 300 g plain gluten free flour
- 5 tsp baking powder
- 1/4 tsp xanthan gum
- 300 g caster sugar
- 300 g Stork Baking Spread
- 6 large eggs
- 3 tbsp milk
- 1 tbsp vanilla extract
For the frosting:
- 200 g unsalted butter room temperature
- 400 g icing sugar
- 1.5 tsp vanilla extract
- 3 tbsp milk
- Gluten free sprinkles
Instructions
- Preheat the oven to 1809'C / Fan 160'C / Gas Mark 4. Grease and line a 9-inch x 12-inch rectangular tin with baking paper.
- Mix the gluten free flour, baking powder and xanthan gum together in a bowl and set to one side.
- Add the caster sugar and Stork to a large mixing bowl and beat with an electric whisk for a minute until creamed together.
- Add the eggs, vanilla extract and milk to the mixture and then sift in the flour mix. Beat again with the electric whisk until the mixture has combined to form a smooth batter.
- Pour the mixture into the cake tin and smooth into an even layer. Bake in the oven for 35-40 minutes until golden on top and springy to the touch. A skewer inserted in the middle should come out clean. *Do NOT open the oven before 35 minutes and hold off until you know the cakes are done, otherwise they will sink!
- Remove the cake from the oven and place on a cooling rack. Leave to stand until the tin is cool enough to remove, then carefully remove the cake from the tin and leave the sponge to cool completely. (See notes if you're making the sponge ahead of time)
To assemble:
- To make your frosting, add the butter, icing sugar, vanilla extract and milk to a large mixing bowl and beat together until it forms a smooth buttercream.
- Spread the frosting evenly over the cake, then liberally decorate with sprinkles - or whatever topping you choose to use.
Notes
- Storing: This vanilla tray bake will keep for up to a week in an airtight container.
- Weighing Scales vs Cups: You can toggle this recipe card to convert the ingredients into cups/imperial. However, I always recommend using weighing scales – these are cheap to buy and much more accurate. And in gluten free baking, a tiny variation can make a huge difference!
- Making Ahead: If making the sponge ahead of time, once it has cooled completely, wrap it tightly in clingfilm. You can store for a couple of days like this in an airtight container, or freeze and defrost when ready to use.
- Check out the blog post above for step-by-step photos and the FAQs section below this recipe card for any troubleshooting.
Nutrition
Serving: 1g | Calories: 411kcal | Carbohydrates: 78g | Protein: 5g | Fat: 9g | Saturated Fat: 5g | Polyunsaturated Fat: 4g | Cholesterol: 96mg | Sodium: 204mg | Fiber: 1g | Sugar: 57g
