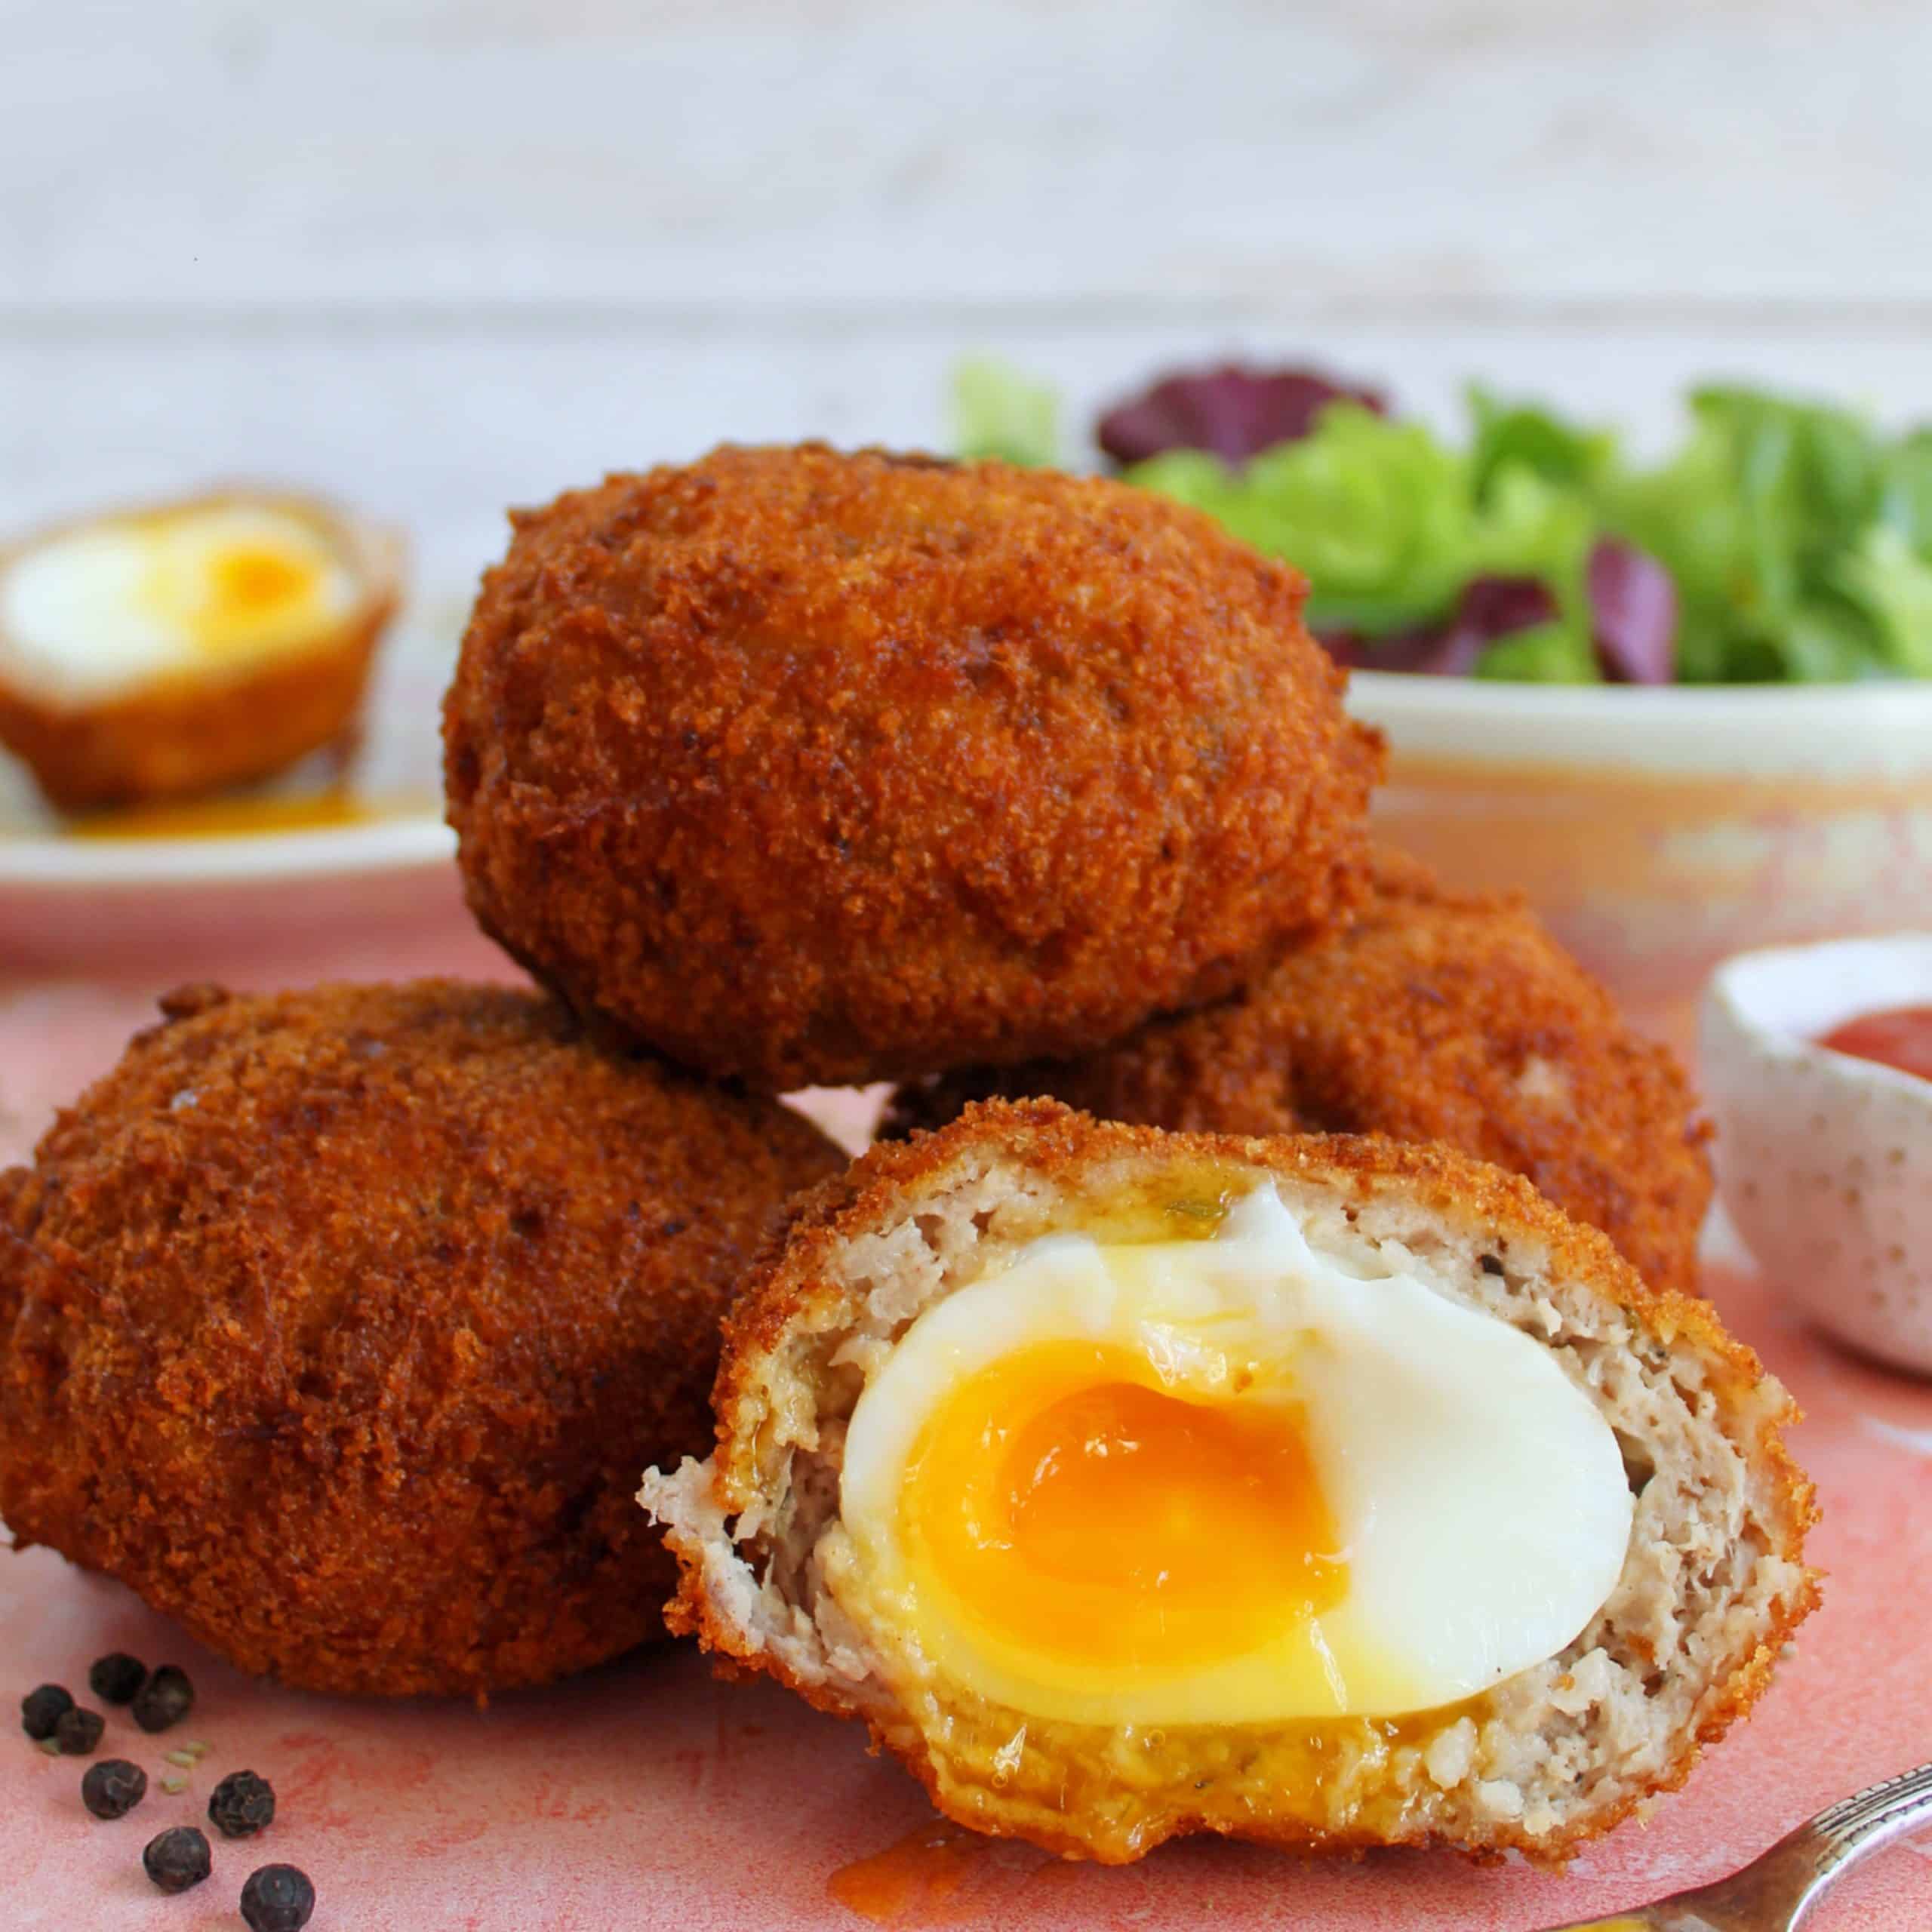
Gluten Free Scotch Eggs Recipe
These gluten free scotch eggs are so simple and only require a couple of ingredients. They're quick to make and make an excellent gluten free lunch or picnic staple. For air fryer and baking methods, see the recipe notes.
Servings: 4 scotch eggs
Equipment
Ingredients
- 5 large eggs
- 4 slices white gluten free bread (any brand is fine)
- 3-4 tbsp plain gluten free flour
- Salt and Pepper
- 6 gluten free pork sausages
- ½ tsp dried sage
- ½ tsp dried thyme
- Oil for frying around 1 litre – you want this to be approx. 5cm (2 inches deep in the pan)
Instructions
- Bring a pan of water to the boil and add four eggs. Boil for 7 minutes (or 5 minutes if you want a runny yolk) then remove from the boil and place the eggs straight into ice cold water. Allow them to cool completely and then carefully peel them. Note – if you’re aiming for runny eggs, be careful, as they might be a bit more delicate!
- Add the gluten free bread slices to a food processor and blitz to a fine crumb. Turn out onto a large plate and spread into an even layer
- On a second plate, add the gluten free flour, season generously with salt and pepper and mix to combine. Spread the flour out evenly over the plate surface.
- On a third plate, crack an egg and lightly beat until mixed.
- Remove the skins from the sausages and discard. Place the sausage meat in a bowl and add salt and pepper, dried sage and dried thyme. Mix together with your hands (or a fork) until the herbs are combined through the mixture.
- Take a quarter of the mixture (the best way to do this is to place the empty bowl on the scales and zero them, add the mixture and then divide the weight the by four, so you know you’re getting an even split for each Scotch egg) and roll it into a ball. Using your hands, press the ball out into a thin oval shape, around 1cm thick. It may be easier to do this between two sheets of clingfilm, or wet your hands to stop the sausage meat sticking.
- Take one of the eggs and lightly dust it in the gluten free flour. Place in the centre of the sausage meat oval and use wet hands to gently bring the sausage meat together around the edge, pinching any lose bits together.
- Once the sausage meat is completely sealed around the egg, roll it first in the flour mix, and then in the beaten egg. Finally roll it in the breadcrumbs, using your hands to press the breadcrumbs into the meat, ensure it stays sealed when frying. Place to one side and repeat with all of the eggs.
- Add the oil to a large saucepan so that it is approx 5cm (inches) deep and place on a medium heat. Bring the oil to 160C - I’d highly recommend using a food thermometer for this for safety. If you don’t have one, the oil is ready when you drop a couple of breadcrumbs in and they rise to the surface, sizzling and turning golden.
- One-at-a-time-, carefully lower the Scotch eggs into the oil using a slotted spoon. I like to cook two at a time due to the size of my pan – you need to ensure they are not touching each other. Set a time for eight minutes, and every two minutes gently turn the Scotch eggs over.
- After 8 minutes they should be lovely and golden all over. Use the slotted spoon to remove the eggs from the oil, draining off any drips, and then place on kitchen towels to cool slightly. Repeat with the rest of the Scotch eggs if cooking in batches.
- Once they are all cooked, enjoy the Scotch eggs warm or leave them to cool in the fridge – they’ll keep for a couple of days and are perfect for picnics! I like to serve them up with ketchup or some gluten free piccalilli.
Video
Notes
- To Air Fry: Spray the air fryer basket with oil, then place the scotch eggs in with space between them. Spray with some extra oil. Air fry at 185C (365F) for 12 minutes, turning half way, until cooked through.
- To Oven Cook: Preheat the oven to 200C / Fan 180C / Gas Mark 6. Bake on a lined baking tray until golden brown, around 30-35 minutes.
- Storage: These scotch eggs can be kept in the fridge for up to 3 days. They can be eaten hot or cold - reheat thoroughly before serving.
- Step-by-Step Photos: Check out the blog post above for step-by-step photos of this method if you find it easier to follow a visual guide.
- Like this Recipe? It would mean SO much to me if you could leave a 5* rating and a little comment if you make this Gluten Free Scotch Eggs recipe and love it. It really helps support my blog and get the recipe out there to more people! Thank you xx
Nutrition
Serving: 1g | Calories: 402kcal | Carbohydrates: 33g | Protein: 18g | Fat: 21g | Saturated Fat: 5g | Polyunsaturated Fat: 14g | Cholesterol: 262mg | Sodium: 588mg | Fiber: 2g | Sugar: 4g
