Gluten Free Naan Bread Recipe
These gluten free naan breads are pillowy, soft, and have just the right amount of chewiness. Perfect for scooping up your favourite curry with!
Servings: 4 naan breads
Equipment
Ingredients
- 120 ml warm water
- 1 tsp caster sugar
- 7 g dried active yeast
- 250 g gluten free white bread flour
- 1 tsp xanthan gum
- 1 tsp salt
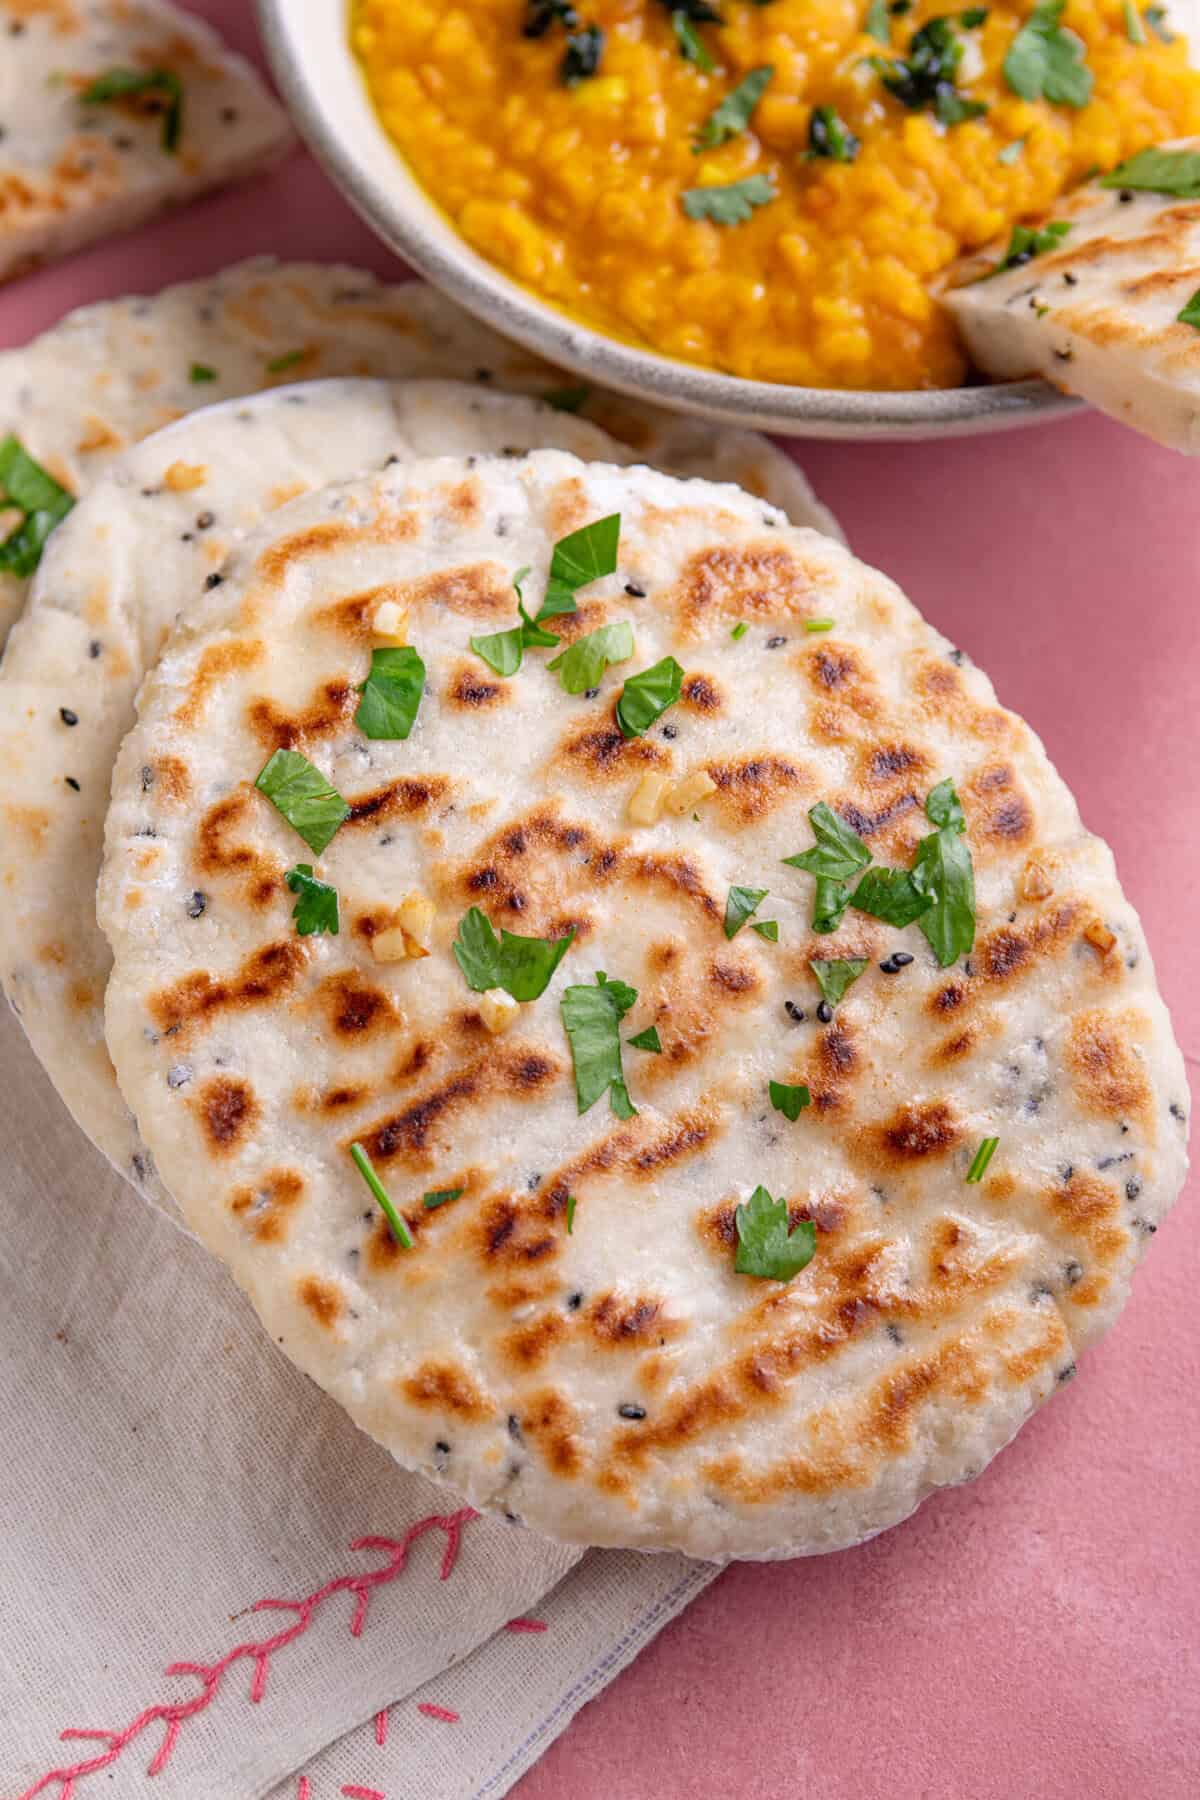
- 2 tsp Nigella seeds
- 100 g natural yoghurt
- 2 tbsp olive oil
For brushing
- 20 g melted butter or ghee
Instructions
- Pour the water into a large jug and heat to 40C - I find the best way to do this is to pour approximately 25ml of freshly boiled water, and then top up with cold water. It should feel like skin temperature if you dip your finger in, but I recommend buying a food thermometer to avoid any errors.
- Stir the caster sugar into the water, add the yeast and then stir to mix. Cover with a tea towel and leave in a warm spot for 5-10 minutes until the yeast starts to froth and form a head like beer.
- Meanwhile, in a large mixing bowl add the gluten free bread flour, xanthan gum, salt and Nigella seeds. Mix well to combine.
- When the yeast mixture is ready, pour into the flour mix and add the yoghurt and olive oil. Mix with a wooden spoon until the mixture comes together into a dough - it should be a little sticky.
- Once mixed, cover the bowl with cling film and place in a warm spot to prove for 1 hour. The dough will expand and puff up a little but won’t double in size.
- Divide the dough into four equal-sized pieces and shape each one into a ball - you will want to flour your hands as they’ll be a bit sticky. Lay a sheet of baking paper down on a worktop, dust with gluten free flour and then place the ball of dough down onto it. Dust some extra gluten free flour on top and then use your hands to press the dough into a teardrop shape, around 1cm thick.
- Place a frying pan on a medium-high heat. Carefully remove the baking paper from the dough and lay the dough in the dry, hot pan (it should come off easily if you’ve floured it well - if not, flip the dough into the pan so the paper is on top and then peel it off).
- Cook for 2-3 minutes, until the bread starts to go golden and puff up in places, then flip and repeat on the other side.
- Meanwhile, add the butter (or ghee) and garlic to a pan and melt on a low heat. Once the naan bread is cooked, remove from the pan, brush with the garlic butter and wrap in foil while you repeat the process with the other three pieces of dough. Serve warm.
Video
Notes
- Storing and Freezing: Leftover naan breads can be kept for a couple of days or frozen. I recommend reheating before eating them as gluten free bread is always best fresh and warm!
Nutrition
Serving: 1 naan | Calories: 312kcal | Carbohydrates: 43g | Protein: 7g | Fat: 15g
