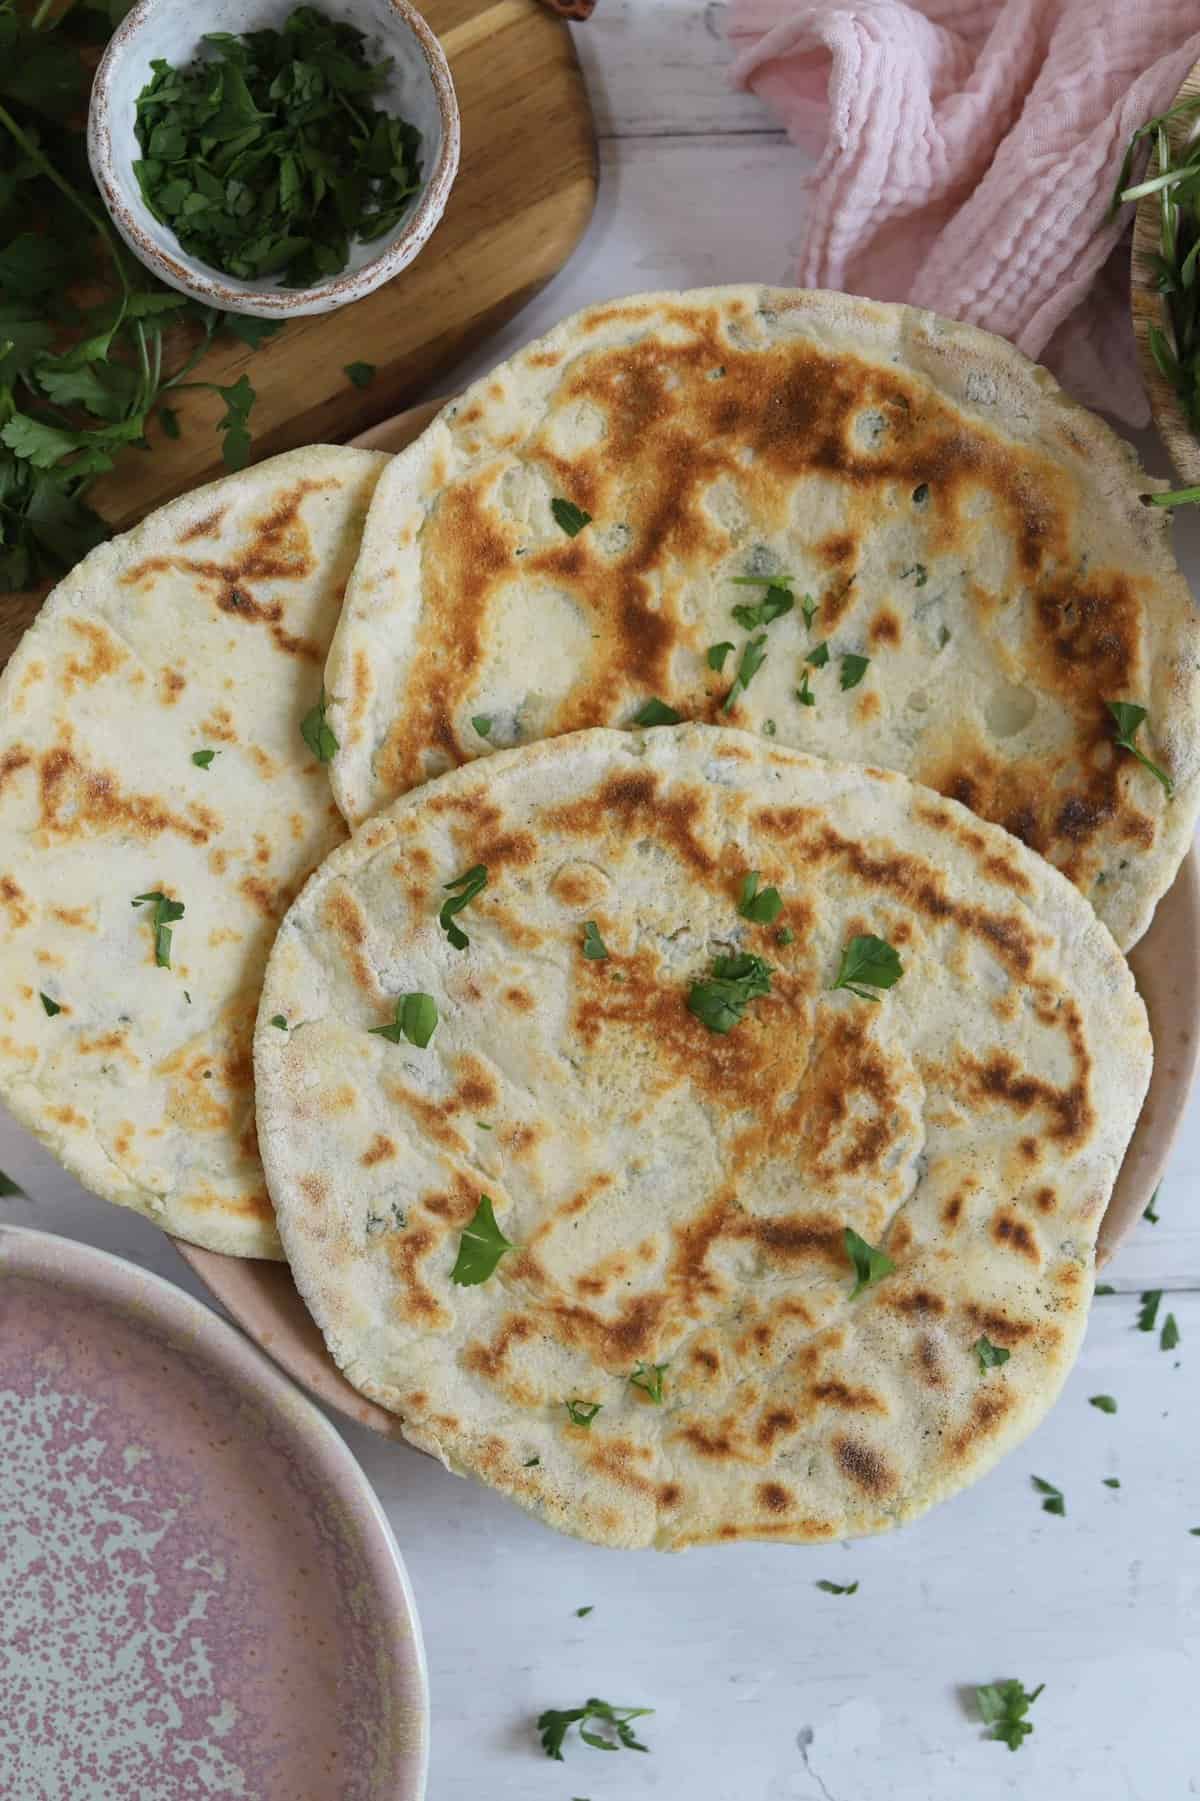
Gluten Free Flatbread
These 4-ingredient Gluten Free Flatbreads with garlic and parsley are so easy to make. No yeast or proving - simply mix them up, shape and dry fry them for delicious flatbreads which can be used as a side or for stuffing with your favourite fillings.
Servings: 4 flatbreads
Ingredients
- 200 g gluten free self-raising flour
- 200 g low fat Greek yoghurt
- Pinch of salt
- 1.5 tsp chopped garlic
- 1 tbsp chopped fresh parsley
Instructions
- Add the gluten free flour, yoghurt and salt to a large mixing bowl, and use a spoon or wooden spoon to bring the mixture together into a sticky dough.
- When the mix starts to become claggy, add the chopped garlic and parsley. Mix with the wooden spoon again and as it comes together, use your hands to knead the mixture into a smooth, slightly sticky ball of dough. (Flouring or wetting your hands will prevent too much dough sticking to them).
- Divide the dough into four pieces. Place a sheet of clingfilm down on the work surface and then add 1/4 of the dough on top. Lightly flour your hands to roll the dough into a ball.
- Use your hands to gently flatten the dough out into a circle, around 6-inches in diameter and approx 4-5mm thick. Use a little extra flour if it starts to stick.
- Place a frying pan or griddle pan on a medium-high heat and once hot, gently peel the clingfilm from the flatbread and place the dough into the hot pan.
- Fry for 2 minutes - you should see the surface start to puff in places - then flip over and fry for another 2 minutes on the other side. Once done, remove from the pan onto a plate and repeat with all the dough.
- Once your flatbreads are cooked, serve them warm however you like - as a side dish to a soup or bowl of pasta, as a naan bread alternative for curry, as a pizza base or by filling them with cooked chicken and salad and wrapping them up!
Video
Notes
- No self raising flour? No problem! Simply mix together 2 tsp baking powder with 200g gluten free plain (or all purpose) flour before adding to the mixing bowl.
- Weighing Scales vs Cups: You can toggle this recipe card to convert the ingredients into cups. However, I always recommend using weighing scales – these are cheap to buy and much more accurate. And in gluten free baking, a tiny variation can make a huge difference!
- Step-by-Step Photos: Check out the blog post above for step-by-step photos to guide you through how this flatbread recipe should look at each stage.
- Storing and Freezing: Check out the post above this recipe card for more information on storing and freezing these gluten free flatbreads.
- Like this Recipe? It would mean SO much to me if you could leave a 5* rating and tell all your gluten free friends about these Gluten Free Flatbreads!
Nutrition
Serving: 1g | Calories: 185kcal | Carbohydrates: 34g | Protein: 10g | Fat: 3g | Monounsaturated Fat: 0.3g
