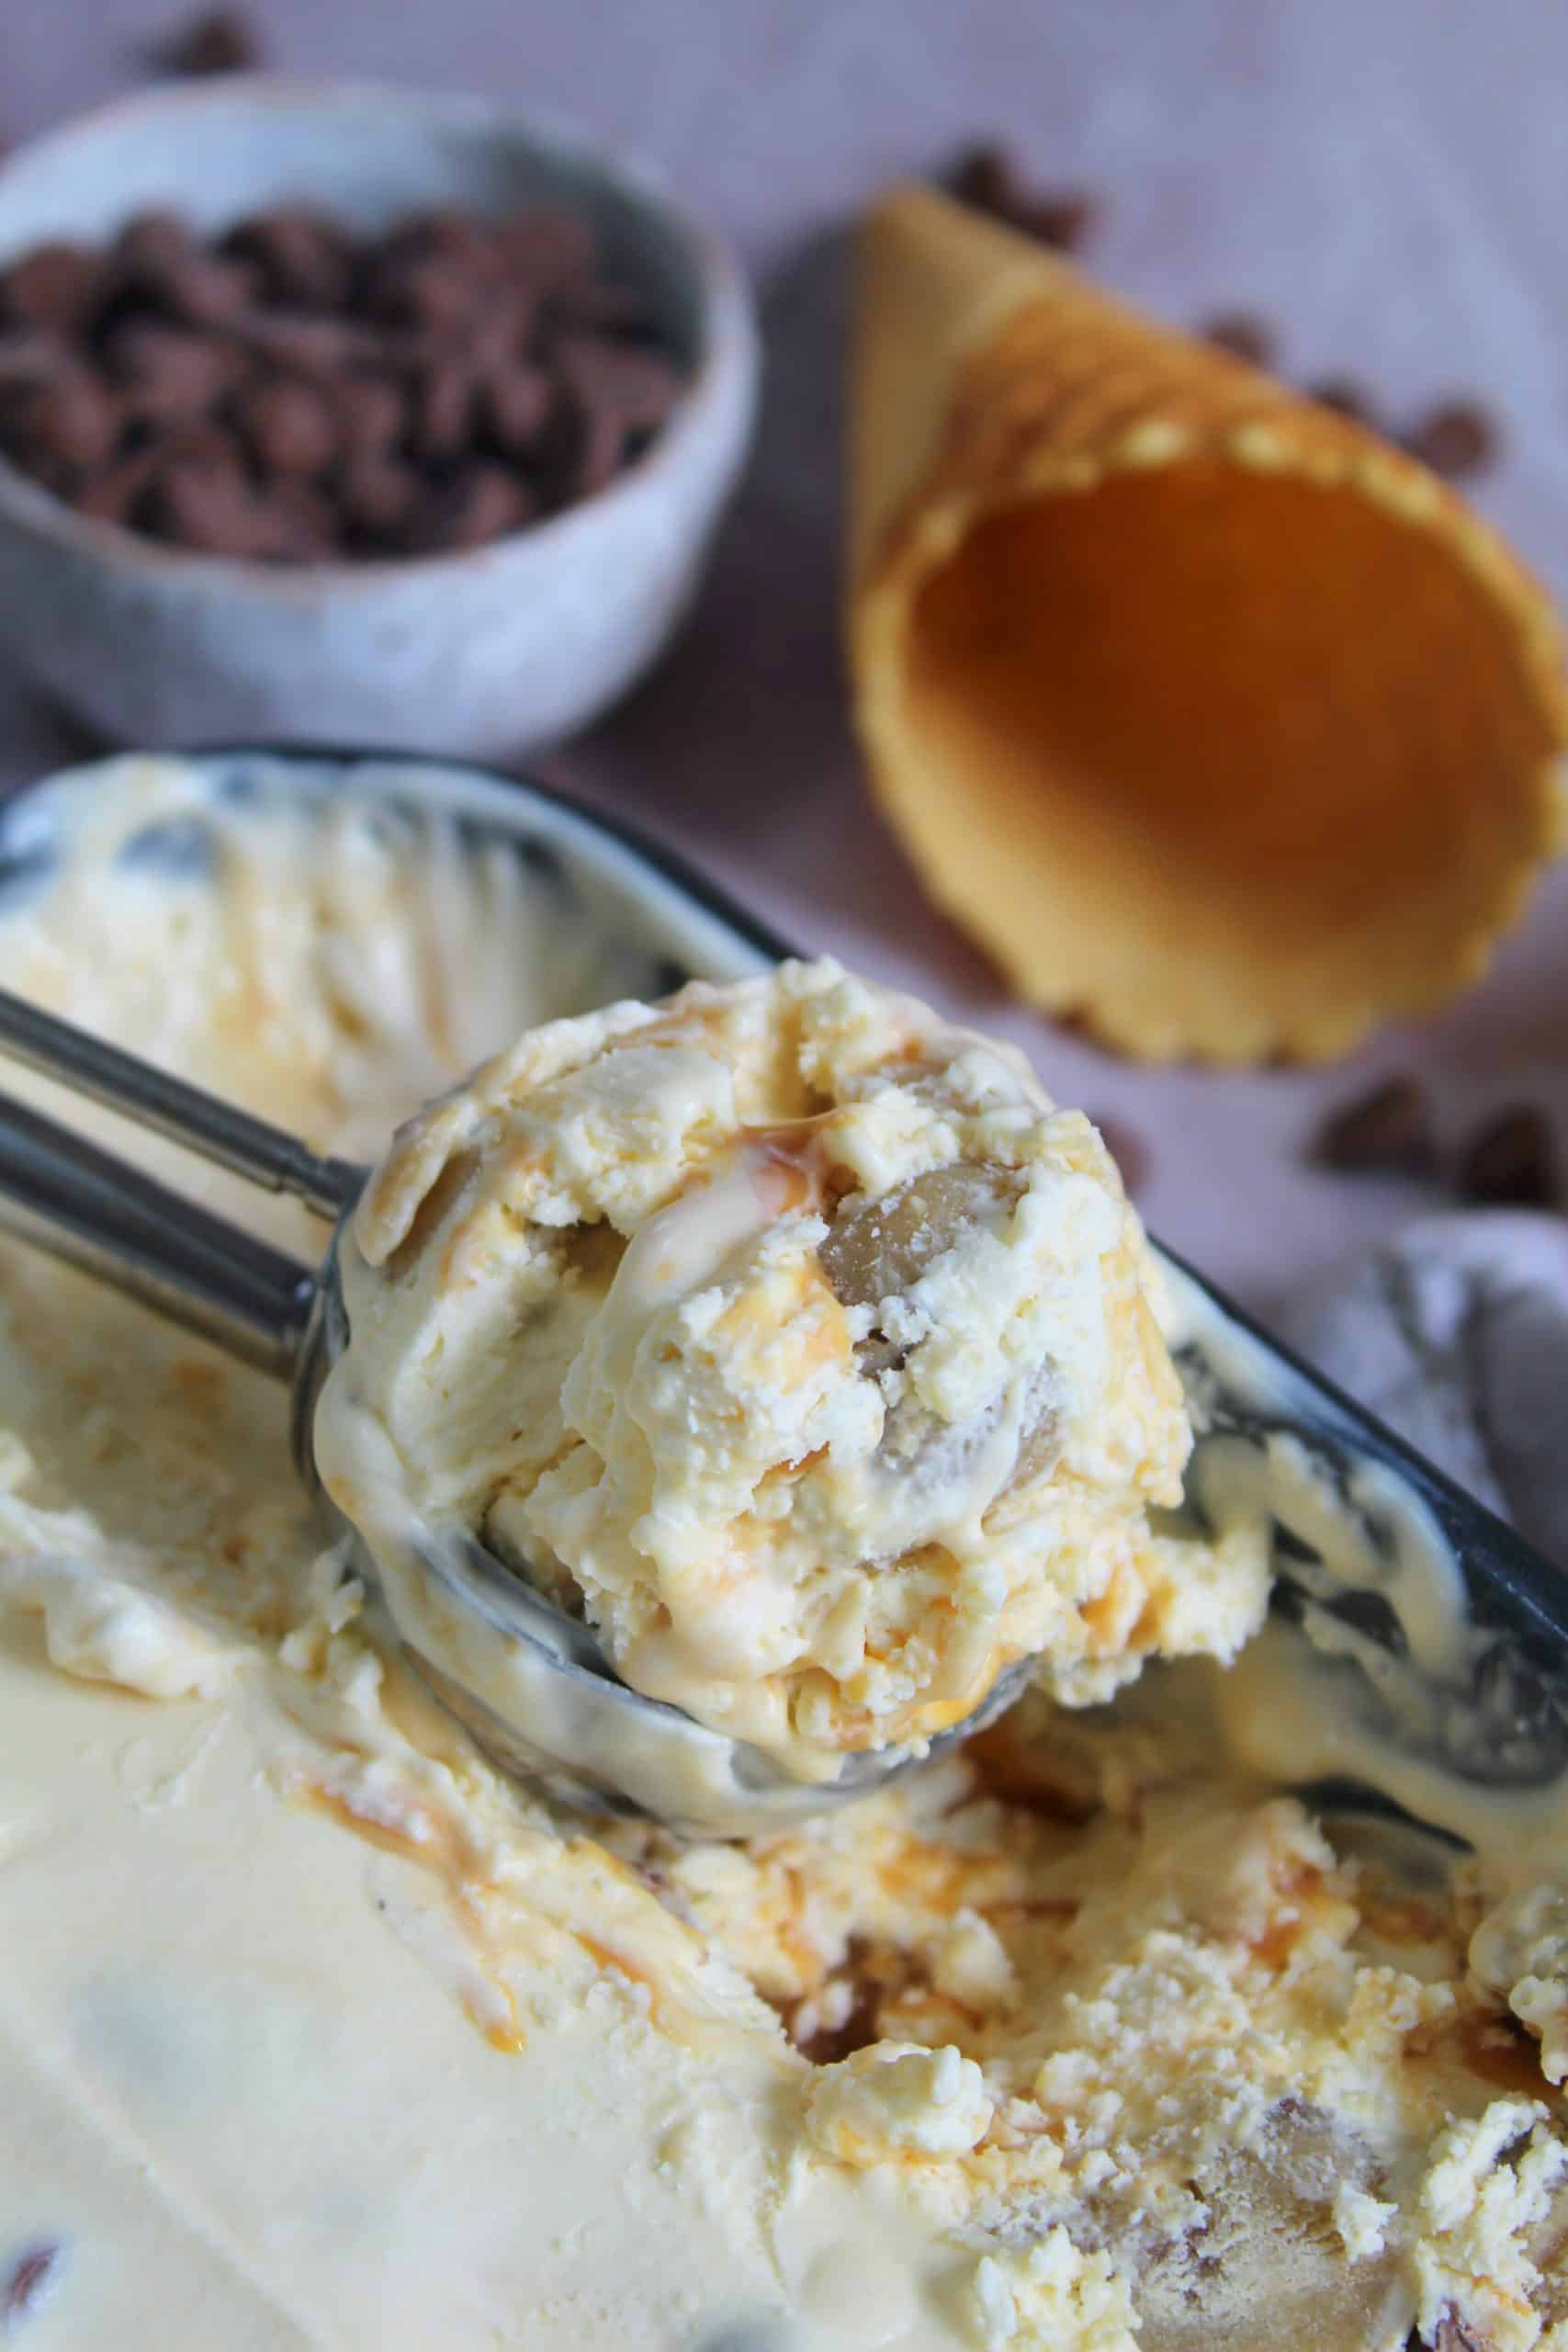
Gluten Free Cookie Dough Ice-Cream
If you wish you could find a Ben and Jerry's gluten free cookie dough ice-cream, why not make your own? With swirls of caramel sauce, chocolate chips and chunks of homemade gluten free cookie dough, this is a fab dessert!
Servings: 16
Ingredients
For the cookie dough:
- 150 g plain gluten free flour *heat-treat before using: see notes
- 1/4 tsp xanthan gum
- 110 g unsalted butter
- 40 g Golden Syrup
- 50 g light brown sugar
- 1 tbsp milk
- 50 g milk chocolate chips
For the ice-cream:
- 1 397g tin of condensed milk
- 600 ml double cream
- 1 tsp vanilla extract
- 50 g milk chocolate chips
- 155 g tinned caramel / dulce de leche
Instructions
To make the cookie dough:
- Firstly heat treat your flour. Pre-heat the oven and spread the gluten free flour out on a baking tray at 160'C / 140C Fan / Gas Mark 3. Bake for 5 minutes, remove from the oven and cool before using. Alternatively, microwave the flour in a bowl on full power for 90 seconds, stirring every 15 seconds.
- While the flour is cooling, melt the butter in the microwave in 10-second intervals. Once the butter has melted, add the gluten free flour, xanthan gum, golden syrup, sugar and milk to it and beat with a wooden spoon until combined.
- Mix in the chocolate chips then pop in the fridge for around 20-30 minutes to cool while you make the ice-cream.
To make the ice-cream:
- Add the condensed milk, double cream and vanilla extract to a large mixing bowl and beat with an electric whisk until thick. It should be quite stiff and a bit like clotted cream.
- Remove the cookie dough from the fridge. Break off small pieces and roll into balls, then add to the ice-cream mixture. Keep folding these in so they are evenly distributed and don't all stick together.
- Pour in the chocolate chips, spoon the caramel and then told into the mixture until you have lovely swirls. You don't want to mix it in entirely but enough so that there are ribbons of sauce through all the ice-cream mixture.
- Spoon into a large baking tin, cover with cling film and freeze for a couple of hours until solid (approx 3-5 hours - or ideally overnight)
Notes
- To easily scoop your ice-cream, remove it from the freezer about 10 minutes before serving and using an ice-cream scoop dipped in hot water.
- Scroll up for step-by-step photos and see the FAQs below for any troubleshooting.
Nutrition
Calories: 296kcal | Carbohydrates: 29g | Protein: 4g | Fat: 19g | Saturated Fat: 12g | Polyunsaturated Fat: 6g | Cholesterol: 54mg | Sodium: 68mg | Sugar: 22g
